
Popular categories
Looking for a yarn?


Comments / Questions (47)
![]() Aurapruck Hågensen wrote:
Aurapruck Hågensen wrote:
Hei.. I hv problem to start the shoulder..and i need some clarification. I knit size:L, finished with 96sts and going to increase 4 sts. Does it mean that I knit 12 + 1 sts / k1 st / m / k21sts / m / k1st / 1 + 25 + 1 sts /k1st/m/k21sts/m1st/k13+1? Thanks.
08.02.2025 - 22:55
![]() Desiree wrote:
Desiree wrote:
Ik brei mt. M en ben in bij de beschrijving de PAS. en begrijp onderstaande totalen niet: hoe komt u aan totaal 27 x lijf en 19x mouwen? \"Meerder zo 18-15-14-16 keer op het lijf (9-7-7-8 keer op de mouwen). In totaal 24-27-28-31 keer op het lijf en 15-19-21-23 keer op de mouwen = 248-280-296-320 steken. \"
14.12.2024 - 11:31DROPS Design answered:
Dag Desiree,
Je hebt eerder al 2-8-10-11 keer iedere 2e naald gemeerderd bij alle 4 markeerdraad steken, dus deze komen erbij en daarnaast komen de meerderingen erbij die je tijdens de verkorte toeren voor de halslijn hebt gemaakt.
08.01.2025 - 14:23
![]() Dominique Collado wrote:
Dominique Collado wrote:
Bonjour, je me demande s'il n'y a pas une erreur dans la taille L : on part de 96 et on augmente de 4, soit 100 mailles pour le col doublé. Mais la répartition pour les marqueurs : 12/21/25/21/13 donne 92 + 4 augmentations= 96 et il reste 4 mailles non tricotées. Par ailleurs, je ne comprends pas pourquoi il faut ensuite couper le fil alors qu'on continue avec les aiguilles 5 ? Merci pour votre aide !
11.12.2024 - 20:52DROPS Design answered:
Bonjour Mme Collado, notez que les marqueurs sont placés dans une maille et non entre les mailles, autrement dit, vous aurez: 12+1 m (demi-dos), 1 m (marqueur), 21 m (manche), 1 m (marqueur), 25 + 2 m (devant), 1 m (marqueur), 21 m (manche), 1 m (marqueur) et 13 + 1 m (demi-dos) =13+1+21+1+27+1+21+1+14=100 mailles. On doit ensuite couper le fil car les rangs raccourcis de l'encolure ne commencent pas au milieu dos mais au niveau du marqueur - dans cette vidéo, nous montrons comment tricoter ce type d'encolure. Bon tricot!
12.12.2024 - 09:58
![]() Lauriane wrote:
Lauriane wrote:
Bonjour, je ne comprends pas la partie rangs raccourcis/raglan lorsqu’il faut faire les augmentations sur rang endroit puis directement sur les rangs envers ensuite. Car les jetés me gênent pour faire les augmentations. Est ce que je dois augmenter 2 mailles avant le marqueur par exemple pour l’endroit, puis 2 mailles après le marqueur (là où il n’y a pas les jetés du coup) pour le rang envers ? Merci beaucoup pour votre retour
09.12.2024 - 12:48DROPS Design answered:
Bonjour Lauriane, sur l'envers, tricotez les jetés torse comme indiqué sous RAGLAN, autrement dit tricotez jusqu'au premier jeté, tricotez-le torse, faites 1 jeté (- augmentation), tricotez la maille avec le marqueur, faites 1 jeté (augmentation) et tricotez le jeté torse, et répétez ainsi à chaque marqueur; sur l'endroit, procédez de la même façon, ainsi, les jetés doivent toujours être faits de chaque côté de la maille avec le marqueur et vous tricotez les jetés du rang précédent torse avant les jetés de chaque côté de la maille du raglan avec un marqueur. Bon tricot!
11.12.2024 - 07:56
![]() Sylvie Bellange wrote:
Sylvie Bellange wrote:
Bonjour, je ne comprends pas si l'on double le col, comme sur d'autres modèles, avant de commencer l'encolure, ou s'il faut le faire à la fin en cousant. Merci de votre réponse
01.12.2024 - 14:55DROPS Design answered:
Bonjour Mme Bellange, dans ce modèle, on va coudre le col en double à la fin - cf ASSEMBLAGE, dernier paragraphe. Bon tricot!
02.12.2024 - 09:58
![]() France BAIN wrote:
France BAIN wrote:
POURRIEZ VOUS M ENVOYER LES EXPLICATIONS DE CE MODELE AVEC AIGUILLES DROITES ??? merci
26.11.2024 - 19:30DROPS Design answered:
Bonjour, cette leçon pourra vous aider à adapter les explications pour aiguilles droites. Retrouvez ici tous les pulls homme tricotés de bas en haut, peut être ajustables plus facilement sur aiguilles droites, ajoutez des filtres si besoin. Bon tricot!
27.11.2024 - 07:07
![]() Maja wrote:
Maja wrote:
Hej! På förkortade varv, ska man öka på båda sidor av markören, så det ökad 8 eller ska man göra som det står i RAGLAN, där det ökad 4 maskor på ett förkortat varv?
05.11.2024 - 15:39DROPS Design answered:
Hej Maja, Du öker på varje varv når du strikker forkortede pinde :)
07.11.2024 - 08:26
![]() Michelle wrote:
Michelle wrote:
Jeg tilslutter mig mængden og spørger til størrelse L. Kunne i prøve at forklare det på en anden måde? Når I skriver at sætte et mærke i masken, det giver ikke en ekstra maske, så jeg forstår ikke når I skriver \"(12+1)+1\". Hvor kommer den ekstra +1 fra?
03.11.2024 - 21:41
![]() Victoria Islam wrote:
Victoria Islam wrote:
Hi. I can't get the start of the neck / shoulder shaping to add up for size L. 12+ 21+25+21 +13 = 92 not 96. 12+21+25+21+13+ increase of 4 doesn't equal 100. Am I missing something? Thanks
14.10.2024 - 13:13DROPS Design answered:
Dear Mrs Islam, do not forget that the 4 markers are each inserted in one stitch, so that you should have: (12+1)+1+21+1+(25+2)+1+21+1+(13+1)=100 sts. Happy knitting!
14.10.2024 - 16:16
![]() Meow Brook wrote:
Meow Brook wrote:
Greetings! here is the calculations for L : even without adding up 4 stitch increase. Back 12; sleeve 21; front 25; sleeve 21, back 12 = 91 stitches. Add 4 = 96 which is the CO stitch count for L . what am i missing? Thanks. m brook.
08.10.2024 - 18:43DROPS Design answered:
Hi Meow, The markers are inserted into a stitch (the first stitch after the 12 + 1 for the half back piece), the next marker is inserted into the first stitch after the 21 stitches for the sleeve, etc. These marker-stitches are your 4 missing stitches. Happy knitting!
09.10.2024 - 07:17
|
|
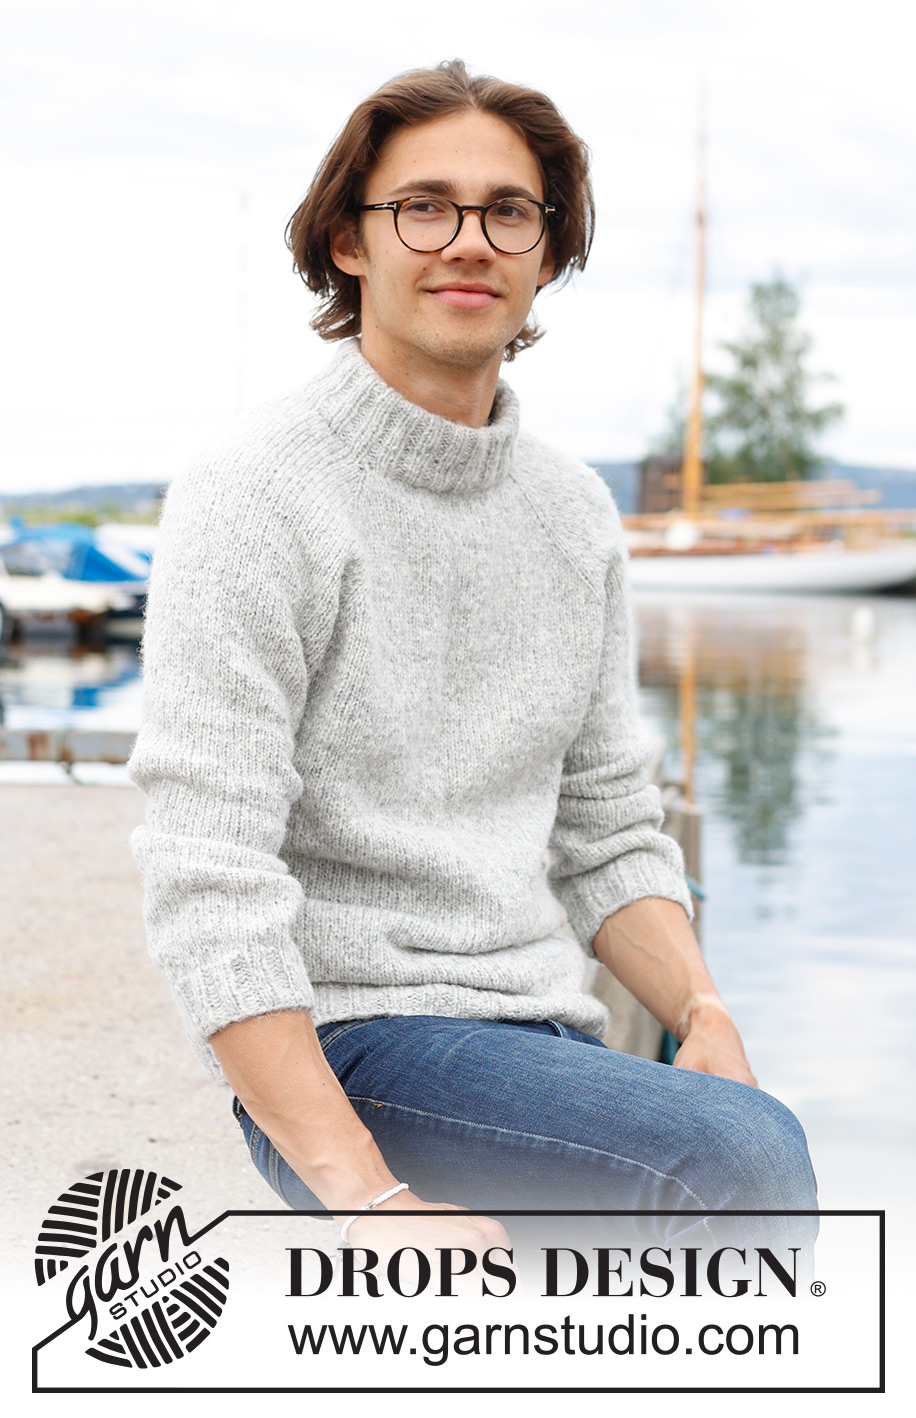
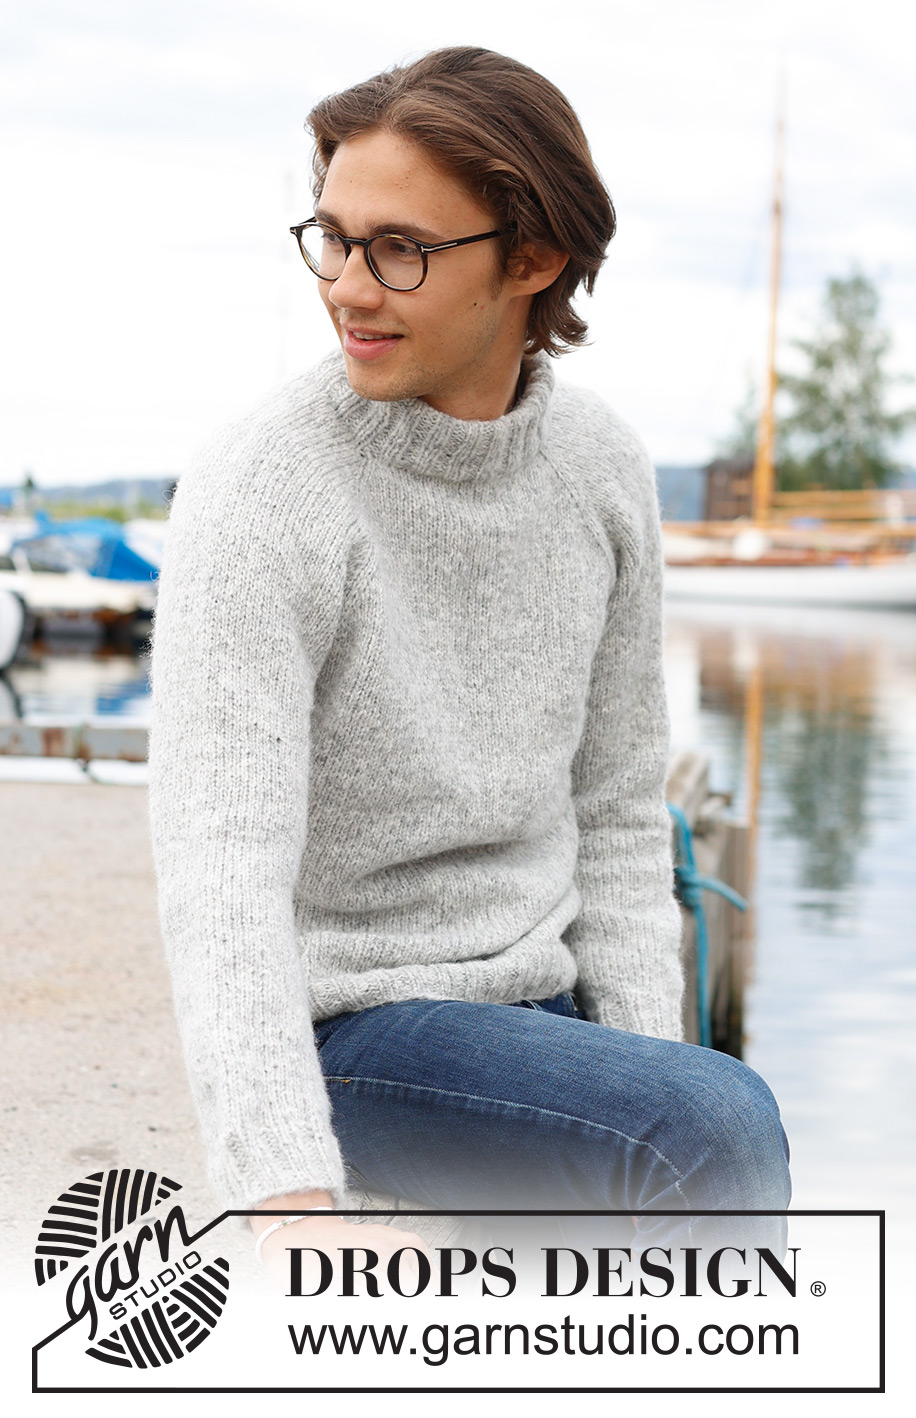
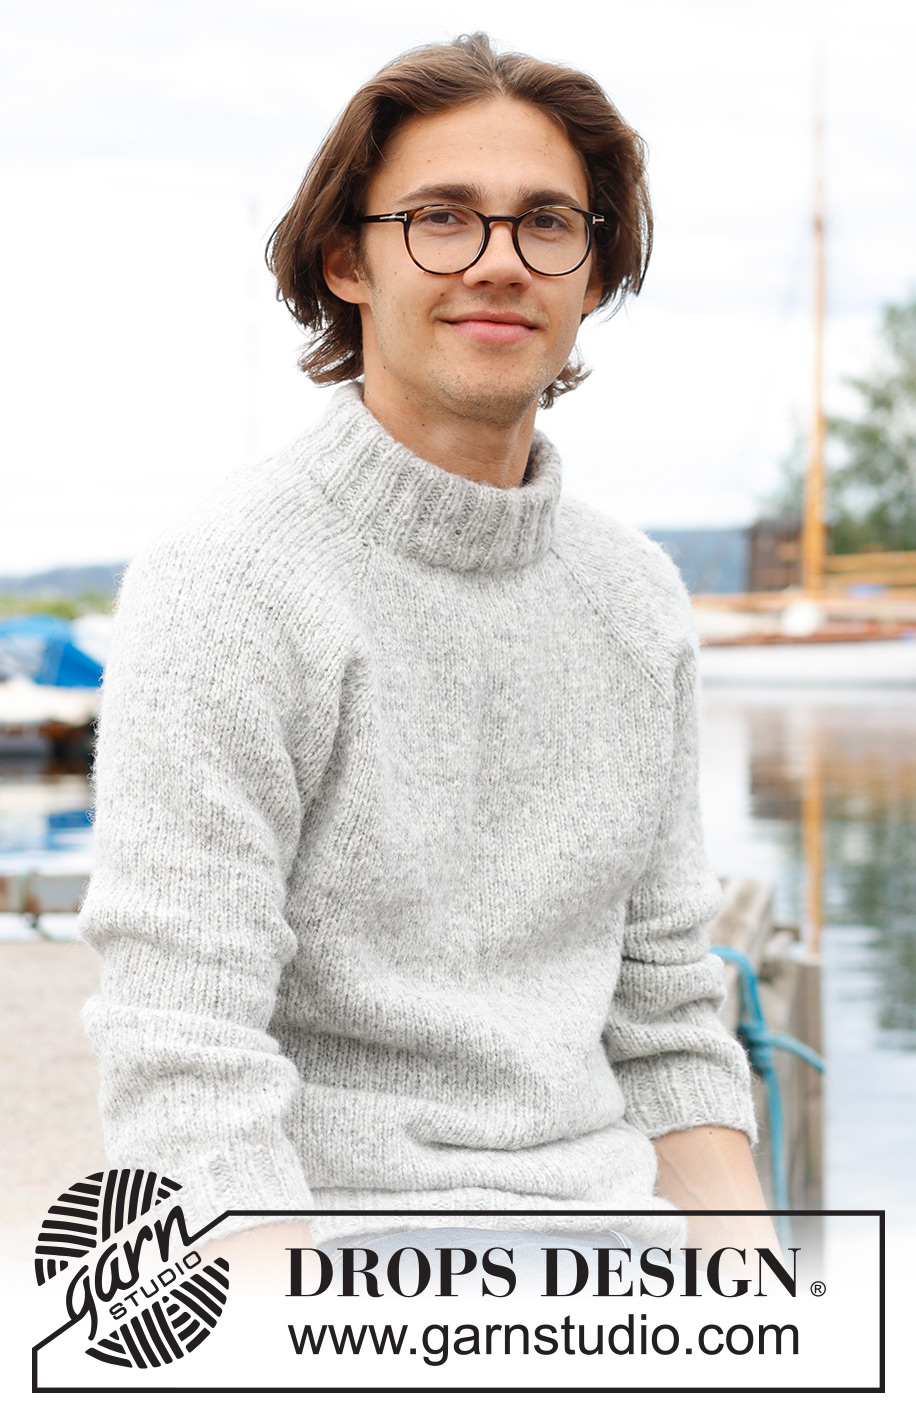
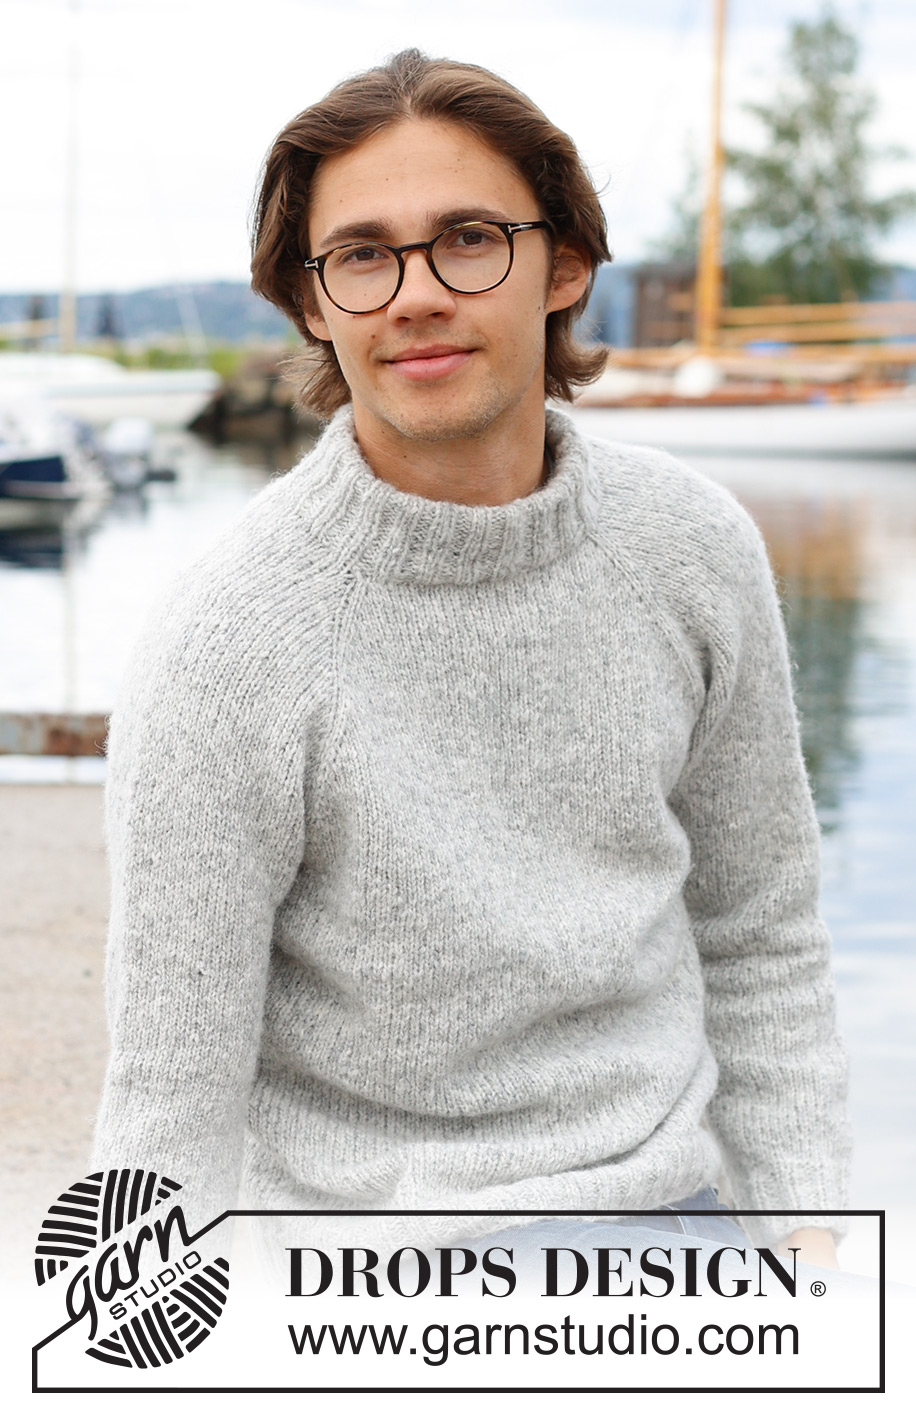
Early Moorning Mist#earlymoorningmistsweater |
|
 |
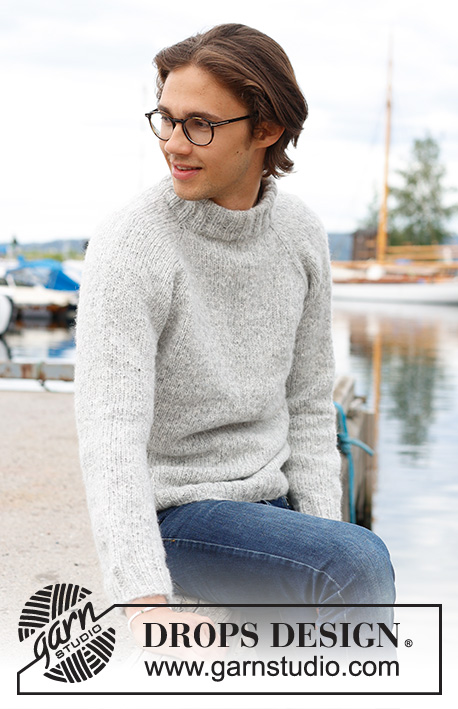 |
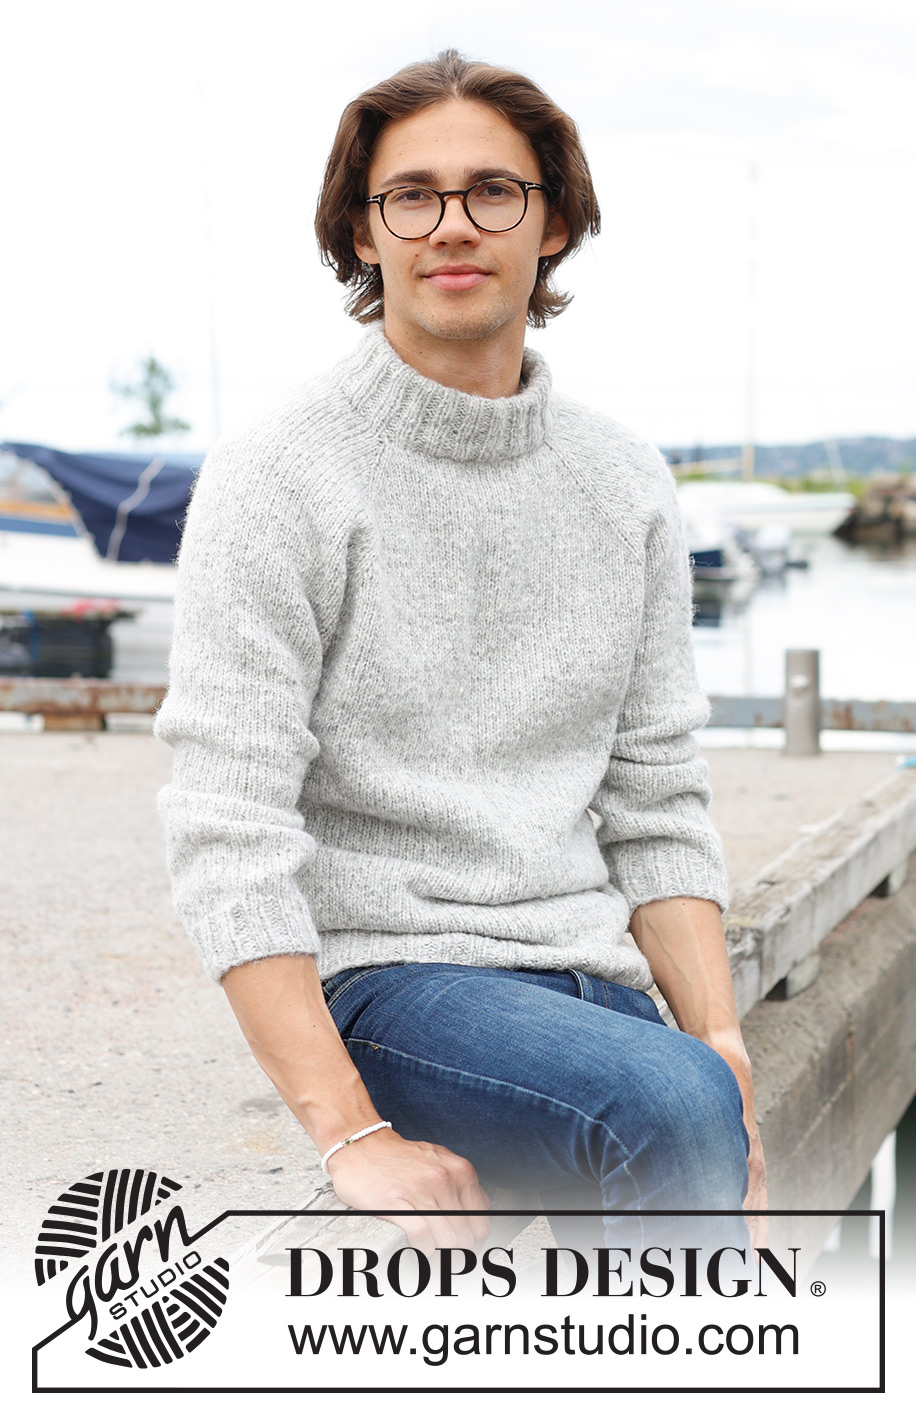
Knitted jumper for men in DROPS Air. The piece is worked top down with stocking stitch, double neck and raglan. Sizes S - XXXL.
DROPS 233-6 |
|
|
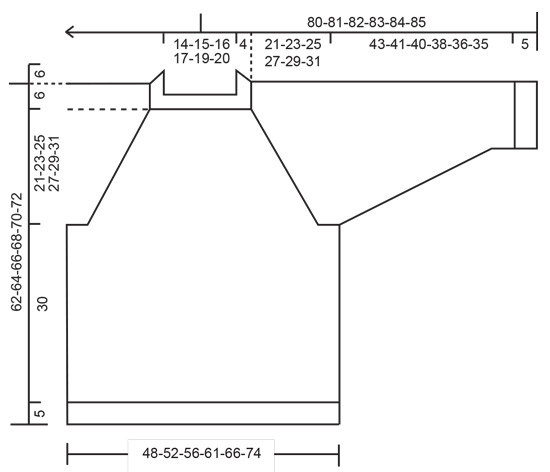
------------------------------------------------------- EXPLANATIONS FOR THE PATTERN: ------------------------------------------------------- RAGLAN: All increases before/after 1 stitch in stocking stitch (the stitch with the marker). Increase for the body before markers 1 and 3 and after markers 2 and 4 when working from the right side/after markers 1 and 3 and before markers 2 and 4 when working from the wrong side. Increase for the sleeves after markers 1 and 3 and before markers 2 and 4 when working from right side / before marker 1 and 3 and after marker 2 and 4 when working from wrong side. Increase 1 stitch by making 1 yarn over. The yarn overs are worked as follows from the wrong side: BEFORE MARKER: Purl the back loop. No hole. AFTER MARKER: Slip the yarn over off the left needle and place it back twisted (insert the left needle from the back when replacing it). Purl the front loop. No hole. The yarn overs are worked as follows from the right side: BEFORE MARKER: Slip the yarn over off the left needle and place it back twisted (insert the left needle from the back when replacing it). Knit the front loop; the stitch twists to the right. No hole. AFTER MARKER: Knit the back loop (the stitch twists to the left). No hole. DECREASE TIP (for sleeves): Start 3 stitches before the marker, knit 2 together, knit 2 (marker sits between these 2 stitches), slip 1 stitch as if to knit, knit 1 and pass the slipped stitch over the knitted stitch. ------------------------------------------------------- START THE PIECE HERE: ------------------------------------------------------- JUMPER – SHORT OVERVIEW OF THE PIECE: The neck and yoke are worked in the round with circular needle, from mid back and top down. The yoke is divided for body and sleeves and the body is continued in the round with circular needle. The sleeves are worked with short circular needle/double pointed needles. DOUBLE NECK: Cast on 88-92-96-100-104-108 stitches with short circular needle size 5 mm and DROPS Air. Change to circular needle size 4 mm. Work rib in the round (knit 2, purl 2) for 13 cm. On the next round, insert 4 markers at the same time as you increase 4 stitches on the round as follows – the markers are used when increasing for raglan: Knit 10-12-12-14-14-16 and increase 1 stitch (half back piece), insert marker-1 in the next stitch, knit 21 (sleeve), insert marker-2 in the next stitch, knit 21-23-25-27-29-31 and increase 2 stitches evenly spaced (front piece), insert marker-3 in the next stitch, knit 21 (sleeve), insert marker-4 in the next stitch, knit the last 11-11-13-13-15-15 stitches and increase 1 stitch (half back piece) = 92-96-100-104-108-112 stitches. Cut the strand. NECKLINE: Change to circular needle size 5 mm and work the neckline with short rows AT THE SAME TIME as increasing to raglan as follows: Start from the right side, 2 stitches before marker-3 (left front of neck when the garment is worn). Work stocking stitch, increase to RAGLAN – read description above, on each side of the 4 marker-stitches and until you have worked 2 stitches past marker-2 (right front of neck – 8 stitches increased for raglan). Turn, tighten the strand, work back from the wrong side, increase for raglan to 2 stitches past the beginning of the short rows by marker-3 (8 stitches increased for raglan). Turn, tighten the strand, work back from the right side, increase for raglan to 2 stitches past where you turned last time by marker-2 (8 stitches increased for raglan). Turn, tighten the strand, work back from the wrong side, increase for raglan to 2 stitches past marker-3 (8 stitches increased for raglan). Cut the strand. YOKE: = 124-128-132-136-140-144 stitches. Now work in the round as follows: SIZES S, M, L and XL: Start mid-back, work stocking stitch and increase for raglan on the body and sleeves (on each side of all 4 marker-stitches) every 2nd round 2-8-10-11 times = 140-192-212-224 stitches. Continue to increase but now every 2nd increase is only on the body (4 stitches increased); you are now increasing every 2nd round on the body and every 4th round on the sleeves. Increase like this 18-15-14-16 times on the body (9-7-7-8 times on the sleeves). A total of 24-27-28-31 times on the body and 15-19-21-23 times on the sleeves = 248-280-296-320 stitches. Go to ALL SIZES. SIZES XXL and XXXL: Start mid-back, work stocking stitch and increase for raglan every round on the body 2-6 times and every 2nd round on the sleeves 1-3 times = 152-180 stitches. Then increase on both the body and sleeves every 2nd round (on each side of all 4 marker-stitches) 10-7 times = 232-236 stitches. Continue to increase, but now every 2nd increase is only on the body (4 stitches increased); you are now increasing every 2nd round on the body and every 4th round on the sleeves. Increase like this 18-22 times on the body (9-11 times on the sleeves). A total of 34-39 times on the body and 24-25 times on the sleeves = 340-368 stitches. Go to ALL SIZES. ALL SIZES. = 248-280-296-320-340-368 stitches. Continue working without further increases until the yoke measures 21-23-25-27-29-31 cm measured mid-front after the rib on the neck. Divide for the body and sleeves as follows: Work 37-42-43-48-51-58 stitches (half back piece), place the next 49-57-61-65-67-69 stitches on a thread for the sleeve, cast on 6-6-8-8-10-10 stitches (in side under sleeve), work 75-83-87-95-103-115 stitches (front piece), place the next 49-57-61-65-67-69 stitches on a thread for the sleeve, cast on 6-6-8-8-10-10 stitches (in side under sleeve), work 38-41-44-47-52-57 stitches (half back piece). The body and sleeves are finished separately. The piece is now measured from here! BODY: = 162-178-190-206-226-250 stitches. Continue with stocking stitch in the round for a further 30 cm. Knit 1 round and increase 18-22-22-26-26-34 stitches evenly spaced = 180-200-212-232-252-284 stitches. Change to circular needle size 4 mm. Work rib (knit 2, purl 2) for 5 cm. Cast off a little loosely with knit over knit and purl over purl. The jumper measures approx. 62-64-66-68-70-72 cm from the shoulder down. SLEEVES: Place the 49-57-61-65-67-69 stitches from the thread on the one side of the piece on short circular needle/double pointed needles size 5 mm and knit up 1 stitch in each of the new stitches cast on under the sleeve = 55-63-69-73-77-79 stitches. Insert a marker in the middle of the new stitches under the sleeve; allow the marker to follow your work onwards, it is used when decreasing under the sleeve. Continue with stocking stitch in the round for 4 cm. Now decrease 2 stitches mid-under the sleeve – read DECREASE TIP. Decrease like this every 9-5-3½-3-2½-2½ cm a total of 5-8-10-11-12-12 times = 45-47-49-51-53-55 stitches. Continue working until the sleeve measures 43-41-40-38-36-35 from the division (or to desired length. There is approx. 5 cm left). Knit 1 round and increase 7-5-7-5-7-5 stitches evenly spaced = 52-52-56-56-60-60 stitches. Change to double pointed needles size 4 mm and work rib (knit 2, purl 2) for 5 cm. Loosely cast off with knit over knit and purl over purl. The sleeve measures approx. 48-46-45-43-41-40 cm from the division. Work the other sleeve in the same way. ASSEMBLY: Fold the neck double to the inside and fasten with a stitch in each raglan-line. |
|
 |
|
Have you finished this pattern?Tag your pictures with #dropspattern #earlymoorningmistsweater or submit them to the #dropsfan gallery. Do you need help with this pattern?You'll find 28 tutorial videos, a Comments/Questions area and more by visiting the pattern on garnstudio.com. © 1982-2026 DROPS Design A/S. We reserve all rights. This document, including all its sub-sections, has copyrights. Read more about what you can do with our patterns at the bottom of each pattern on our site. |
|


With over 40 years in knitting and crochet design, DROPS Design offers one of the most extensive collections of free patterns on the internet - translated to 17 languages. As of today we count 324 catalogues and 12290 patterns translated into English (UK/cm).
We work hard to bring you the best knitting and crochet have to offer, inspiration and advice as well as great quality yarns at incredible prices! Would you like to use our patterns for other than personal use? You can read what you are allowed to do in the Copyright text at the bottom of all our patterns. Happy crafting!
Post a comment to pattern DROPS 233-6
We would love to hear what you have to say about this pattern!
If you want to leave a question, please make sure you select the correct category in the form below, to speed up the answering process. Required fields are marked *.