
Popular categories
Looking for a yarn?


Comments / Questions (37)
![]() Mallorca wrote:
Mallorca wrote:
Las fotos, las tallas de S a XXXL y el patrón del dibujo corresponden a un modelo, pero las indicaciones del tejido corresponden a otro modelo con talla XS a XL. No me he vuelto loca de milago. Es un patrón imposible.
01.03.2024 - 01:46
![]() Lily wrote:
Lily wrote:
Hello. I started knitting it and I have a question. Does "knit 12 stitches in pattern A1" mean stitches or pattern repeats? Do I have to knit 1
12.01.2024 - 09:59DROPS Design answered:
Dear Lily, this means you will have to repat the 4 sts in diagram A.1 a total of 3 times (read diagram from the bottom corner on the right side upwards on every round). Happy knitting!
12.01.2024 - 13:42
![]() Iselin wrote:
Iselin wrote:
Når den sier at jeg skal strikke 12 ganger i mønster, skal jeg da starte med rettstrikkingen fra bunnen slik den viser i A.1? Føler ikke jeg får med mye møster da i 12 masker😅 mhv en nybegynner
29.12.2023 - 23:01DROPS Design answered:
Hei Iselin. Første gang du skal strikke A.1, starter du på 1. rad. Strikk 12 masker av A.1 (A.1 strikkes da 3 ganger), strikk 2 masker glattstrikk, strikk 24-24-28-32-32 eller 36 masker i mønster A.1 (forstykket). Du starter på 1. rad og 1. maske du ser i diagrammet. I str. S og M strikkes da A.1 6 ganger, mens i str. L 7 ganger, XL og XXL 8 ganger og i str. XXL 9 ganger. Følg oppskriften og start alltid med 1. maske på 1. rad, strikk omgangen ut. Og når du starter på 2. omgang strikker du 2. pinne i diagrammet osv. mvh DROPS Design
08.01.2024 - 13:50
![]() Birgit Eklund Pedersen wrote:
Birgit Eklund Pedersen wrote:
Hej, mangler der ikke noget tekst i afsnittet om udtagning til raglan? Skal jeg slå om henholdsvis før de 2 retmasker og efter de 2 retmasker, altså inden sidste maske før mærket og efter første maske efter mærket? Venlig hilsen birgit
07.11.2023 - 18:42DROPS Design answered:
Hei Birgit. I forklaringen står det at du skal strikke 1 maske forbi 1. merke, gjør et kast, strikk til det gjenstår 1 maske før det neste merke, gjør et kast = 1 kast etter en maske med merke og 1 kast før en maske med merke. Og slik økes det ved hvert merke. = 8 kast på 1 omgang. Hadde starten på omgangen vært midt bak så kunne man ha skrevet slik du skriver, men i denne oppskriften er omgangens start ved overgangen mellom 1/2 bakstykket og et erme. mvh DROPS Design
13.11.2023 - 10:16
![]() Hanh Nguyen wrote:
Hanh Nguyen wrote:
I didn’t understand instruction in yoke measure: each sleeve: 14sts; front piece & back piece : 26 sts eacch; total 80sts at begin. After 21 times of increase for raglan, 8sts increased for each row, mean 2 sts increased inside each sleeve how finally we got 48 sts for each sleeve on devision? Can anybody help me ? TIA.
25.08.2023 - 13:58DROPS Design answered:
Dear Mrs Nguyen, the first 3 sts + the last 3 sts on each sleeve will belong to back/front piece - you started with 12 sts for each sleeve, then increased 21 times = 54 sts - 6 sts (3 on each side for front/back piece) = 48 sts. Happy knitting!
28.08.2023 - 12:53
![]() Emmy wrote:
Emmy wrote:
I am having trouble understanding the raglan increases. Should I increase on both sides of the marker, a total of 8 times per row?
31.07.2023 - 10:38DROPS Design answered:
Dear Emmy, increase on each side of the 2 raglan stitches worked in stocking stitch (with the markers in the middle), so at the beg of the round, K1 and increase for raglan, then work until 1 st remain before next marker, make 1 YO, K2 (marker is between these 2 sts), make 1 YO, repeat these at the next markers until 1 stitch remain before the end of the round, make 1 YO and knit the last stitch. You have increased 2 sts on each piece, ie a total of 8 sts. Repeat these increases on every other round. Happy knitting!
31.07.2023 - 11:51
![]() Cécile wrote:
Cécile wrote:
Bonjour, C'est la première fois que je tricote un pull de Drops. L'échantillon doit-il être fait dans le point du tricot. e modèle que je veux tricoter se fait dans un point fantaisie. Merci pour votre réponse
20.04.2023 - 15:02DROPS Design answered:
Bonjour Cécile, ceci peut varier en fonction du modèle, mais ici, on le tricote en jersey, je cite: 17 mailles en largeur et 22 rangs en hauteur, en jersey = 10 x 10 cm. - Utilisez les aiguilles 5 (ou ajustez la taille des aiguilles si besoin). Bon tricot!
20.04.2023 - 16:26
![]() Anne wrote:
Anne wrote:
Målene på denne genseren må være helt feil,både lengden fra ermene og ned og på ermene. Ermene er dessuten veldig smale. Modellen må ha på seg en genser som egentlig er flere størrelser større enn det en skulle tro hun ville bruke. Synes dere bør sjekke denne oppskriften så ikke flere strever med det samme som meg og må rekke opp.😖
28.03.2023 - 17:44DROPS Design answered:
Hej Anne, strikker du i DROPS Air og følger du strikkefastheden som står i opskriften, da vil du få målene som står i måleskitsen i den størrelse du har valgt. Hvis du mener det er fejl, så behøver vi mere information, hvilken størrelse du strikker, hvor mange masker du har på 10 cm og hvor du er i selve opskriften, hvilke mål du skulle have og hvilke du har....
12.04.2023 - 15:25
![]() Emilie wrote:
Emilie wrote:
Hei. Strikker genseren i . Når jeg kommer til at man skal strikke videre uten raglanøkninger, får jeg ikke mønsteret til å gå opp? Endte opp å gjøre som beskrivelsen under bol «to masker i rettstrikk på hver side av hvert merke», men får da på det meste 8 i rettstrikk. Synes det ser feil ut, men får ikke mønsteret til å gå opp ellers da det bare er seks masker imellom etter siste raglanøkning. Hvordan strikker dere mønsteret etter raglanøkningene er ferdig?
02.11.2022 - 21:50DROPS Design answered:
Hej Emilie, de masker som ikke går op kan du strikke i glatstrik (hvis du hellere vil have mønsteret til at gå op, kan du jo tage 2 masker ud i siden for at få det til at gå op) :)
04.11.2022 - 09:38
![]() Sophia Johansson wrote:
Sophia Johansson wrote:
Hej, är vid raglan. Ska mönstret stickas på varje varv, dvs. Även det varvet där det ökas till raglan? Ska man då ändå sticka en rät, 1 omslag, markering, 1 rät, 1 omslag och sen nästa maska enligt mönstret? Eller ska man sticka enligt mönstret på ett varv,sedan nästa varv ökning men bara räta maskor? Dvs, vartannat mönster vartannat ökning.
02.11.2022 - 18:19DROPS Design answered:
Hej Sophia, du strikker mønsteret på hver omgang og tager ud til raglan samtidigt :)
16.11.2022 - 13:40
|
|||||||
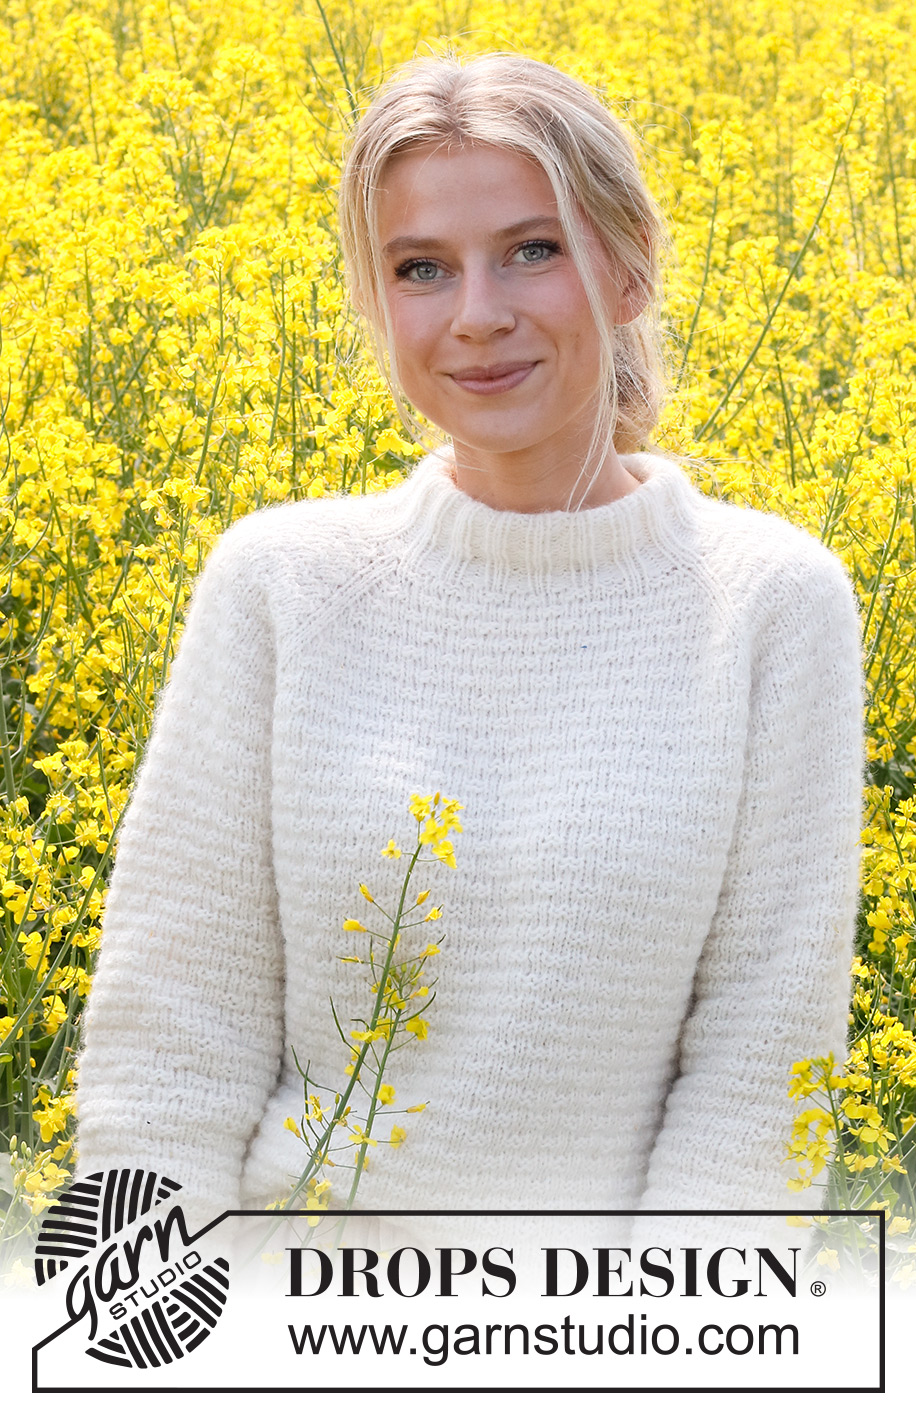
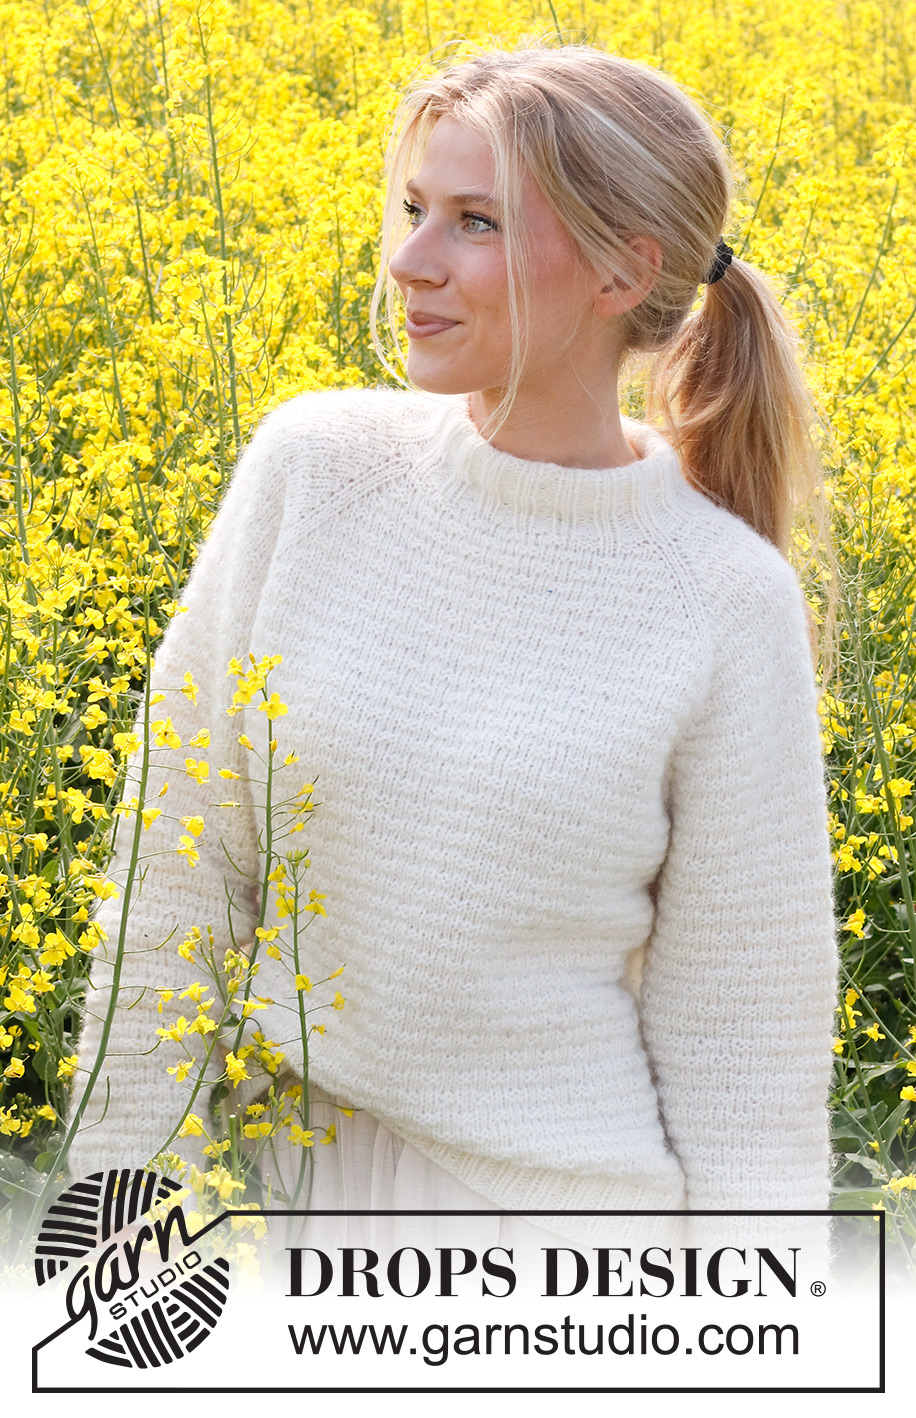
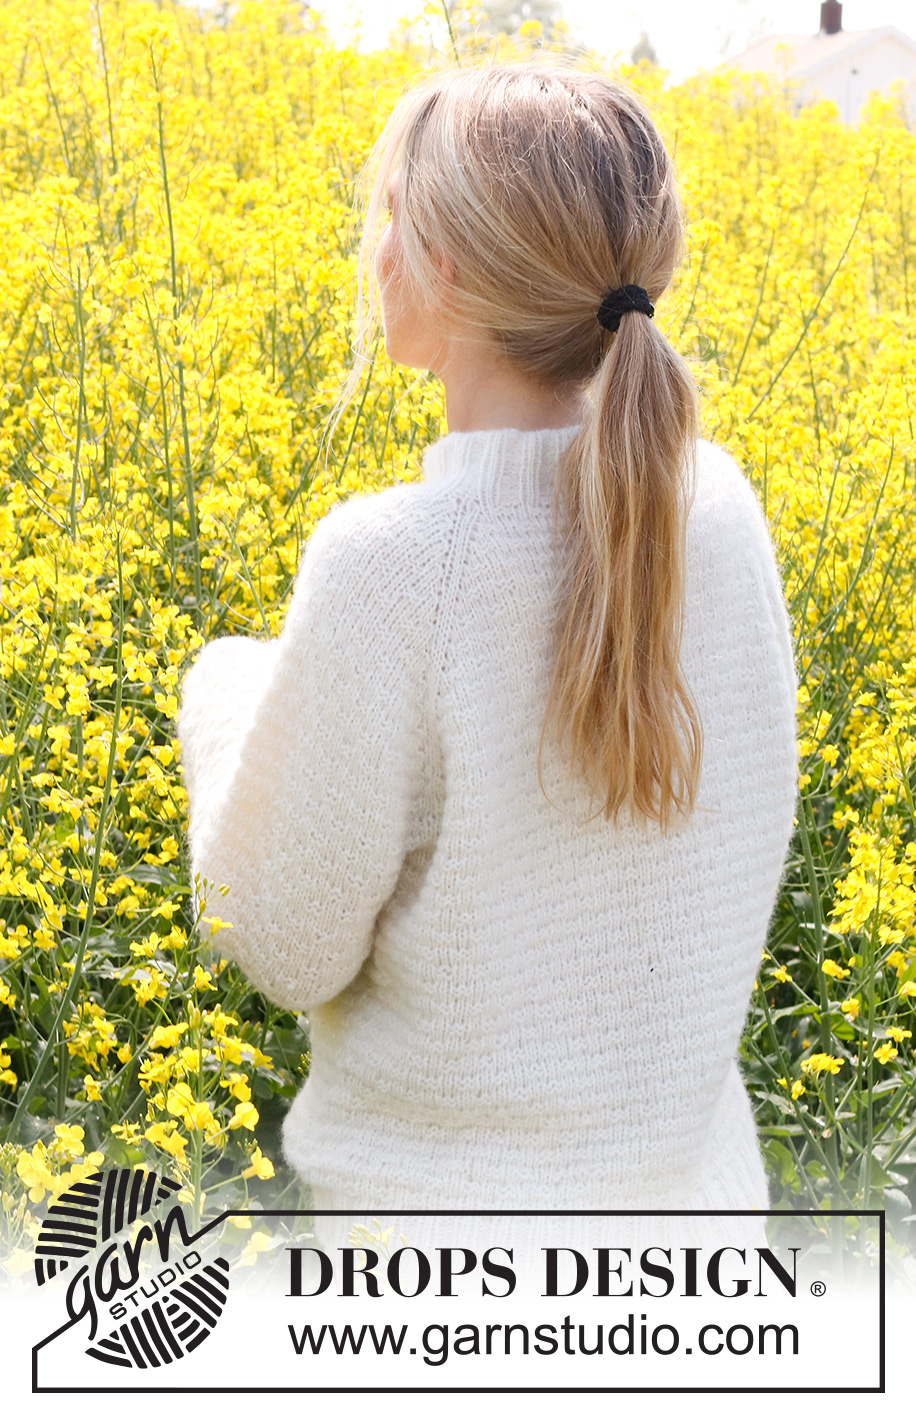
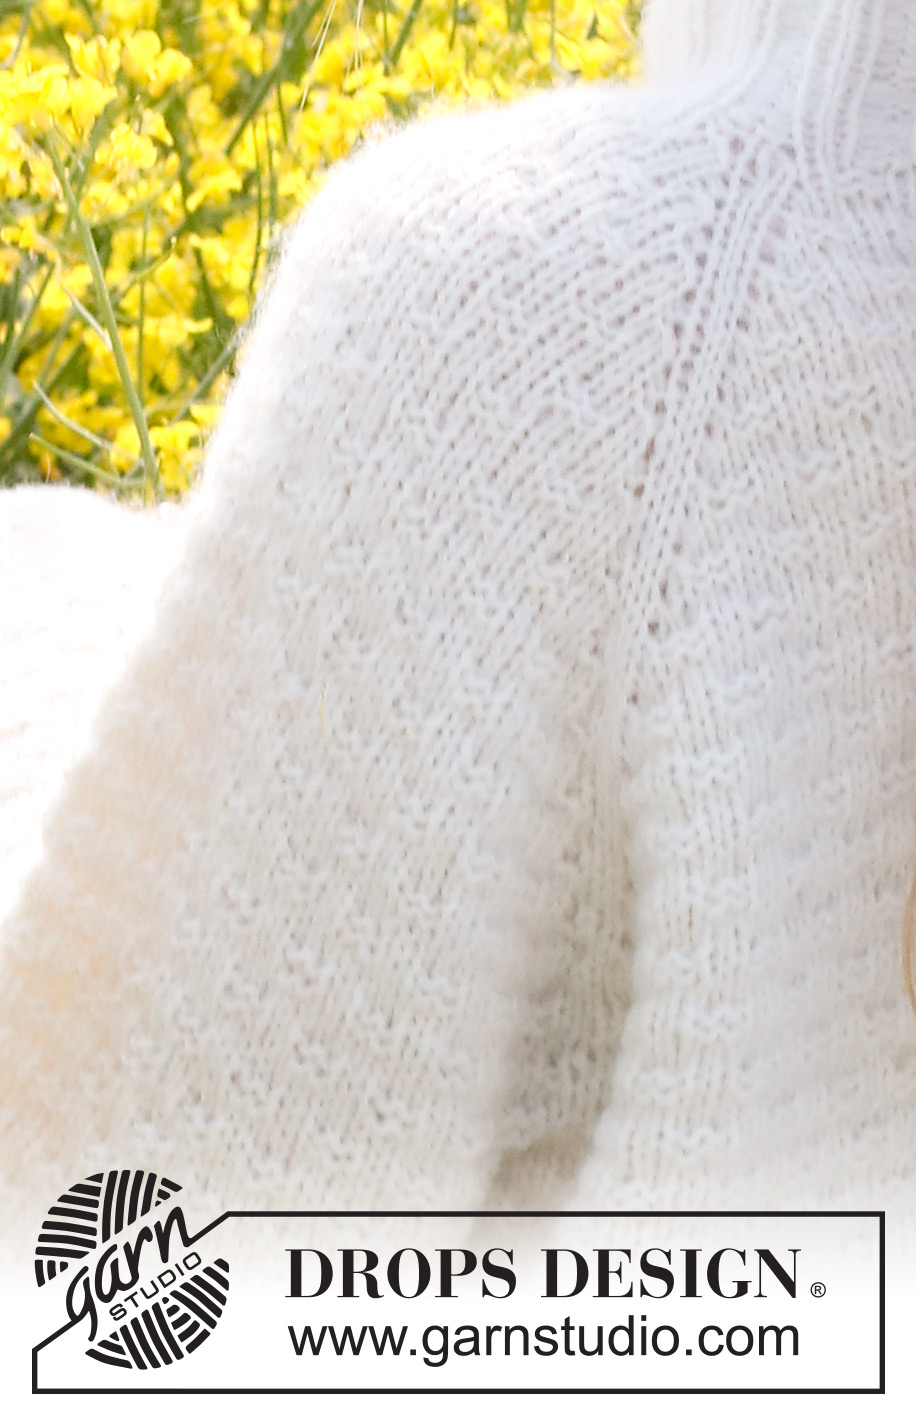
Provence Dream#provencedreamsweater |
|||||||
 |
 |
||||||
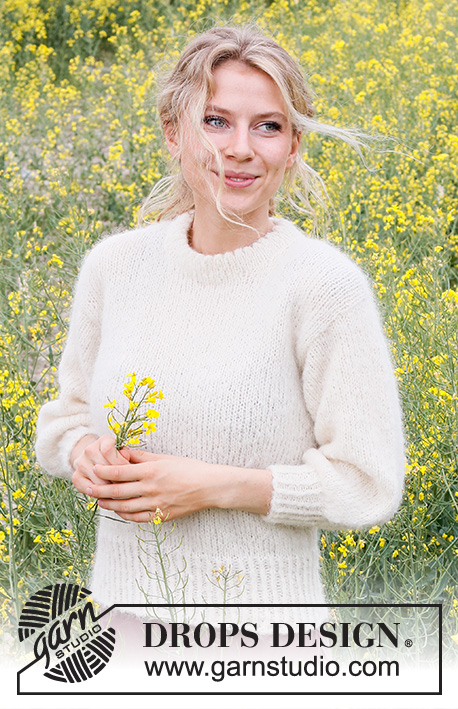
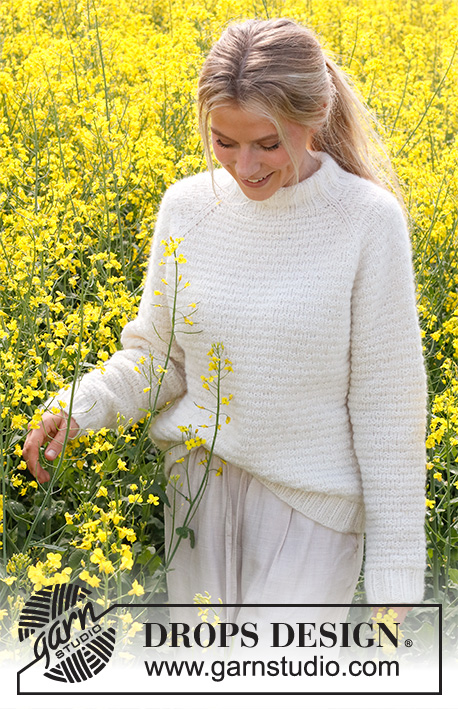
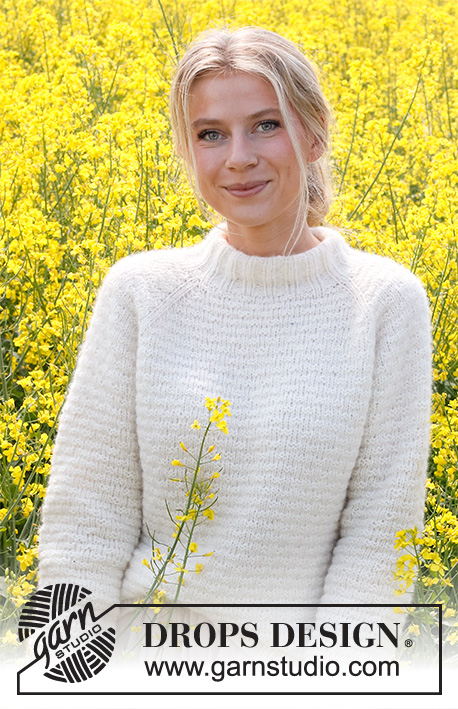
Knitted jumper in DROPS Air. The piece is worked top down with raglan, moss stitch and double neck. Sizes S - XXXL.
DROPS 230-15 |
|||||||
|
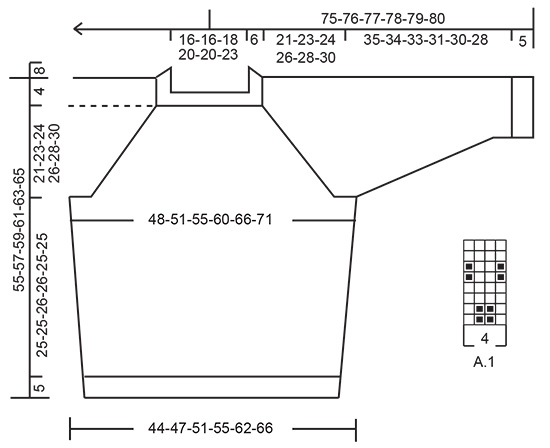
------------------------------------------------------- EXPLANATIONS FOR THE PATTERN: ------------------------------------------------------- PATTERN: See diagram A.1. RAGLAN: Increase to raglan on each side of the 2 knitted stitches at each marker: Work 1 stitch past the first marker, make 1 yarn over. Work until there is 1 stitch left before the next marker, make 1 yarn over. Increase like this at each marker. The increased stitches are knitted twisted on the next round then worked into the pattern. DECREASE TIP: Decrease 1 stitch on each side of the marker as follows: Work until there are 3 stitches left before the marker, knit 2 together, knit 2 (marker sits between these 2 stitches), slip 1 stitch as if to knit, knit 1 and pass the slipped stitch over the knitted stitch. ------------------------------------------------------- START THE PIECE HERE: ------------------------------------------------------- JUMPER – SHORT OVERVIEW OF THE PIECE: The neck and yoke are worked in the round with circular needle, top down. The yoke is divided for the body and sleeves and the body is continued in the round. The sleeves are worked in the round, with short circular needle/double pointed needles, top down. DOUBLE NECK: Cast on 100-100-110-120-120-130 stitches with circular needle size 4.5 mm and DROPS Air. Work rib in the round (knit 3, purl 2) for 4 cm. Work the next round and decrease as follows: * Knit 1, knit 2 together, purl 2 *, work from *-* to the end of the round = 80-80-88-96-96-104 stitches. Continue the new rib (knit 2, purl 2) until the neck measures 16 cm. Knit 1 round. YOKE: Change to circular needle size 5 mm. Insert 1 marker at the beginning of the round. The yoke is measured from this marker! Insert 4 markers while working the stitches as follows: Insert 1 marker at the beginning of the round, knit 1, work 12 stitches in pattern A.1 (sleeve), knit 2 and insert 1 marker between these 2 stitches, work 24-24-28-32-32-36 stitches in pattern A.1 (front piece), knit 2 and insert 1 marker between these 2 stitches, work 12 stitches in pattern A.1 (sleeve), knit 2 and insert 1 marker between these 2 stitches, work 24-24-28-32-32-36 stitches in pattern A.1 (back piece), knit 1. READ THE NEXT SECTION BEFORE CONTINUING! On the next round begin to increase to RAGLAN – read description above, while continuing with A.1. REMEMBER THE KNITTING TENSION! Increase to raglan every 2nd round a total of 21-24-26-28-31-33 times = 248-272-296-320-344-368 stitches. Continue the pattern without further increases until the yoke measures 21-23-24-26-28-30 cm from the marker. Now divide for the body and sleeves as follows: Work 4-3-2-2-4-4 stitches (part of the back piece), place the next 48-56-62-66-68-72 stitches on a thread (sleeve), cast on 6-6-8-8-8-8 stitches under the sleeve, work 76-80-86-94-104-112 stitches (front piece), place the next 48-56-62-66-68-72 stitches on a thread (sleeve), cast on 6-6-8-8-8-8 stitches under the sleeve, work the last 72-77-84-92-100-108 stitches (a total of 76-80-86-94-104-112 stitches on the back piece). BODY: = 164-172-188-204-224-240 stitches. Insert 1 marker in the middle of the cast-on stitches under each sleeve. Continue in the round with pattern A.1. If the pattern does not fit under the sleeves, knit 2 stitches on each side of each marker; the other stitches should follow on from the pattern on the yoke. When the body measures 4 cm, decrease 1 stitch on each side of both markers - read DECREASE TIP. Repeat this decrease every 6-7-6-6-7-5 cm a total of 4-3-4-4-3-4 times = 148-160-172-188-212-224 stitches. Work until the body measures 25-25-26-26-25-25 cm from the division - adjust to finish with 2 rounds of stocking stitch (or to desired length, there is 5 cm left). Change to circular needle size 4 .5 mm and work rib (knit 2, purl 2) for 5 cm. Loosely cast off with knit over knit and purl over purl. The piece measures approx. 55-57-59-61-63-65 cm from the shoulder down. SLEEVES: Place the 48-56-62-66-68-72 stitches from the thread on the one side of the piece on short circular needle/double pointed needles size 5 mm and knit up 1 stitch in each of the 6-6-8-8-8-8 stitches cast on under the sleeve = 54-62-70-74-76-80 stitches. Insert a marker in the middle of the 6-6-8-8-8-8 stitches under the sleeve. Start at the marker and work A.1 in the round. If the pattern does not fit under the sleeve, knit 2 stitches on each side of the marker, the other stitches continue the pattern from the yoke. When the sleeve measures 3 cm, decrease 2 stitches under the sleeve – remember DECREASE TIP. Decrease like this every 4-2½-1½-1½-1½-1 cm a total of 7-11-15-15-16-18 times = 40-40-40-44-44-44 stitches. Continue working until the sleeve measures 35-34-33-31-30-28 cm - adjust to finish with 2 rounds of stocking stitch (or to desired length, there is approx. 5 cm left). Change to double pointed needles size 4.5 mm and work rib (knit 2, purl 2) for 5 cm. Loosely cast off with knit over knit and purl over purl. Work the other sleeve in the same way. ASSEMBLY: Fold the neck double to the inside and sew down. To avoid the neck being tight and rolling outwards, it is important that the seam is elastic. |
|||||||
Diagram explanations |
|||||||
|
|||||||
 |
|||||||
Have you finished this pattern?Tag your pictures with #dropspattern #provencedreamsweater or submit them to the #dropsfan gallery. Do you need help with this pattern?You'll find 25 tutorial videos, a Comments/Questions area and more by visiting the pattern on garnstudio.com. © 1982-2026 DROPS Design A/S. We reserve all rights. This document, including all its sub-sections, has copyrights. Read more about what you can do with our patterns at the bottom of each pattern on our site. |
|||||||


With over 40 years in knitting and crochet design, DROPS Design offers one of the most extensive collections of free patterns on the internet - translated to 17 languages. As of today we count 324 catalogues and 12290 patterns translated into English (UK/cm).
We work hard to bring you the best knitting and crochet have to offer, inspiration and advice as well as great quality yarns at incredible prices! Would you like to use our patterns for other than personal use? You can read what you are allowed to do in the Copyright text at the bottom of all our patterns. Happy crafting!
Post a comment to pattern DROPS 230-15
We would love to hear what you have to say about this pattern!
If you want to leave a question, please make sure you select the correct category in the form below, to speed up the answering process. Required fields are marked *.