
Popular categories
Looking for a yarn?


Comments / Questions (37)
![]() Lara wrote:
Lara wrote:
Oups! Ne prenez pas en compte mon 2eme commentaire. Ce que vous avez dit est logique, je viens de comprendre. Simplement au 5ème rang, si je suis vos instructions, je me retrouve à réitérer le carrés de 4 mailles envers exactement au même endroit que le rang 1 et 2 (vu qu'il y a eu les 2 augmentations)
26.01.2026 - 11:14DROPS Design answered:
Bonjour Lara, les carrés de 2 m x 2 rangs en m envers doivent être en quinconce, autrement dit, vous tricotez la 1ère augm comme la dernière maille (= la 4ème) de A.1, la 2ème augm comme l'avant-dernière m de A.1 (= la 3ème) et la 3ème augm (au 5ème rang) comme la 2ème, la 4ème augm comme la 1ère m de A.1 = après ces 4 augmentations, vous avez un nouveau motif après le marqueur (avant le marqueur suivant, tricotez 1 nouveau motif en lisant de droite à gauche). Bon tricot!
27.01.2026 - 08:41
![]() Lara wrote:
Lara wrote:
Merci pour votre réponse. Donc la maille raglan se fait toujours à l'endroit ? Puis je commence le motif sur la maille jetée ? Le diagramme ne se lit pas toujours de droite à gauche comme se sont des aiguilles circulaires ?
26.01.2026 - 10:44DROPS Design answered:
Bonjour Lara, pour le raglan vous n'avez pas une seule mais 2 mailles qui vont se tricoter tout le temps à l'endroit. Les diagrammes se lisent de droite à gauche tous les tours car toujours sur l'endroit, mais pour savoir comment incorporer les augmentations après les mailles du raglan, vous allez augmenter le motif sur la droite, donc il vous faudra lire de gauche à droite. Bon tricot!
27.01.2026 - 08:36
![]() Lara wrote:
Lara wrote:
Bonjour, Je suis bloquée au niveau 5 du diagramme. Je viens de finir le rang 4. Comment dois je tricoter la maille après le marqueur et le jeté ? À quel moment commence le diagramme ? Après le marqueur ou après la première maille et la jeté (tricotées à l'endroit ?) Par avance merci pour votre réponse.
26.01.2026 - 02:21DROPS Design answered:
Bonjour Lara, lorsque vous tricotez les augmentations au début du motif (après la maille du raglan), incorporez-les au point fantaisie en lisant le diagramme de gauche à droite pour agrandir le motif sur le côté droit, lorsque vous tricotez les augmentations à la fin du motif (avant la maille du raglan suivantes), incorporez-les au point fantaisie en lisant le diagramme de droite à gauche pour agrandir le motif sur le côté gauche. Bon tricot!
26.01.2026 - 09:23
![]() Maikku wrote:
Maikku wrote:
Ohjeessa ei mainita, milloin käytetään 40cm pyöröpuikkoa ja milloin 80cm. Eli minkä pituisella kaapelilla työ aloitetaan ja missä kohdissa vaihdetaan toiseen?
19.01.2026 - 16:20DROPS Design answered:
Voit aloittaa työn lyhyemmällä pyöröpuikolla ja vaihtaa työhön pidemmän pyöröpuikon, kun työhön on lisätty tarpeeksi silmukoita. Hihat neulotaan sukkapuikoilla ja lyhyellä pyöröpuikolla.
19.01.2026 - 17:50
![]() Hilary wrote:
Hilary wrote:
I love the design but not so much the loose sleeves and bottom. Would I beable to reduce the number of stitches further so the rib is tighter on the wrists and the hips? What would you suggest would be a good number? Thanks.
02.01.2026 - 04:06DROPS Design answered:
Hi Hilary, you have to decrease some sts before rib (both on the body and on the sleeves). How many? You should apply trial and error method :) Start with a sleeve, it will be much easier to calculate the number of decreases on the body later on. Happy knitting!
02.01.2026 - 08:33
![]() Carol wrote:
Carol wrote:
What needle size should I use to do a tension swatch, 5mm or 4.5mm? The Knitting Tension section in the pattern does not specify what size to start with to get the right tension. (I understand about changing needle size to get the right tension, I just need to know what to start with)
15.12.2025 - 14:47DROPS Design answered:
Dear Carol, use larger needle size to check your tension in stocking stitch. Happy knitting!
16.12.2025 - 08:20
![]() Beginner wrote:
Beginner wrote:
I am confused with markers. Can you specify which marker that I need to make the decrease for the body? I am currently have 6 markers.
26.01.2025 - 06:57DROPS Design answered:
Hi, for decrease on body you need insert 1 marker in the middle of the cast-on stitches under each sleeve (= sides of body). These are the markers that we need for decreasing on body. Happy knitting!
26.01.2025 - 11:52
![]() ALISON wrote:
ALISON wrote:
Is the Raglan increase (eg row 2) K YO P P K K P P K.... or K YO P K K P P K ie does pattern repeat of A1 include the YO or not? Can't get the raglan line neat.
09.08.2024 - 19:55DROPS Design answered:
Dear Alison, the increases are right before and right after A.1, and these are worked inside the pattern on the next and following rounds. The pattern is: knit 2, purl 2, which are worked alternately and start at different marks in rounds 1 and 2 and rounds 5 and 6 of the charts. So the increased stitches will be purled or knitted depending on the stitches around it; for example, at the beginning you have knit 1, so the first increase would be knitted. But the next 2 increased stitches at the beginning of the round will be purled. Happy knitting!
11.08.2024 - 13:54
![]() Bian wrote:
Bian wrote:
Hi Ich verstehe nicht, wie ich die neuen Maschen ins Muster aufnehmen soll. Schon in der 1. Zunahme passt das Muster nicht,oder? Ich stricke ja 1re,2 li,1 re, mit der Zunahme würde sich das Muster verschieben, oder?
15.07.2024 - 19:57DROPS Design answered:
Guten Tag, Sie stricken das begonnene Muster passend übereinander weiter, sodass sich nichts verschiebt, und ergänzen dann die neuen Maschen so, wie es zum Muster passt, also als neuen Mustersatz. Vielleicht markieren Sie sich den ersten und den letzten kompletten Mustersatz, dann sehen Sie leichter, wo ein neuer Mustersatz beginnt. Am Anfang ist der natürlich noch nicht vollständig, sondern erst nach 4 Raglanzunahmen haben Sie wieder 4 Maschen, die Sie für einen neuen kompletten Mustersatz benötigen. Gutes Gelingen!
21.07.2024 - 16:31
![]() Hanna wrote:
Hanna wrote:
På "Fram och Bakstycke" är min fråga hur många markörer ska jag ha totalt på varvet? Ska jag fortsätta med slätstickning vid markörerna hela tröjan ut? Det ser inte ut så på bilderna...
04.07.2024 - 04:08DROPS Design answered:
Hej Hanna, når du er færdig med raglanudtagningerne på bærestykket, sætter du 1 mærke i hver side (under armen). De 2 masker på hver side af mærket i hver side strikkes i glatstrik. Mønsteret fortsætter du over alle de andre masker på forstykket og bagstykket :)
04.07.2024 - 07:50
|
|||||||
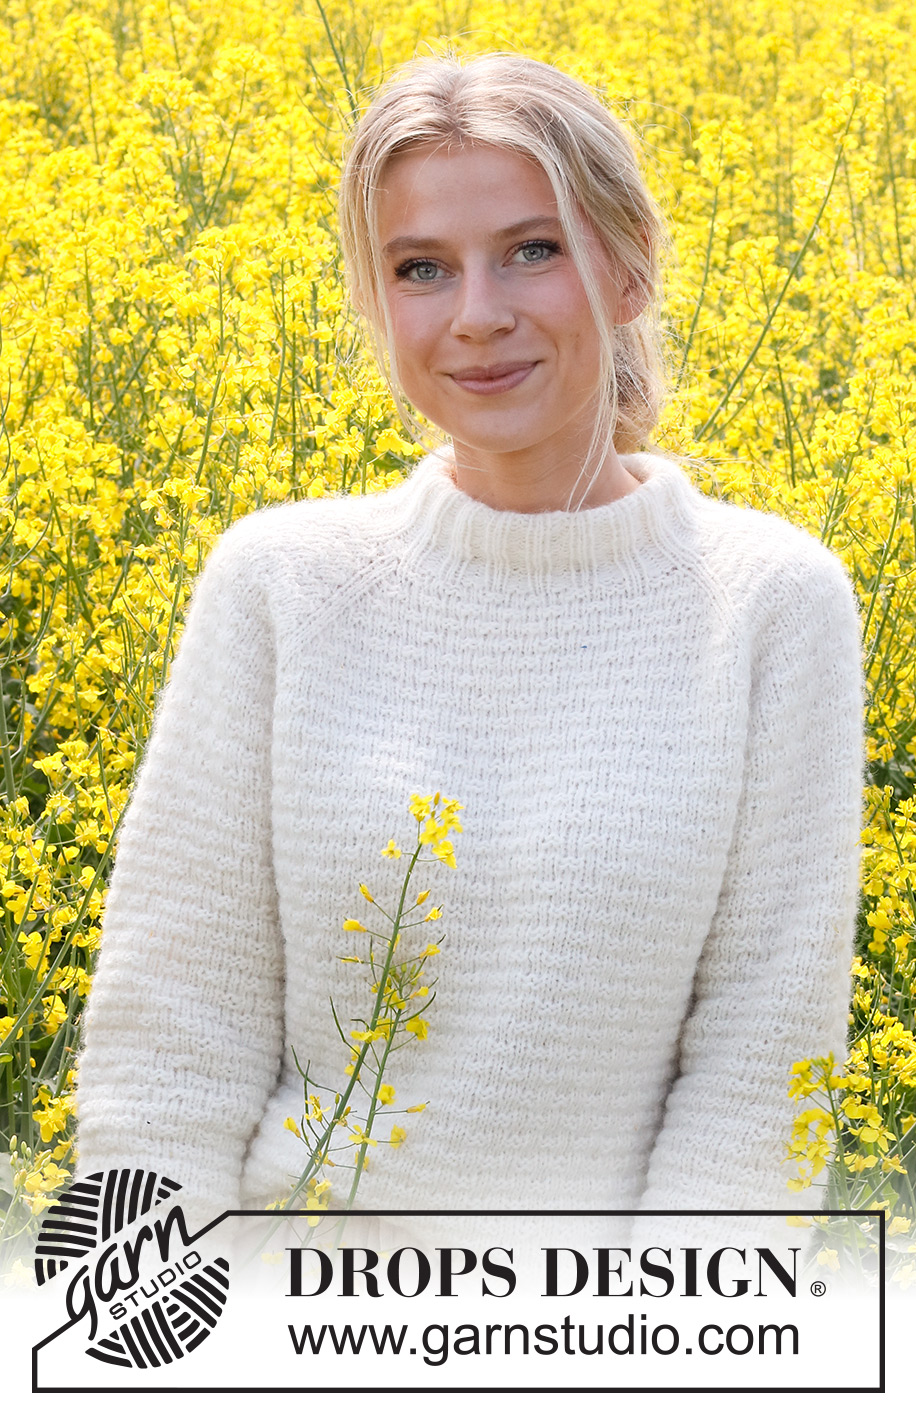
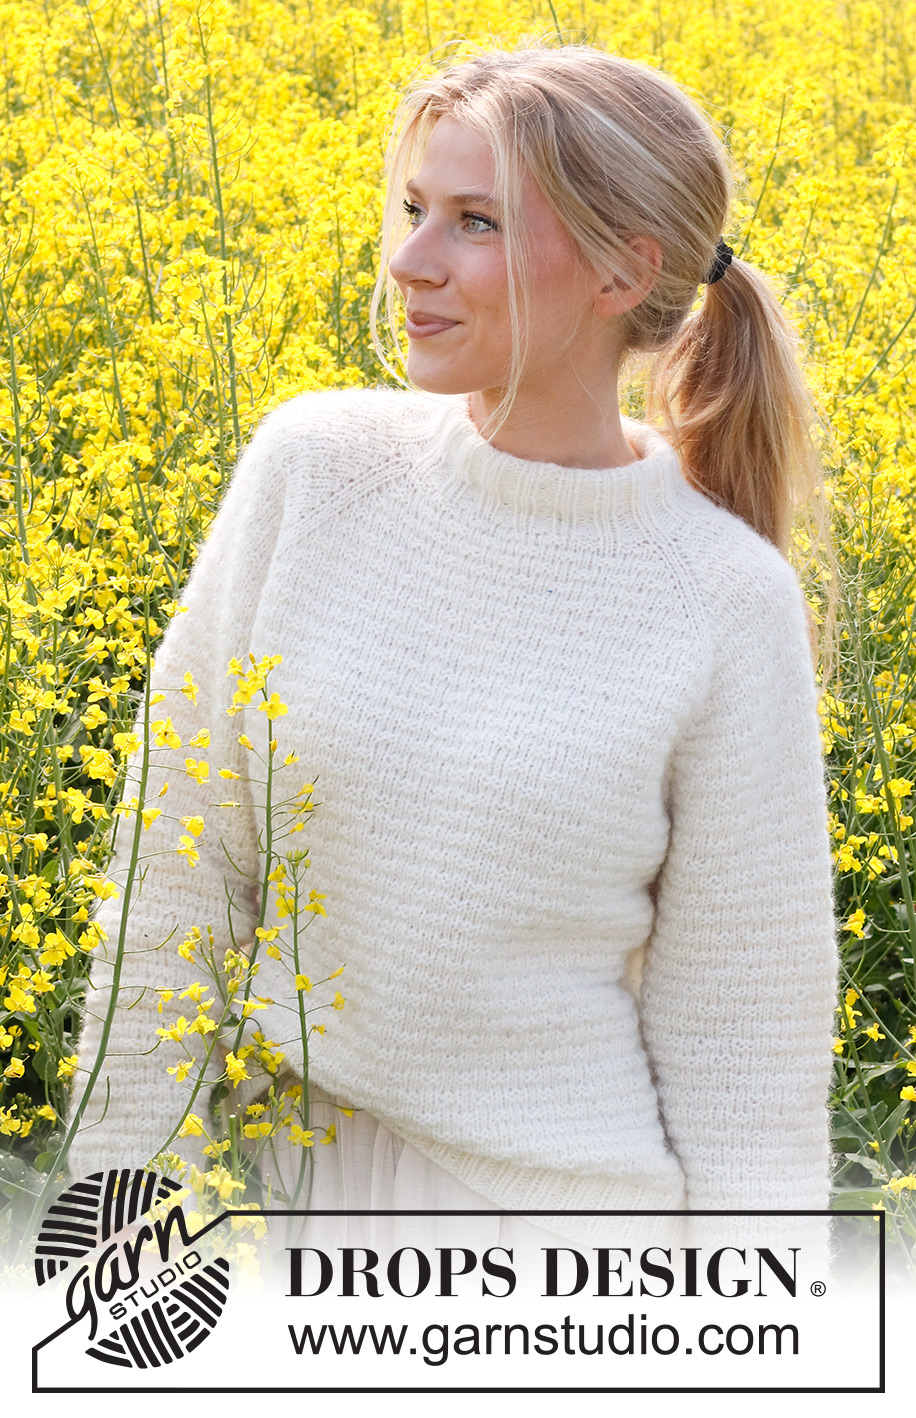
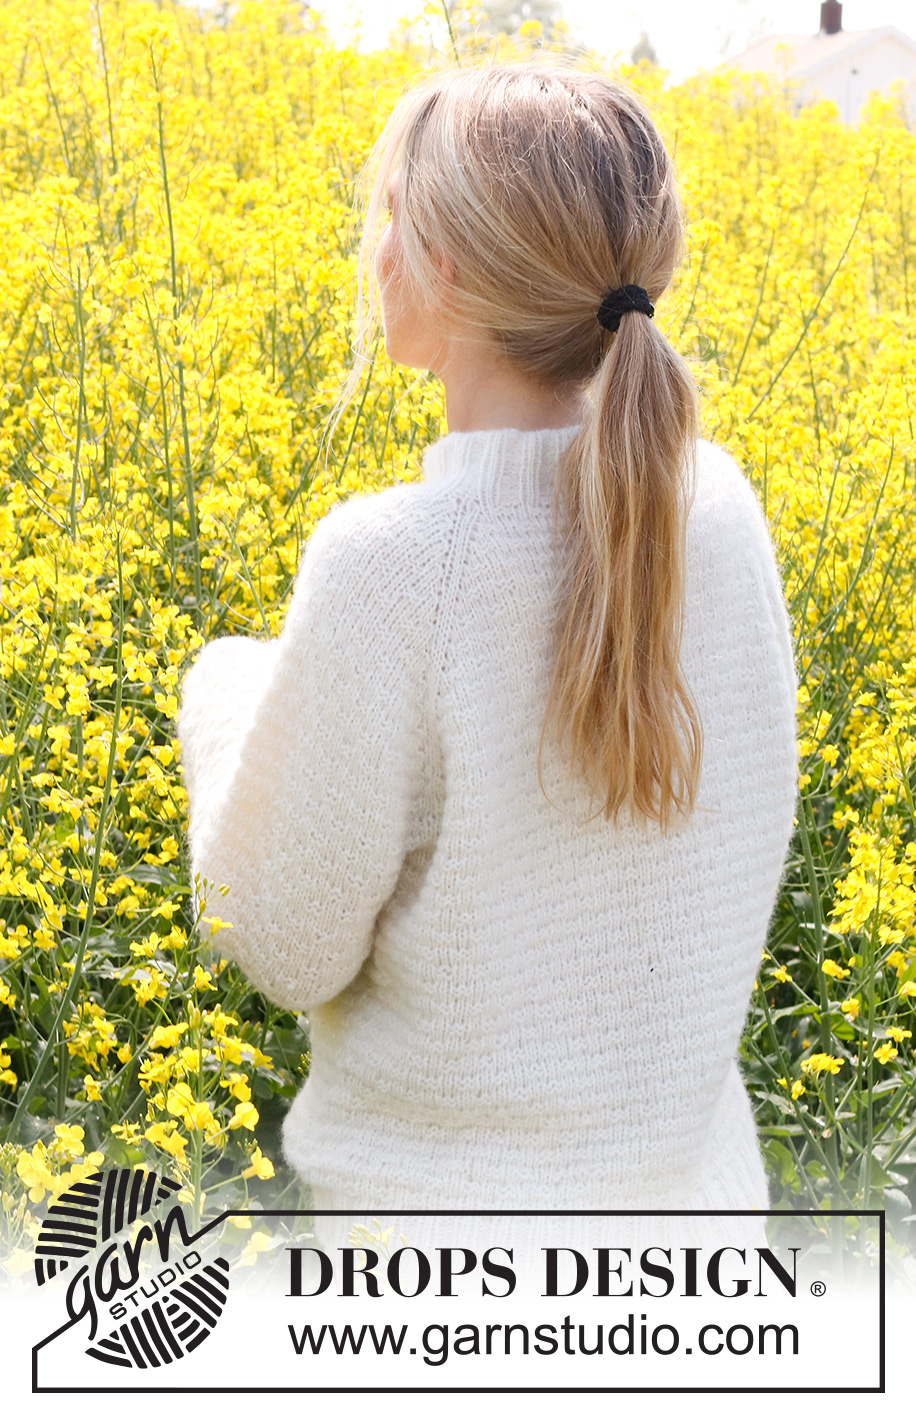
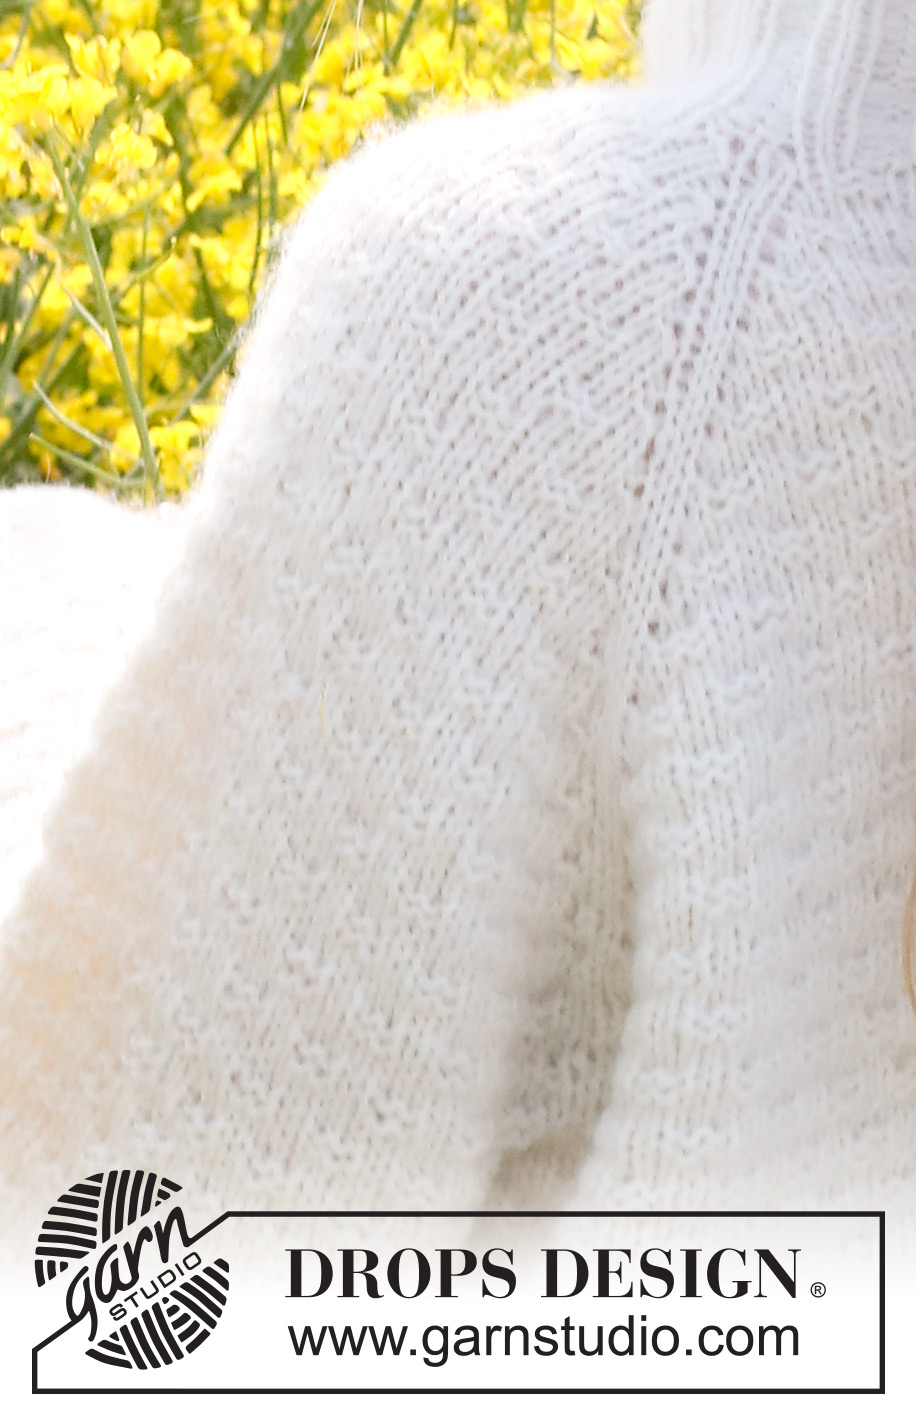
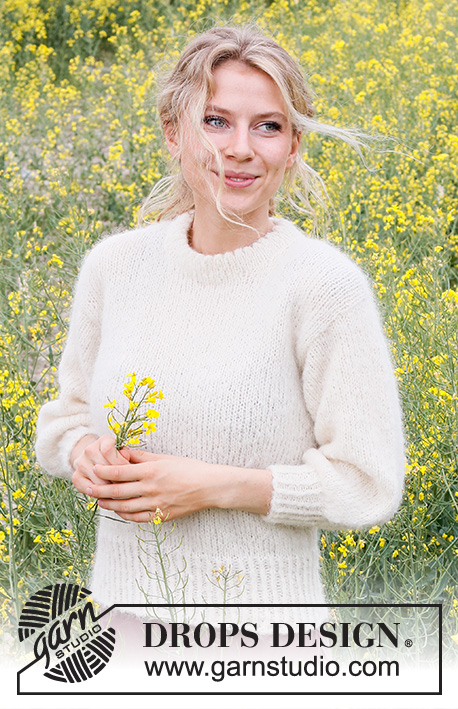
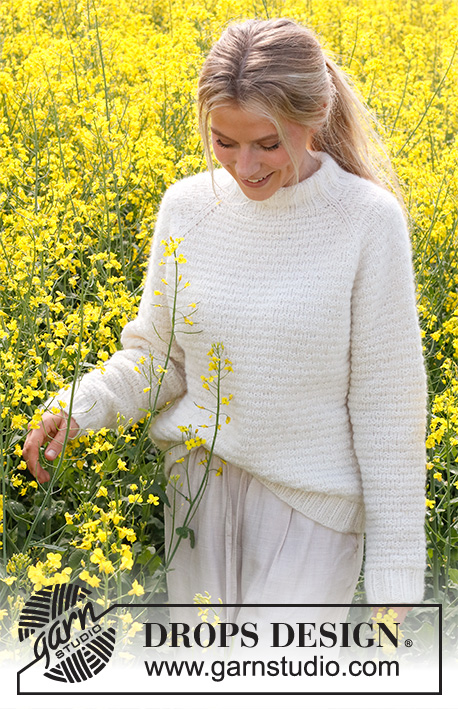
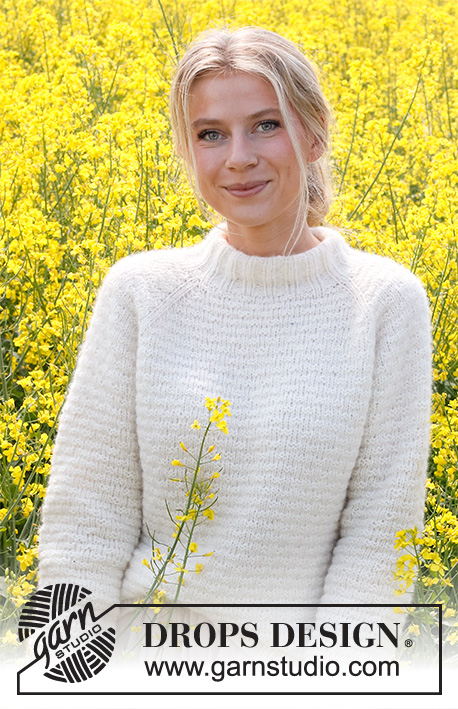
Provence Dream#provencedreamsweater |
|||||||
 |
 |
||||||
Knitted jumper in DROPS Air. The piece is worked top down with raglan, moss stitch and double neck. Sizes S - XXXL.
DROPS 230-15 |
|||||||
|
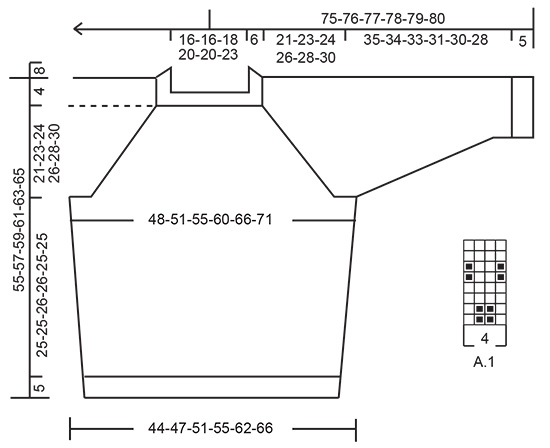
------------------------------------------------------- EXPLANATIONS FOR THE PATTERN: ------------------------------------------------------- PATTERN: See diagram A.1. RAGLAN: Increase to raglan on each side of the 2 knitted stitches at each marker: Work 1 stitch past the first marker, make 1 yarn over. Work until there is 1 stitch left before the next marker, make 1 yarn over. Increase like this at each marker. The increased stitches are knitted twisted on the next round then worked into the pattern. DECREASE TIP: Decrease 1 stitch on each side of the marker as follows: Work until there are 3 stitches left before the marker, knit 2 together, knit 2 (marker sits between these 2 stitches), slip 1 stitch as if to knit, knit 1 and pass the slipped stitch over the knitted stitch. ------------------------------------------------------- START THE PIECE HERE: ------------------------------------------------------- JUMPER – SHORT OVERVIEW OF THE PIECE: The neck and yoke are worked in the round with circular needle, top down. The yoke is divided for the body and sleeves and the body is continued in the round. The sleeves are worked in the round, with short circular needle/double pointed needles, top down. DOUBLE NECK: Cast on 100-100-110-120-120-130 stitches with circular needle size 4.5 mm and DROPS Air. Work rib in the round (knit 3, purl 2) for 4 cm. Work the next round and decrease as follows: * Knit 1, knit 2 together, purl 2 *, work from *-* to the end of the round = 80-80-88-96-96-104 stitches. Continue the new rib (knit 2, purl 2) until the neck measures 16 cm. Knit 1 round. YOKE: Change to circular needle size 5 mm. Insert 1 marker at the beginning of the round. The yoke is measured from this marker! Insert 4 markers while working the stitches as follows: Insert 1 marker at the beginning of the round, knit 1, work 12 stitches in pattern A.1 (sleeve), knit 2 and insert 1 marker between these 2 stitches, work 24-24-28-32-32-36 stitches in pattern A.1 (front piece), knit 2 and insert 1 marker between these 2 stitches, work 12 stitches in pattern A.1 (sleeve), knit 2 and insert 1 marker between these 2 stitches, work 24-24-28-32-32-36 stitches in pattern A.1 (back piece), knit 1. READ THE NEXT SECTION BEFORE CONTINUING! On the next round begin to increase to RAGLAN – read description above, while continuing with A.1. REMEMBER THE KNITTING TENSION! Increase to raglan every 2nd round a total of 21-24-26-28-31-33 times = 248-272-296-320-344-368 stitches. Continue the pattern without further increases until the yoke measures 21-23-24-26-28-30 cm from the marker. Now divide for the body and sleeves as follows: Work 4-3-2-2-4-4 stitches (part of the back piece), place the next 48-56-62-66-68-72 stitches on a thread (sleeve), cast on 6-6-8-8-8-8 stitches under the sleeve, work 76-80-86-94-104-112 stitches (front piece), place the next 48-56-62-66-68-72 stitches on a thread (sleeve), cast on 6-6-8-8-8-8 stitches under the sleeve, work the last 72-77-84-92-100-108 stitches (a total of 76-80-86-94-104-112 stitches on the back piece). BODY: = 164-172-188-204-224-240 stitches. Insert 1 marker in the middle of the cast-on stitches under each sleeve. Continue in the round with pattern A.1. If the pattern does not fit under the sleeves, knit 2 stitches on each side of each marker; the other stitches should follow on from the pattern on the yoke. When the body measures 4 cm, decrease 1 stitch on each side of both markers - read DECREASE TIP. Repeat this decrease every 6-7-6-6-7-5 cm a total of 4-3-4-4-3-4 times = 148-160-172-188-212-224 stitches. Work until the body measures 25-25-26-26-25-25 cm from the division - adjust to finish with 2 rounds of stocking stitch (or to desired length, there is 5 cm left). Change to circular needle size 4 .5 mm and work rib (knit 2, purl 2) for 5 cm. Loosely cast off with knit over knit and purl over purl. The piece measures approx. 55-57-59-61-63-65 cm from the shoulder down. SLEEVES: Place the 48-56-62-66-68-72 stitches from the thread on the one side of the piece on short circular needle/double pointed needles size 5 mm and knit up 1 stitch in each of the 6-6-8-8-8-8 stitches cast on under the sleeve = 54-62-70-74-76-80 stitches. Insert a marker in the middle of the 6-6-8-8-8-8 stitches under the sleeve. Start at the marker and work A.1 in the round. If the pattern does not fit under the sleeve, knit 2 stitches on each side of the marker, the other stitches continue the pattern from the yoke. When the sleeve measures 3 cm, decrease 2 stitches under the sleeve – remember DECREASE TIP. Decrease like this every 4-2½-1½-1½-1½-1 cm a total of 7-11-15-15-16-18 times = 40-40-40-44-44-44 stitches. Continue working until the sleeve measures 35-34-33-31-30-28 cm - adjust to finish with 2 rounds of stocking stitch (or to desired length, there is approx. 5 cm left). Change to double pointed needles size 4.5 mm and work rib (knit 2, purl 2) for 5 cm. Loosely cast off with knit over knit and purl over purl. Work the other sleeve in the same way. ASSEMBLY: Fold the neck double to the inside and sew down. To avoid the neck being tight and rolling outwards, it is important that the seam is elastic. |
|||||||
Diagram explanations |
|||||||
|
|||||||
 |
|||||||
Have you finished this pattern?Tag your pictures with #dropspattern #provencedreamsweater or submit them to the #dropsfan gallery. Do you need help with this pattern?You'll find 25 tutorial videos, a Comments/Questions area and more by visiting the pattern on garnstudio.com. © 1982-2026 DROPS Design A/S. We reserve all rights. This document, including all its sub-sections, has copyrights. Read more about what you can do with our patterns at the bottom of each pattern on our site. |
|||||||


With over 40 years in knitting and crochet design, DROPS Design offers one of the most extensive collections of free patterns on the internet - translated to 17 languages. As of today we count 324 catalogues and 12290 patterns translated into English (UK/cm).
We work hard to bring you the best knitting and crochet have to offer, inspiration and advice as well as great quality yarns at incredible prices! Would you like to use our patterns for other than personal use? You can read what you are allowed to do in the Copyright text at the bottom of all our patterns. Happy crafting!
Post a comment to pattern DROPS 230-15
We would love to hear what you have to say about this pattern!
If you want to leave a question, please make sure you select the correct category in the form below, to speed up the answering process. Required fields are marked *.