
Popular categories
Looking for a yarn?


Comments / Questions (17)
![]() Teddy Steen wrote:
Teddy Steen wrote:
Hallo, kan ik dit patroon ook met gewone naalden breien. Ik vind rondbreinaalden niet fijn werken. Groet, Teddy
27.11.2025 - 22:53DROPS Design answered:
Dag Teddy,
Vanwege de grote hoeveelheid steken dat je op een gegeven moment op de naald hebt bij de pas, wordt aangeraden om dit vest op een rondbreinaald te breien, maar qua constructie zou je hem ook met rechte naalden kunnen breien.
Om een patroon aan te passen om op rechte naalden te breien hebben we een instructie gemaakt. Deze vind je hier.
30.11.2025 - 17:22
![]() Pia Vind wrote:
Pia Vind wrote:
Jeg er ved at lave den i str xxxl og er nået til 1. Udtagning, men jeg forstår ikke diagram A1. Og hvad betyder rapporter? Pia
09.11.2025 - 20:25DROPS Design answered:
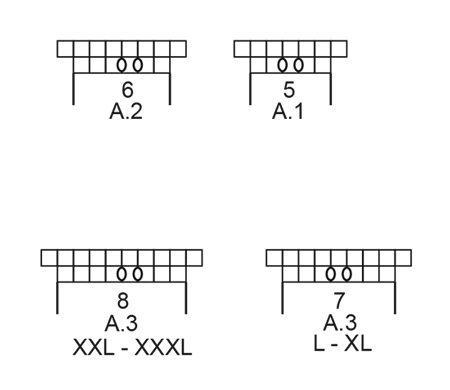
Hei Pia. Strikk 2 masker rett, lag et omslag (på neste pinne strikkes kastet vridd vrang slik at det ikke blir hull), strikk 1 maske rett, lag 1 omslag (på neste pinne strikkes kastet vridd vrang slik at det ikke blir hull), strikk 2 masker rett. Du har nå strikket A.1 1 gang, som er det samme som 1 rapport av A.1, samtidig har du økt med 2 masker. Så hver gang du strikker A.1 1 gang / 1 rapport økes det 2 masker. mvh DROPS Design
17.11.2025 - 19:02
![]() Nicole wrote:
Nicole wrote:
Bonjour. Si on associe le fil Andes du groupe E et Daisy groupe B, quel groupe on obtient svp? Quelle taille d'aiguilles me conseiller vous ? Merci beaucoup.
28.09.2025 - 19:25DROPS Design answered:
Bonjour Nicole, sauf erreur de ma part, c'est une combinaison que nous n'avons pas, mais notez que la taille d'aiguilles dépendra de votre tension / de la texture choisie. L'idéal est d'échantillonner afin de trouver la taille d'aiguilles correspondant au résultat souhaité. Bon tricot!
30.09.2025 - 17:07
![]() Rita wrote:
Rita wrote:
Hi I am not understanding the A1 patern. Do I knit 1, yarn over knit 1, then again yarn over knit 1, then knit 1? Next repeat starts from knit 1, or yarn over knit 1? Please explain. Thanks
27.06.2025 - 15:30DROPS Design answered:
Dear Rita, work A.1 as follows: (knit 2, make 1 yarn over, knit 1, make 1 y arn over, knit 2) repeat from (to). Happy knitting!
27.06.2025 - 17:07
![]() Karina wrote:
Karina wrote:
Hello! I want to knit this for my grandma with a tighter neckline (the rib part) snd add pockets. How to adjust the pattern in this case? Thank you!
25.03.2025 - 17:59
![]() BRIGITTE wrote:
BRIGITTE wrote:
Bonjour, sur le modèle SILVER SKYLINE, vous indiquez "quand les côtes sont terminées.... AUGMENTATIONS (pour la taille L) 87 mailles." Ensuite, vous écrivez "... répéter jusqu'à ce qu'il reste 6 mailles (= 15 motifs de 5 mailles". Puis "Quand A.1 est terminé, on a 117 mailles". Or, 87 + 15 ne fait pas 117 mailles mais bien 102. La différence de 15 mailles est importante, où est l'erreur ?? Merci.
29.06.2024 - 16:34DROPS Design answered:
Bonjour Brigitte, au 1er rang de A.1 vous augmentez 2 mailles dans chaque A.1, vous répétez 15 fois A.1 en taille L soit 15 x 2 augmentations = 30 mailles seront augmentées au 1er rang de A.1, vous aurez ainsi 87+30=117 mailles. Bon tricot!
01.07.2024 - 08:39
![]() Silver Skyline wrote:
Silver Skyline wrote:
Ökningen till oket är mycket otydligt. Jag stickar st L alltså ökning diagram A3. Hur många gånger ett varv ökar jag? 20 rapporter är det ökningen totalt? Alltså 191 maskor. Hur många cm ska det vara mellan ökningarna. Tacksam för ett tydligt svar
04.06.2024 - 15:26DROPS Design answered:
Hej, Du har 87 m, ökar enligt A.1 (=15x2=30) = 117 m. När arb mäter 10 cm från markören, stickar du ökning enligt A.2 (17x2=34) = 151m, När arb mäter 17 cm från markören ökar du enligt A.3 (=20x2=40) = 191 m osv
05.06.2024 - 11:14
![]() Catherine wrote:
Catherine wrote:
SVP, Pourquoi il y a une tel différence de besoin en laine entre la Drop Snow et la Drop Andes; soit 166% de plus alors que le nombre de mailles et de rangs est le même pour les deux échantillons et qu'il n'y a qu'une différence de 5 mètres de moins pour 50 mètres pour la Drop Andes ?
22.11.2023 - 06:37
![]() Dominique wrote:
Dominique wrote:
Habe die Jacke in XXXL mit Andes gestrickt. 1300 g sehr großzügig bemessen. Obwohl ich die Ärmel 4 cm länger und das Rumpfteil ca. 10 cm länger gestrickt habe, habe ich nur ca. 1150 g verbraucht. (Dabei hatte ich extra mehr bestellt, weil ich sie länger haben wollte.)
07.02.2023 - 20:52
![]() Vasiliki Orphanou wrote:
Vasiliki Orphanou wrote:
Dear all, is it possible to use PUNA for the pattern 228-34 which is knitted with WISH??? If yes, how much yarn will be required??? Many thanks for the beautiful models and patterns!!!
08.07.2022 - 15:40DROPS Design answered:
Dear Vasiliki Orphanou! Please lookyarn alternative lesson here. Try knitting a swatch with 2 yarns of Puna and see if you get similar knitting tension. Happy knitting!
08.07.2022 - 21:27
|
|||||||
Silver Skyline#silverskylinejacket |
|||||||
 |
 |
||||||
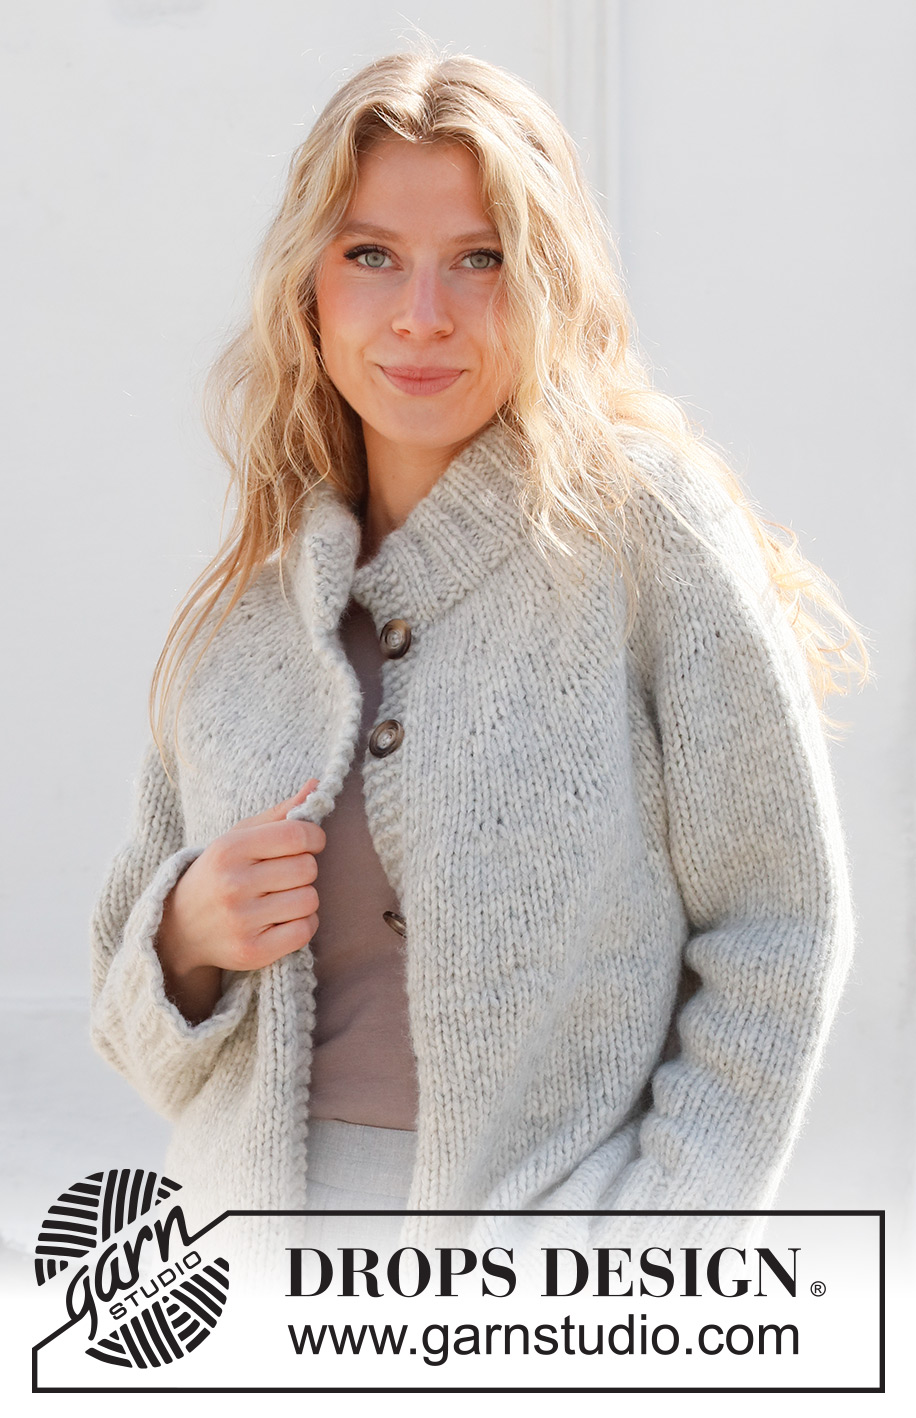
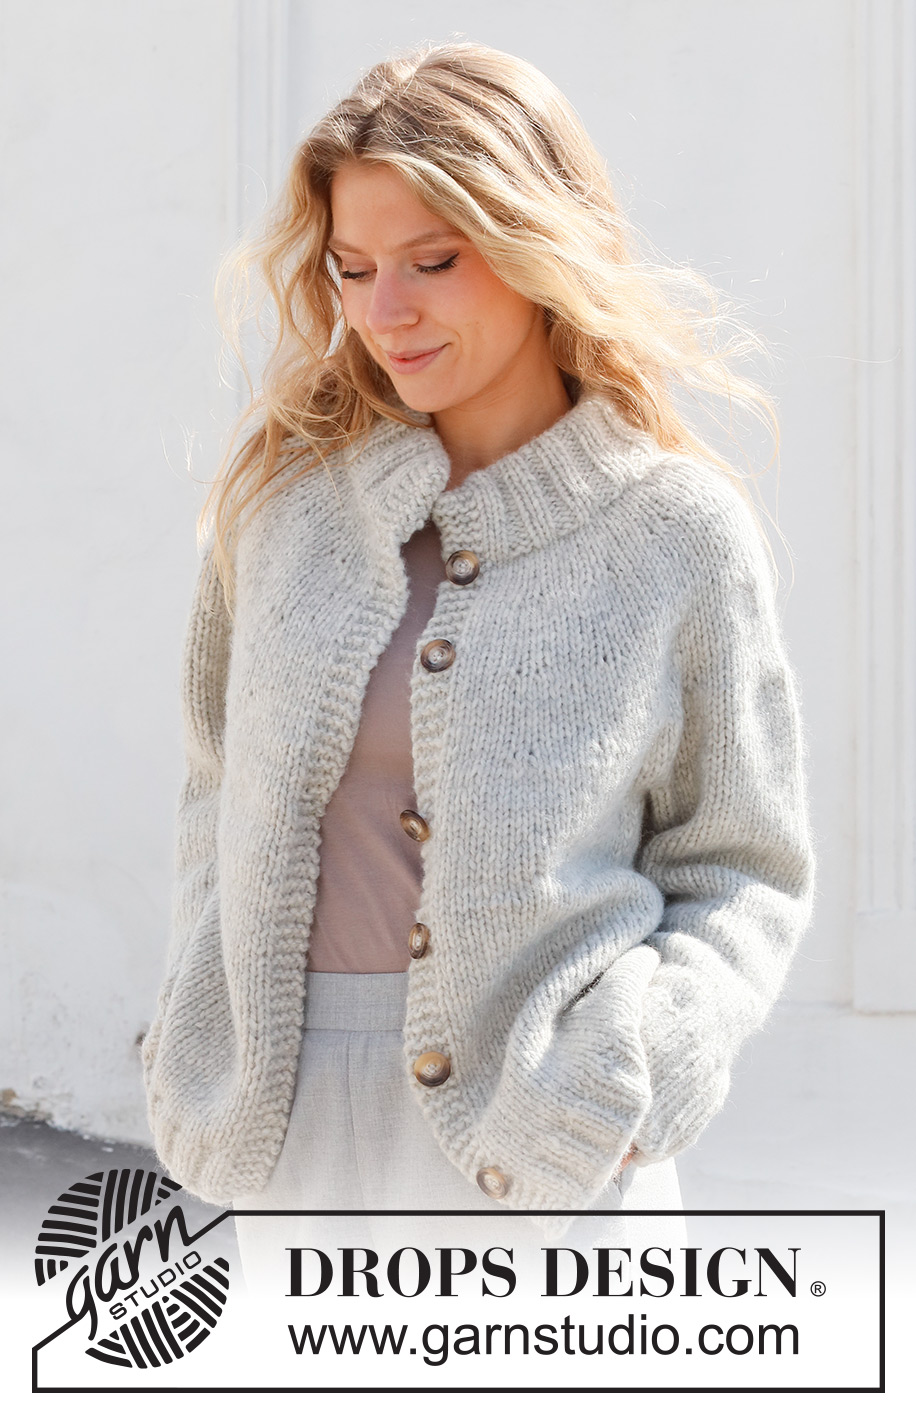
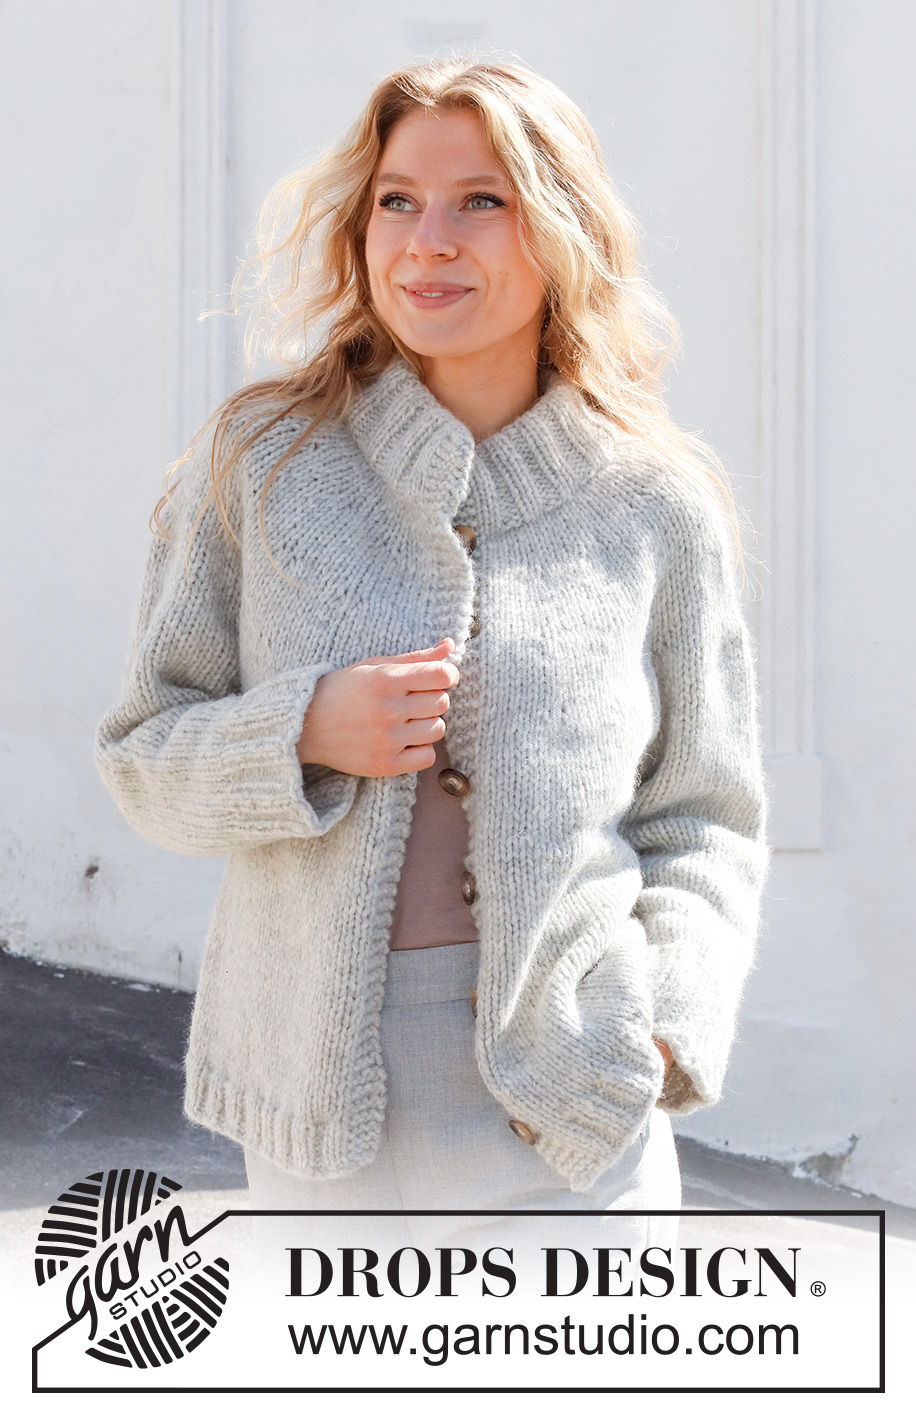
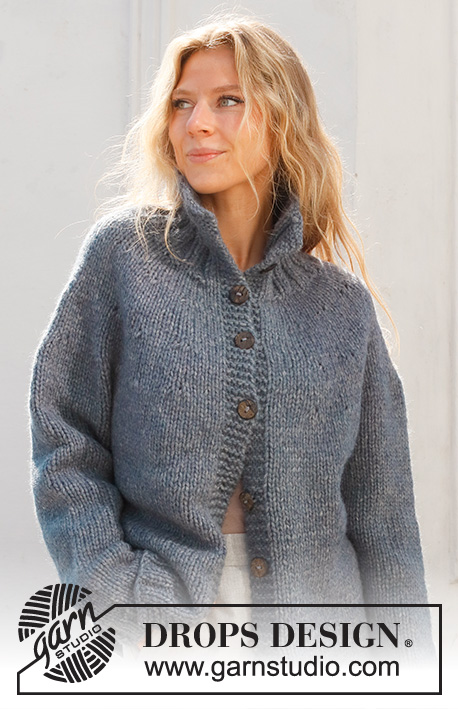
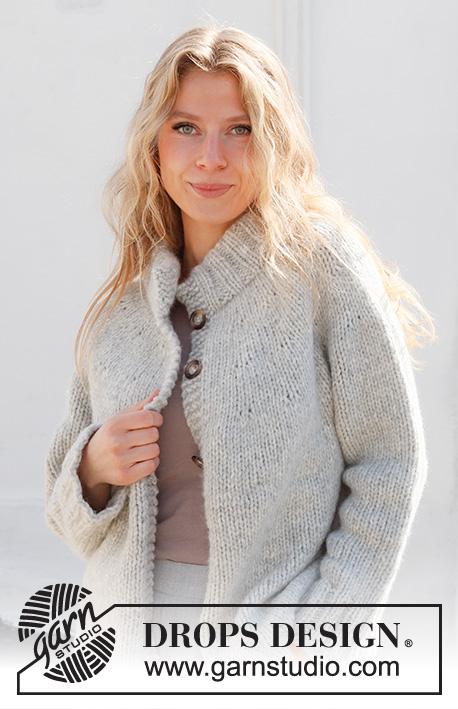
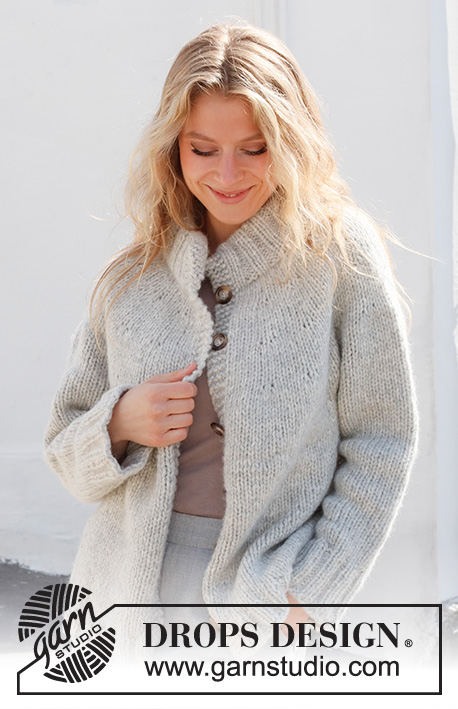
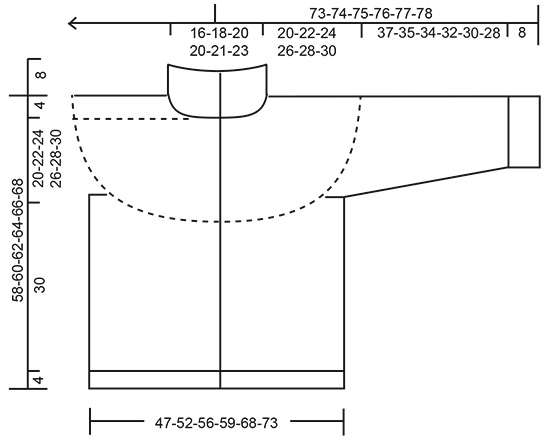
Knitted jacket in DROPS Wish or DROPS Andes. The piece is worked top down, with round yoke and double neck. Sizes S - XXXL.
DROPS 228-34 |
|||||||
|
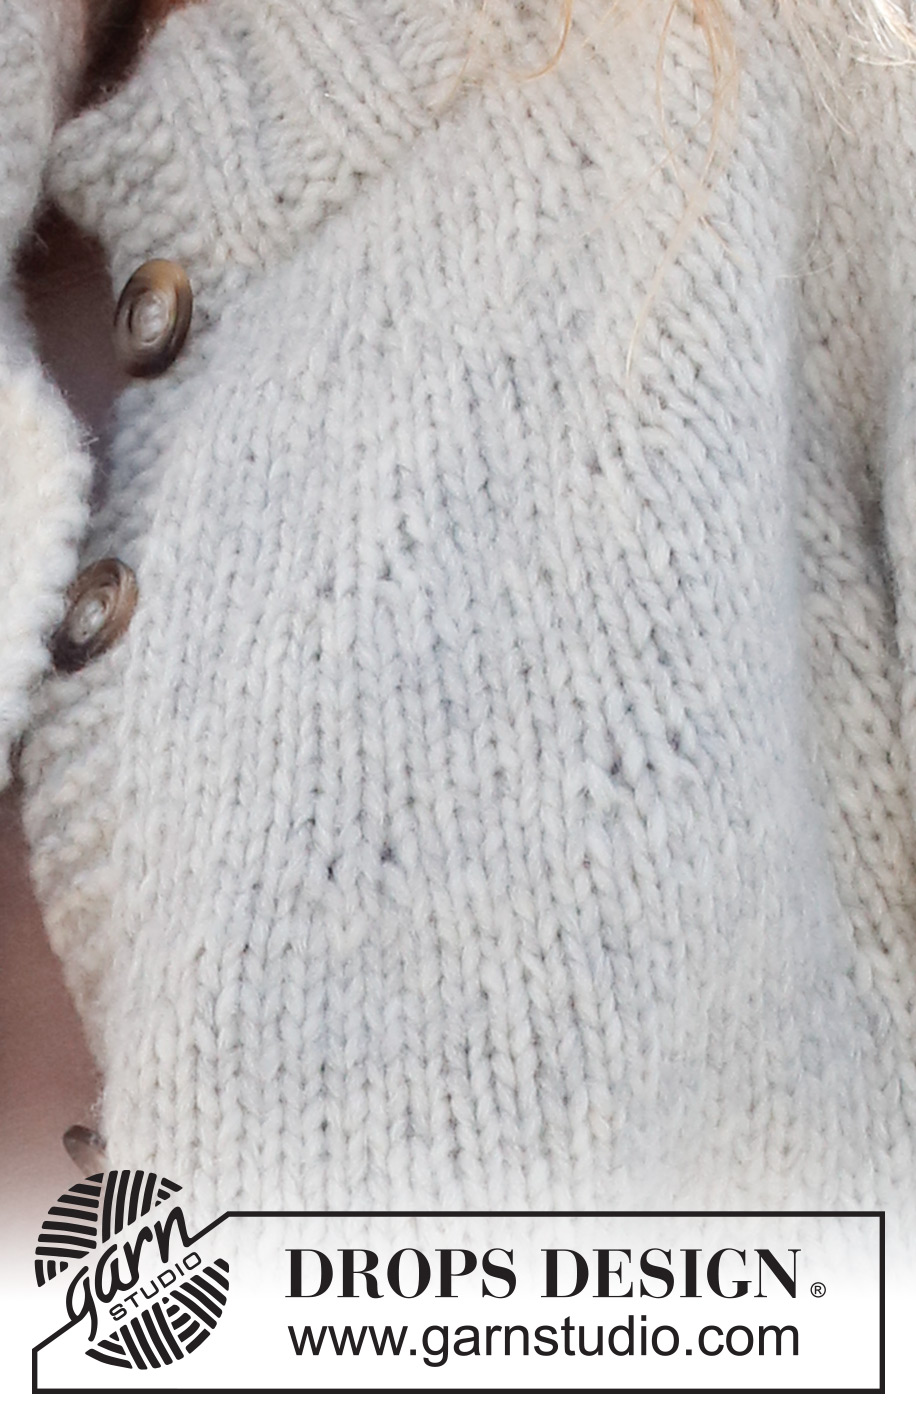
------------------------------------------------------- EXPLANATIONS FOR THE PATTERN: ------------------------------------------------------- RIDGE/GARTER STITCH (worked back and forth): Knit all rows. 1 ridge = knit 2 rows. PATTERN: See diagrams A.1 to A.3. Choose diagram for your size (applies to A.3 in sizes L, XL, XXL and XXXL). The diagrams show all rows in the pattern from the right side. INCREASE TIP (evenly spaced): To work out how to increase evenly, count the total number of stitches on the needle (e.g. 66 stitches) minus the bands (e.g. 8 stitches) and divide the remaining stitches by the number of increases to be made (e.g. 11) = 5.5. In this example, increase by making 1 yarn over after alternately each 5th and 6th stitch. Do not increase on the bands. On the next row work the yarn overs twisted to avoid holes. DECREASE TIP (for sleeves): Decrease 1 stitch on either side of the marker thread as follows: Work until there are 3 stitches left before the marker thread, knit 2 together, knit 2 (marker thread sits between these 2 stitches), slip 1 stitch as if to knit, knit 1 and pass the slipped stitch over the knitted stitch (2 stitches decreased). BUTTONHOLES: Work buttonholes on the right band (when the garment is worn). Work from the right side when there are 3 stitches left on the row as follows: Make 1 yarn over, knit 2 together and knit 1. On the next row (wrong side), knit the yarn over to leave a hole. The first buttonhole is worked on the first row after the rib on the neck. Then the other 5-5-6-6-6-6 buttonholes are worked with approx. 9½-10-9-9-9½-9½ cm between each one. CASTING-OFF TIP: To avoid the cast-off edge being tight you can cast off with a larger size needle. If the edge is still tight, make 1 yarn over after approx. each 6th stitch at the same time as casting off; the yarn overs are cast off as normal stitches. ------------------------------------------------------- START THE PIECE HERE: ------------------------------------------------------- JACKET – SHORT OVERVIEW OF THE PIECE. The neck and yoke are worked back and forth with circular needle, from mid front and top down. The yoke is divided for body and sleeves and the body continued back and forth with circular needle. The sleeves are worked in the round with double pointed needles/short circular needle, top down. DOUBLE NECK: Cast on 80-85-90-90-95-100 stitches (including 4 band stitches on each side towards mid-front) with circular needle size 6 mm and DROPS Wish or DROPS Andes. Purl 1 row (= wrong side). The next row is worked as follows from the right side: 4 band stitches in GARTER STITCH – read description above, * knit 2, purl 3 *, work from *-* until there are 6 stitches left, knit 2 and 4 band stitches in garter stitch. When the rib measures 4 cm, decrease 1 stitch in each purled section = 66-70-74-74-78-82 stitches. Continue the new rib until the neck measures 16 cm. When the rib is finished, knit 1 row where you increase 11-12-13-18-24-25 stitches evenly spaced – read INCREASE TIP = 77-82-87-92-102-107 stitches. Remember the BUTTONHOLES on the right band – read description above. Purl 1 row from the wrong side (yarn overs purled twisted and bands knitted). Change to circular needle size 8 mm. Insert 1 marker after the band at the beginning of the row; the yoke is measured from this marker! YOKE: Continue with stocking stitch and 4 band stitches in garter stitch on each side. REMEMBER THE KNITTING TENSION! When the piece measures 4 cm from the marker increase as follows: INCREASE 1: 4 band stitches in garter stitch, 2 stitches in stocking stitch, A.1 until there are 6 stitches left (= 13-14-15-16-18-19 repeats of 5 stitches), 2 stitches in stocking stitch, 4 band stitches in garter stitch. When A.1 has been completed there are 103-110-117-124-138-145 stitches. Continue with stocking stitch and 4 band stitches in garter stitch on each side until the piece measures 9-10-10-11-12-13 cm from the marker. INCREASE 2: 4 band stitches in garter stitch, 3-3-4-4-5-3 stitches in stocking stitch, A.2 until there are 6-7-7-8-9-6 stitches left (= 15-16-17-18-20-22 repeats of 6 stitches), 2-3-3-4-5-2 stitches in stocking stitch, 4 band stitches in garter stitch. When A.2 has been completed there are 133-142-151-160-178-189 stitches on the needle. Continue with stocking stitch and 4 band stitches in garter stitch on each side until the piece measures 14-16-17-19-20-22 cm from the marker. Continue the different sizes as follows: SIZES S and M: 4 band stitches in garter stitch, 3-4 stitches in stocking stitch, A.2 until there are 6-8 stitches left (= 20-21 repeats of 6 stitches), 2-4 stitches in stocking stitch, 4 band stitches in garter stitch. When A.2 has been completed there are 173-184 stitches. SIZES L, XL, XXL and XXXL: 4 band stitches in garter stitch, 2-3-5-3 stitches in stocking stitch, A.3 – choose diagram for your size, until there are 5-6-9-6 stitches left (= 20-21-20-22 repeats of 7-7-8-8 stitches), 1-2-5-2 stitches in stocking stitch, 4 band stitches in garter stitch. When A.3 has been completed there are 191-202-218-233 stitches. ALL SIZES: Continue with stocking stitch and 4 band stitches in garter stitch on each side until the piece measures 20-22-24-26-28-30 cm from the marker – adjust so the next row is from the wrong side. Now divide for the body and sleeves as follows: Work 28-29-31-32-36-39 stitches (= right front piece), place the next 35-37-38-40-40-42 stitches on 1 thread for the sleeve, cast on 4-6-8-8-10-10 stitches (= in side under sleeve), work 47-52-53-58-66-71 stitches (= back piece), place the next 35-37-38-40-40-42 stitches on 1 thread for the sleeve, cast on 4-6-8-8-10-10 stitches (= in side under sleeve), work the remaining 28-29-31-32-36-39 stitches (= left front piece). The body and sleeves are finished separately. THE PIECE IS NOW MEASURED FROM HERE! BODY: = 111-122-131-138-157-169 stitches. Continue with stocking stitch and 4 band stitches in garter stitch on each side for 30 cm. Try the jacket on and work to desired length – there is approx. 4 cm left to finished length. Knit 1 row from the right side and increase 23-24-27-28-32-33 stitches evenly spaced = 134-146-158-166-190-202 stitches. Change to circular needle size 6 mm and work rib as follows: 4 band stitches in garter stitch, * knit 2, purl 2 *, work from *-* until there are 6 stitches left, knit 2 and 4 band stitches in garter stitch. Continue this rib for 4 cm. Cast off with knit over knit and purl over purl – read CASTING-OFF TIP. The jacket measures approx. 58-60-62-64-66-68 cm from the shoulder down. SLEEVES: Place the 35-37-38-40-40-42 stitches from the thread on the one side of the piece on double pointed needles/short circular needle size 8 mm and knit up 1 stitch in each of the 4-6-8-8-10-10 stitches cast on under the sleeve = 39-43-46-48-50-52 stitches. Insert a marker thread in the middle of the new stitches under the sleeve. Allow the thread to follow your work onwards; it will be used when decreasing. Start at the marker thread and work stocking stitch in the round for 4 cm. Now decrease 2 stitches under the sleeve – read DECREASE TIP. Decrease like this every 6-5-3½-3-3-2 cm a total of 6-7-8-9-9-10 times = 27-29-30-30-32-32 stitches. Continue working until the sleeve measures 37-35-34-32-30-28 cm (shorter measurements in larger sizes due to wider neck and longer yoke). Try the jacket on and work to desired length – approx. 8 cm to finished length. Knit 1 round and increase 5-7-6-10-8-8 stitches evenly spread = 32-36-36-40-40-40 stitches. Change to double pointed needles size 6 mm and work rib (knit 2, purl 2) for 8 cm. Cast off with knit over knit and purl over purl – remember CASTING-OFF TIP. The sleeve measures approx. 45-43-42-40-38-36 cm from the division. Work the other sleeve in the same way. ASSEMBLY: Fold the neck double to the inside and sew down. To avoid the neck being tight and rolling outwards, it is important that the seam is elastic. Sew together the ends of the neck with small stitches. Sew the buttons onto the left band. |
|||||||
Diagram explanations |
|||||||
|
|||||||
 |
|||||||
 |
|||||||
Have you finished this pattern?Tag your pictures with #dropspattern #silverskylinejacket or submit them to the #dropsfan gallery. Do you need help with this pattern?You'll find 31 tutorial videos, a Comments/Questions area and more by visiting the pattern on garnstudio.com. © 1982-2026 DROPS Design A/S. We reserve all rights. This document, including all its sub-sections, has copyrights. Read more about what you can do with our patterns at the bottom of each pattern on our site. |
|||||||


With over 40 years in knitting and crochet design, DROPS Design offers one of the most extensive collections of free patterns on the internet - translated to 17 languages. As of today we count 325 catalogues and 12298 patterns translated into English (UK/cm).
We work hard to bring you the best knitting and crochet have to offer, inspiration and advice as well as great quality yarns at incredible prices! Would you like to use our patterns for other than personal use? You can read what you are allowed to do in the Copyright text at the bottom of all our patterns. Happy crafting!
Post a comment to pattern DROPS 228-34
We would love to hear what you have to say about this pattern!
If you want to leave a question, please make sure you select the correct category in the form below, to speed up the answering process. Required fields are marked *.