
Popular categories
Looking for a yarn?


Comments / Questions (7)
![]() Victoria wrote:
Victoria wrote:
Buenos días. Hermoso patrón. Hay un error en la leyenda de los símbolos, al menos en español. En la vuelta 3, en el centro, dice \"deslizar 1 punto y tejer los 2 siguientes juntos del derecho\", pero esos 2 puntos no deben tejerse juntos, o sino no cuadraría la vuelta 4. Espero que lo puedan corregir. Gracias y saludos. Victoria.
09.01.2025 - 00:16
![]() Jonathan wrote:
Jonathan wrote:
Hallo :-) Ich bin bei der ersten Reihe, in der ich das Muster A1 Stricke, komme hier aber immer auf 17 Maschen oder lese ich das Muster verkehrt?
19.12.2024 - 17:37DROPS Design answered:
Lieber Jonathan, die 1. Reihe A.1 wird über 16 M gestrickt, aber durch den Umschlag ind er Mitte vom Diagram sind es 17 Maschen. Viel Spaß beim Stricken!
20.12.2024 - 11:27
![]() Helen wrote:
Helen wrote:
Hej! jag förstår inte ökningen, var ska jag öka? det står: Fortsätt detta mönstret, och öka på varje sida av varje A.1 på vartannat varv (= 8 ökade maskor per ökningsvarv). Jag gör ju omslag på var sida om A1 varje varv, det blir ju ökningar, men jag får det inte till att stämma med antal maskor, eller att det blir ökningar varannat varv?
04.01.2023 - 21:37DROPS Design answered:
Hei Helen. Du skal ikke øke på hver side av A.1, men på hver 2. pinne. Det er forklart i oppskriften hvordan du skal øke til raglan første gang (på hver side av A.1). Deretter øker du slik på hver 2. pinne. Da skal maskeantallet stemme. Men husk: Maskeantall som er oppgitt på bærestykke og bol er beregnet ut fra at A.1 = 16 masker, men A.1 veksler mellom 16 og 17 masker. Dersom du akkurat har strikket 1.-2.-5. eller 6.pinne i A.1 når et maskeantall oppgis, har du 4 masker mer på pinnen. mvh DROPS Design
06.01.2023 - 12:03
![]() Cristina Saraiva wrote:
Cristina Saraiva wrote:
Entre a 3 carreira e a 4 de A1, deve existir um erro, porque quando diz no meio para : deslizar 1 malha em meia, tricotar 2 malhas meia e passar a malha deslizada por cima das malhas tricotadas, ficamos só com uma malha, mas nas carreiras seguintes aparecem 2 malhas. Como é possível?
06.06.2022 - 18:11DROPS Design answered:
Bom dia, Há uma pequena diferença. A legenda do símbolo diz para se deslizar 1 malha, tricotar 2 malhas (não juntamente) e passar a malha que se deslizou por cima dessas 2 malhas para que as envolva. Ou seja, fica-se com 2 malhas. Bons tricôs!
07.06.2022 - 11:44
![]() Meyre wrote:
Meyre wrote:
Bonjour, c'est la première fois que je rencontre un tel problème, mais là vos explications me laissent perplexe. Pour les rangs 5 et 13 qui ont une double diminution ( maille rabattue sur 2 mailles ensemble =-2m), comment peut-on en récupérer 1 par la suite? De plus pour le raglan, il semblerait que l'augmentation du dos se fait au milieu du dos et non pas après la manche. Merci pour votre réponse.
02.04.2022 - 14:53DROPS Design answered:
Bonjour Mme Meyre, parlez-vous de la torsade faites aux rangs 3 et 7 du diagramme? Vous diminuez 1 maille seulement: vous glissez 1 m à l'endroit, tricotez les 2 mailles suivantes à l'endroit et passez la maille glissée par-dessus les 2 mailles tricotées; au rang suivant, vous n'avez que 2 mailles, au rang suivant vous faites 1 jeté entre ces 2 mailles = vous avez de nouveau 3 mailles; et ainsi de suite. Cette vidéo montre comment tricoter ce type de torsades. Les augmentations du raglan se font après le A.1 de la manche gauche et avant le M.1 de la manche droite = au début et à la fin du dos. Bon tricot!
04.04.2022 - 08:34
![]() Lia wrote:
Lia wrote:
Hallo ik heb een probleem met het telpatroon A 1 wat moet ik doen met dat zwarte vakje groetjes lia
29.06.2021 - 22:36DROPS Design answered:
Dag Lina,
Dat is een steek die niet bestaat omdat hij op de vorige naald geminderd was, dus als je het zwarte vakje tegenkomt ga je gelijk verder met het volgende vakje, namelijk averecht op de goede kant.
02.07.2021 - 09:32
![]() Carina wrote:
Carina wrote:
Sidder og slås med A.1. Kan ikke få det til at passe med, at der i A.1 på pind 4, skal være to masker (maske 8 og 9 i diagrammet), der skal strikkes ret fra retsiden el vrang fra vrangsiden. Er der ikke kun en maske tilbage efter forrige pind, hvor der man tager 1 m løst af, strikker 2 ret sammen og løfter den løse m over?
02.06.2021 - 15:38DROPS Design answered:
Hej Carina, de 2 masker strikkes ikke ret sammen, de strikkes ret og du løfter den ene maske over, så du har 2 masker tilbage :)
04.06.2021 - 14:12
|
||||||||||||||||||||||
Turning Leaves#turningleavesjacket |
||||||||||||||||||||||
 |
 |
|||||||||||||||||||||
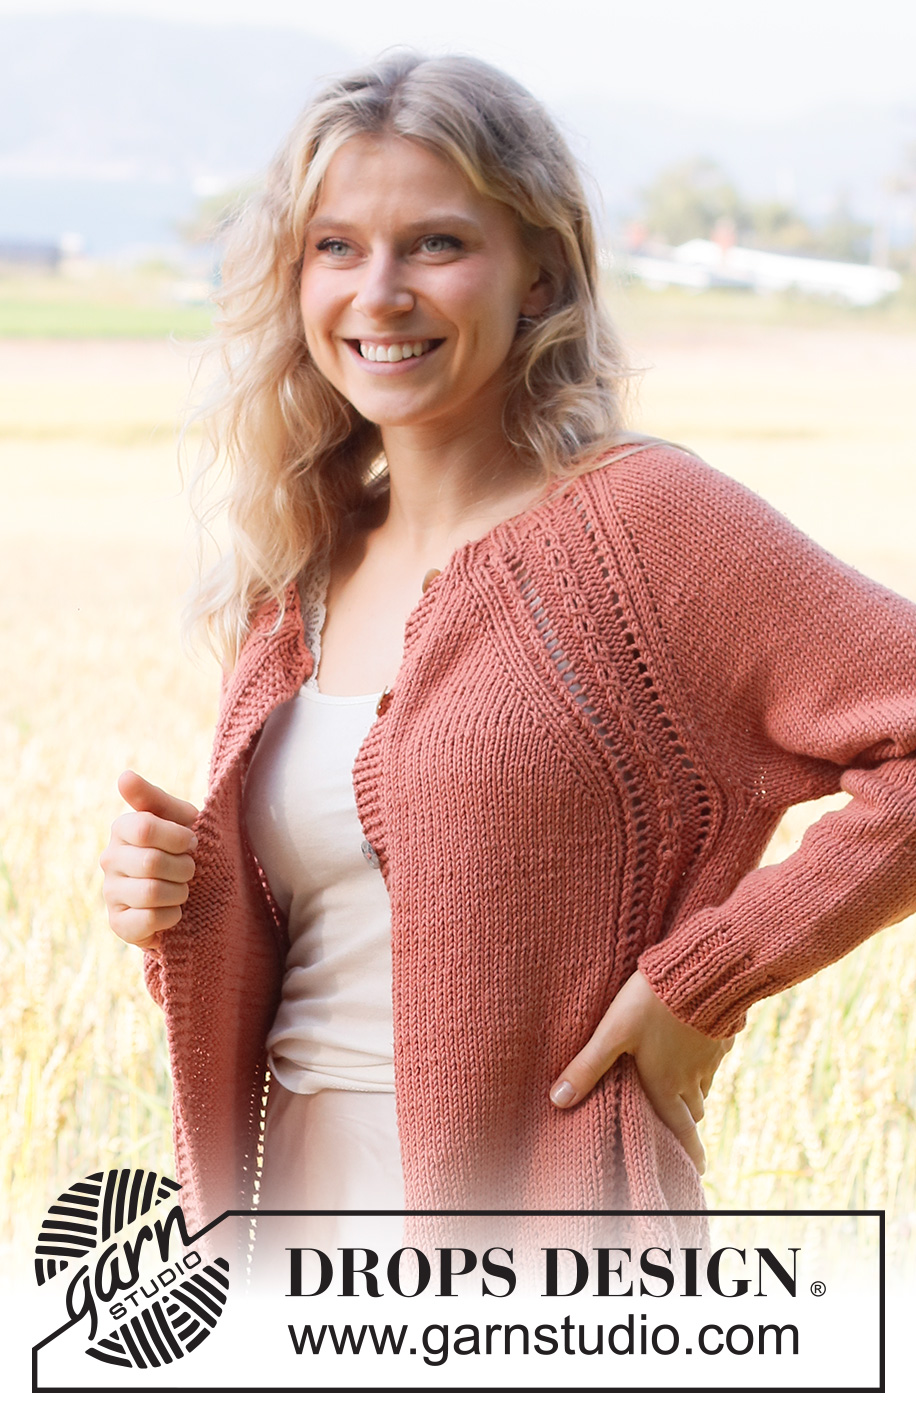
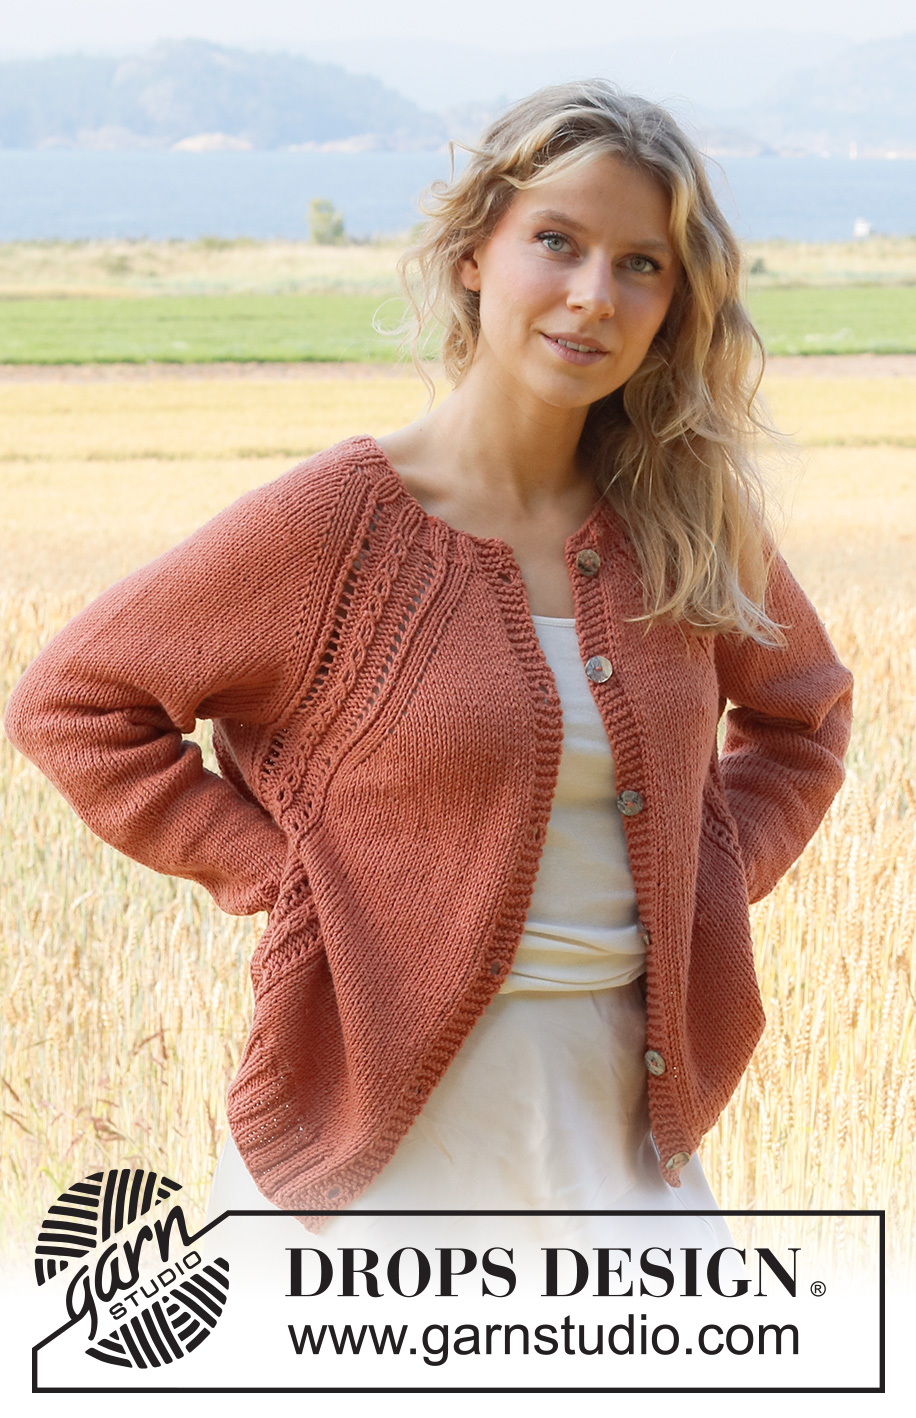
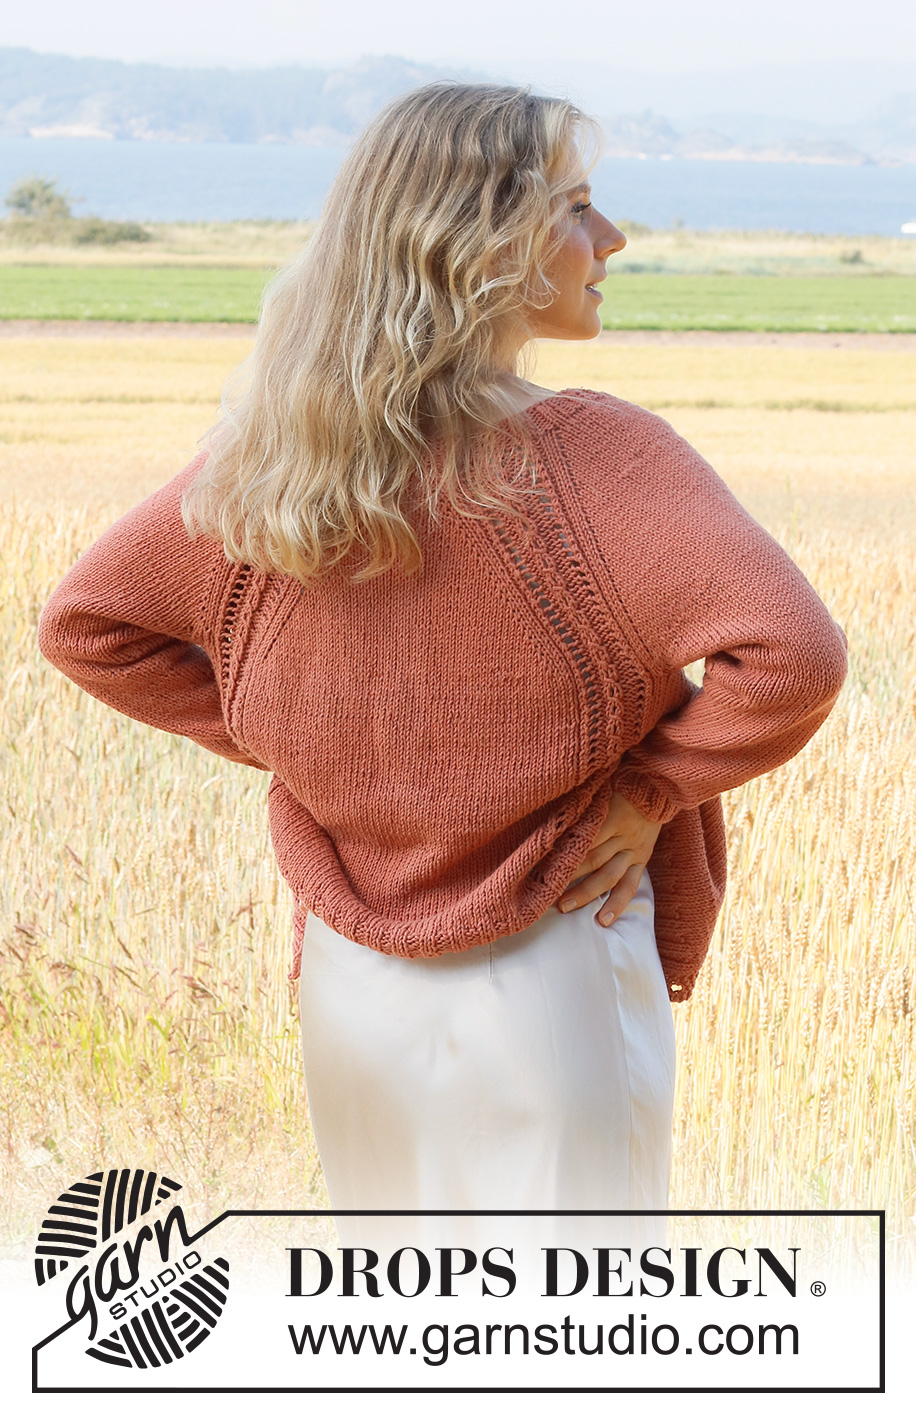
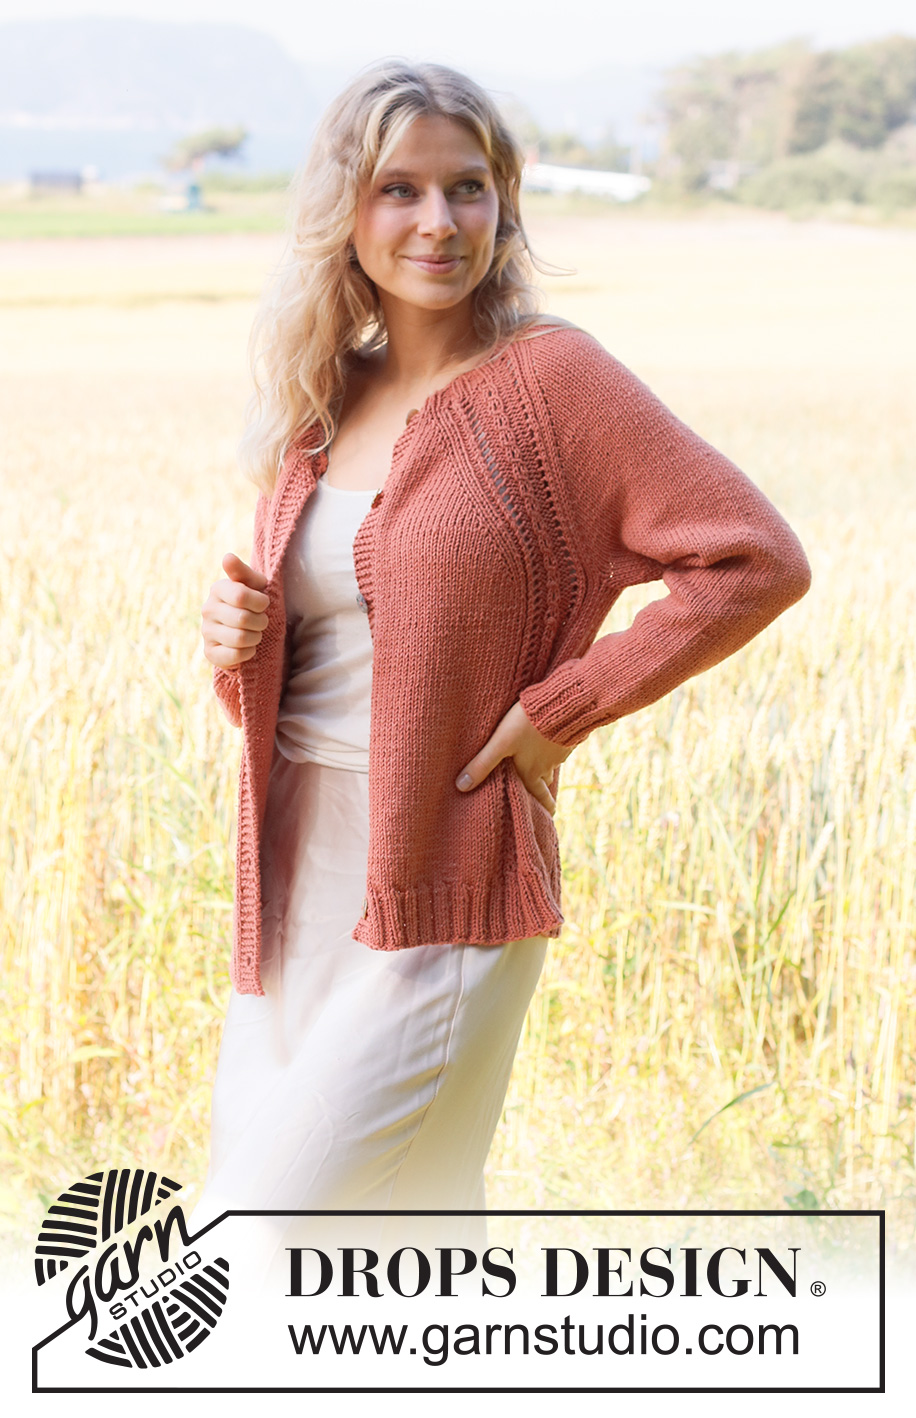
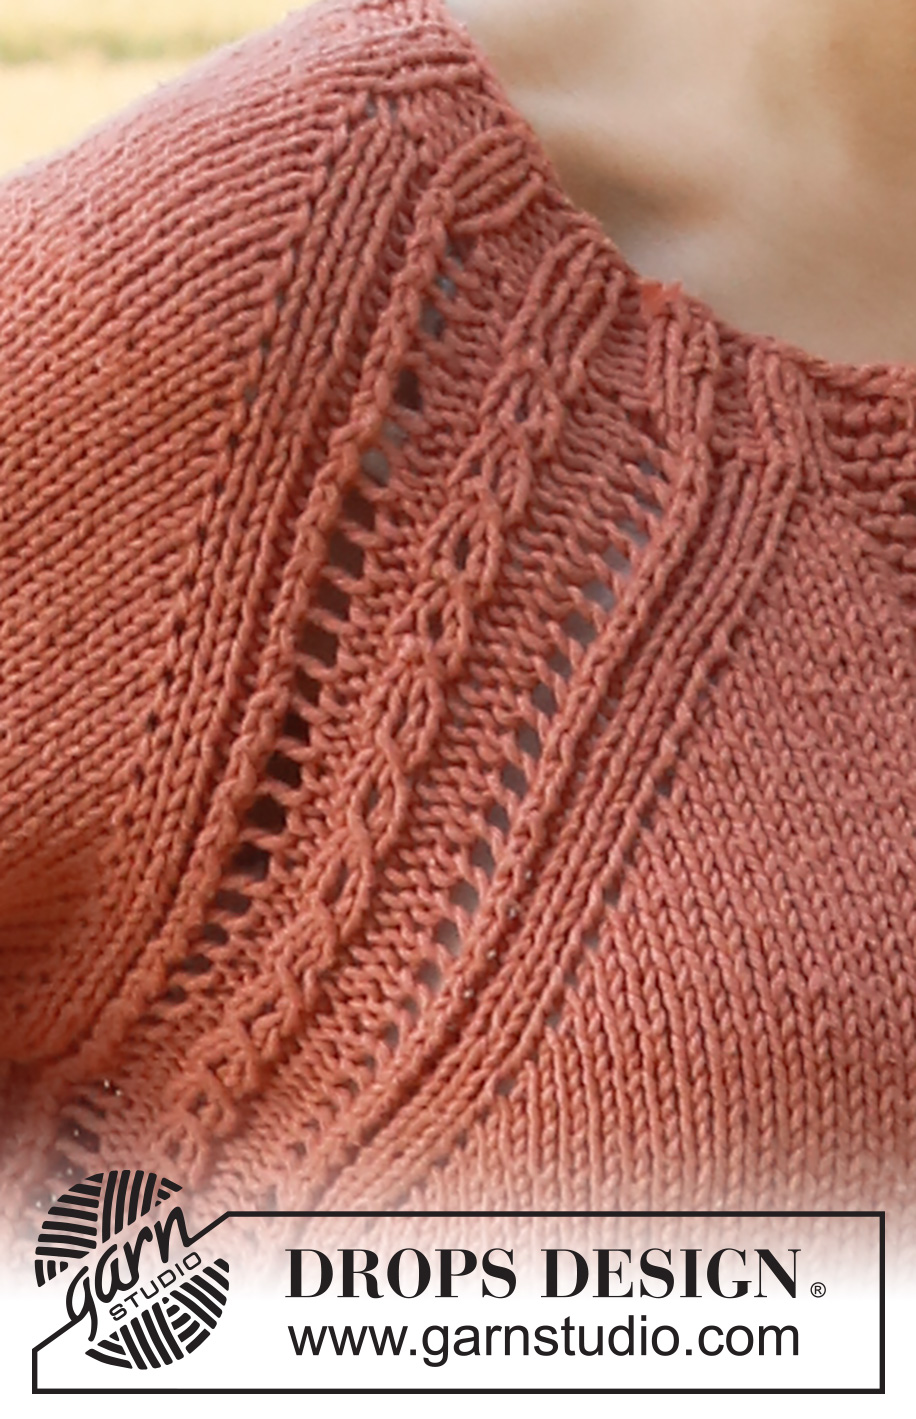
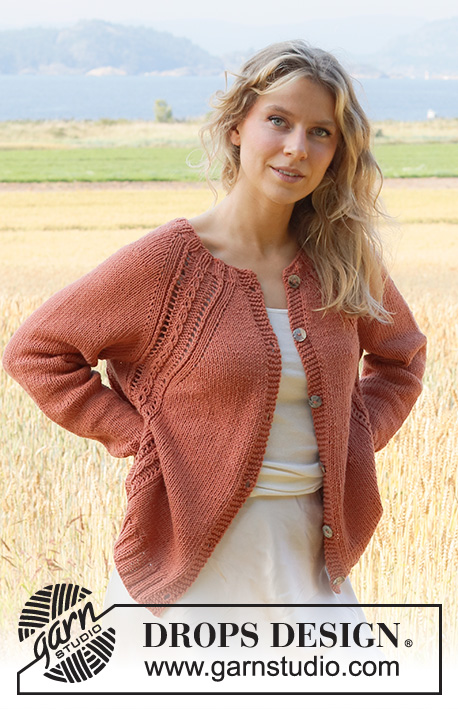
Knitted jacket in DROPS Paris. The piece is worked top down with raglan and lace pattern. Sizes S - XXXL.
DROPS 222-6 |
||||||||||||||||||||||
|
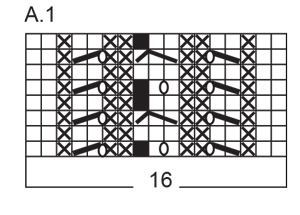
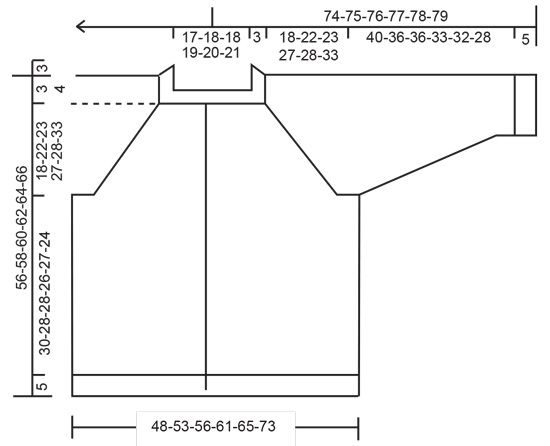
------------------------------------------------------- EXPLANATIONS FOR THE PATTERN: ------------------------------------------------------- RIDGE/GARTER STITCH (worked back and forth): Knit all rows. 1 ridge in height = Knit 2 rows. PATTERN: See diagram A.1. The diagram shows all rows in the pattern from the right side. INCREASE TIP (evenly spaced): To work out how to increase evenly, count the total number of stitches on the needle (e.g. 84 stitches) minus the bands (e.g. 10 stitches) and divide the remaining stitches by the number of increases to be made (e.g. 12) = 6.2. In this example, increase by making 1 yarn over after approx. each 6th stitch. Do not increase over the bands. On the next row (wrong side) purl the yarn overs twisted to avoid holes. DECREASE TIP (for sleeves): Start 3 stitches before the marker, knit 2 together, knit 2 (marker sits between these 2 stitches), slip 1 stitch as if to knit, knit 1 and pass the slipped stitch over the knitted stitch (2 stitches decreased). BUTTONHOLES (top down): Work the buttonholes on the right band (when the garment is worn). 1 buttonhole = work from the right side until there are 3 stitches left on the row, make 1 yarn over, knit 2 together and knit 1. On the next row (wrong side) knit the yarn over to leave a hole. The first buttonhole is worked straight after the neck, the other 5-5-6-6-7-7 buttonholes are worked with 9-9-8½-9-8-8 cm between each one. ------------------------------------------------------- START THE PIECE HERE: ------------------------------------------------------- JACKET – SHORT OVERVIEW OF THE PIECE. The neck and yoke are worked back and forth with circular needle, from mid front and top down. The yoke is divided for body and sleeves and the body continued back and forth with circular needle. The sleeves are worked in the round with double pointed needles/short circular needle, top down. Be aware that all stitch-counts on the yoke and body are based on A.1 being 16 stitches, but A.1 alternates between 16 and 17 stitches. If you have just worked row 1-2-5 or 6 in A.1 when the stitch-count is given, you will have 4 more stitches on your needle. NECK: Cast on 84-88-92-96-100-104 stitches (including 5 band stitches on each side towards mid-front), with circular needle size 4.5 mm and Paris. Purl 1 row from the wrong side, then work rib as follows: 5 stitches in GARTER STITCH – read description above (= band), * knit 2, purl 2 *, work from *-* until there are 7 stitches left, knit 2 and finish with 5 stitches in garter stitch (= band). Work this rib for 3 cm, finish after a row from the right side. Purl 1 row from the wrong side (bands in garter stitch) where you increase 14-10-14-10-10-6 stitches evenly spaced – read INCREASE TIP = 98-98-106-106-110-110 stitches. YOKE: Change to circular needle size 5 mm. The first row is worked as follows from the right side: 5 band stitches in garter stitch, 1-1-2-2-3-3 stitches in stocking stitch, make 1 yarn over, work A.1 (= 16 stitches) (= left front piece), 1 yarn over, 10-10-12-12-12-12 stitches in stocking stitch, 1 yarn over (= sleeve), work A.1, 1 yarn over, 2-2-4-4-6-6 stitches in stocking stitch, 1 yarn over, work A.1 ( = back piece), 1 yarn over, 10-10-12-12-12-12 stitches in stocking stitch, 1 yarn over (= sleeve), work A.1, 1 yarn over, 1-1-2-2-3-3 stitches in stocking stitch and finish with 5 band stitches in garter stitch (= right front piece). There are 106-106-114-114-118-118 stitches on the needle (8 stitches increased and the first increase to raglan is finished). Continue this pattern and increase on each side of each A.1 every 2nd row a total of 18-22-23-27-28-33 times. The yarn overs are purled twisted from the wrong side and the increased stitches are then worked in stocking stitch. REMEMBER THE KNITTING TENSION and BUTTONHOLES on the right band – read description above. When the increases are finished there are 242-274-290-322-334-374 stitches on the needle. Continue working until the piece measures 18-22-23-27-28-33 cm, without further increases. The next row is worked as follows from the wrong side: Work 40-44-46-50-52-57 stitches as before (= right front piece), place the next 46-54-58-66-68-78 stitches on 1 thread for the sleeve, cast on 6-6-8-8-10-12 stitches (in side under sleeve), work the next 70-78-82-90-94-104 stitches as before (= back piece), place the next 46-54-58-66-68-78 stitches on 1 thread for the sleeve, cast on 6-6-8-8-10-12 stitches (in side under sleeve), work the last 40-44-46-50-52-57 stitches as before (= left front piece). Body and sleeves are finished separately. THE PIECE IS NOW MEASURED FROM HERE! BODY: = 162-178-190-206-218-242 stitches. Work the bands in garter stitch, stocking stitch and A.1 as before. Continue the pattern until the piece measures 30-28-28-26-27-24 cm from the division. There is approx. 5 cm left to finished length; try the jacket on and work to desired length. Knit 1 row from the right side where you increase 2-2-2-2-2-2 stitches evenly spaced = 164-180-192-208-220-244 stitches. Change to circular needle size 4.5 mm and work as follows from the wrong side: 5 stitches in garter stitch, * purl 2, knit 2 *, work from *-* until there are 7 stitches left, purl 2 and 5 stitches in garter stitch. Work this rib for 5 cm, cast off with knit over knit and purl over purl. The jacket measures approx. 56-58-60-62-64-66 cm from the shoulder down. SLEEVES: Place the 46-54-58-66-68-78 stitches from the thread on the one side of the piece on double pointed needles/short circular needle size 5 mm and knit up 1 stitch in each of the 6-6-8-8-10-12 stitches cast on under the sleeve = 52-60-66-74-78-90 stitches. Insert a marker in the middle of the 6-6-8-8-10-12 stitches under the sleeve. Allow the thread to follow your work onwards; it will be used when decreasing under the sleeve. Start the round at the marker and work stocking stitch in the round. When the piece measures 3 cm from the division decrease 2 stitches under the sleeve - read DECREASE TIP. Decrease every 7-4½-3-2-2-1½ cm a total of 6-8-11-13-15-17 times = 40-44-44-48-48-56 stitches. Continue working until the sleeve measures 40-36-36-33-32-28 cm from the division, or to desired length; there is approx. 5 cm left to finished length (shorter measurements in larger sizes due to longer yoke). Change to double pointed needles size 4.5 mm and work rib (knit 2, purl 2) for 5 cm. Cast off with knit over knit and purl over purl. The sleeve measures approx. 45-41-41-38-37-33 cm. Work the other sleeve in the same way. ASSEMBLY: Sew the buttons onto the left band. |
||||||||||||||||||||||
Diagram explanations |
||||||||||||||||||||||
|
||||||||||||||||||||||
 |
||||||||||||||||||||||
 |
||||||||||||||||||||||
Have you finished this pattern?Tag your pictures with #dropspattern #turningleavesjacket or submit them to the #dropsfan gallery. Do you need help with this pattern?You'll find 28 tutorial videos, a Comments/Questions area and more by visiting the pattern on garnstudio.com. © 1982-2026 DROPS Design A/S. We reserve all rights. This document, including all its sub-sections, has copyrights. Read more about what you can do with our patterns at the bottom of each pattern on our site. |
||||||||||||||||||||||


With over 40 years in knitting and crochet design, DROPS Design offers one of the most extensive collections of free patterns on the internet - translated to 17 languages. As of today we count 324 catalogues and 12290 patterns translated into English (UK/cm).
We work hard to bring you the best knitting and crochet have to offer, inspiration and advice as well as great quality yarns at incredible prices! Would you like to use our patterns for other than personal use? You can read what you are allowed to do in the Copyright text at the bottom of all our patterns. Happy crafting!
Post a comment to pattern DROPS 222-6
We would love to hear what you have to say about this pattern!
If you want to leave a question, please make sure you select the correct category in the form below, to speed up the answering process. Required fields are marked *.