Comments / Questions (24)
![]() Anonym wrote:
Anonym wrote:
Leider stehe ich als Anfängerin vor einem Problem: Der Beginn des Pullovers wird in Hin-u Rückreihen erklärt, die Videos zeigen die Raglan-Zunahmen und Abnahmen aber immer nur beim Stricken in Runden. Gibt es ein spezielles Video, das ich noch nicht entdeckt habe?
24.04.2024 - 16:54DROPS Design answered:
Hallo! Am Anfang vom Pullover wird man in Hin- und Rückreihen stricken, gleichzeitig nimmt man für Raglan zu (siehe Video) und am Ende jeder Reihe wird man neue Maschen für den Halsausschnitt anschlagen (siehe Video), dann endlich wird man in Runden stricken und von der hintere Mitte stricken. Viel Spaß beim Stricken!
25.04.2024 - 07:41
![]() Karan wrote:
Karan wrote:
Hi, I’ve question about the no. Of increases in the yoke. The raglan stitches are 4(which is 8 stitch increased)and the no. Of increases are 19 times for the size I’m knitting. So at the end it says 276 stitches in total after the yoke but if I do 19*8=152 And my stitch count comes as 308 instead of 276. So where am I doing wrong. All the stitches counts in yoke pattern comes 32 stitches short. I need help with that.
22.04.2024 - 17:38DROPS Design answered:
Dear Karen, the 19 increases are including the 4 increases made with the short rows, this means after the short rows and all new stitches for neck are done, you have 156 sts, you increase 8 sts 15 times more (for a total of 19 times), you get then 156 + 15x4= 276 sts. Happy knitting!
23.04.2024 - 07:52
![]() Carine ALMA wrote:
Carine ALMA wrote:
Bonjour, je viens de finir les alternances des augmentations dos/devant et manches pour l'empiècement et j'ai atteint 336 mailles (Taille M). Selon le patron je dois continuer à tricoter jusqu'à ce que l'ouvrage mesure 21 cm au milieu dos. J'en suis actuellement à 18cm, ce qui veut dire que je dois continuer de tricoter en rond sans augmentations encore 3 cm c'est bien cela? Mais du coup je n'aurais plus de raglan sur ces 3cm si je comprends bien? Merci d'avance pour votre aide?
22.04.2024 - 11:51DROPS Design answered:
Bonjour Mme Alma, tout à fait, tricotez simplement en jersey endroit pendant 3 cm, mais notez bien que vous risquez d'avoir besoin de davantage de laine si votre tension en hauteur est plus serrée (les 58 rangs de l'empiècement (28 augmentations tous les 2 rangs/tours pour le raglan) doivent mesurer environ 21 cm). Bon tricot!
22.04.2024 - 13:07
![]() Roelien wrote:
Roelien wrote:
Hoe krijg ik de halslijn erin als je van boven naar beneden breit. Voor-hals is toch lager dan achter?
31.03.2024 - 13:06DROPS Design answered:
Dag Roelien,
Dit wordt gedaan door zogenaamde 'verkorte toeren' (dus waarbij je de naalden niet helemaal uitbreit tot het einde) en is helemaal uitgeschreven onder de paragraaf 'HALSLIJN'.
04.04.2024 - 20:28
![]() Tabea wrote:
Tabea wrote:
Hallo, welche Nadelstärke wird denn für die Maschenprobe empfohlen? Bei mir passt es mit der Nadelstärke 3. Ist das dann die größere oder kleinere angebene Stärke in der Anleitung? Viele Grüße Tabea
25.03.2024 - 20:28DROPS Design answered:
Liebe Tabea, die Maschenprobe 21 Maschen x 28 Reihen glatt rechts wir mitden grösseren Nadeln gestrickt, aber natürlich muss mann die Nadelstärke anpassen, solange daß die Maschenprobe stimmt. Hier lesen Sie mehr. Viel Spaß beim Stricken!
02.04.2024 - 10:14
![]() Marta wrote:
Marta wrote:
Można prosić o jaśniejsze objaśnienie fragmentu po zrobieniu dekoltu? „Teraz połączyć robótkę na okrągło, zaczynając okrążenie od nitki markera na środku tyłu. Odciąć nitkę, nie obracać robótki.” Nie kontynuować przerabiania po dodaniu oczek w rzędzie 7 tylko zostawiać to, a nową nitką zacząć przerabiać oczka od środka tyłu? I odciąć nitkę za tymi dodanymi oczkami w rzędzie 7? Dziękuję za pomoc!
15.03.2024 - 22:04DROPS Design answered:
Witaj Marto, odcinasz nitkę, przekładasz oczka z lewego drutu na prawy (bez przerabiania), aż do nitki markera (środek tyłu, tu będą zaczynać się okrążenia podczas przerabiania na okrągło). Dołączasz nową nitkę i od teraz zaczynasz przerabiać KARCZEK jak w opisie poniżej. Powodzenia!
18.03.2024 - 09:03
![]() PASCALE JEANNE wrote:
PASCALE JEANNE wrote:
Bonjour, Comment puis je adapter un patron donné pour des aiguilles taille 3-4 en taille 5-5,5? Merci pour votre aide
13.03.2024 - 18:15DROPS Design answered:
Bonjour Pascale, vous devrez recalculer entièrement les explications sur la base de votre propre échantillon, essayez de consulter les différents modèles du même type dans la tension souhaitée, cela pourra vous aider. Bon tricot!
14.03.2024 - 08:03
![]() Leena Lamminpää Jokioinen wrote:
Leena Lamminpää Jokioinen wrote:
Heippa! aloitus pääntieltä ei voi olla oikein koska silmukkamerkit raglan lisäyksiin ei voi tulla eteen 2 merkkiä samaan kohtaan ?
12.03.2024 - 13:04
![]() Hanneke wrote:
Hanneke wrote:
Ziet er goed uit. Voor mij waarschijnlijk aan de korte kant
05.03.2024 - 07:02
![]() Hanne wrote:
Hanne wrote:
Er det feil her: Sett 4 merker og 1 merketråd i arbeidet slik: Tell 1 maske, sett 1 merke i neste maske, tell 26 masker (erme), sett 1 merke i neste maske, tell 15-16-17-17-18-19 masker, sett 1 merketråd (midt bak), tell 15-16-17-17-18-19 masker, sett 1 merke i neste maske, tell 26 masker (erme), sett 1 merke i siste maske = 1 maske igjen etter siste merke. Maskene med merke i kalles nå raglanmasker.
04.03.2024 - 22:20DROPS Design answered:
Hei Hanne, Du har 4 merker og 1 merketråd (midt bak). Hvert merke er satt i en maske, slik at du har 4 merke-masker. Hjelper det? God fornøyelse!
05.03.2024 - 08:10
Spring Novel#springnoveltop |
|
 |
 |
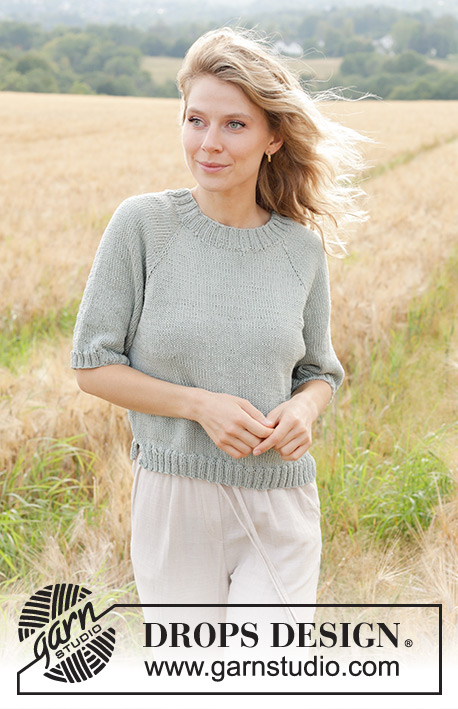
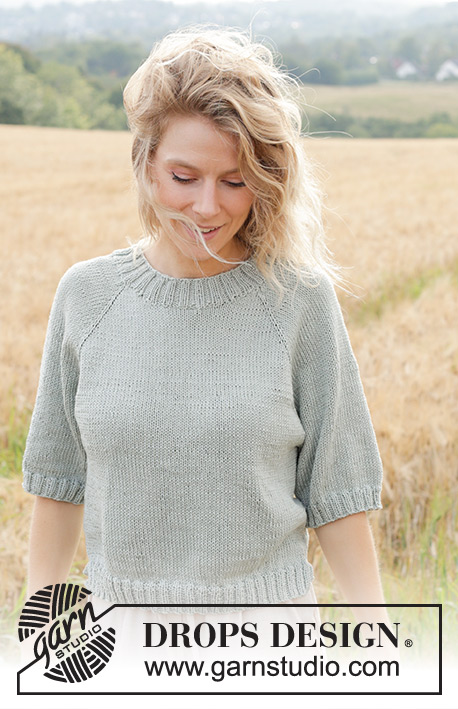
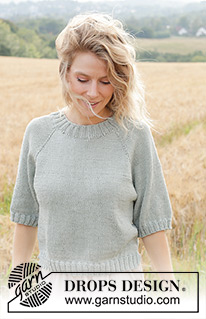
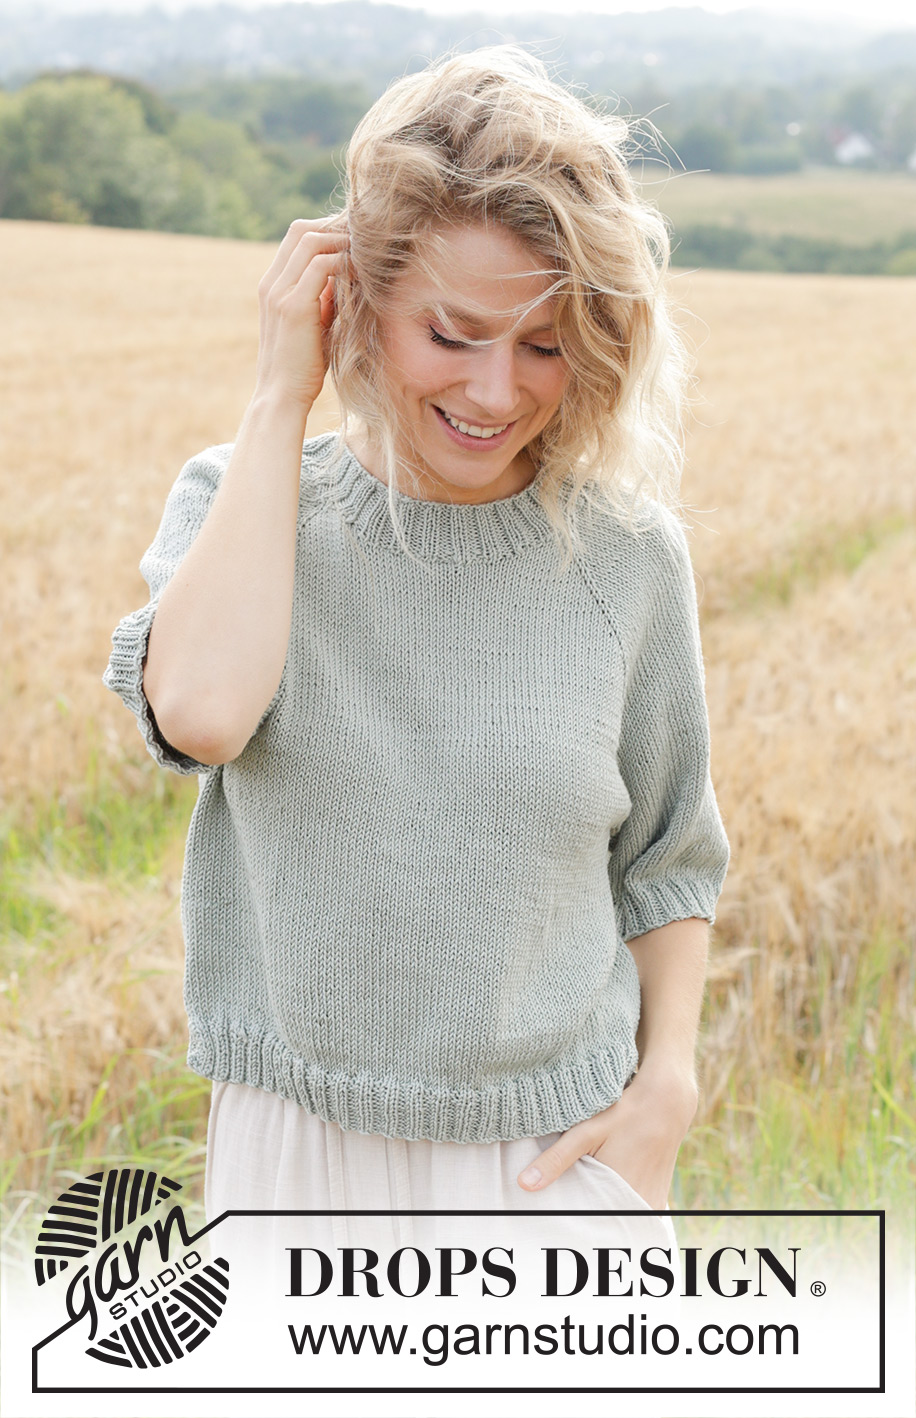
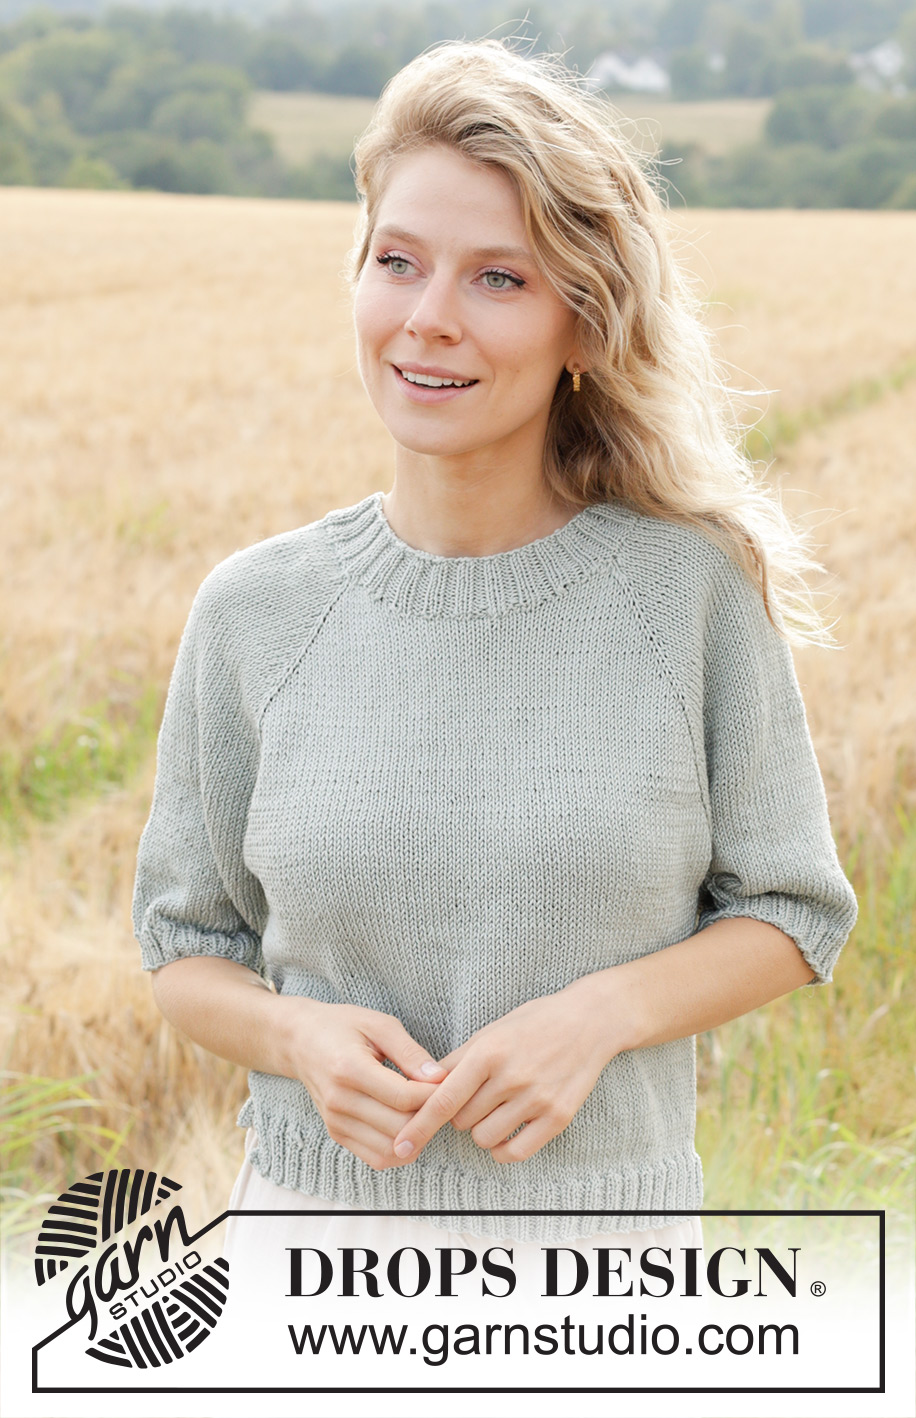
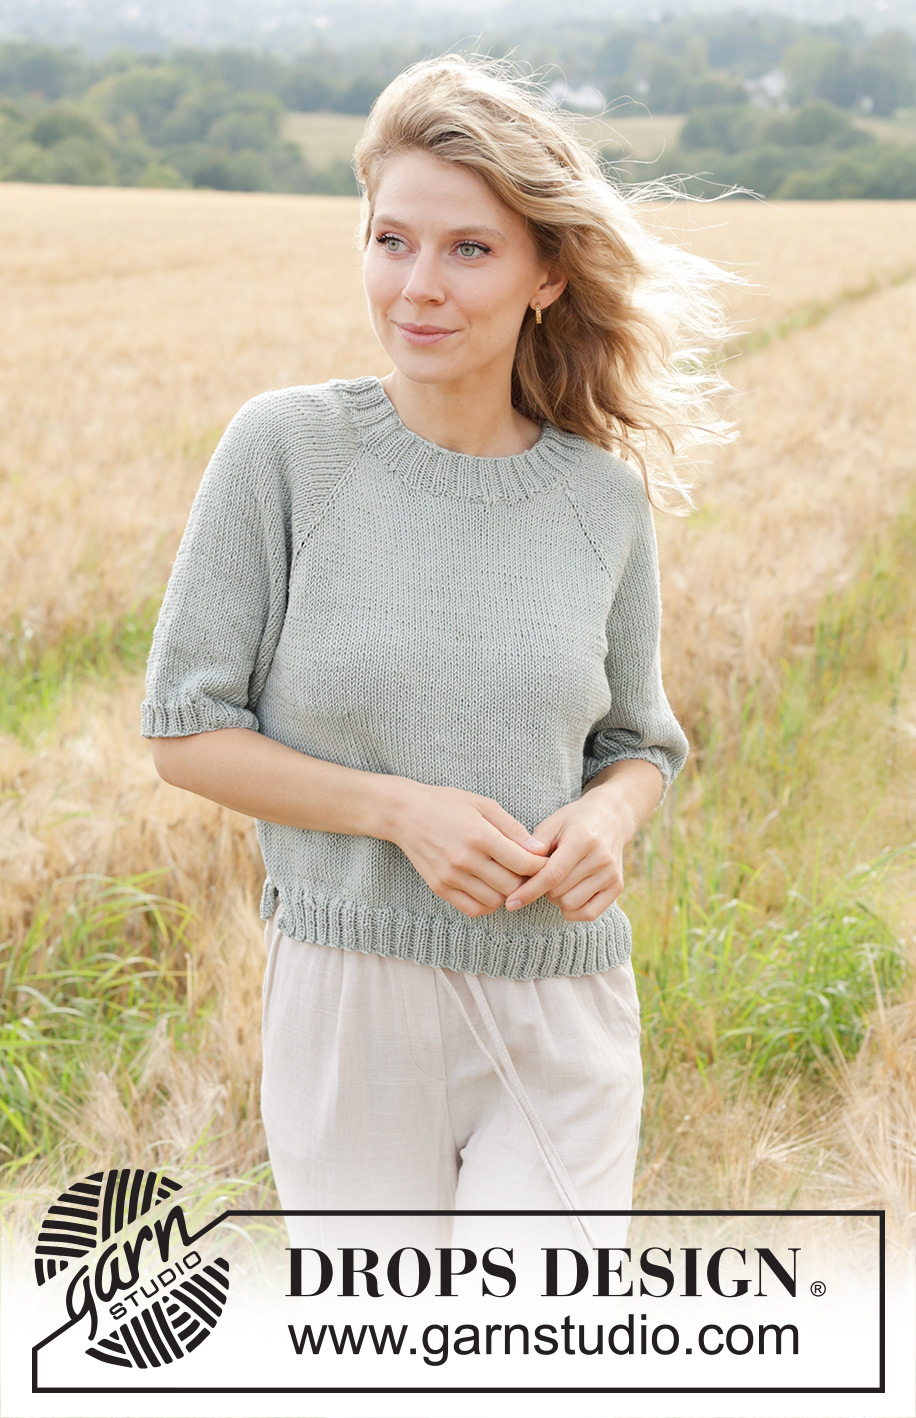
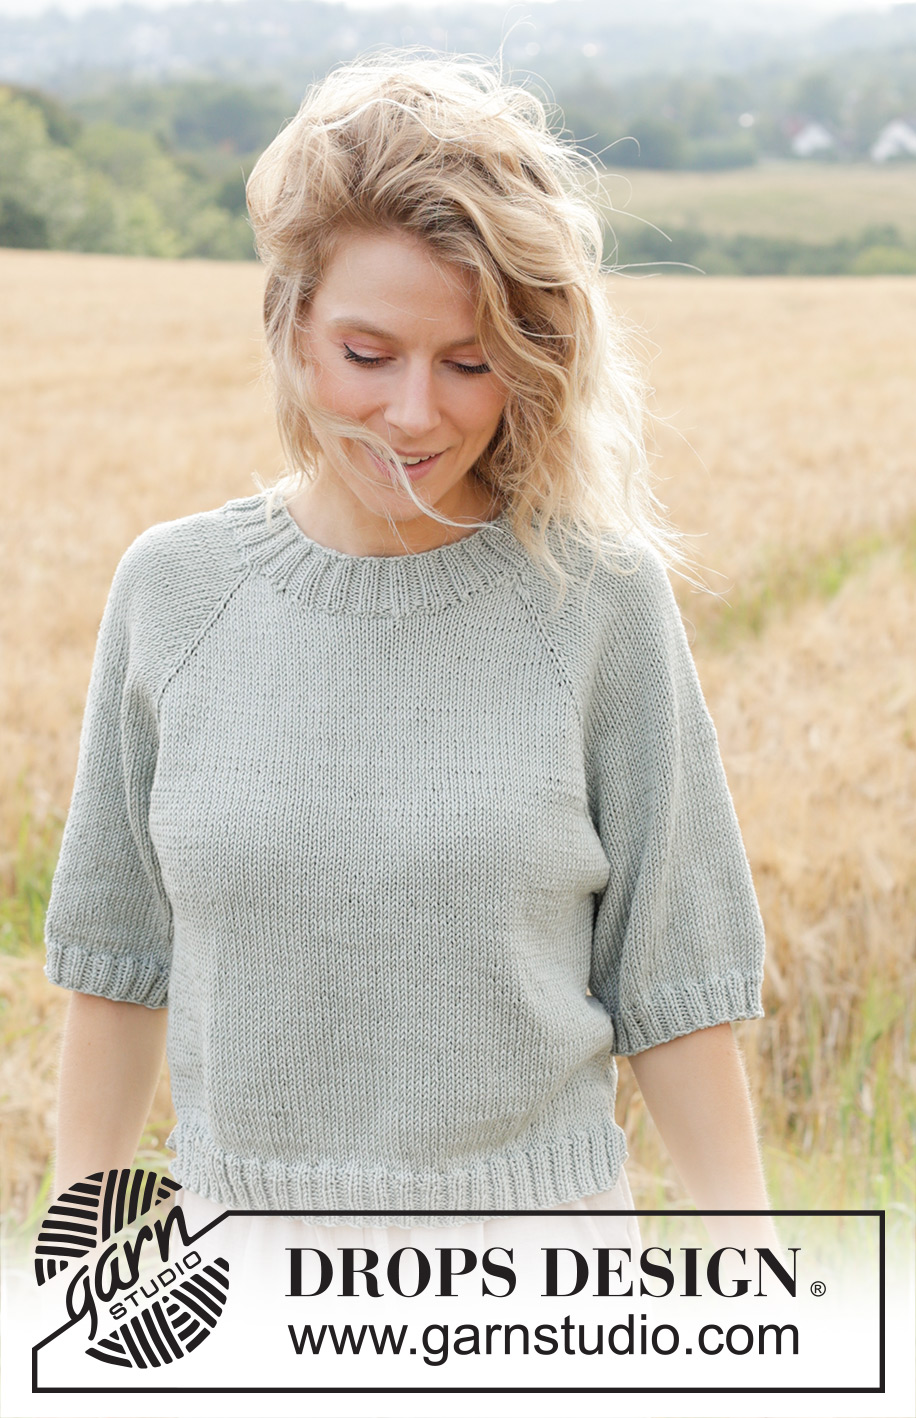
Knitted top/T-shirt in DROPS Muskat or DROPS Merino Extra Fine. The piece is worked top down with stocking stitch, raglan, short sleeves and split in sides. Sizes XS - XXL.
DROPS 249-34 |
|
|
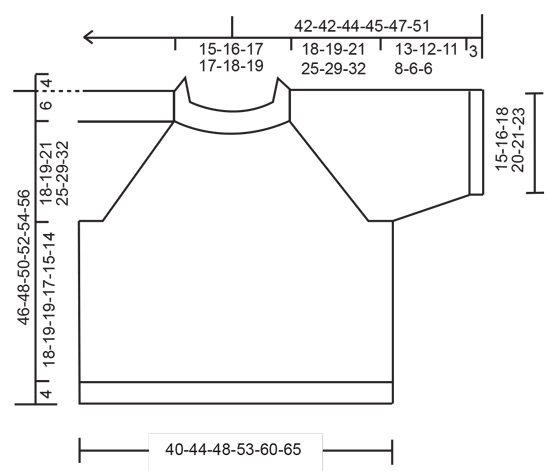
------------------------------------------------------- EXPLANATIONS FOR THE PATTERN: ------------------------------------------------------- GARTER STITCH (worked back and forth): Knit all rows. 1 ridge = knit 2 rows. RAGLAN: All increases are worked from the right side! Increase 1 stitch by making 1 yarn over before/after all 4 raglan-stitches. The raglan-stitches are worked in stocking stitch. On the next row/round work the yarn overs as follows (then work the new stitches in stocking stitch). From wrong side: BEFORE raglan-stitches: Purl the back loop. No hole. AFTER raglan-stitches: Slip yarn-over onto right needle, then replace it onto the left needle the other way round (insert left needle through back when replacing it). Purl the front loop. No hole. From right side: BEFORE raglan-stitches: Slip yarn over onto right needle, then replace it onto the left needle the other way round (insert left needle through back when replacing it). Knit the front loop. No hole. AFTER raglan-stitches: Knit the back loop. No hole. DECREASE TIP (for sleeves): Decrease 1 stitch on each side of the marker-thread as follows: Work until there are 3 stitches left before the marker-thread, knit 2 together, knit 2 (marker-thread sits between these 2 stitches), slip 1 stitch knit-wise, knit 1 and pass the slipped stitch over the knitted stitch (2 stitches decreased). ------------------------------------------------------- START THE PIECE HERE: ------------------------------------------------------- TOP - SHORT OVERVIEW OF THE PIECE: The pattern uses both long and short needles; start with the length which fits the number of stitches and change when necessary. The neckline is worked first, back and forth and top down, increasing stitches on each side. Then piece is joined and the yoke worked in the round with circular needle, from mid back. When finished, the yoke is divided for body and sleeves and the body continued in the round, while the sleeves wait. The body is divided for the split in each side and front and back pieces finished separately, back and forth. The sleeves are worked in the round top down. Stitches are knitted up around the neckline and the neck worked in the round. NECKLINE: Cast on 88-90-92-92-94-96 stitches with circular needle size 4 mm. Insert 4 markers and 1 marker-thread as follows: Count 1 stitch, insert 1 marker in the next stitch, count 26 stitches (sleeve), insert 1 marker in the next stitch, count 15-16-17-17-18-19 stitches, insert 1 marker-thread (mid-back), count 15-16-17-17-18-19 stitches, insert 1 marker in the next stitch, count 26 stitches (sleeve), insert 1 marker in the next stitch = 1 stitch left after the last marker. The marker-stitches are now called raglan-stitches. Work back and forth as follows: ROW 1 (right side): Knit and increase for RAGLAN on each side of the 4 raglan-stitches – read description above (8 stitches increased), cast on 2 stitches at end of row = 98-100-102-102-104-106 stitches. ROW 2 (wrong side): Purl (remember to work yarn overs as described under RAGLAN), cast on 2 stitches at end of row = 100-102-104-104-106-108 stitches. ROW 3 (right side): Knit and increase for raglan on each side of the 4 raglan-stitches (8 stitches increased), cast on 2 stitches at end of row = 110-112-114-114-116-118 stitches. ROW 4 (wrong side): Purl and cast on 2 stitches at end of row = 112-114-116-116-118-120 stitches. ROW 5 (right side): Knit and increase for raglan on each side of the 4 raglan-stitches (8 stitches increased), cast on 3 stitches at end of row = 123-125-127-127-129-131 stitches. ROW 6 (wrong side): Purl and cast on 3 stitches at end of row = 126-128-130-130-132-134 stitches. ROW 7 (right side): Knit and increase for raglan on each side of the 4 raglan-stitches (8 stitches increased), cast on 14-16-18-18-20-22 stitches at end of row = 148-152-156-156-160-164 stitches. The neckline is finished and you have increased 4 times for raglan on each side of the 4 raglan-stitches. Now join the neckline, beginning the round at the marker-thread mid-back. Cut the strand, do not turn. Push the stitches from the left needle onto the right needle as far as the marker-thread. YOKE: Work stocking stitch in the round from mid-back. REMEMBER THE KNITTING TENSION. Increase for raglan every 2nd round until you have increased a total of 13-14-19-20-18-18 times (including the 4 increases on the neckline) = 220-232-276-284-272-276 stitches. Continue increasing for raglan but every 2nd increase is only on the front and back pieces, i.e., increase on the front and back pieces every 2nd round and on the sleeves every 4th round (alternately 4 and 8 increased stitches). Increase like this 10-12-10-14-22-26 times on the body (5-6-5-7-11-13 times on the sleeves). A total of 23-26-29-34-40-44 times on the front and back pieces and 18-20-24-27-29-31 times on the sleeves = 280-304-336-368-404-432 stitches. Continue working until the piece measures 18-19-21-25-29-32 cm, mid-back. Now divide for the body and sleeves: Knit 39-43-47-52-59-64 (half back piece), place the next 62-66-74-80-84-88 stitches on 1 thread for the sleeve, cast on 6-6-6-8-8-8 stitches under the sleeve, knit 78-86-94-104-118-128 stitches (front piece), place the next 62-66-74-80-84-88 stitches on 1 thread for the sleeve, cast on 6-6-6-8-8-8 stitches under the sleeve, knit the last 39-43-47-52-59-64 stitches (half back piece) = 168-184-200-224-252-272 stitches on the body. The body and sleeves are finished separately. The piece is now measured from here! BODY: = 168-184-200-224-252-272 stitches. Insert 1 marker-thread in the middle of the 6-6-6-8-8-8 stitches under each sleeve and allow the threads to follow your work onwards; they are used when dividing for the split in each side. Work stocking stitch in the round until the body measures 18-19-19-17-15-14 cm from the division. Now divide at both marker-threads and finish each piece separately. FRONT PIECE: = 84-92-100-112-126-136 stitches. Change to circular needle size 3 mm. Knit 1 row from the right side and increase 14-14-14-18-20-22 stitches evenly spaced = 98-106-114-130-146-158 stitches. Work rib from the wrong side as follows: 2 GARTER STITCHES – read description above, * purl 2, knit 2 *, work from *-* until there are 4 stitches left, purl 2 and 2 garter stitches. Continue this rib back and forth for 4 cm, cast off. The piece measures approx. 46-48-50-52-54-56 cm from the shoulder down. BACK PIECE: Work in the same way as the front piece. SLEEVES: Place the 62-66-74-80-84-88 stitches from the thread on the one side of the piece on short circular needle/double pointed needles size 4 mm and knit up 1 stitch in each of the 6-6-6-8-8-8 stitches cast on under the sleeve = 68-72-80-88-92-96 stitches. Insert a marker-thread in the middle of the 6-6-6-8-8-8 new stitches under the sleeve. Start at the marker-thread and work stocking stitch in the round. When the sleeve measures 3 cm from the division, decrease 2 stitches under the sleeve – read DECREASE TIP. Decrease like this every 3-2-3-1½-0-0 cm a total of 2-2-2-2-1-0 times (no decreases in size XXL) = 64-68-76-84-90-96 stitches. Continue working until the sleeve measures 13-12-11-8-8-6 cm from the division. Knit 1 round and increase 4-4-4-0-2-0 stitches evenly spaced = 68-72-80-84-92-96 stitches. Change to double pointed needles size 3 mm. Work rib (knit 2, purl 2) for 3 cm. Cast off. The sleeve measures approx. 16-15-14-11-9-9 cm from the division. NECK: Start from the right side on one shoulder. Use short circular needle size 3 mm and knit up 104 to 116 stitches around the neckline. Work rib in the round (knit 2, purl 2) for 4 cm. Cast off. |
|
 |
|
Have you finished this pattern?Tag your pictures with #dropspattern #springnoveltop or submit them to the #dropsfan gallery. Do you need help with this pattern?You'll find 29 tutorial videos, a Comments/Questions area and more by visiting the pattern on garnstudio.com. © 1982-2026 DROPS Design A/S. We reserve all rights. This document, including all its sub-sections, has copyrights. Read more about what you can do with our patterns at the bottom of each pattern on our site. |
|










Post a comment to pattern DROPS 249-34
We would love to hear what you have to say about this pattern!
If you want to leave a question, please make sure you select the correct category in the form below, to speed up the answering process. Required fields are marked *.