
Popular categories
Looking for a yarn?


Comments / Questions (47)
![]() Hanna wrote:
Hanna wrote:
Dziękuję za szybką informację. Ja robię rozmiar M. Nie wiem jakie powinno być szerokie ramię. Nie mogę z rysunku tego stwierdzić. Hanna
18.04.2024 - 09:21DROPS Design answered:
Witaj Haniu, 36 cm - 15 cm (dekolt) = 21 cm /2 ramiona = 10,5 cm. Szerokość ramienia to 10,5 cm w rozmiarze M. Pozdrawiamy!
18.04.2024 - 10:43
![]() Hanna wrote:
Hanna wrote:
Już zadawałam pytanie dotyczące tego modelu bluzeczki. Zrobiłam tył jedną nitką Drops Brushed Alpaca Silk tak jak mi doradzono. Na ramionach było po 18 oczek. Zamykałam je bardzo luźno. Szerokość ramienia wyszła mi 10cm. Czy to jest dobrze? Oczka środkowe po zamknięciu dały 15cm. Czy powinnam jakoś inaczej zamknąć oczka ramion? Bardzo źle pruje się tą włóczkę. Hanna
17.04.2024 - 21:22DROPS Design answered:
Witaj Haniu, napisz jaki rozmiar wykonujesz, a porównam otrzymane przez Ciebie miary ze schematycznym rysunkiem na dole. Możesz również to zrobić sama. Jeśli masz jakiś problem z odczytaniem rysunku i miar to pisz. Pozdrawiamy!
18.04.2024 - 08:25
![]() Hanna wrote:
Hanna wrote:
Mam zamiar robić tę bluzeczkę. Mam włóczkę brushed aplaca silk drops. Czy robić jedną nitką czy dwoma? Zauważyłam, że nie ma pod opisem wykonania jakich technik użyć. Czy tak już będzie?Było to wygodne, może mam inaczej teraz szukać? Zmiana na gorsze. Hanna
05.03.2024 - 18:35DROPS Design answered:
Witaj Haniu, co do pierwszego pytania, będziesz potrzebowała 1 nitki włóczki DROPS Brushed Aplaca Silk, ale dla pewności zrób próbkę. Materiały pomocnicze znajdziesz teraz w zakładkach na samej górze wzoru (bezpośrednio pod jego tytułem). Serdecznie pozdrawiamy!
06.03.2024 - 08:13
![]() Hanna wrote:
Hanna wrote:
Chciałabym zrobić tą bluzeczkę. Obawiam się jednak, że będzie "gryzła". Dziękuję z góry za odpowiedź. Pozdrawiam Hanna
23.02.2024 - 08:36DROPS Design answered:
Witaj Haniu, to zależy czy Kid-Silk Cię podgryza. To bardzo indywidualna sprawa. Jeśli jeszcze jej nie próbowałaś, na początek zrobiłabym z niej coś mniejszego, np. czapkę. Jak będzie Cię podgryzać, to letnia bluzeczka również nie będzie dla Ciebie komfortowa w noszeniu (lato, ciepło, bezpośrednio na ciało). W takim razie polecam użyć bawełny lub merynosa. Oczywiście efekt końcowy nie będzie już taki sam. Pozdrawiamy!
23.02.2024 - 10:20
![]() Yvonne Zandstra wrote:
Yvonne Zandstra wrote:
Het opzetten van de steken gaat met 2 draden, moet het hele patroon met 2 draden gebreid worden ??
14.02.2024 - 12:05DROPS Design answered:
Dag Yvonne,
Ja, het hele werk wordt met 2 draden DROPS Kid-Silk gebreid.
14.02.2024 - 20:09
![]() Lise Hebert wrote:
Lise Hebert wrote:
Il indique un point mousse, si je regarde je vois bien un jersey endroit
13.10.2023 - 16:57DROPS Design answered:
Bonjour Mme Hebert, tout à fait, on explique ici juste comment tricoter au point mousse, mais vous tricoterez, après les côtes, en jersey endroit. Bon tricot!
16.10.2023 - 08:33
![]() Lise Hebert wrote:
Lise Hebert wrote:
Puis je tricoter ce chandail dos et devant ensemble avec une broche circulaire
13.10.2023 - 03:12DROPS Design answered:
Bonjour Mme Hebert, probablement, mais vous devrez continuer en allers et retours quand les mailles des emmanchures auront été rabattues. Pensez à ajuster le nombre de mailles à monter pour correspondre aux côtes. Bon tricot!
13.10.2023 - 08:43
![]() Johanne Stage wrote:
Johanne Stage wrote:
Skal strikkeprøven strikkes på pind 4 eller 5?
04.06.2023 - 23:56DROPS Design answered:
Hei Johanne. Pinne nr er kun veiledende, du må bruke det pinne nr som gir deg 17 masker i bredden og 22 pinner i høyden med glattstrikk og 2 tråder = 10 x 10 cm. I denne oppskriften er det brukt pinne nr 5. Pinne nr 4 er brukt til vrangbord. mvh DROPS Design
05.06.2023 - 08:09
![]() Anja Andersen wrote:
Anja Andersen wrote:
Hvorfor strikkes den frem og tilbage med opdelt for og bagstykke. Kan man ikke blot strikke på rundpind til man når til ærmegabet
20.05.2023 - 17:07DROPS Design answered:
Hej Anja, det må du gerne :)
23.05.2023 - 10:44
![]() Margareta wrote:
Margareta wrote:
Hej, stämmer det att på bakstycket skall man bara maska av för halshålet, medan på framsidan skall man flytta maskorna på tråd?
18.03.2023 - 20:31DROPS Design answered:
Det stämmer. Maskorna som sätts på en tråd mitt fram ska användas senare när halskanten stickas.
20.03.2023 - 17:07
|
|||||||||||||
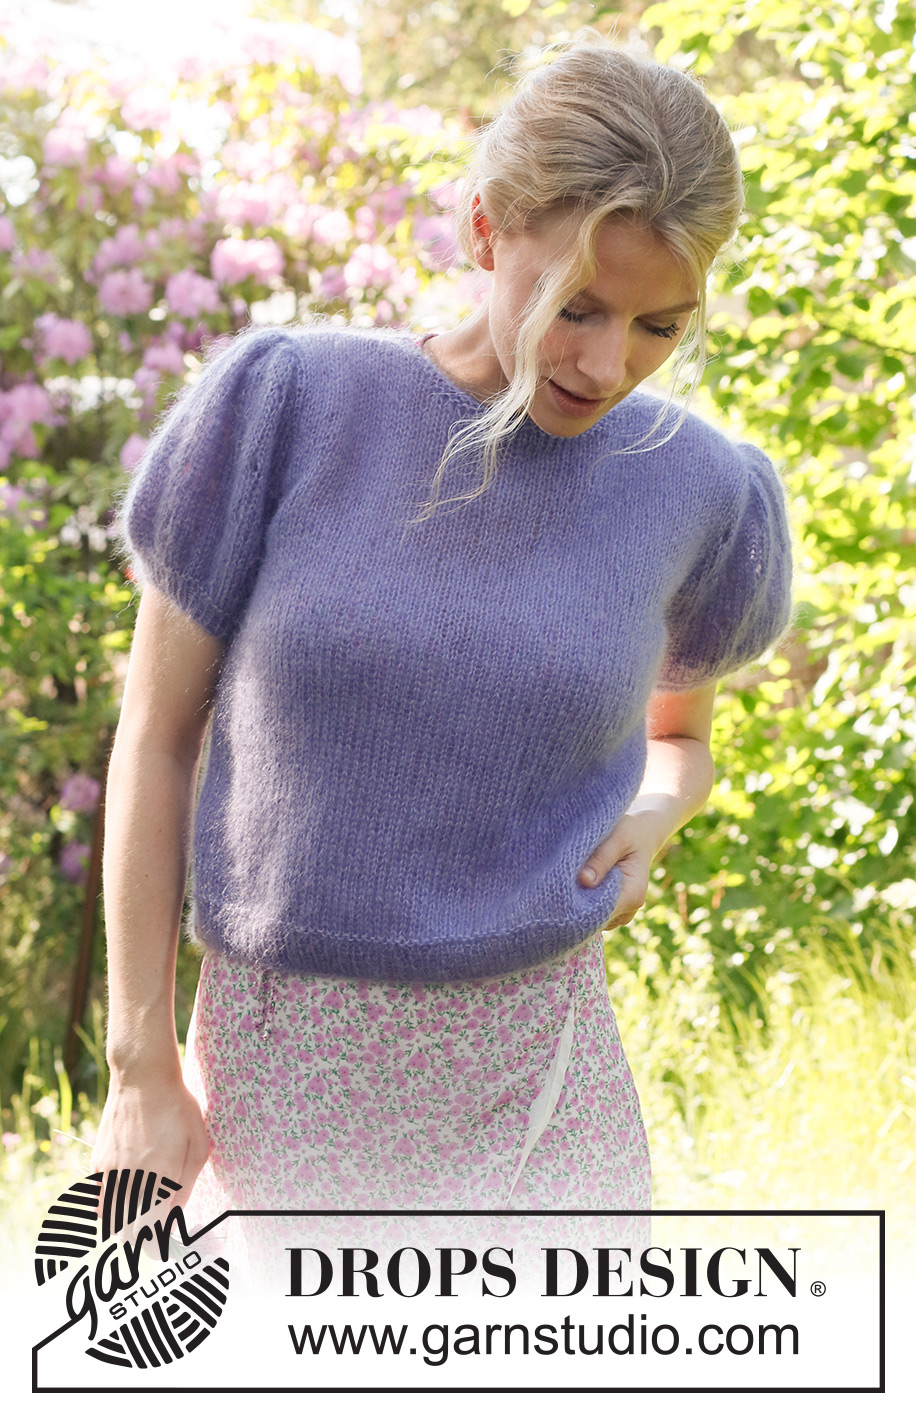
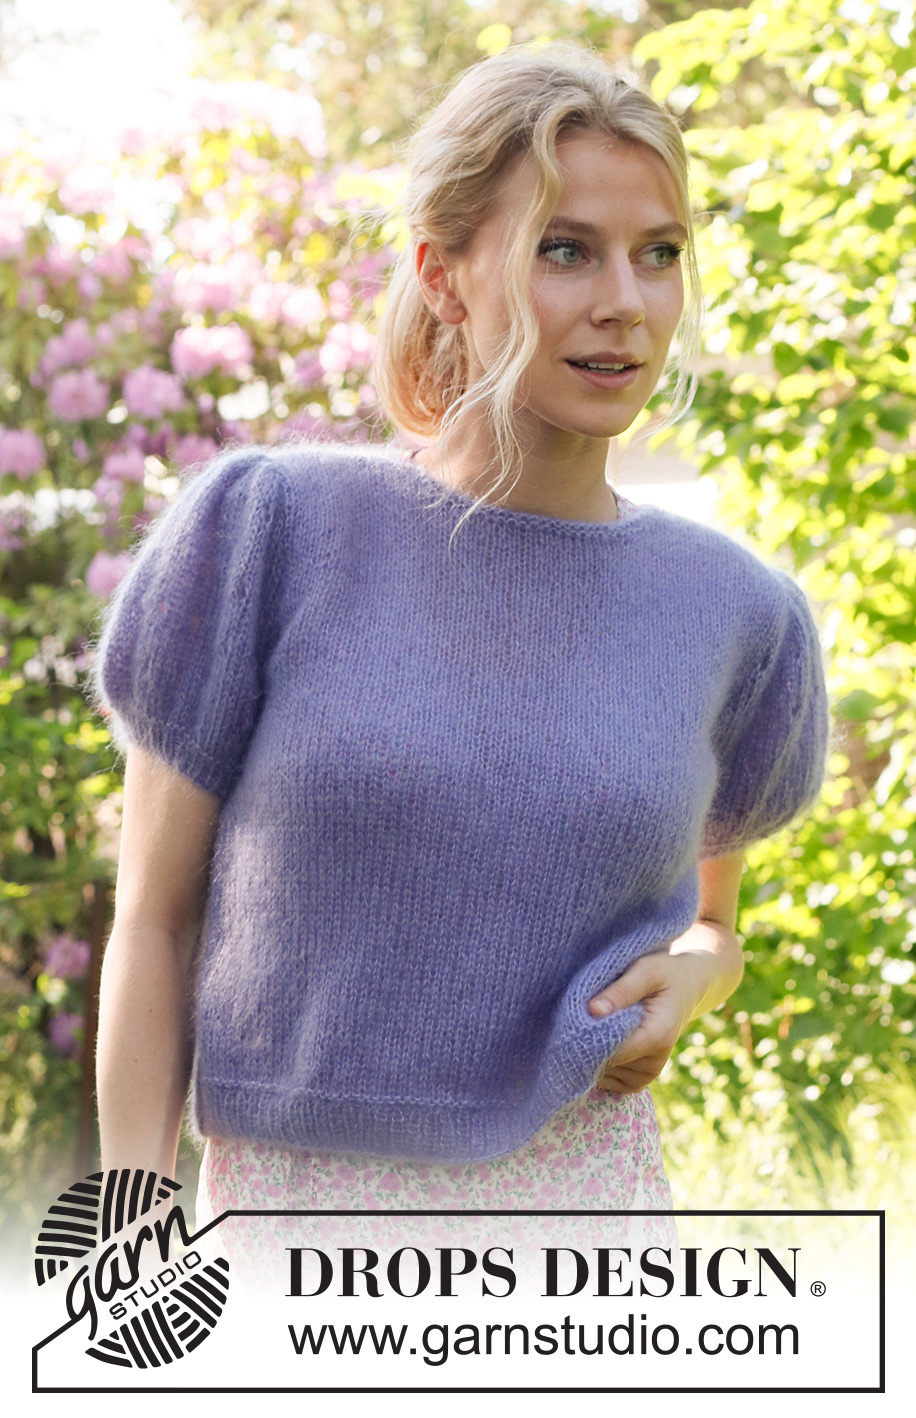
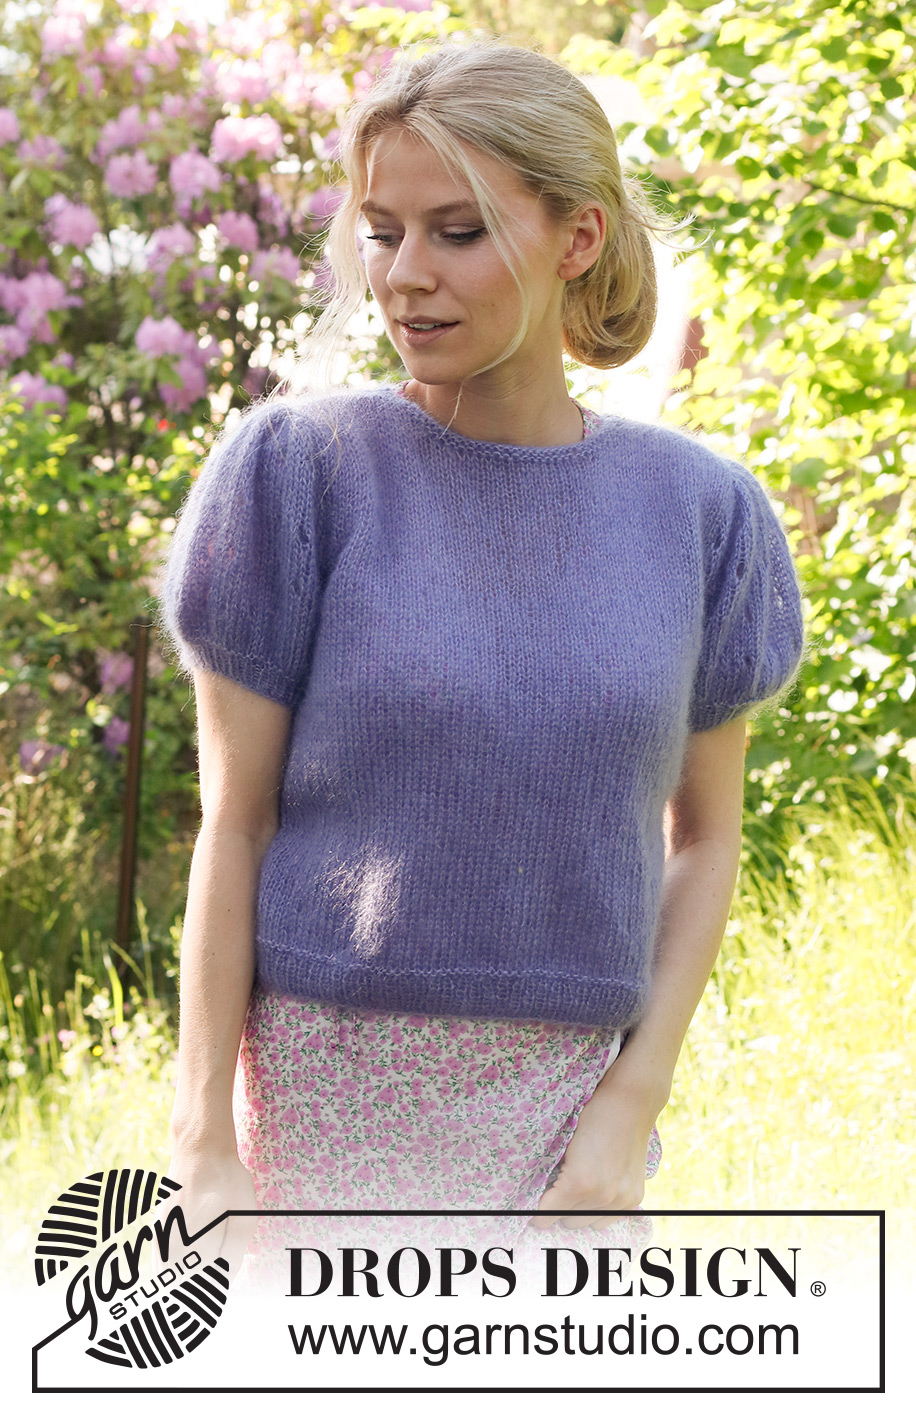
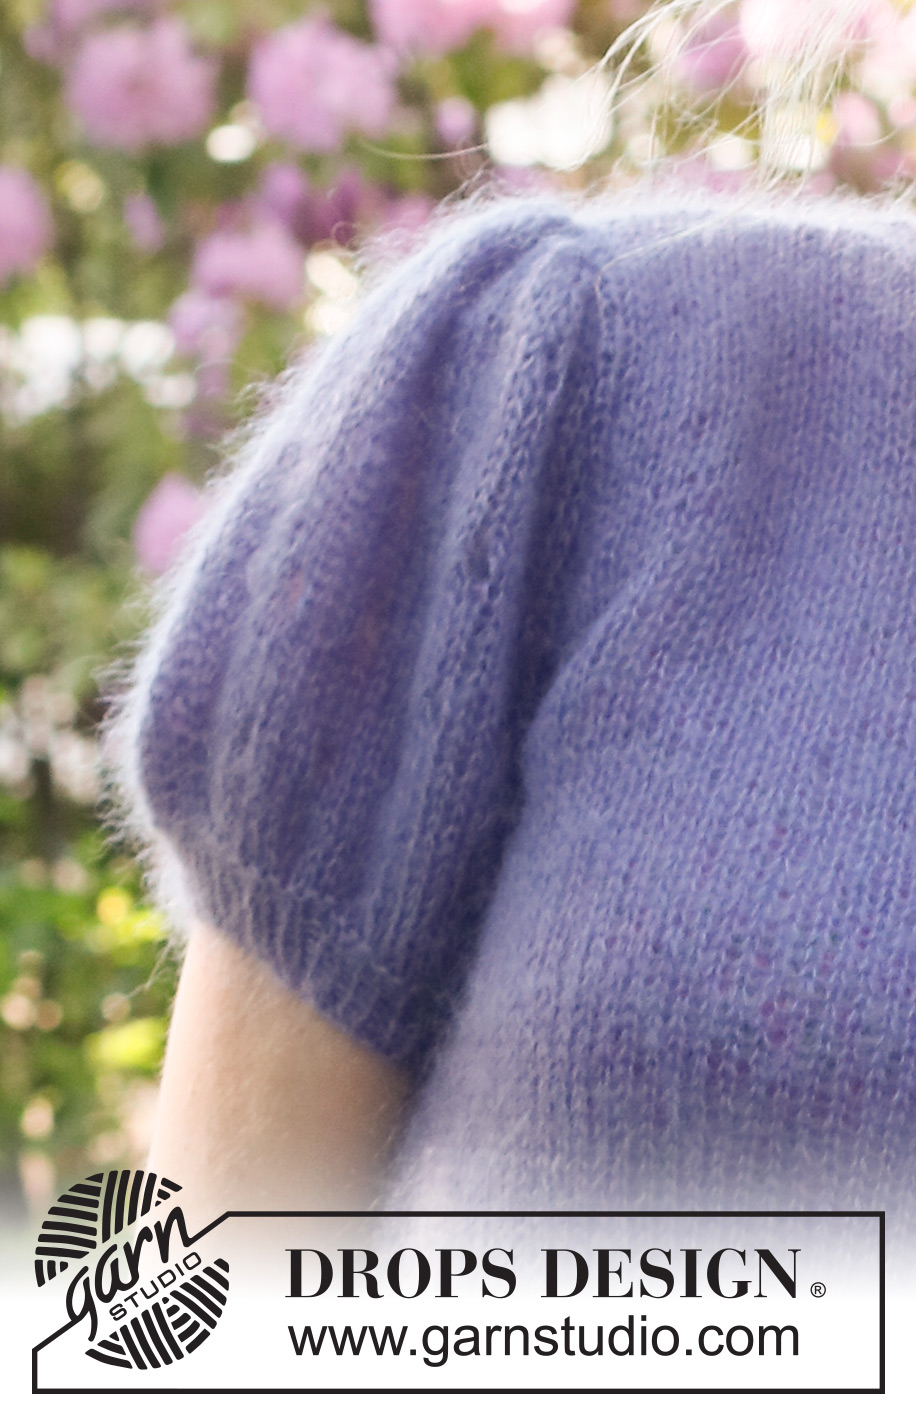
Violet Meadow#violetweadowsweater |
|||||||||||||
 |
 |
||||||||||||
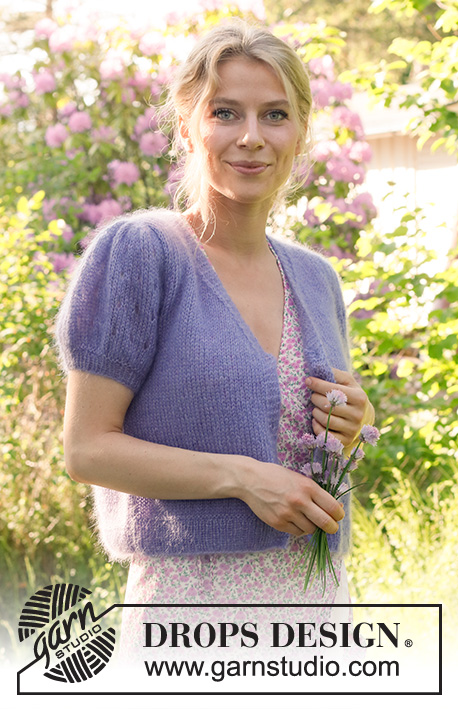
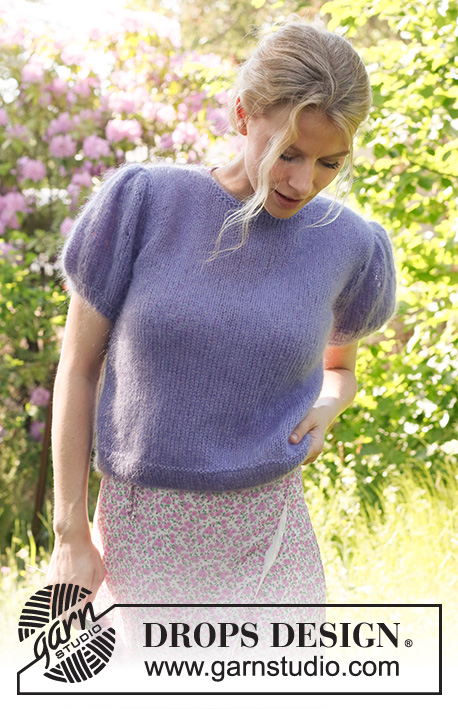
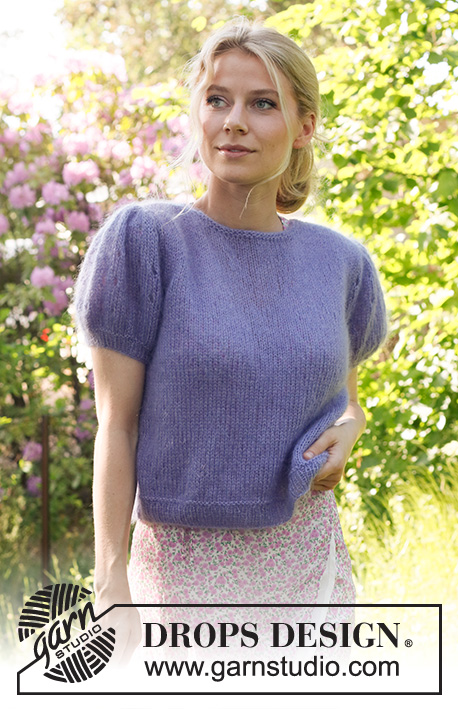
Knitted jumper in 2 strands DROPS Kid-Silk. The piece is worked bottom up with short, puffed sleeves. Sizes S - XXXL.
DROPS 230-55 |
|||||||||||||
|
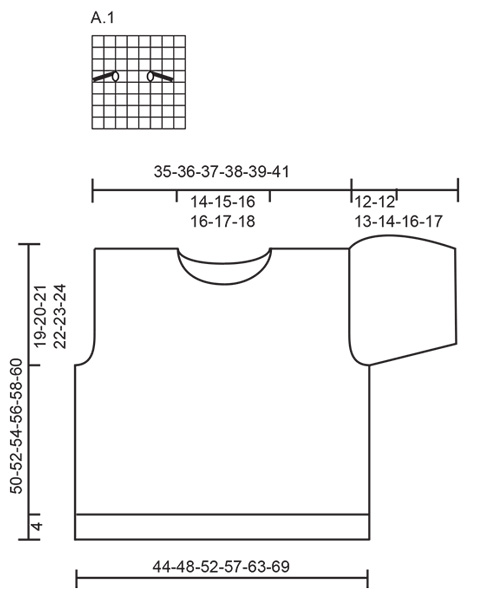
------------------------------------------------------- EXPLANATIONS FOR THE PATTERN: ------------------------------------------------------- RIDGE/GARTER STITCH (worked back and forth): Knit all rows. 1 ridge = knit 2 rows. PATTERN: See diagram A.1. The diagram shows all rows in the pattern from the right side. ------------------------------------------------------- START THE PIECE HERE: ------------------------------------------------------- JUMPER – SHORT OVERVIEW OF THE PIECE: The piece is worked in sections, back and forth and bottom up, then sewn together. The neck is worked to finish. BACK PIECE: Cast on 93-103-113-125-135-149 stitches with circular needle size 4 mm and 2 strands DROPS Kid-Silk. Purl 1 row from the wrong side. Then work the next row from the right side as follows: 1 edge stitch in GARTER STITCH – read description above, * knit 1, purl 1 * work from *-* until there are 2 stitches left, knit 1 and 1 edge stitch in garter stitch. Continue this rib for 4 cm. Knit 1 row from the right side where you decrease 16-20-22-26-26-30 stitches evenly spaced = 77-83-91-99-109-119 stitches. Knit 1 row from the wrong side. Change to circular needle size 5 mm and continue stocking stitch with 1 edge stitch in garter stitch on each side. REMEMBER THE KNITTING TENSION! When the piece measures 31-32-33-34-35-36 cm, cast off at the beginning of each row for the armholes as follows: 3 stitches 1 time, 2 stitches 2-3-4-5-7-9 times and 1 stitch 2-2-3-4-4-4 times on each side = 59-61-63-65-67-69 stitches. When the piece measures 48-50-52-54-56-58 cm, cast off the middle 21-23-25-25-27-29 stitches for the neck and finish each shoulder separately. Cast off 1 stitch on the next row from the neck = 18-18-18-19-19-19 stitches on the shoulder. When the piece measures 50-52-54-56-58-60 cm, cast off. Work the other shoulder in the same way. FRONT PIECE: Cast on 93-103-113-125-135-149 stitches with circular needle size 4 mm and 2 strands DROPS Kid-Silk. Purl 1 row from the wrong side. Then work the next row from the right side as follows: 1 edge stitch in garter stitch, * purl 1, knit 1 * work from *-* until there are 2 stitches left, purl 1 and 1 edge stitch in garter stitch. Continue this rib for 4 cm. Knit 1 row from the right side where you decrease 16-20-22-26-26-30 stitches evenly spaced = 77-83-91-99-109-119 stitches. Knit 1 row from the wrong side. Change to circular needle size 5 mm and continue with stocking stitch and 1 edge stitch in garter stitch on each side. When the piece measures 31-32-33-34-35-36 cm, cast off at the beginning of each row for the armholes as follows: 3 stitches 1 time, 2 stitches 2-3-4-5-7-9 times and 1 stitch 2-2-3-4-4-4 times on each side = 59-61-63-65-67-69 stitches. When the piece measures 44-46-48-50-52-54 cm, place the middle 15-17-19-19-21-23 stitches on a thread for the neck and finish each shoulder separately. Cast off on each row from the neck as follows: 2 stitches 1 time and 1 stitch 2 times = 18-18-18-19-19-19 stitches on the shoulder. When the piece measures 50-52-54-56-58-60 cm, cast off. Work the other shoulder in the same way. SHORT, PUFFED SLEEVES: Cast on 48-50-52-54-56-58 stitches with circular needle size 4 mm and 2 strands DROPS Kid-Silk. Purl 1 row from the wrong side. Then work the next row from the right side as follows: 1 edge stitch in garter stitch, * knit 1, purl 1 * work from *-* until there is 1 stitch left, 1 edge stitch in garter stitch. Continue this rib for 3 cm. Knit 1 row from the right side where you increase 13 stitches evenly in all sizes = 61-63-65-67-69-71 stitches. Knit 1 row from the wrong side. Change to circular needle size 5 mm. On the next row from the right side work as follows: Knit 12-13-11-12-10-11, then increase 12-12-14-14-16-16 stitches over the next 36-36-42-42-48-48 stitches by making 1 yarn over after each 3rd stitch, knit the last 13-14-12-13-11-12 stitches = 73-75-79-81-85-87 stitches. On the next row purl the yarn overs twisted. On the next row from the right side work pattern as follows: 1 edge stitch in garter stitch, 3-0-2-3-5-2 stitches in stocking stitch, work A.1 8-9-9-9-9-10 times in width, 4-1-3-4-6-3 stitches in stocking stitch and 1 edge stitch in garter stitch. Continue this pattern until the sleeve measures 9 cm. Cast off 4 stitches at the beginning of the next 2 rows for the armhole. The stitches which do not fit into A.1 are worked in stocking stitch. When the sleeve measures 10 cm decrease 2 stitches on each side, decrease on a row from the right side, by knitting the first and last 3 stitches together. Decrease like this every 8th-8th-6th-6th-6th-6th row a total of 3-3-4-4-4-4 times = 53-55-55-57-61-63 stitches. When the sleeve measures 20-20-21-22-24-25 cm purl 1 row from the wrong side where you decrease 2-4-1-3-1-3 stitches evenly spaced = 51-51-54-54-60-60 stitches. On the next row knit all stitches together 3 and 3 = 17-17-18-18-20-20 stitches. Cast off. The sleeve measures approx. 21-21-22-23-25-26 cm. ASSEMBLY: Sew the shoulder seams. Sew in the sleeves. Sew the sleeve and side seams inside the 1 edge stitch. NECK: Using short circular needle size 4 mm and 2 strands DROPS Kid-Silk, starting on one shoulder seam, knit up 60 to 88 stitches around the neck (including the stitches from the thread). Purl 1 round, knit 1 round, purl 1 round. Cast off with knit. |
|||||||||||||
Diagram explanations |
|||||||||||||
|
|||||||||||||
 |
|||||||||||||
Have you finished this pattern?Tag your pictures with #dropspattern #violetweadowsweater or submit them to the #dropsfan gallery. Do you need help with this pattern?You'll find 27 tutorial videos, a Comments/Questions area and more by visiting the pattern on garnstudio.com. © 1982-2026 DROPS Design A/S. We reserve all rights. This document, including all its sub-sections, has copyrights. Read more about what you can do with our patterns at the bottom of each pattern on our site. |
|||||||||||||


With over 40 years in knitting and crochet design, DROPS Design offers one of the most extensive collections of free patterns on the internet - translated to 17 languages. As of today we count 324 catalogues and 12290 patterns translated into English (UK/cm). 12290
We work hard to bring you the best knitting and crochet have to offer, inspiration and advice as well as great quality yarns at incredible prices! Would you like to use our patterns for other than personal use? You can read what you are allowed to do in the Copyright text at the bottom of all our patterns. Happy crafting!
Post a comment to pattern DROPS 230-55
We would love to hear what you have to say about this pattern!
If you want to leave a question, please make sure you select the correct category in the form below, to speed up the answering process. Required fields are marked *.