
Popular categories
Looking for a yarn?


Comments / Questions (69)
![]() Josje wrote:
Josje wrote:
Waar is het telpatroon? Ik had dit patroon opgeslagen met telpatroon en nu zie ik doe niet meer…
27.05.2025 - 08:29DROPS Design answered:
Dag Josje,
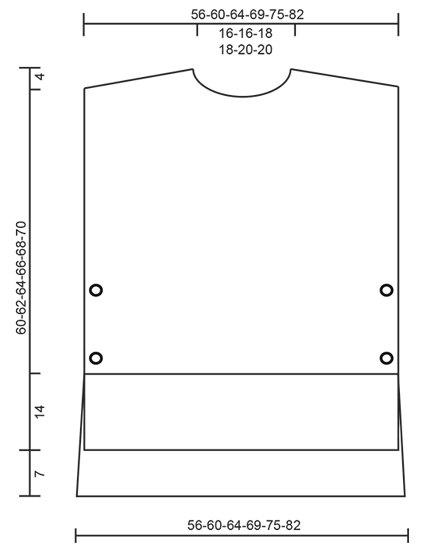
Bij dit patroon zit geen telpatroon. Alles staat beschreven in de tekst. Er is wel een maattekening onderaan de beschrijving.
28.05.2025 - 20:53
![]() Dominique wrote:
Dominique wrote:
On-dit. glisser attente 0 fois 0 mailles sur arrêt maille je ne comprends pas. Toute cette partie pour biais épaules est incompréhensible. "Rabattre une m au rg suivant à partir de l'encolure " on rabattre une seule fois? Merci de reformuler vos explications . Je suis en attente pour faire ce modèle. Merci
02.04.2025 - 19:31DROPS Design answered:
Bonjour Dominique, s'il y a un 0 dans votre taille, vous n'êtes juste pas concernée par cette information; les m des épaules sont mises en attente en début de rg qui commence par l'emmanchure vers l'encolure (ex dos: sur l'end pour l'épaule droite / sur l'env pour l'épaule gauche); et on rabat les m de l'encolure en début de rg à partir de l'encolure vers l'emmanchure (ex dos: sur l'end pour l'épaule gauche, sur l'env pour l'épaule droite). Cette vidéo d'un autre modèle pourrait vous aider à visualiser comment faire. Bon tricot!
03.04.2025 - 08:35
![]() Sandra Schradiek wrote:
Sandra Schradiek wrote:
Wie werden am Ärmloch die Abnahmen gemacht
27.01.2025 - 18:42DROPS Design answered:
Liebe Frau Schradiek, es wird hier keine Maschen für die Armlöcher abgekettet - siehe Maßskizze. Viel Spaß beim Stricken!
28.01.2025 - 09:01
![]() Ann wrote:
Ann wrote:
Als ik 93 steken heb en voor de schouders 28 st. aan elke kant op een hulpdraad moet zetten, hoe kan het dan dat ik de middelste 18 st. moet afkanten voor de nek? Ik heb dan toch een oneven aantal steken over?
14.12.2024 - 15:38
![]() Christine DUPRE wrote:
Christine DUPRE wrote:
Pourquoi la plupart de vos modèles se tricote en aiguilles circulaires ? Pour ma part, je renonce à chaque fois pour réaliser vos modèles car je n'arrive pas à travailler en aiguille circulaire ? Il serait bien d'avoir plus de choix en aiguilles droites
04.12.2024 - 08:23DROPS Design answered:
Bonjour Mme Dupre, les aiguilles circulaires en Scandinavie et en Europe du Nord sont très fréquemment utilisées, raison pour laquelle nombre de nos modèles en utilise, toutefois, vous pouvez souvent facilement adapter les explications sur aiguilles droites - cf cette leçon; pour ce modèle par ex, il suffit simplement de tricoter le devant et le dos comme indiqué (= séparément, en allers et retours), puis de coudre une seule des épaules pour relever les mailles du col, puis faire la couture de la 2ème épaule et du col. Bon tricot!
04.12.2024 - 16:03
![]() Marij wrote:
Marij wrote:
Beste mensen. Ik vind het erg moeilijk om met een rondbreinaald te werken. Hoe kan ik het patroon veranderen als ik gewoon 2 naalden gebruik??? Dat lukt mij het beste. Hopelijk kunt u mij helpen. Gr. Marij
06.11.2024 - 08:35DROPS Design answered:
Dag Marij,
Om een patroon aan te passen om op rechte naalden te breien hebben we een instructie gemaakt. Deze vind je hier.
06.11.2024 - 13:44
![]() Cheryl Dillinger wrote:
Cheryl Dillinger wrote:
How many stitches and rows for the gauge?
29.10.2024 - 19:25DROPS Design answered:
Dear Mrs Dillinger, you will find the tension for both needle size under header, together with needle size, sizes, amount of yarn and buttons. Happy knitting!
30.10.2024 - 08:08
![]() Ann Marie wrote:
Ann Marie wrote:
Vill ha beskrivningen till denna fina väst
24.10.2024 - 10:08
![]() Kirsten Sørensen wrote:
Kirsten Sørensen wrote:
Ønsker opskriften på den flotte vest
22.10.2024 - 15:14
![]() Paola wrote:
Paola wrote:
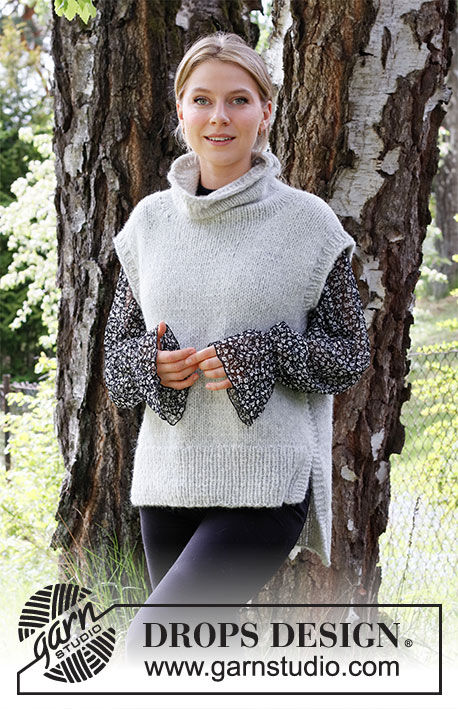
Buongiorno. Come faccio a fare questo modello con il collo alto. Grazie
13.09.2024 - 13:31DROPS Design answered:
Buonasera Paola, per un aiuto così personalizzato può rivolgersi al suo rivenditore DROPS di fiducia. Buon lavoro!
13.09.2024 - 21:04
|
|
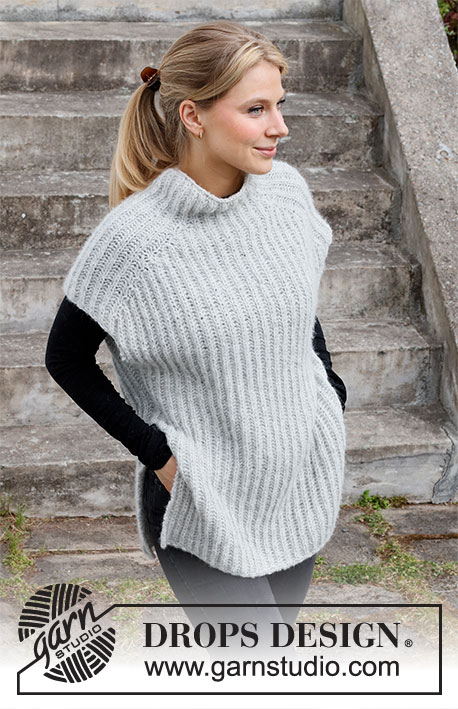
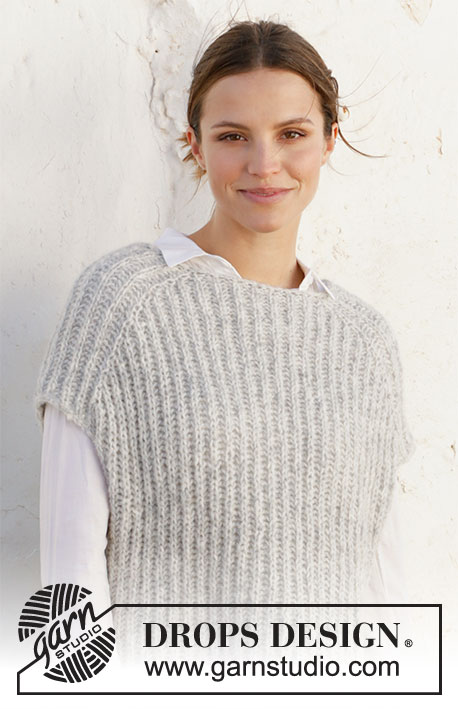
Winter is Coming#winteriscomingslipover |
|
 |
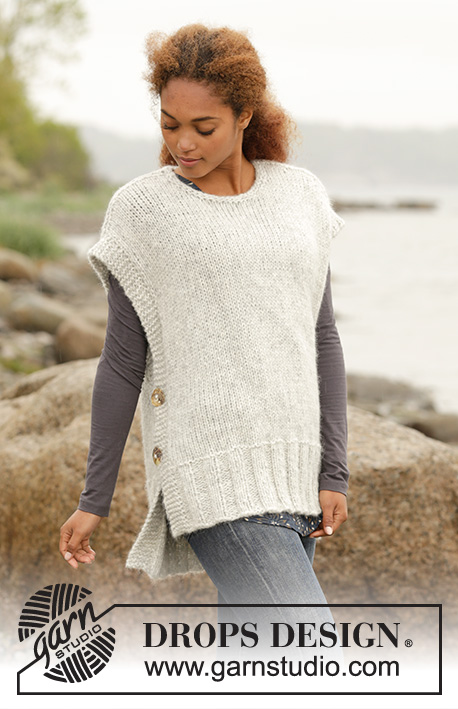 |
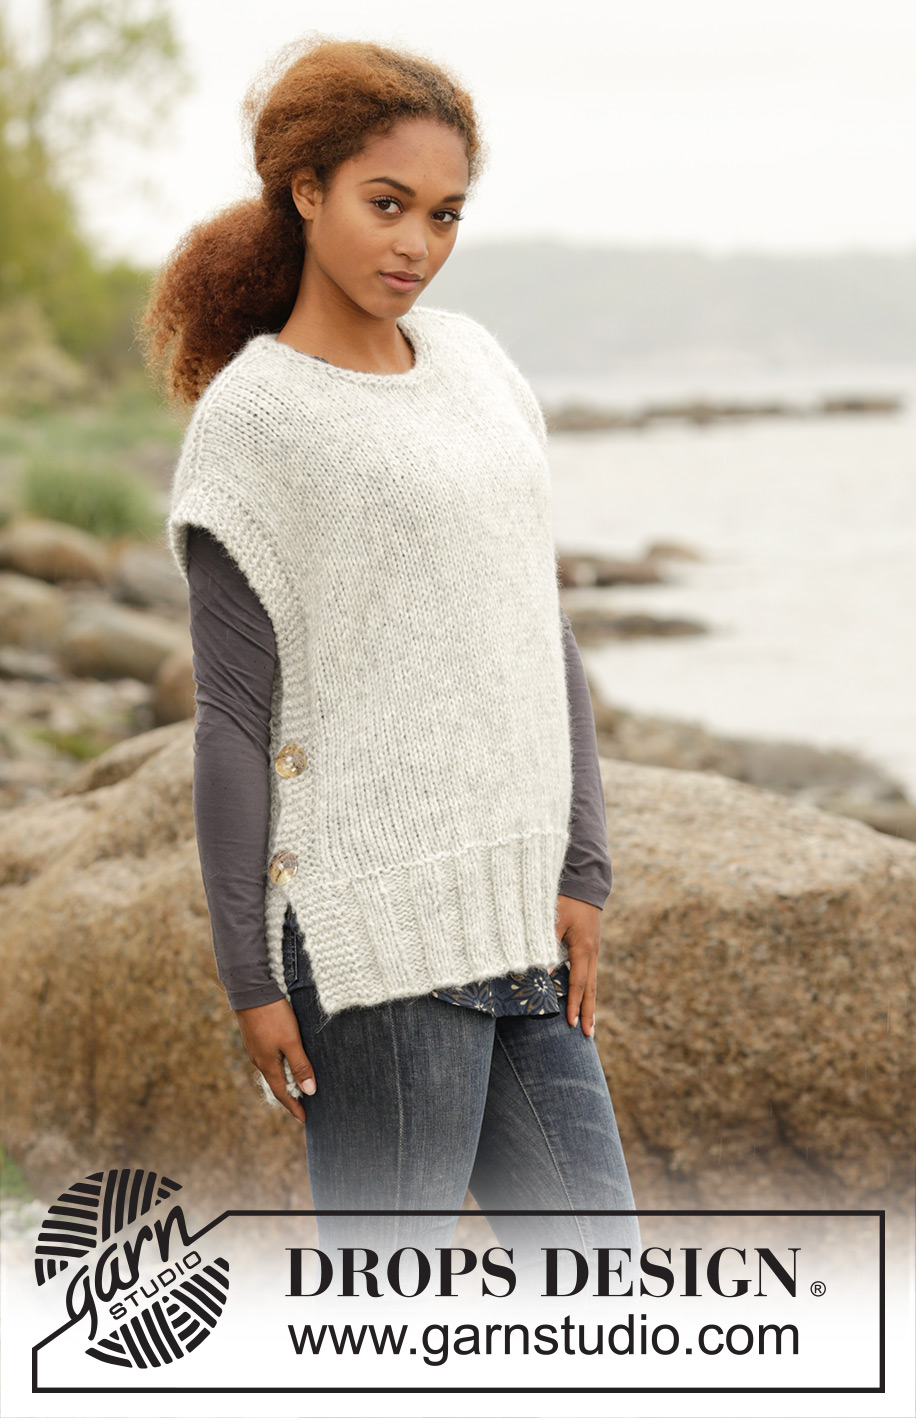
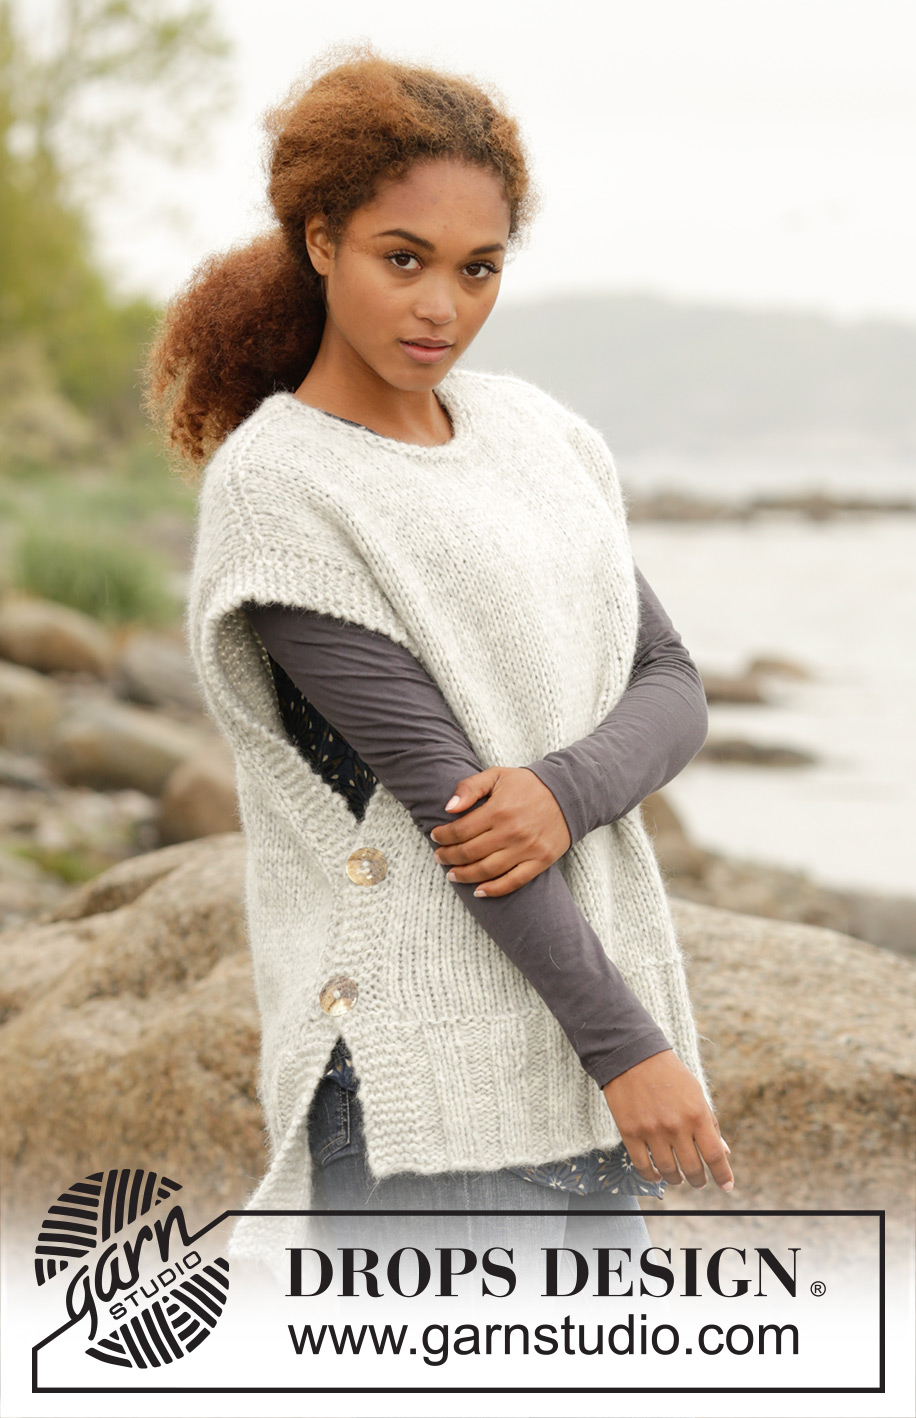
Knitted DROPS vest with vents in the side and round neck in 1 thread Cloud, 1 thread Wish or 2 threads Air. Size S-XXXL.
DROPS 173-47 |
|
|
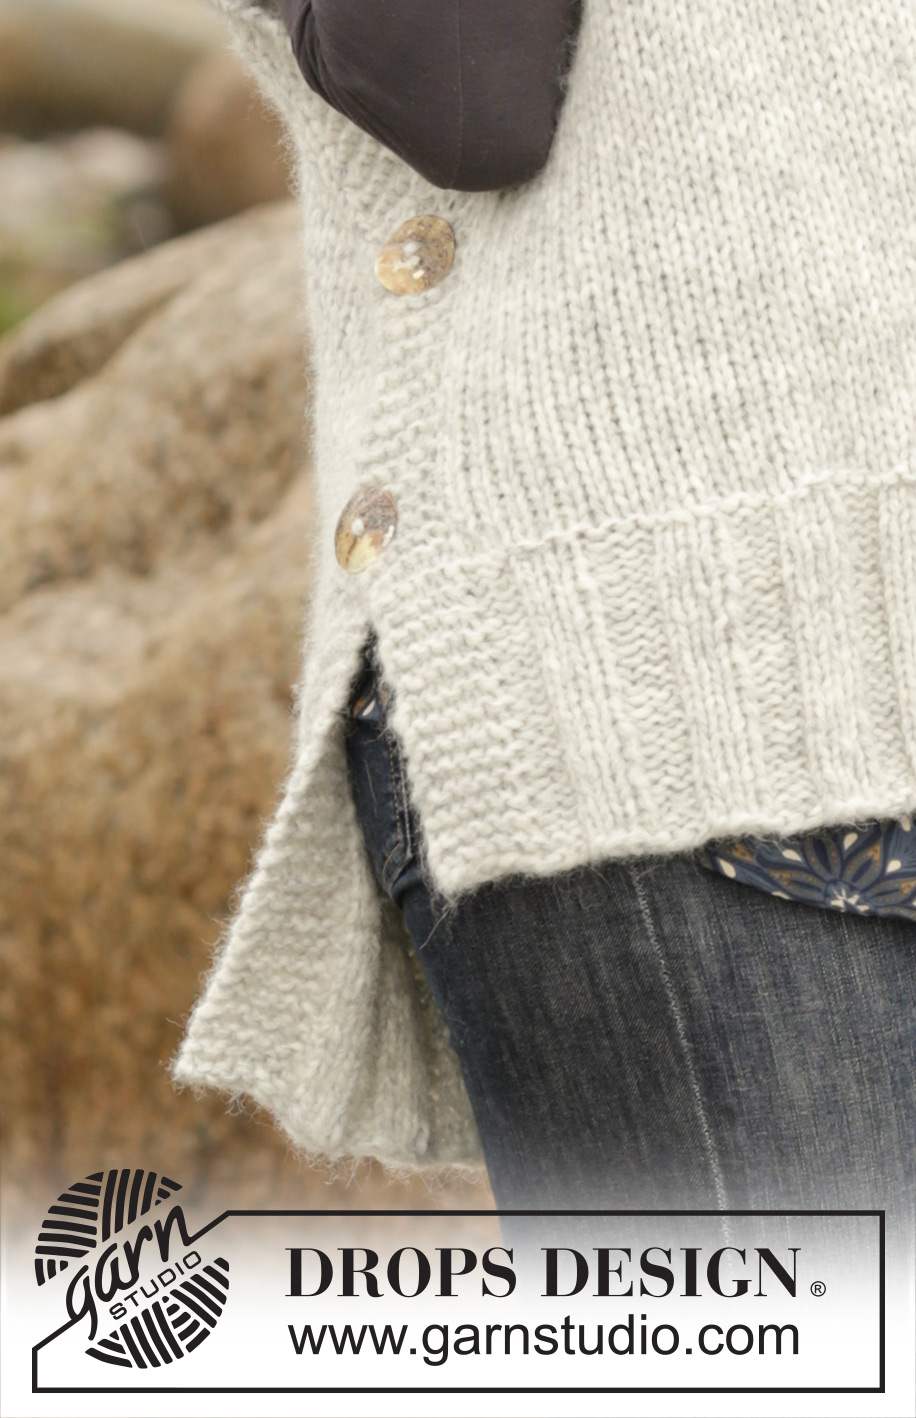
GARTER ST (back and forth): K all rows. 1 ridge = 2 rows K. DECREASE TIP: To calculate how often dec should be done, use the total no of sts on row (e.g. 75 sts), minus edge sts (e.g. 12 sts) and divide the remaining sts by no of dec to be done (e.g. 13) = 4.8. I.e. in this example work approx. every 4th and 5th st tog (and do not dec of edge sts). BUTTONHOLES: Cast off for 2 buttonholes in each side on front piece. 1 buttonhole = cast off third and fourth st from edge and cast on 2 new sts on next row over these sts. Cast off for buttonholes when piece measures 16 and 26 cm in all sizes (or desired length). ---------------------------------------------------------- VEST: Worked back and forth on circular needle in 2 parts and sewn tog on the shoulder. BACK PIECE: Cast on 75-81-87-93-99-105 sts (incl 6 edge st in each side) on circular needle size 7 mm with 1 thread Cloud, 1 thread Wish or 2 threads Air. P 1 row from WS. Work next row as follows from RS: 6 edge st in GARTER ST - see explanation above - * P 3, K 3 *, repeat from *-* until 9 sts remain on needle and finish with P 3 and 6 edge sts in garter st. Continue rib like this until piece measures 21 cm. On next row from WS, switch to circular needle size 8 mm, at the same time dec 13-15-17-17-17-15 sts evenly - READ DECREASE TIP = 62-66-70-76-82-90 sts. Work in stocking st with 6 edge st in garter st in each side. REMEMBER THE KNITTING TENSION When piece measures 63-65-67-69-71-73 cm, slip the outermost sts at beg of every row in each side on 1 stitch holder for diagonal shoulder as follows (NOTE: To avoid cutting the yarn being used, work the sts before slipping them on the stitch holder): Slip 7-8-8-9-10-11 sts 2-3-2-2-3-2 times in total and 8-0-9-10-0-12 sts 1-0-1-1-0-1 time on stitch holder in each side. AT THE SAME TIME when piece measures 65-67-69-71-73-75 cm, cast off the middle 16-16-18-18-20-20 sts for neck and finish each shoulder separately. Cast off 1 st on next row from neck. When all sts have been dec/put on a stitch holder, there are 22-24-25-28-30-34 sts on stitch holder for shoulder and back piece measures approx. 67-69-71-73-75-77 cm from the top of shoulder and down. Slip sts from stitch holder on circular needle size 7 mm. K 1 row from WS (to avoid holes in transitions where sts were slipped on stitch holder put loop between 2 sts on needle and K twisted tog with next st on needle). Then LOOSELY cast off with K from RS. Repeat on the other shoulder. FRONT PIECE: Cast on and work as back piece, but when rib measures 14 cm, dec evenly as on back piece (front piece is 7 cm shorter than back piece). Work as back piece but when piece measures 16 and 26 cm, dec for BUTTONHOLE in each side - see explanation above! Continue to work until piece measures 53-55-57-58-60-62 cm. Now slip the middle 10-10-12-12-14-14 sts on 1 stitch holder for neck and finish each shoulder separately. Continue to cast off for neck at beg of every row from neck as follows: Cast off 2 sts 1 time and 1 st 2 times. AT THE SAME TIME when piece measures 56-58-60-62-64-66 cm, slip sts on a stitch holder for diagonal shoulder as on back piece. When all sts have been put on a stitch holder/cast off, there are 22-24-25-28-30-34 sts on stitch holder for shoulder and front piece measures approx. 60-62-64-66-68-70 cm from the top of shoulder and down. Slip sts from stitch holder on circular needle size 7 mm and K 1 row from WS as on back piece before casting off with K from RS. Repeat on the other shoulder. ASSEMBLY: Sew shoulder seams inside cast-off edge - make sure the seam is not tight. Place edge in garter st with buttonholes (front piece) in one side of piece over edge in garter st on back piece and sew on buttons. Repeat in the other side. NECK EDGE: Pick up from RS approx. 46 to 58 around the neck (incl sts on stitch holder at the front) on a short circular needle size 7 mm with 1 thread Cloud, 1 thread Wish ig 2 threads Air. P 1 round, K 1 round and P 1 round before LOOSELY casting off with K. |
|
|
|
Have you finished this pattern?Tag your pictures with #dropspattern #winteriscomingslipover or submit them to the #dropsfan gallery. Do you need help with this pattern?You'll find 21 tutorial videos, a Comments/Questions area and more by visiting the pattern on garnstudio.com. © 1982-2025 DROPS Design A/S. We reserve all rights. This document, including all its sub-sections, has copyrights. Read more about what you can do with our patterns at the bottom of each pattern on our site. |
|


With over 40 years in knitting and crochet design, DROPS Design offers one of the most extensive collections of free patterns on the internet - translated to 17 languages. As of today we count 314 catalogues and 11822 patterns translated into English (UK/cm).
We work hard to bring you the best knitting and crochet have to offer, inspiration and advice as well as great quality yarns at incredible prices! Would you like to use our patterns for other than personal use? You can read what you are allowed to do in the Copyright text at the bottom of all our patterns. Happy crafting!
Post a comment to pattern DROPS 173-47
We would love to hear what you have to say about this pattern!
If you want to leave a question, please make sure you select the correct category in the form below, to speed up the answering process. Required fields are marked *.