Comments / Questions (53)
Kristina wrote:
Hello, may you please clarify the abbreviation "A.1". I came across it in yoke, after "work next row as follows from RS". The instruction says to P2, K2, A.1 - but what "A" stands for, is nowhere explained... I could not find it under help/abbreviations section either. Thank you so much!
30.05.2015 - 18:14DROPS Design answered:
Dear Kristina, A.1 is the diagram for the pattern you will find at the right side of the measurement chart at the bottom of the pattern. A.1 - read more about diagram here. Happy knitting!
01.06.2015 - 09:31
![]() Ranvá wrote:
Ranvá wrote:
Jeg er ved at strikke str 6/9 mdr og har problemer lige efter bærestk. Ifølge opskriften skal der være 102 m på når mønsteret begynder, men hver gang jeg har forsøgt at strikke 1. mønsterpind, har jeg 4 m tilovers. Ligeledes når jeg tæller maskerne op fra opskriften så giver det kun 98 m på 1. mønsterpind, der skal strikkes. Hvad gør jeg forkert?
15.04.2015 - 09:21DROPS Design answered:
Hej Ranvá. Jeg tror du maa misse et par masker. Du har 102 masker og strikker for 6/9 mdr saadan her: 6 kant-m i RETSTRIK, 2 r, 2 vr, A.1 (= 2 m), 2 vr, 2 r, 2 vr, 2 r (sæt 1 mærke midt mellem disse 2 m = raglan-linje), * 2 vr, 2 r *, gentag fra *-* totalt 3 gange, 2 vr, 2 r (sæt 1 mærke midt mellem disse 2 m = raglan-linje), * 2 vr, 2 r *, gentag fra *-* totalt 7 gange, 2 vr, 2 r (sæt 1 mærke midt mellem disse 2 m = raglan-linje), * 2 vr, 2 r *, gentag fra *-* totalt 3 gange, 2 vr, 2 r (sæt 1 mærke midt mellem disse 2 m = raglan-linje), 2 vr, 2 r, 2 vr, A.1 (= 2 m), 2 vr, 2 r og 6 kant-m i RETSTRIK. Jeg kommer da ud paa 102 m.
15.04.2015 - 15:56
![]() Martina wrote:
Martina wrote:
Ich hab nochmals eine frage. Wenn ich die blenden zusammenstricke und dann den faden abschneide, habe ich dann ja im prinzip eine arbeit, die sich rund (auf der rundstricknadel) stricken lässt. Ist es richtig, dass ich trotzdem mit hin- und rückrunden weiterfahre und wenn ja, entsteht dann nicht eine öffnung, die man dann zusammennähen muss. Oder muss ich ab ende der blende rund weiterstricken? Ich steh auf dem schlauch ...
31.03.2015 - 21:53DROPS Design answered:
Ja, Sie stricken die Arbeit nach der vorderen Blende in Runden weiter, der Runden-Beginn ist nun ab der hinteren Mitte, daher wird der Faden abgeschnitten und neu angesetzt.
02.04.2015 - 10:01
![]() Martina wrote:
Martina wrote:
Ich habe noch nie Raglan gestrickt und bin deshalb etwas unbeholfen. WO und WIE beginne ich mit der Arbeit? Nach der Überschrift RAGLAN oder nach GRÖSSE?
29.03.2015 - 15:39DROPS Design answered:
Die Anleitung beginnt unter der gestrichelten Linie unter "PULLUNDER". Als erstes beginnen Sie mit der Beschreibung unter "RAGLAN", dort wird genannt, wie viele M Sie anschlagen müssen. Raglan ist einfach eine Art der Zunahme, es ergeben sich dann schräge Ärmelansätze, wie Sie auf dem Bild sehen können. Das, was über der gestrichelten Linie steht, sind Erläuterungen, auf die im weiteren Verlauf der Anleitung hingewiesen wird - wenn so ein Hinweis kommt ("siehe oben" o.Ä.) schauen Sie über der gestrichelten Linie nach, wie Sie vorgehen sollen. Das Muster zeigt alle R, Hin- und Rück-R.
30.03.2015 - 10:48
![]() Stina wrote:
Stina wrote:
Und ich nochmal... Ich verstehe nicht warum man, nachdem man die Blenden zusammengestrickt hat, den Faden abschneiden und von hinten weiter stricken soll...? Man kann doch einfach weiter in Runden stricken, "spart" ein Mal Faden vernähen...
28.02.2015 - 13:24DROPS Design answered:
Wenn man den Faden nicht abschneidet, müsste der Rundenbeginn, soweit ich das sehe, vorne liegen. Das vermeidet man in der Regel, zumal sich vorne ja das Muster befindet. Hinten fällt der Rd-Beginn nicht auf.
09.03.2015 - 10:38
![]() Stina wrote:
Stina wrote:
Werden die verkürzten Reihen am Anfang in Krausrippe gestrickt? Dankeschön!
27.02.2015 - 16:41DROPS Design answered:
Ja genau, es wird jede R bei den verkürzten R re gestrickt.
03.03.2015 - 17:02
![]() Sanne wrote:
Sanne wrote:
Hvilke type udtagninger anbefaler I at man laver i halskanten (efter forhøjningen)? Hvordan skal diagrammet læses? Skal det læses nedefra, så man tager ud, så to masker bliver til tre? Kan ikke få det til at passe, at man skal strikke tre ret på 2. pind i diagrammet. Tak for hjælpen
04.02.2015 - 20:09DROPS Design answered:
Hej Sanne, Her efter forhøjningen tager du ud ved at strikke 2 m i 1 maske. Ja du strikker altid diagrammerne fra nederste højre hjørne. God fornøjelse!
05.02.2015 - 13:49
![]() Sissel Jensen wrote:
Sissel Jensen wrote:
Jeg står fast på oppskriften til undertrøyen, under dette punktet: Str 1/3, 6/9, 12/18mnd. Jeg strikker i str 1/3. Det er rett og slett ikke masker nok til å utføre disse angivelsene, eller så er angivelsene feil ?
10.01.2015 - 21:05DROPS Design answered:
Jo det stemmer, se her: 6, 14,(4x3=12), 4,(4x7=28) 4, (4x3=12), 4,12,6 = 102m God fornøjelse!
02.02.2015 - 15:41Adela Beatriz Nassif wrote:
Ayer lo terminé, quedó perfecto.No se dónde comprar tus productos:acceder a la pag rápidamente y pedir desde Argentina: agujas lanas etc, Me gustria saberlo.Saludos .Adela
12.12.2014 - 14:21
![]() Erika wrote:
Erika wrote:
Liebes Team, ich bitte um Hilfe. ich komme an der Stelle nicht klar wo man die Teile zusammenstricken soll. Die Blenden habe ich so übereinander gelegt wie beschrieben, kann aber die Blenden nicht zusammen stricken, kann es drehen und wenden- es funktioniert nicht. Bitte, bitte erklären Sie mir wie ich das machen muß. Danke für Ihre Antwort. Erika
07.10.2014 - 11:54DROPS Design answered:
Die M der rechten Blende befinden sich ja am Ende der R. Heben Sie diese M am besten auf eine Hilfsnadel. Dann legen Sie das Gestrick so überlappend zur Runde zusammen, dass die Blenden-M auf der Hilfsnadel genau über den M der linken Blende liegen. Der Arbeitsfaden hängt ja am Anfang der linken Blende, d.h. am Rd-Beginn. Nun können Sie die linken Blenden-M immer paarweise mit den M auf der Hilfsnadel zusammenstricken.
08.10.2014 - 22:08
Simply Sweet Singlet#simplysweetsinglet |
||||||||||
 |
 |
|||||||||
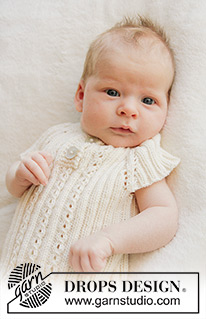
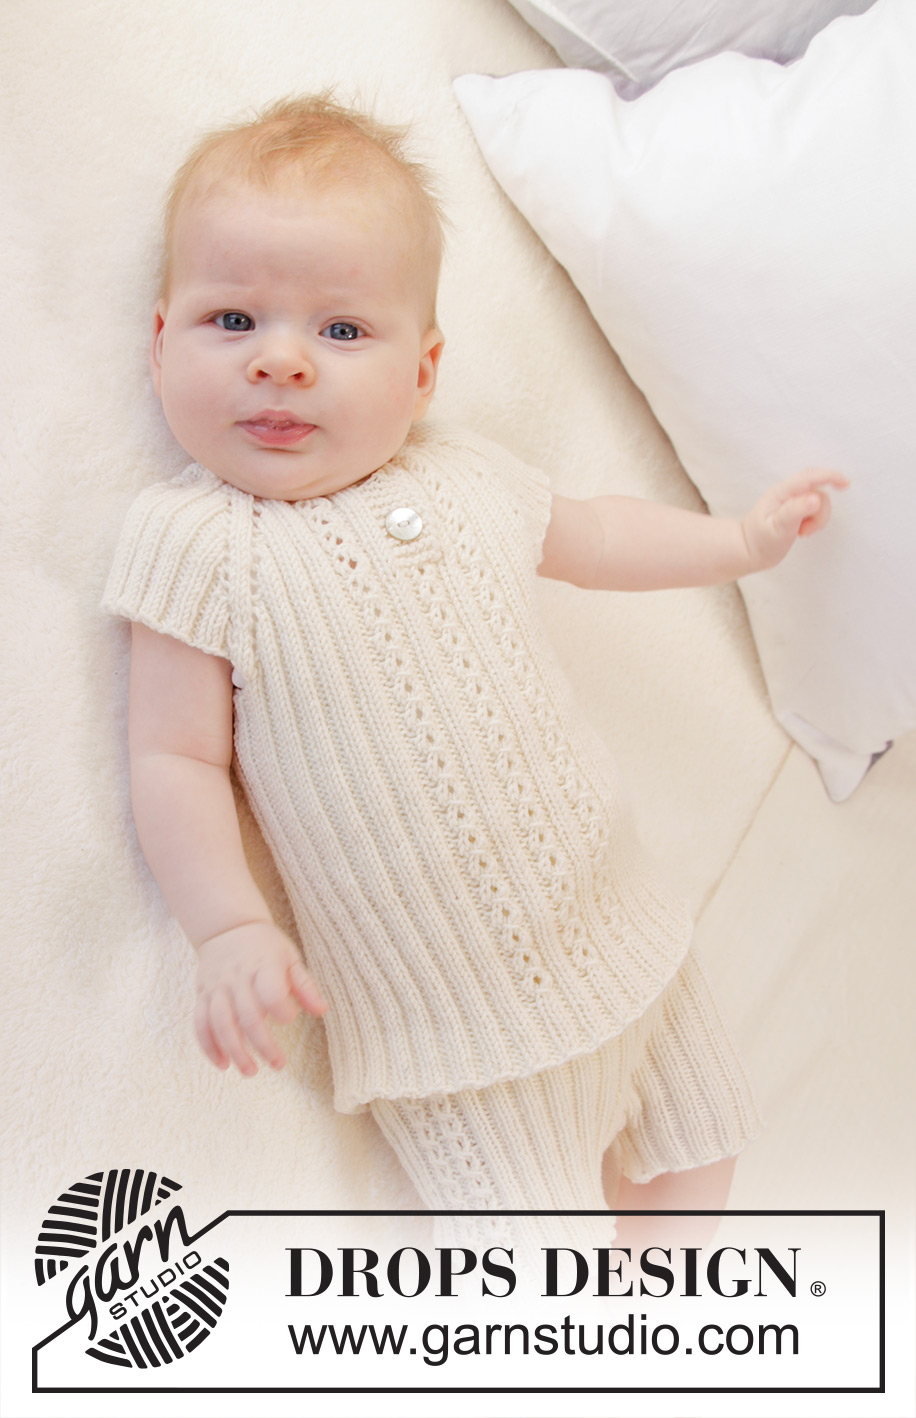
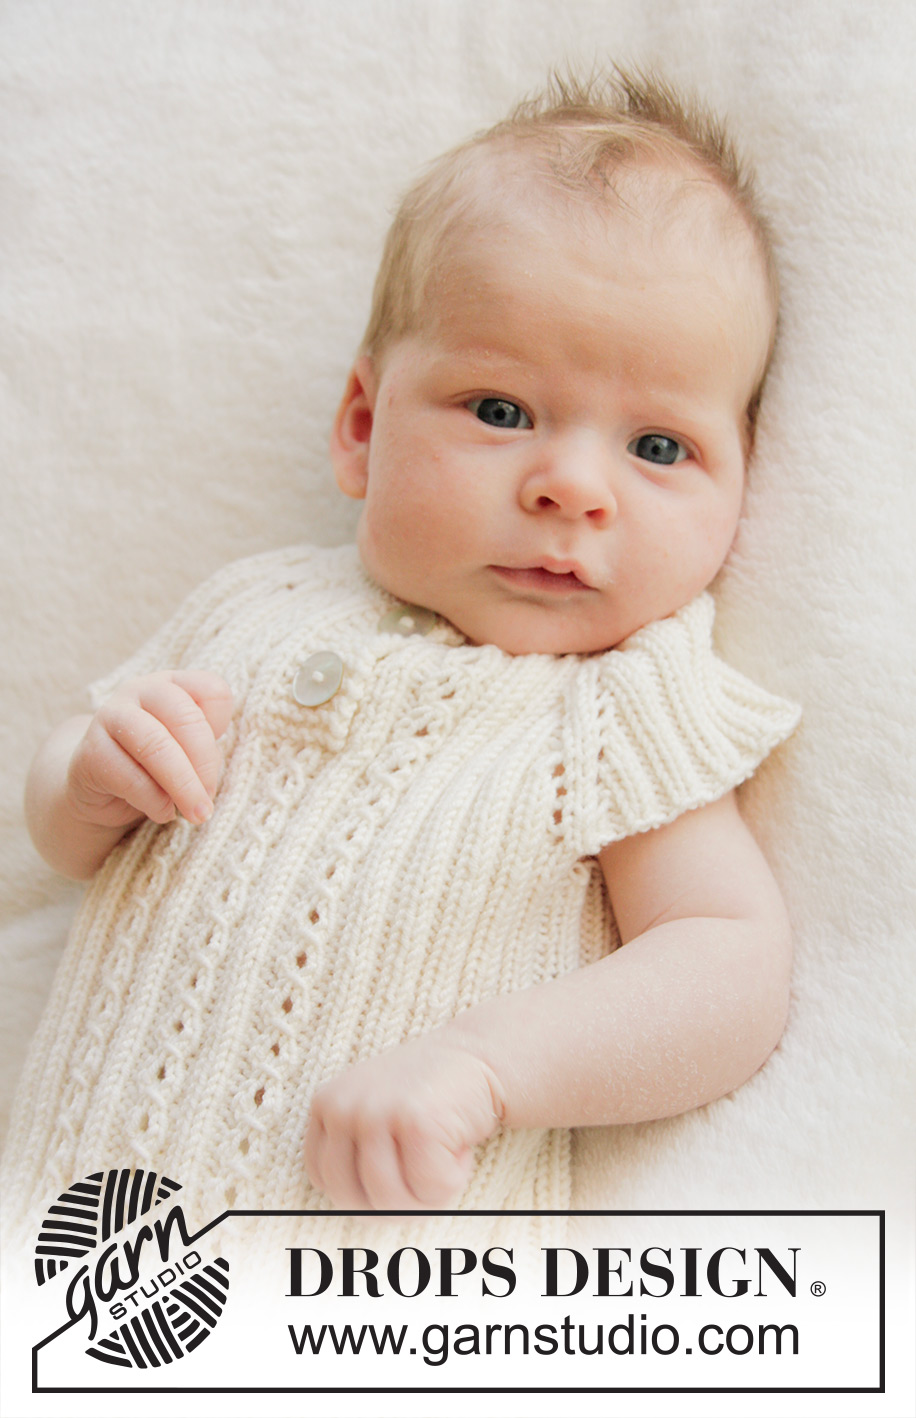
Knitted baby singlet in rib, worked top down in DROPS BabyMerino. Size premature - 4 years.
DROPS Baby 25-31 |
||||||||||
|
GARTER ST (back and forth on needle): K all rows. 1 ridge = 2 rows K. PATTERN: See diagram A.1. The diagram shows all rows in pattern seen from RS. RAGLAN: All inc are done from RS. Inc 1 st on each side of the 4 raglan lines by making 1 YO on each side of the 2 sts K in each raglan line (seen from RS). Work YOs into rib, i.e. P the first 2 sts from WS, K the next 2 sts from WS etc. – NOTE: Do not work YOs twisted (i.e. there should be holes on each side of the 2 K sts in raglan line). BUTTONHOLES: Dec for buttonholes on right band. 1 buttonhole = K tog third and fourth st from edge and make 1 YO (dec for buttonholes from WS). Dec for buttonholes when piece measures: SIZE (premature): 1 and 3 cm. SIZE 0/1 month + 1/3 months: 1 and 4 cm. SIZE 6/9 month + 12/18 months: 1 and 4½ cm. SIZE (2 years + 3/4 years): 1 and 5 cm. ---------------------------------------------------------- SINGLET: The piece is worked top down. Work back and forth on circular needle to after neck vent, then work piece in the round on double pointed needles/circular needle until finished measurements. YOKE: Cast on (54) 60-60-64-74 (74-74) sts (incl 6 band sts in each side towards mid front) on circular needle size 3.5 mm with off white Baby Merino. Work 2 RIDGES in garter st - see explanation above (1st row = RS). Then work an elevation in the back of neck as follows (1st row = RS): K until (6) 8-8-8-10 (10-10) sts remain, turn, tighten yarn and K until (6) 8-8-8-10 (10-10) sts remain in the other side. Turn piece, tighten yarn and K until (12) 16-16-16-20 (20-20) sts remain, turn, tighten yarn and K until (12) 16-16-16-20 (20-20) sts remain in the other side. Turn piece, tighten yarn and K until (18) 24-24-24-30 (30-30) sts remain, turn, tighten yarn and K until (18) 24-24-24-30 (30-30) sts remain in the other side. Turn piece, tighten yarn and K the rest of the row. Work next row as follows from WS: K 6 band sts, P the next (42) 48-48-52-62 (62-62) sts AT THE SAME TIME inc (32) 26-42-38-44 (60-60) sts evenly over these sts and finish with K 6 band sts (remember BUTTONHOLES on band – see explanation above) = (86) 86-102-102-118 (134-134) sts on needle. WORK NEXT ROW AS FOLLOWS FROM RS: SIZE (premature) + 0/1 month: 6 band sts in GARTER ST – see explanation above, K 2, P 2, A.1 (= 2 sts), P 2, K 2 (insert 1 marker in the middle of these 2 sts = raglan line), * P 2, K 2 *, repeat from *-* 3 times in total, P 2, K 2 (insert 1 marker in the middle of these 2 sts = raglan line), * P 2, K 2 *, repeat from *-* 5 times in total, P 2, K 2 (insert 1 marker in the middle of these 2 sts = raglan line), * P 2, K 2 *, repeat from *-* 3 times in total, P 2, K 2 (insert 1 marker in the middle of these 2 sts = raglan line), P 2, A.1 (= 2 sts), P 2, K 2 and 6 band sts in GARTER ST. SIZE 1/3 months + 6/9 months + 12/18 months: 6 band sts in GARTER ST – see explanation above, K 2, P 2, A.1 (= 2 sts), P 2, K 2, P 2, K 2 (insert 1 marker in the middle of these 2 sts = raglan line), * P 2, K 2 *, repeat from *-* 3-3-5 times in total, P 2, K 2 (insert 1 marker in the middle of these 2 sts = raglan line), * P 2, K 2 *, repeat from *-* 7 times in total, P 2, K 2 (insert 1 marker in the middle of these 2 sts = raglan line), * P 2, K 2 *, repeat from *-* 3-3-5 times in total, P 2, K 2 (insert 1 marker in the middle of these 2 sts = raglan line), P 2, K 2, P 2, A.1 (= 2 sts), P 2, K 2 and 6 band sts in GARTER ST. SIZE (2 years + 3/4 years): 6 band sts in GARTER ST – see explanation above, ** K 2, P 2, A.1 (= 2 sts), P 2 **, repeat from **-** 2 times in total, K 2 (insert 1 marker in the middle of these 2 sts = raglan line), * P 2, K 2 *, repeat from *-* 5 times in total, P 2, K 2 (insert 1 marker in the middle of these 2 sts = raglan line), * P 2, K 2 *, repeat from *-* 9 times in total, P 2, K 2 (insert 1 marker in the middle of these 2 sts = raglan line), * P 2, K 2 *, repeat from *-* 5 times in total, P 2, K 2 (insert 1 marker in the middle of these 2 sts = raglan line), ** P 2, A.1 (= 2 sts), P 2, K 2 **, repeat from **-** 2 times in total and finish with 6 band sts in GARTER ST. ALL SIZES: Continue pattern like this back and forth. AT THE SAME TIME on next row from RS inc for RAGLAN – see explanation above (= 8 sts inc). Repeat inc every other row/round (i.e. every row from RS) (7) 7-7-11-11 (11-11) more times (= (8) 8-8-12-12 (12-12) inc in total on each side of every raglan line). AT THE SAME TIME when piece measures (4) 5-5-6-6 (7-7) cm, band ends and piece is worked in the round on needle as follows (adjust so that next row is worked from RS): Place piece tog with sts from right band at the top (so that bands are on top of each other and buttonholes are at the edge). Work 1 round in the round AT THE SAME TIME K tog the 6 sts from right and left band 2 by 2, work the rest of round, cut the yarn and beg next round mid back. Continue rib and pattern in the round AT THE SAME TIME continue inc for raglan as before but work the 6 sts mid front as follows: P 2, A.1 (= 2 sts) and P 2. After last inc for raglan there are (144) 144-160-192-208 (224-224) sts on needle. Work (0) 2-2-2-2 (2-2) more rounds as before, piece measures approx. (7) 8-8-10-11 (11-11) cm from shoulder. On next round LOOSELY cast off the (32) 32-32-40-48 (48-48) sts between each marker over sleeves in rib = (40) 40-48-56-56 (64-64) sts remain on front and back piece. BODY: = (80) 80-96-112-112 (128-128) sts. On next round cast on (8) 16-12-12-16 (16-20) LOOSE sts under each sleeve = (96) 112-120-136-144 (160-168) sts on body – NOW MEASURES PIECE FROM HERE. Continue rib in the round as before (= K 2/P 2) with A.1 at the front as before. When piece measures (10) 13-17-17-18 (21-24) cm from armholes, work rib in the round over all sts (i.e. K 2 instead of A.1 on front piece). When piece measures (13) 16-20-20-21 (24-27) cm from armholes (entire garment measures approx. (20) 24-28-30-32 (35-38) cm from shoulder), LOOSELY cast off with K over K and P over P. ASSEMBLY: Sew the buttons on to the left band. |
||||||||||
Diagram explanations |
||||||||||
|
||||||||||
 |
||||||||||
Have you finished this pattern?Tag your pictures with #dropspattern #simplysweetsinglet or submit them to the #dropsfan gallery. Do you need help with this pattern?You'll find 21 tutorial videos, a Comments/Questions area and more by visiting the pattern on garnstudio.com. © 1982-2025 DROPS Design A/S. We reserve all rights. This document, including all its sub-sections, has copyrights. Read more about what you can do with our patterns at the bottom of each pattern on our site. |
||||||||||


Post a comment to pattern DROPS Baby 25-31
We would love to hear what you have to say about this pattern!
If you want to leave a question, please make sure you select the correct category in the form below, to speed up the answering process. Required fields are marked *.