Comments / Questions (21)
![]() Lise wrote:
Lise wrote:
Selon mes calculs, votre échantillon de 10 cm donne 20 mailles. Pourquoi monter 119 mailles pour grandeur small qui mesure 50 cm de large. (50x20= 100 mailles ) je ne comprends pas votre calcul. Mon échantillon mesure 18 mailles et si je diminue mes broches, j'arrive à 21 mailles et je trouve mon tricot trop serré.
15.04.2025 - 22:34DROPS Design answered:
Bonjour Lise, on monte 119 mailles parce qu'on tricote en côtes d'abord, et il faut plus de mailles en côtes qu'en jersey pour 10 cm surtout avec les aiguilles 3,5; lorsque les côtes sont terminées, on diminue 20 m = il reste 99 m soit environ 50 cm sur la base de 20 m = 10 cm. Bon tricot!
22.04.2025 - 10:03
![]() Lisa wrote:
Lisa wrote:
Hallo, ich habe ein problem, beim bündchen ziehen sich die kraus gestrickten 6 maschen sehr zusammen, wie kann ich das verhindern? danke für eine baldige antwort😌
10.01.2025 - 20:33DROPS Design answered:
Liebe Lisa, versuchen Sie, diese Maschen nicht zu fest zu stricken. Sie können auch dazu ab un zu verkürzten Reihen über diese Maschen stricken, um die richtige Höhe zu behalten; Viel Spaß beim Stricken!
13.01.2025 - 08:36
![]() Aire Kärrlander wrote:
Aire Kärrlander wrote:
Esiosa õlgade kudumine, suurus M Vardal 91 silmust. 15 maha kaelaaugu jaoks. Ühele õlale jääb 91-15/2=38 silmust. Kui ma 8 korda kahandan igal parempoolsel real siis mul jääb vardale 30 silmust aga õpetuses on 20. Mis mul kahe silma vahele on jäänud?
23.11.2024 - 21:18
![]() Alicia Cedeño wrote:
Alicia Cedeño wrote:
Puedo realizar el patrón en agujas rectas ? Cuál es el punto musgo ? Yo veo como un resorte ?
30.07.2024 - 02:52
![]() Marilyn King wrote:
Marilyn King wrote:
I'm grateful for your free patterns and lovely designs, but the instructions seem so complicated for a simple vest shape that I am put off trying!
01.05.2024 - 08:03
![]() Trine Hemmingsen wrote:
Trine Hemmingsen wrote:
Strikkefastheden.. er det med pind 3,5 eller 4,5 jeg skal få det til at måle 10x10cm med 20m og 26 pinde?
25.04.2024 - 20:40DROPS Design answered:
Hej Trine, vi får 20 masker på pind 4,5 :)
26.04.2024 - 11:00
![]() Monique wrote:
Monique wrote:
Necesito saber si 1 hilera es 1 rango de
04.03.2024 - 17:24DROPS Design answered:
Hola Monique, 1 hilera = 1 fila.
10.03.2024 - 20:11
![]() Monique wrote:
Monique wrote:
Cuando dicen 1 diminución cada 2 hileras, significa 1 disminución por el derecho, nada por el revés y otra disminución por el derecho?
04.03.2024 - 17:23DROPS Design answered:
Hola Monique, sí, hilera = fila. Por lo tanto, si disminuyes cada 2 hileras significa que disminuyes en cada fila por el mismo lado (es decir, en cada fila por el lado derecho).
10.03.2024 - 20:11
![]() Indu wrote:
Indu wrote:
Love this vest .Got the yarn excited to start.
29.11.2023 - 02:17
![]() Sharon Hunt-Edwards wrote:
Sharon Hunt-Edwards wrote:
Hello, have bought the yarn suggested her to make this vest. I would like, however, to use drops matching kid silk. Will this change the gauge in anyway and how much kid silk should i purchase? Sharon
18.11.2023 - 11:45DROPS Design answered:
Dear Mrs Hunt-Edwards, if you use Kid-Silk and Karisma together, this will automatically affect the tension; see an example here so that you might rather find a pattern matching this tension. Happy knitting!
20.11.2023 - 09:55
Grey Stone Hill#greystonehill |
|||||||
 |
 |
||||||
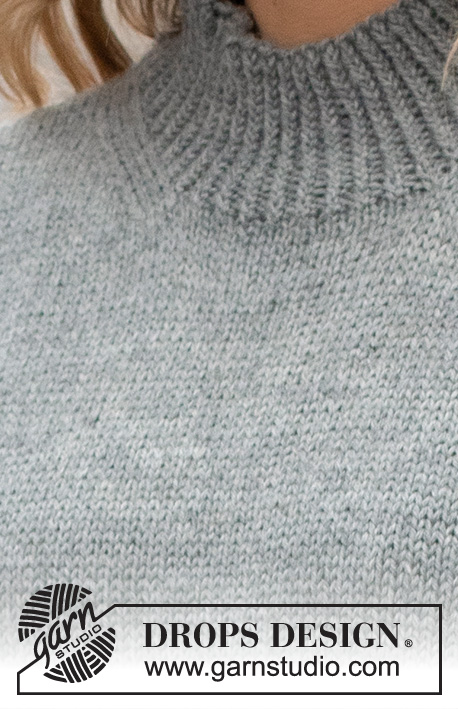
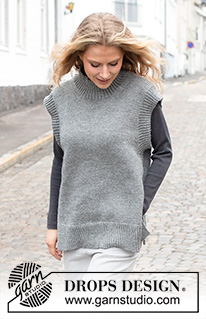
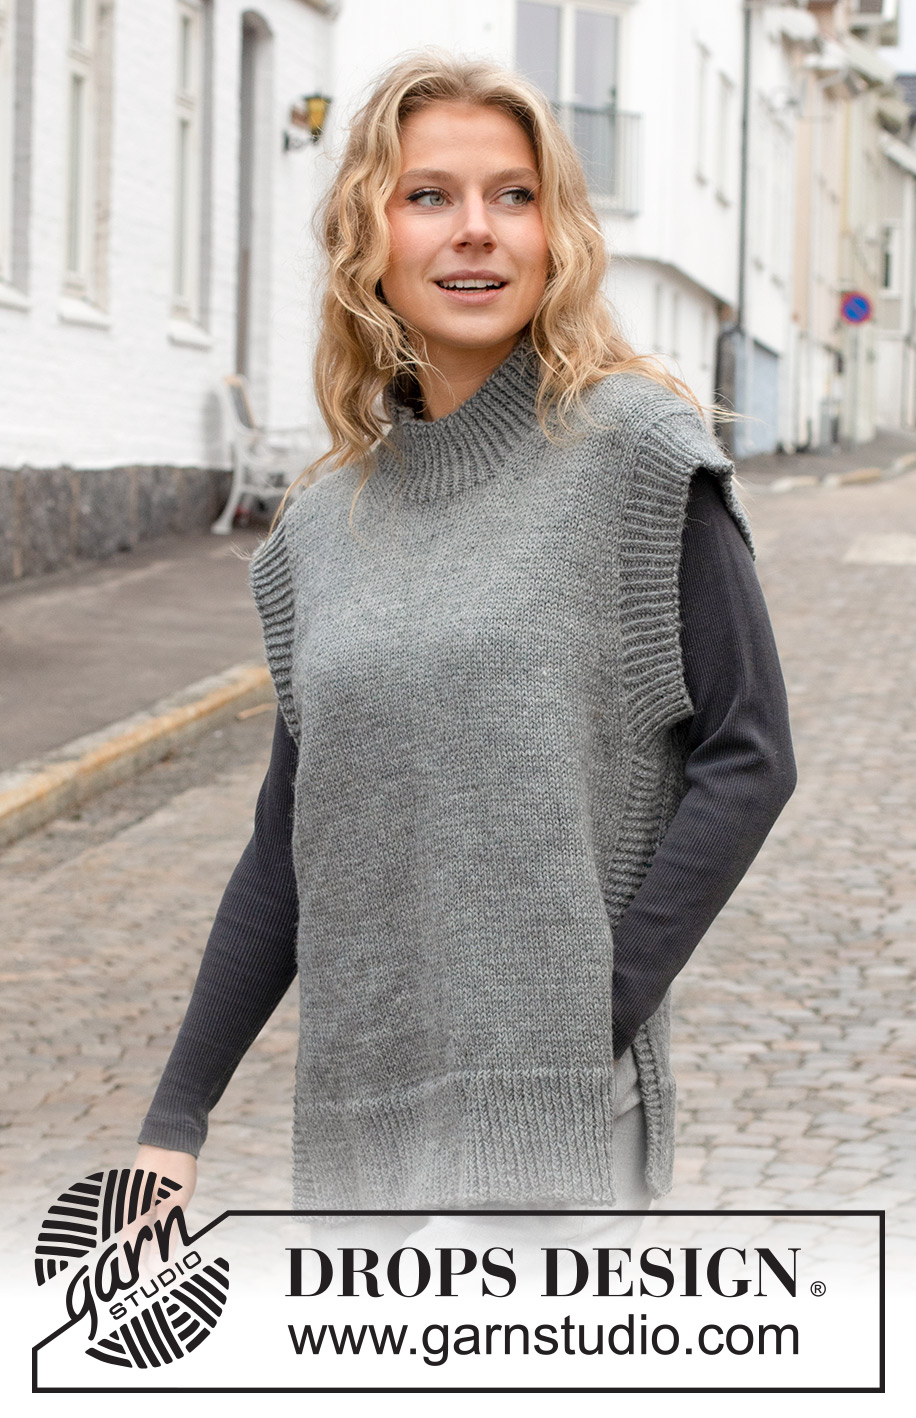
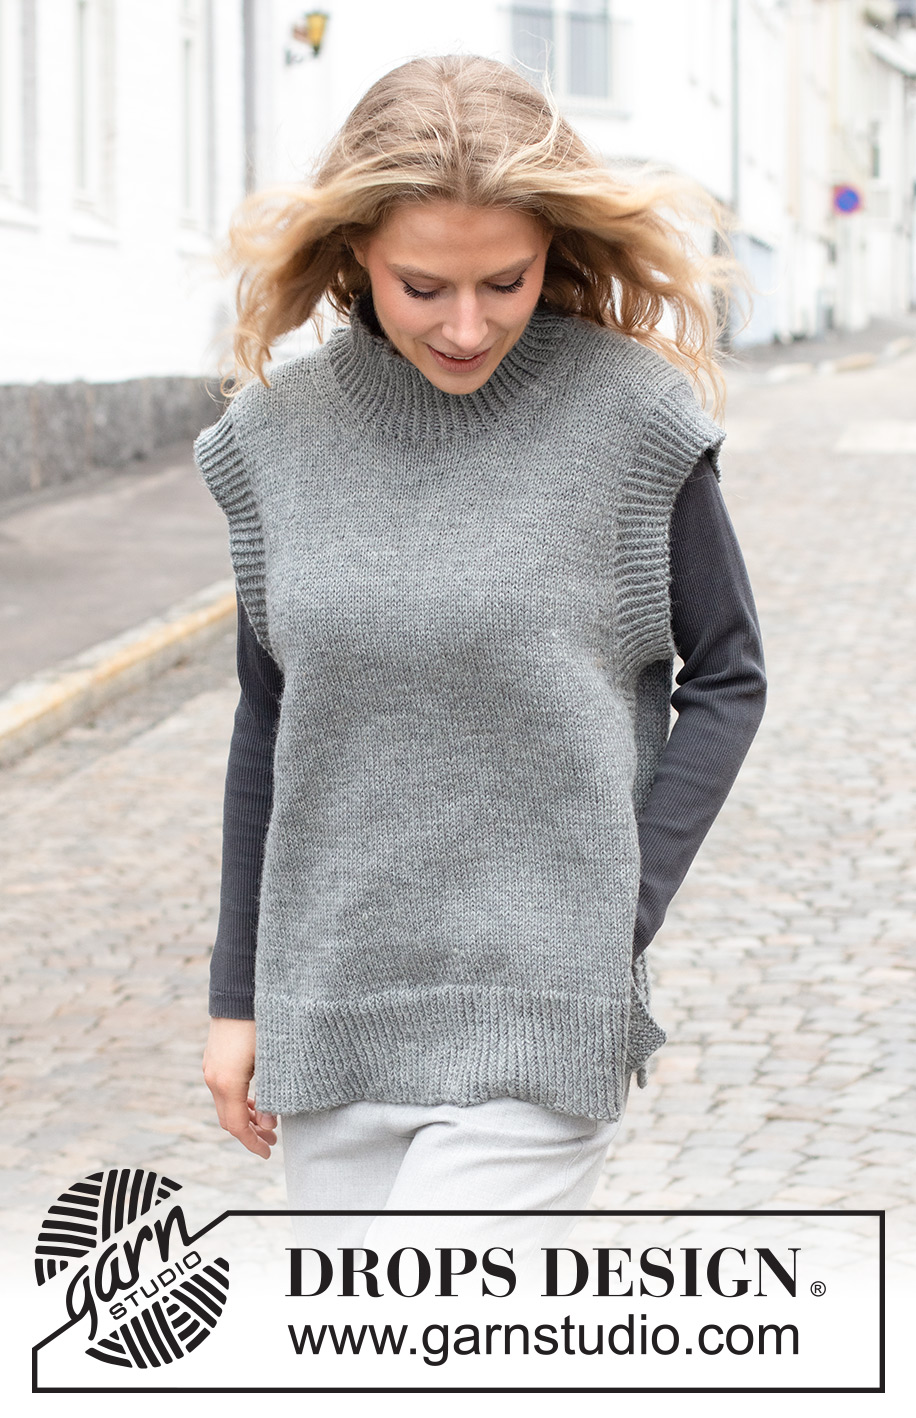
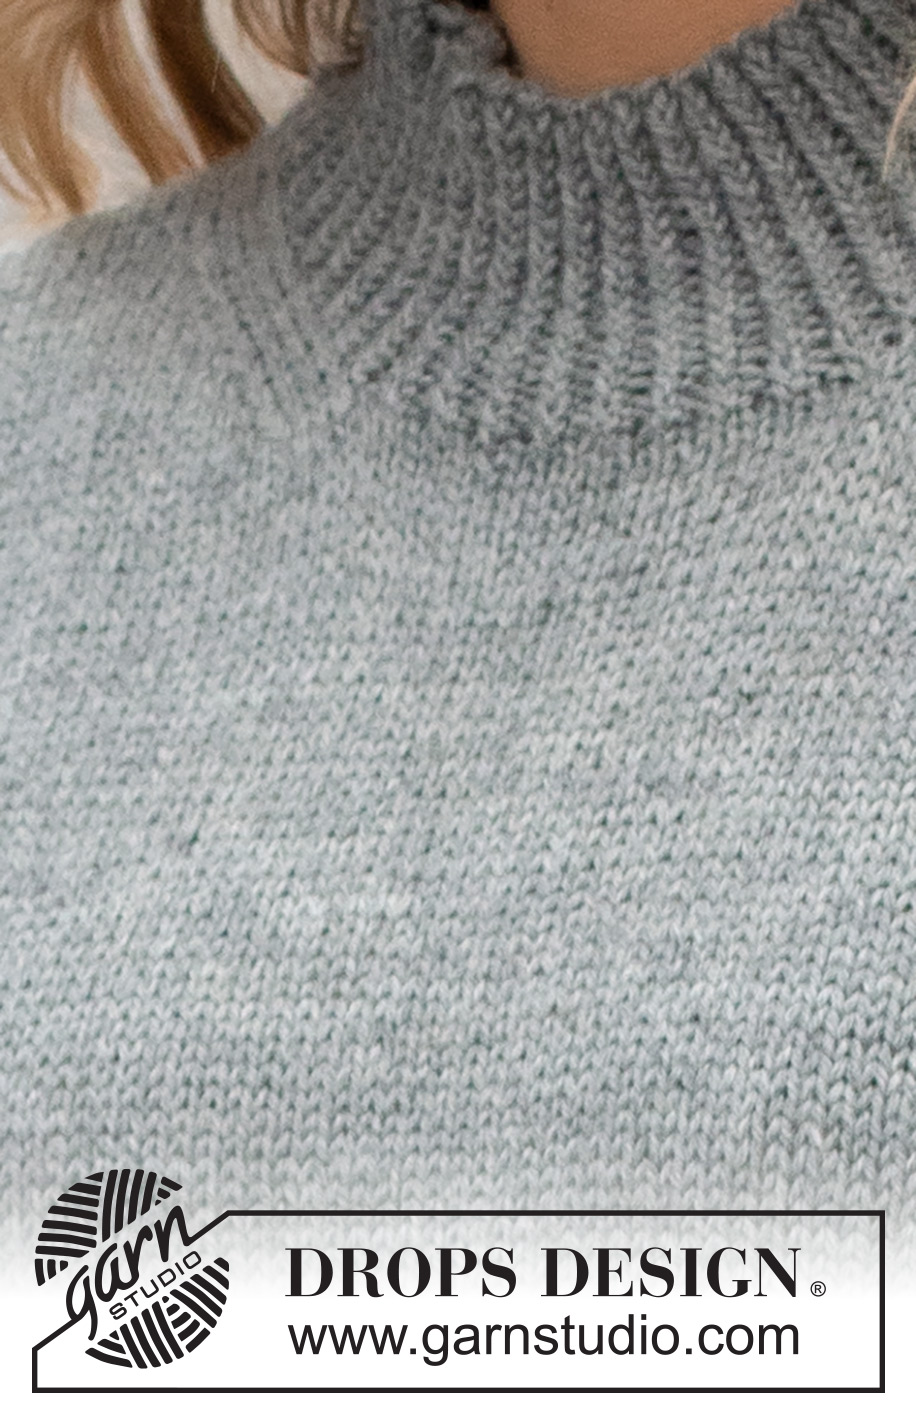
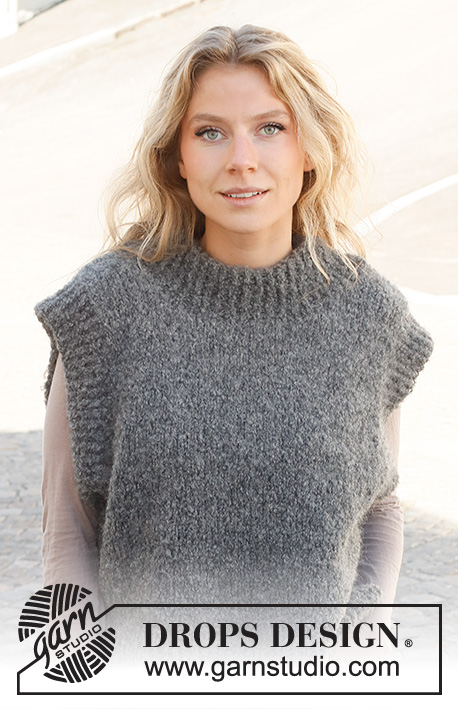
Knitted vest / slipover in DROPS Karisma. Piece is knitted with high neck, rib on edges and vents in the sides. Size: S - XXXL
DROPS 228-29 |
|||||||
|
---------------------------------------------------------- EXPLANATION FOR THE PATTERN: ---------------------------------------------------------- GARTER STITCH (worked in the round): 1 ridge vertically = 2 rounds, i.e. knit 1 round and purl 1 round. GARTER STITCH (back and forth): Knit all rows. 1 ridge vertically = knit 2 rows. PATTERN: See diagram A.1. Diagrams show all rows in pattern seen from the right side. DECREASE TIP-1 (evenly): To calculate how to decrease evenly, use the total number of stitches on row (e.g. 119 stitches), minus edge stitches (e.g. 12 stitches) , and divide the remaining 107 stitches by number of increases/decreases to be done (e.g. 20) = 5.3. If decreasing knit in this example approx. every 4th and 5th stitch and every 5th and 6th stitch together. DECREASE TIP-2 (applies to sides of body): Decrease 1 stitch on each side of stitches in garter stitch as follows: Work until 2 stitches remain before stitches in garter stitch, knit 2 together, work 12 stitches in garter stitch, slip 1 stitch knitwise, knit 1, pass slipped stitch over stitch worked. DECREASE TIP-3: All decreases are done from the right side! Decrease at beginning of row as follows: Decrease 1 stitch after 1 edge stitch in garter stitch and 3 knit stitches as follows: Slip 1 stitch knitwise, knit 1, pass slipped stitch over stitch worked (= 1 stitch decreased). Decrease at end of row as follows: Decrease 1 stitch before 3 knit stitches and 1 edge stitch in garter stitch as follows: Work until 6 stitches remain on needle. Knit 2 together, knit 3, work 1 edge stitch in garter stitch (= 1 stitch decreased). CAST-OFF TIP: To avoid a tight cast-off edge when casting off, you may use a larger needle. If this still is too tight make 1 yarn over after approx. every 4th stitch while casting off (cast off yarn overs as stitches). ---------------------------------------------------------- START THE PIECE HERE: ---------------------------------------------------------- VEST – SHORT SUMMARY OF PIECE: Work back piece and front piece back and forth on circular needle upwards until vent is done, then slip the 2 part on to same circular needle and work in the round on circular needle up to armhole. Divide piece for front piece and back, and work each part back and forth. Work sleeve edges and neck edge in the round on circular needle. BACK PIECE: Cast on 119-129-139-151-165-179 stitches on circular needle size 3.5 mm with DROPS Karisma. Work rib as follows: 6 stitches in GARTER STITCH – read explanation above, A.1 until 7 stitches remain, work first stitch in A.1, 6 stitches in garter stitch. Continue back and forth like this until piece measures 9 cm. Work next row as follows from right side: Work garter stitch as before over the first 6 stitches, knit the next 107-117-127-139-153-167 stitches and decrease at the same time 20-22-24-26-28-30 stitches evenly – read DECREASE TIP-1, work in garter stitch as before over the last 6 stitches = 99-107-115-125-137-149 stitches. Switch to circular needle size 4.5 mm. Now work in stocking stitch with 6 stitches in garter stitch in each side. REMEMBER THE KNITTING TENSION! When piece measures 18 cm – adjust so that next row is worked from right side, put piece aside. Work front piece. FRONT PIECE: Work as on back piece. BODY: Slip stitches on front piece and back piece on to same circular needle size = 198-214-230-250-274-298 stitches. Begin round before 12 stitches in garter stitch in one side. Continue in stocking stitch and 12 stitches stitch in GARTER STITCH in each side - read explanation above. When piece measures 20 cm, decrease 1 stitch on each side of the 12 stitches in garter stitch - read DECREASE TIP-2. Repeat decrease when piece measures 28-29-30-31-32-33 cm = 190-206-222-242-266-290 stitches. When piece measures 36-37-38-39-40-41 cm, cast off 12-12-14-16-18-20 stitches in each side for armholes (i.e. cast off the 12 stitches in garter stitch and 0-0-1-2-3-4 stitches on each side of garter stitches). Then finish front and back piece separately. BACK PIECE: = 83-91-97-105-115-125 stitches. Continue back and forth in stocking stitch with 1 edge stitch in garter stitch in each side. At the same time on next row from right side begin decrease for armhole - read DECREASE TIP-3. Decrease like this every other row 1-1-3-7-12-18 times, then every 4th row 7-9-8-6-4-1 times (= 8-10-11-13-16-19 stitches decreased for armhole in each side) = 67-71-75-79-83-87 stitches. Continue to work until piece measures 64-66-68-70-72-74 cm. Now cast off the middle 29-29-31-31-33-33 stitches for neck and finish each shoulder separately. Then on next row from the neck, decrease 1 stitch = 18-20-21-23-24-26 stitches remain on shoulder. When piece measures 66-68-70-72-74-76 cm, cast off. Work the other shoulder the same way. FRONT PIECE: = 83-91-97-105-115-125 stitches. Continue back and forth in stocking stitch with 1 edge stitch in garter stitch in each side. At the same time decrease for armholes the same way as on back piece. When piece measures 58-60-61-63-64-66 cm, slip the middle 15-15-17-17-19-19 stitches on front piece on a stitch holder, and finish each shoulder separately. Left shoulder: Continue back and forth with stocking stitch and 1 edge stitch in garter stitch in each side, at the same time on next row from right side decrease as follows: Work until 6 stitches remain on needle (= towards the neck), knit 2 together, knit 3, work 1 edge stitch in garter stitch (= 1 stitch decreased). Decrease like this on every other row (i.e. every row from right side) 8 times in total = 18-20-21-23-24-26 stitches for shoulder. When piece measures 66-68-70-72-74-76 cm, cast off. Right shoulder: Continue back and forth with stocking stitch and 1 edge stitch in garter stitch in each side, at the same time on next row from right side decrease as follows from the neck: Work 1 edge stitch in garter stitch, knit 3, slip next stitch knitwise, knit 1, pass slipped stitch over stitch worked (= 1 stitch decreased). Decrease like this on every other row (i.e. every row from right side) 8 times in total = 18-20-21-23-24-26 stitches for shoulder. When piece measures 66-68-70-72-74-76 cm, cast off. ASSEMBLY: Sew shoulder seams with grafting/kitchener stitches inside cast-off edges. SLEEVE EDGES: Begin from right side where piece was divided for armhole. Use circular needle size 3.5 mm and pick up approx. 132 to 154 stitches around the entire armhole (number of stitches must be divisible by 2). Work rib according to diagram A.1 in the round for 4½-5 cm. Cast off stitches with knit over knit and purl over purl. Repeat around the other armhole. NECK EDGE: Begin mid on top of one shoulder with circular needle size 3.5 mm and Karisma and pick up approx. 96 to 110 stitches inside 1 edge stitch in garter stitch. Work rib in the round according to A.1. When rib measures 7 cm, cast off with knit over knit and purl over purl. |
|||||||
Diagram explanations |
|||||||
|
|||||||
 |
|||||||
Have you finished this pattern?Tag your pictures with #dropspattern #greystonehill or submit them to the #dropsfan gallery. Do you need help with this pattern?You'll find 28 tutorial videos, a Comments/Questions area and more by visiting the pattern on garnstudio.com. © 1982-2025 DROPS Design A/S. We reserve all rights. This document, including all its sub-sections, has copyrights. Read more about what you can do with our patterns at the bottom of each pattern on our site. |
|||||||









Post a comment to pattern DROPS 228-29
We would love to hear what you have to say about this pattern!
If you want to leave a question, please make sure you select the correct category in the form below, to speed up the answering process. Required fields are marked *.