
Popular categories
Looking for a yarn?


Comments / Questions (14)
![]() Rachel Mimille wrote:
Rachel Mimille wrote:
Comment puis-je me procurer les diagrammes de dentelle diverses
18.05.2021 - 01:22DROPS Design answered:
Bonjour Mme Mimille, les diagrammes correspondants aux points ajourés de nos modèles se trouvent toujours en bas de page, après les explications écrites. Retrouvez tous nos modèles en point ajouré ici - utilisez les filtres si besoin. Bon tricot!
18.05.2021 - 08:17
![]() Jutta Marka wrote:
Jutta Marka wrote:
In M1 wie werden die Maschen gestrickt die einen quer Strich von links unten nach rechts oben eingetragen sind? (NB nicht diese die zusammengestrickt werden)
05.02.2019 - 22:27DROPS Design answered:
Liebe Frau Marka, diese Maschen werden abgekettet (= 4. Symbol) - das Symbol wird bald geändert, danke für den Hinweis. Viel Spaß beim stricken!
06.02.2019 - 09:22Staci wrote:
I dont understand the instructions for the body of the shawl. The translation is a bit confusing. And where is the download pattern button?
31.08.2018 - 16:28DROPS Design answered:
Dear Stacy, you caston 59 sts around 2 needles (see video) and work in garter stitch for 54 cm then bind off - you then work a lace edge that will be sewn around the shawl. Our patterns can only be printed, you can then save them as a .PDF with a virtual printer. Happy knitting!
06.09.2018 - 09:48
![]() Boel Angermund wrote:
Boel Angermund wrote:
I mönster 87-1 Spetskanten M1 visas på diagrammet på varv 10 att man ska maska av 1 m i taget och 15 maskor. De första 8 går bra men varifrån kommer de återstående 7 maskorna som ska avmaskas?
08.07.2012 - 11:58
![]() Jutta Pedigo wrote:
Jutta Pedigo wrote:
Danke! das macht Sinn!
07.05.2012 - 17:30DROPS Design answered:
Die Diagrammerklärungen sind jetzt angepasst.
08.05.2012 - 09:10
![]() Anton wrote:
Anton wrote:
Keinen Umschlag fallen lassen! Schwedische Erklärung vom herzformigen Zeichen: 1. Umschlag rechts stricken, 2. Umschlag GEKEHRT rechts stricken. Grüsse!
07.05.2012 - 17:21
![]() Jutta Pedigo wrote:
Jutta Pedigo wrote:
Danke Anton! Wo sind die fehler? kannst du mir bitte helfen?
07.05.2012 - 15:59
![]() Anton wrote:
Anton wrote:
Deutsche übersetzung ganz falsch!
07.05.2012 - 15:44
![]() Jutta Pedigo wrote:
Jutta Pedigo wrote:
Laut anleitung wird nur eine der Umschlaege gestrickt und die andere fallen gelassen. wie kann man da eine dazu gewinnen? es macht keinen sinn. die anleitung ist leider sehr fehlerhaft und gar nich klar geschrieben.
07.05.2012 - 14:04
![]() Jutta Pedigo wrote:
Jutta Pedigo wrote:
3. laut muster strickt man 5x zwei maschen zusammen aber man nimmt nur 2 mit dem doppelten umschlag zu. es waere hilfreich wenn man jede vordere reihe beschreibt und kennzeichnet wie viel maschen man haben sollte. ich bitte um aufklaerung und wenn moeglich auch weitere diagramme zum besseren verstaendniss.
05.05.2012 - 12:55DROPS Design answered:
Alle Abnahmen werden durch Umschläge wieder aufgehoben (Maschenzahl bleibt gleich). Die 2 doppelten Umschläge ergeben die neuen Maschen. Es gibt leider kein weiteres Diagramm zu dieser Anleitung.
07.05.2012 - 09:16
|
||||||||||||||||
DROPS 87-1 |
||||||||||||||||
 |
 |
|||||||||||||||
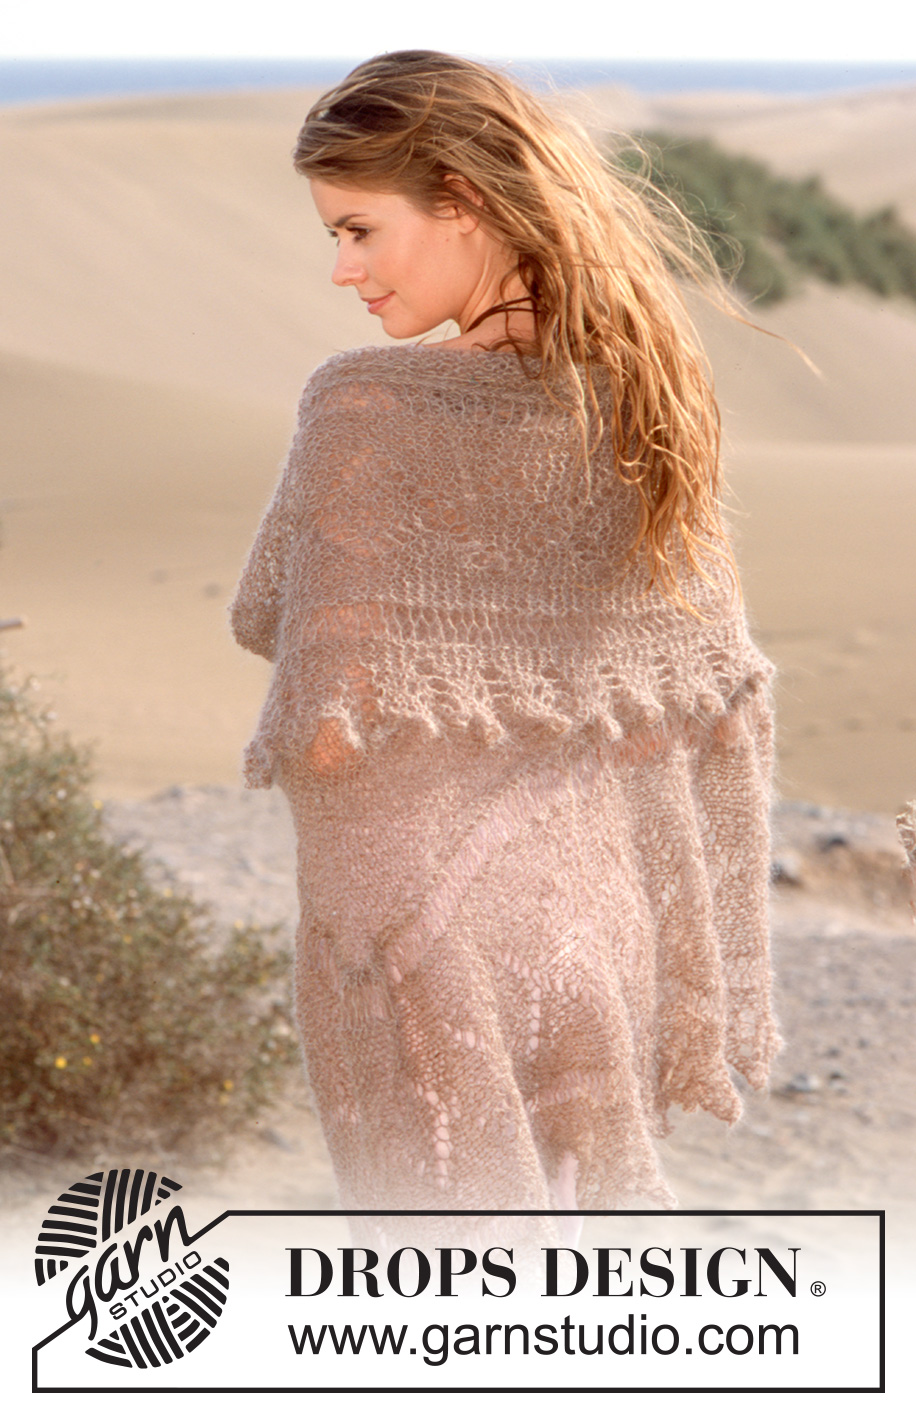
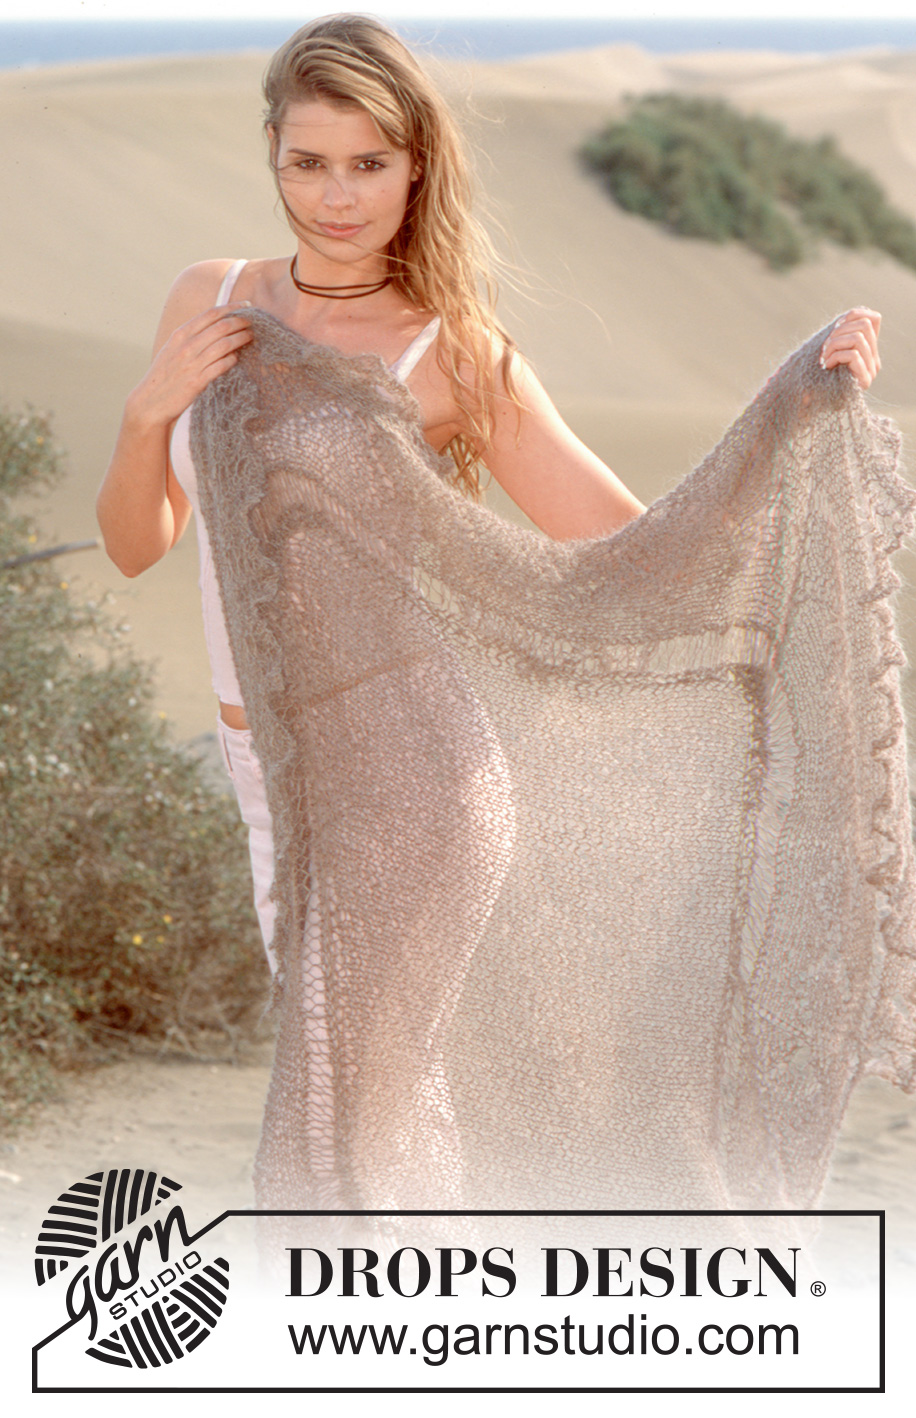
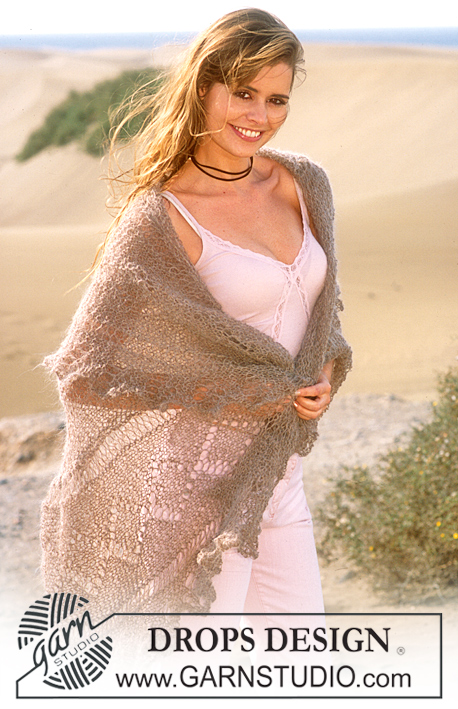
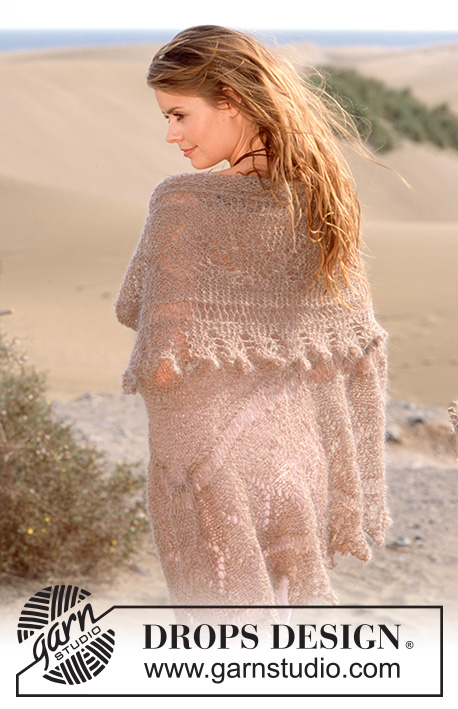
DROPS Square Shawl in Vivaldi with Lace Edge
DROPS 87-1 |
||||||||||||||||
|
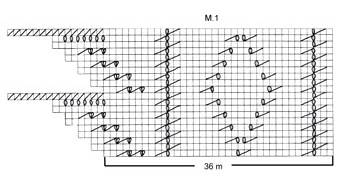
Gauge: 11 sts x 22 rows in garter st = 10 x 10 cm. Lace edge: See chart. The pattern is seen from the right side. Shawl: Knit the square first in garter st, then knit the lace edge. Cast on 59 sts around 2 needles with Vivaldi (this is to make sure the cast-on edge is elastic). Pull out one needle and knit garter st. When the piece measures 54 cm (lay piece flat to measure and be sure that the piece measures the same in height as in width). Bind off all sts. Lace edge: Cast on 36 sts around 2 needles. Pull out one needle and knit Pattern 1. Note that the blank squares in the chart are garter st, not stockinette st. When Lace edge measures approx. 3.5 meters – adjust to end after a whole repeat – bind off all sts loosely. Assembly: Fold lace edge in half and put a marker in the fold, fold edge in half again and put markers in the 2 new folds – fold out entire length again. Pin one end of lace edge to the center of one side of the square, then pin rest of lace edge so that each marker is in the center of one side of the square and the other end meets up with the first end. Pin the lace edge around square but leave approx. 10 cm before and after each corner unpinned. Put a crease in the lace edge at each corner and ease in the excess fabric. Sew the lace edge to square edge (edge to edge, no seam allowance) and sew the two ends of the lace edge together in the same way. |
||||||||||||||||
Diagram explanations |
||||||||||||||||
|
||||||||||||||||
 |
||||||||||||||||
Have you finished this pattern?Tag your pictures with #dropspattern or submit them to the #dropsfan gallery. Do you need help with this pattern?You'll find 11 tutorial videos, a Comments/Questions area and more by visiting the pattern on garnstudio.com. © 1982-2026 DROPS Design A/S. We reserve all rights. This document, including all its sub-sections, has copyrights. Read more about what you can do with our patterns at the bottom of each pattern on our site. |
||||||||||||||||


With over 40 years in knitting and crochet design, DROPS Design offers one of the most extensive collections of free patterns on the internet - translated to 17 languages. As of today we count 324 catalogues and 12290 patterns translated into English (UK/cm). 12290
We work hard to bring you the best knitting and crochet have to offer, inspiration and advice as well as great quality yarns at incredible prices! Would you like to use our patterns for other than personal use? You can read what you are allowed to do in the Copyright text at the bottom of all our patterns. Happy crafting!
Post a comment to pattern DROPS 87-1
We would love to hear what you have to say about this pattern!
If you want to leave a question, please make sure you select the correct category in the form below, to speed up the answering process. Required fields are marked *.