
Popular categories
Looking for a yarn?


Comments / Questions (31)
![]() Ineke Kets-Wesselink wrote:
Ineke Kets-Wesselink wrote:
Hallo, ik heb 2 vragen over dit patroon. 1. Bij het lijf moet ik breien tot 30 cm( maat S), gemeten vanaf de scheiding met de mouwen. Tussen haakjes staat ' 4 cm over'. Wat wordt daar mee bedoeld? 2. Normaliter, bij breien vanaf beneden, meerder je boven de boord. Hier staat dat ik 20 steken moet meerderen voor ik met de biird begin. Een wijde boord?? Waarom is dat? Mvg Ineke
23.02.2026 - 02:12DROPS Design answered:
Dag Ineke,
Nog 4 cm over betekent dat je nog 4 cm moet breien totdat je op de gewenste/aangegeven lengte bent. Je meerdert inderdaad voor de boord. Dit is om te voorkomen dat de boord het werkstuk samentrekt.
24.02.2026 - 21:57
![]() Teofana wrote:
Teofana wrote:
Hello, I am doing M size. Could you help me understand why do we increase on the half way of the back peace? Example: Now increase as follows: Knit 22 (why don't we increase here?), knit 16 and increase 1 stitch over these stitches, knit 44 and increase 1 stitch over these stitches, knit 16 and increase 1 stitch over these stitches, knit 22 and increase 1 stitch over these stitches (why do we increase here, when this is half the back peace?). Thank you very much!
01.01.2026 - 09:42DROPS Design answered:
Hi Teofana, it is correct, you increase 4 stitches in total in this round: 1 st on each sleeve, and 1 st for the front and 1 st for the back. Happy knitting!
05.01.2026 - 13:26
![]() Conny wrote:
Conny wrote:
Hej, Kan jeg strikke den så man ikke får en dobbelt halskant. Hvordan skal jeg tilpasse det? Tak :)
20.11.2025 - 11:57DROPS Design answered:
Hei Conny. Da strikker du halsen bare 4,5 cm med 1 rundpinne (str. 3), pass på at det ikke legges opp for stramt. mvh DROPS Design
24.11.2025 - 10:13
![]() Kristina wrote:
Kristina wrote:
Hi, Ich stricke das Modell in Größe M, möchte aber die Ärmel in Größe S arbeiten. Wo und wie nehme ich am besten für die schmaleren Ärmel ab? Danke im Voraus!
19.11.2025 - 13:46DROPS Design answered:
Liebe Kristina, vielleicht können Sie dann am kalkulieren, ob Sie die Mascheananahl + Raglanzunahmen für Ärmel in S und gleichzeitig die Maschenanzahl + Raglanzunahmen für Vorder-/Rückenteil in M stricken können, ob es Ihnen so passen würde. Viel Spaß beim Stricken!
20.11.2025 - 08:39
![]() Fiona V D Merwe wrote:
Fiona V D Merwe wrote:
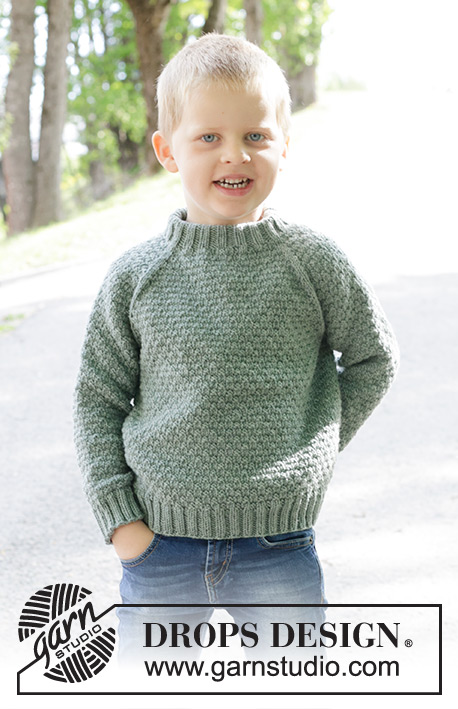
Finishing the boy's Winter Weekend jumper and very happy with pattern. I would like to make one for dad as well, but would like to keep to the same textured pattern as the boys one. I see that the man's version is in moss stitch. Would I be able to substitute the textured pattern of the boys one into the men's pattern?
05.05.2025 - 14:33DROPS Design answered:
Hi Fiona, Yes you could use the relief pattern from Winter Weekend on this jumper too. Regards, Drops Team.
06.05.2025 - 06:50
![]() Siri wrote:
Siri wrote:
Hej! Jag undrar vart man hittar garnåtgången? Hur många m garn behöver jag för storlek XXL?
30.04.2025 - 20:56
![]() Griet Broothaers wrote:
Griet Broothaers wrote:
Minder 2 steken aan elke kant van de markeerdraad als volgt: Brei tot er 6 steken over zijn voor de markeerdraad, 3 recht/averecht samen (volg het patroon), brei 6 steken zoals hiervoor (de markeerdraad zit tussen deze steken), 3 recht/averecht samen (= 4 steken geminderd) Ik brei deze trui gewoon in tricotsteek. Ik begrijp de minderingen niet.🧐
24.03.2025 - 09:58
![]() Griet wrote:
Griet wrote:
Wat bedoelt u met :16 recht en meerder 1 steek over deze steken?
16.02.2025 - 21:50DROPS Design answered:
Dag Griet,
Je meerdert ergens in het midden van die 16 steken 1 steek, zodat het 17 steken worden.
19.02.2025 - 09:24
![]() Petra Minwegen wrote:
Petra Minwegen wrote:
Bin gerade dabei auch das a lbe Modell zu stricken. Doch genau diese Wolle bekomme ich nicht bei uns in Kärnten. Wo bekomme ich sie????? Bitte um Hilfe 🤗
08.02.2025 - 14:26DROPS Design answered:
Liebe Frau Minwegen, hier finden Sie die Liste von DROPS Händlier in Österreich, wo Sie auch online bestellen können. Viel Spaß beim Stricken!
10.02.2025 - 09:52
![]() Nadja wrote:
Nadja wrote:
Hallo, ich verstehe den Beginn der Passe nicht. Das wurde hier schon mehrmals gefragt, die Antworten helfen mir aber nicht weiter. In der Anleitung heißt es "16 Maschen rechts und dabei 1 Masche zunehmen - ZUNAHMETIPP lesen". Was heißt "dabei" 1 Masche zunehmen? Am Anfang der 16 Maschen, in der Mitte oder am Ende? Am Ende würde bedeuten in der Raglan-Linie, das kann eigentlich nicht sein. Beim Zunahmetipp steht auch nicht, wo genau die Masche zugenommen werden soll
19.01.2025 - 20:19DROPS Design answered:
Liebe Nadja, Sie stricken 16 Maschen von der linken Nadel und gleichzeitig nehmen Sie 1 Masche regelmäßig verteilt (also nur 1 M so kann man hier z.B. in der Mitte zunehmen), so sind est jetzt 17 Maschen auf der rechten Nadel für die Ärmel; ZUNAHMETIPP erklärt nur wie man zunehmen wird; wo wird in der Anleitung erklärt. Für die Raglanzunahmen wird es unter RAGLAN beschrieben, wie man zunehmen wird. Viel Spaß beim Stricken!
20.01.2025 - 08:46
|
|||||||
Winter Weekend#winterweekendsweater |
|||||||
 |
 |
||||||
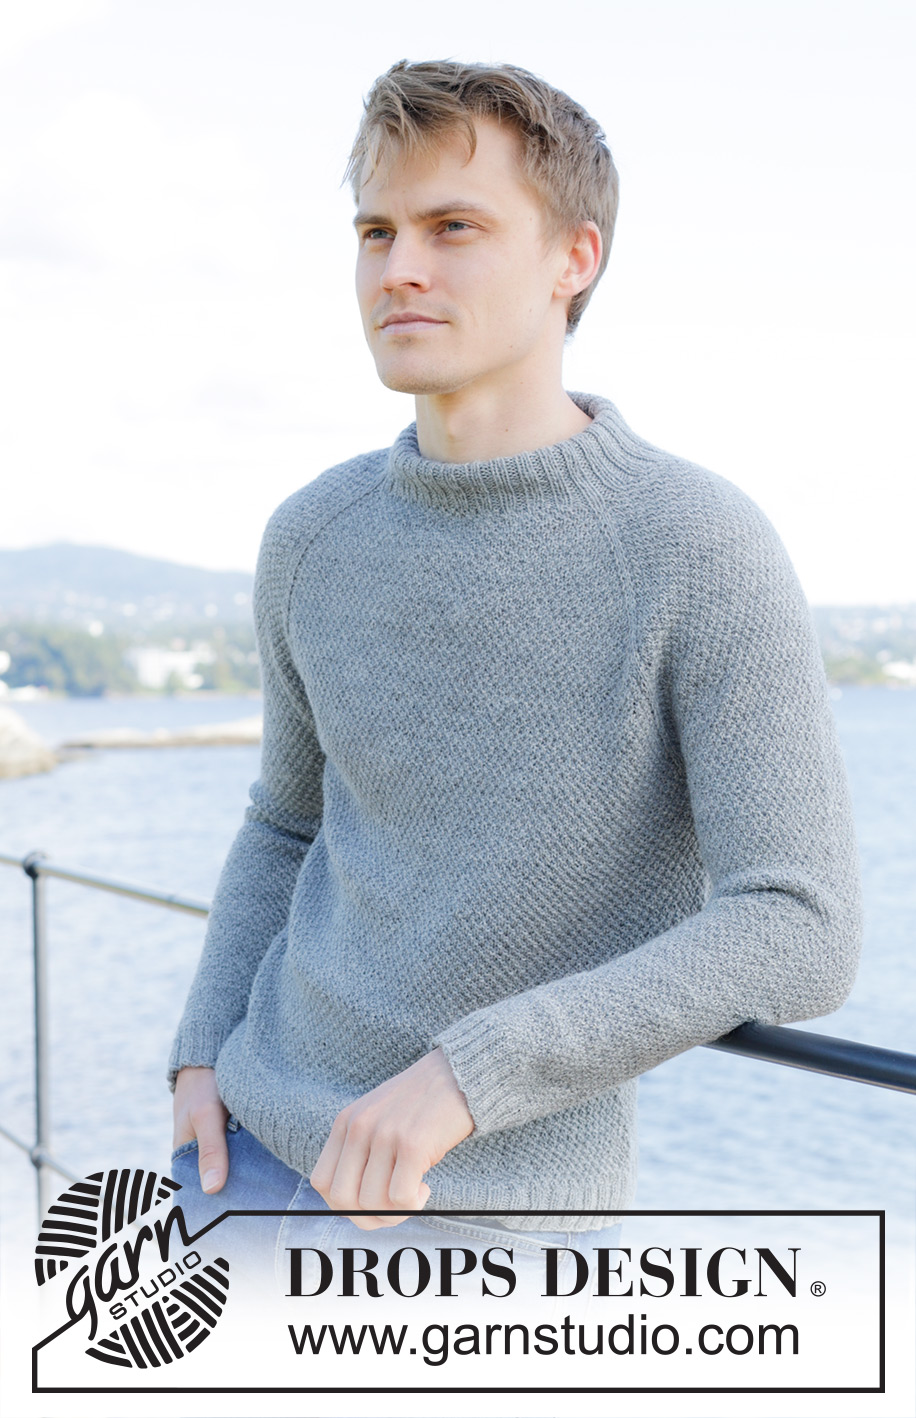
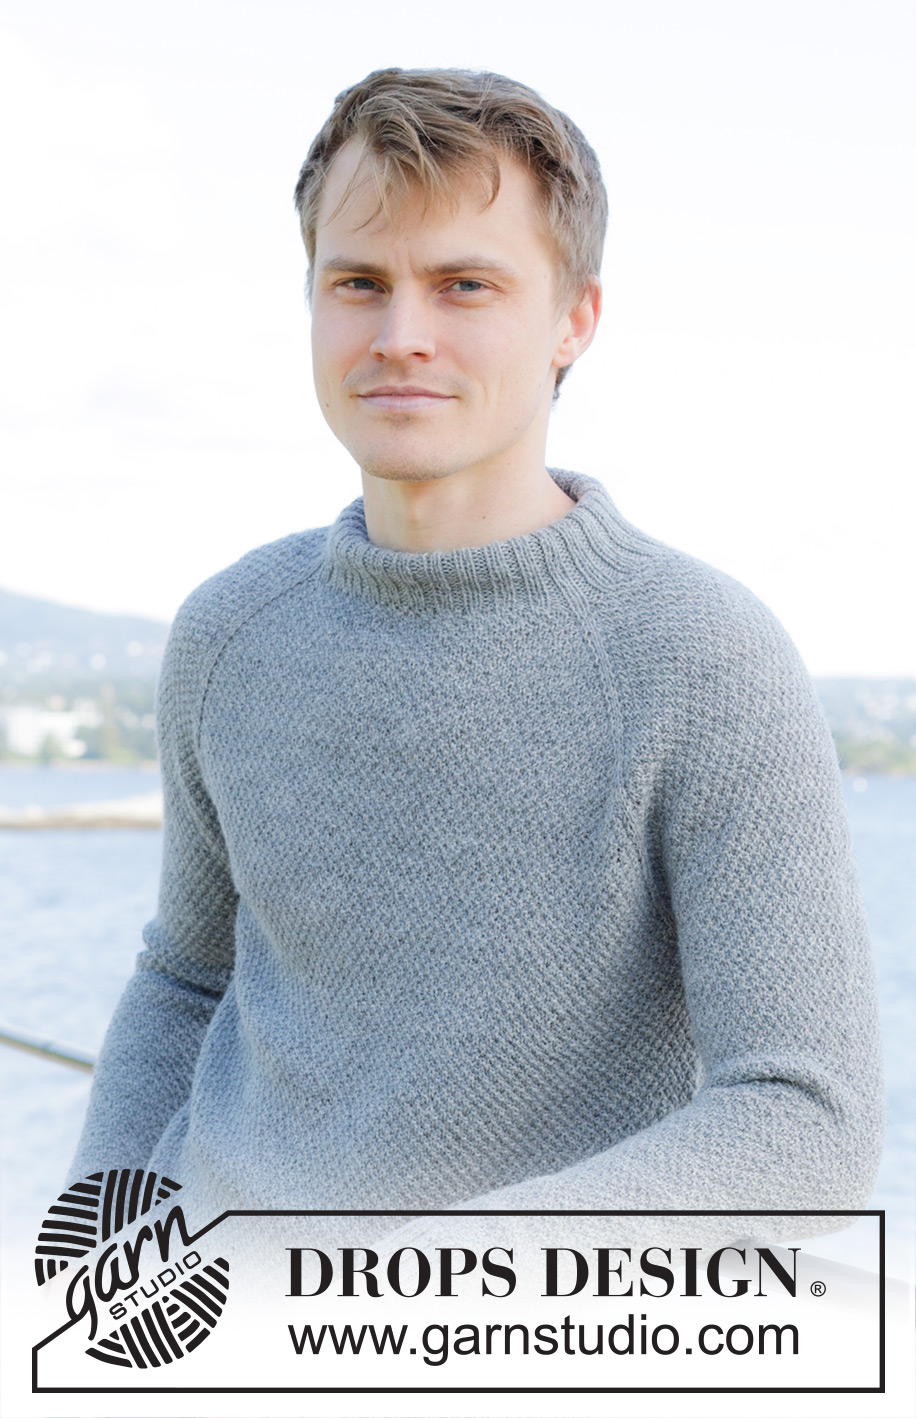
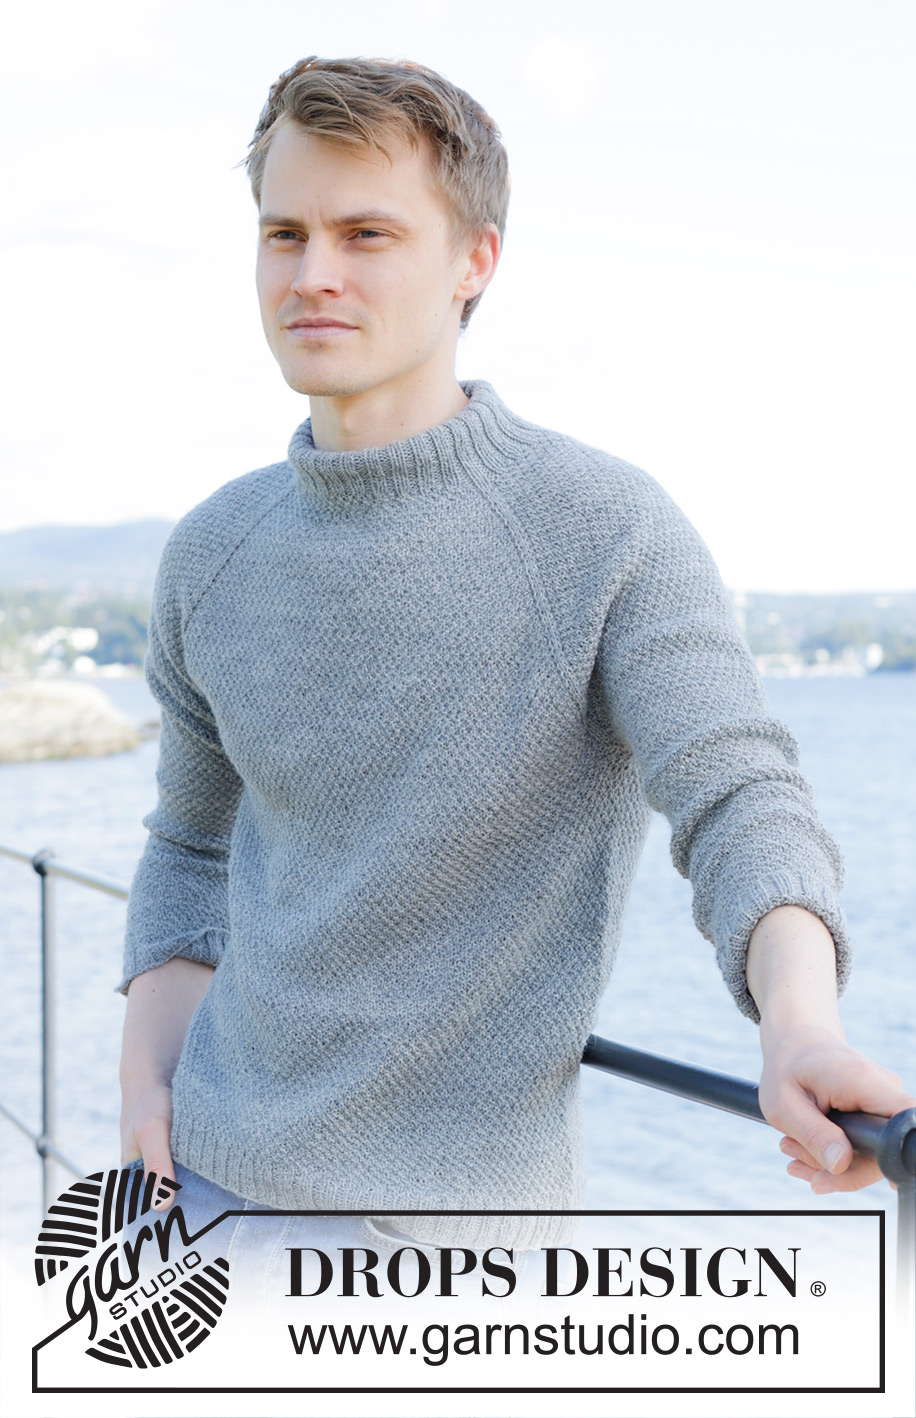
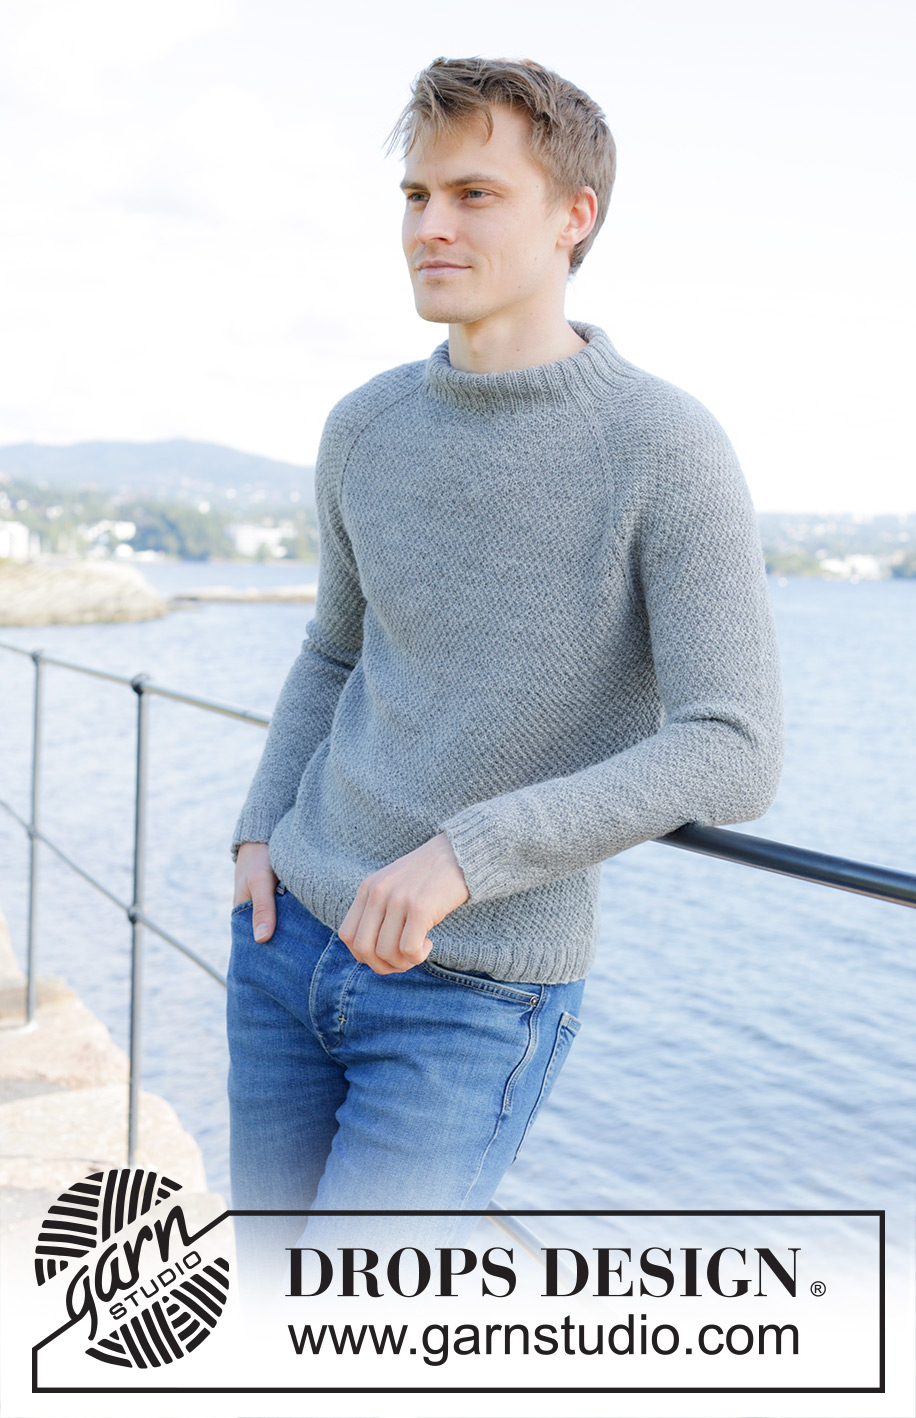
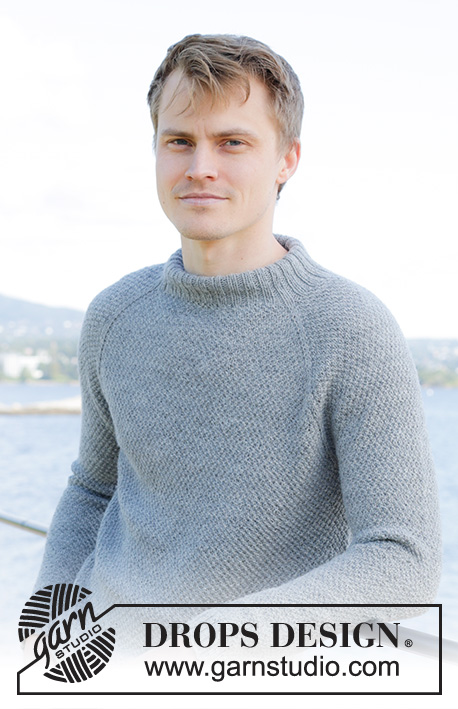
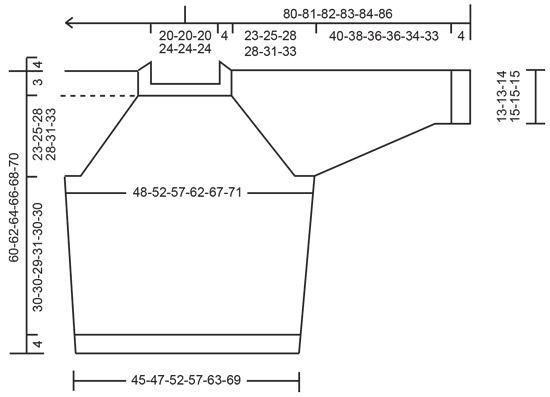
Knitted jumper for men in DROPS Nord. The piece is worked top down with raglan, moss stitch and double neck. Sizes S - XXXL.
DROPS 246-11 |
|||||||
|
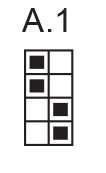
------------------------------------------------------- EXPLANATIONS FOR THE PATTERN: ------------------------------------------------------- INCREASE TIP: Increase 1 stitch by making 1 yarn over, which is worked twisted on the next round to avoid a hole. PATTERN: See diagram A.1. RAGLAN: Increase 1 stitch before/after 2 knitted stitches in each transition between body and sleeves; the marker-thread sits between these 2 stitches. Increase 1 stitch by making 1 yarn over, which is worked twisted on the next round to avoid a hole. DECREASE TIP (for body and sleeves): Decrease 2 stitches on each side of the marker as follows: Work until there are 6 stitches left before the marker, knit/purl 3 together (follow the pattern), work 6 stitches as before (marker sits between these stitches), knit/purl 3 together (= 4 stitches decreased). ------------------------------------------------------- START THE PIECE HERE: ------------------------------------------------------- JUMPER – SHORT OVERVIEW OF THE PIECE: The neck and yoke are worked in the round with circular needle, from mid back and top down. The yoke is divided for body and sleeves and the body is continued in the round. The sleeves are worked in the round with short circular needle/double pointed needles. DOUBLE NECK: Cast on 120-120-120-136-136-136 stitches with DROPS Nord, using short circular needles sizes 3.5 and 3 mm held together. Remove the 3.5 mm needle keeping stitches on the 3 mm needle (this gives you an elastic cast-on edge). Knit 1 round. Work rib in the round as follows: Purl 1, * knit 2, purl 2 *, work from *-* until there are 3 stitches left, knit 2, purl 1. Work this rib for 9 cm. Insert a marker at the beginning of the round (between 2 purled stitches); this is used when measuring the yoke! YOKE: Change to circular needle size 3.5 mm. Insert 4 marker-threads, without working the stitches which are used when increasing for raglan, each is inserted between 2 knitted stitches: Count 22-22-22-26-26-26 stitches (half back piece), insert 1 marker-thread, count 16 stitches (sleeve), insert 1 marker-thread, count 44-44-44-52-52-52 stitches (front piece), insert 1 marker-thread, count 16 stitches (sleeve), insert 1 marker-thread, there are 22-22-22-26-26-26 stitches left after the last marker-thread (half back piece). Now increase as follows: Knit 22-22-22-26-26-26, knit 16 and increase 1 stitch over these stitches - read INCREASE TIP, knit 44-44-44-52-52-52 and increase 1 stitch over these stitches, knit 16 and increase 1 stitch over these stitches, knit 22-22-22-26-26-26 and increase 1 stitch over these stitches. REMEMBER THE KNITTING TENSION! There are 124-124-124-140-140-140 stitches on the needle. Work A.1 in the round with 2 knitted stitches in each raglan-line. AT THE SAME TIME on the first round, begin increasing for RAGLAN – read description above. Increase like this every 2nd round a total of 28-32-36-38-39-39 times = 348-380-412-444-452-452 stitches. Continue with the pattern and increasing for raglan but now increase only on the body, the sleeve increases are finished. Increase every 2nd round 3-2-4-3-7-9 times. You have increased a total of 31-34-40-41-46-48 times on the body and 28-32-36-38-39-39 times on the sleeves. There are 360-388-428-456-480-488 stitches. Continue the pattern, but without further increases, until the piece measures 23-25-28-28-31-33 cm from the marker. Now divide for the body and sleeves as follows: Work 53-56-62-67-72-74 stitches as before (half back piece), place the next 73-81-89-93-95-95 stitches on a thread for the sleeve, cast on 9-11-11-13-15-21 stitches under the sleeve, work 107-113-125-135-145-149 stitches (front piece), place the next 73-81-89-93-95-95 stitches on a thread for the sleeve, cast on 9-11-11-13-15-21 stitches under the sleeve, work the last 54-57-63-68-73-75 stitches (= 107-113-125-135-145-149 stitches on the back piece). BODY: = 232-248-272-296-320-340 stitches. Insert a marker in the middle of the new stitches cast on under each sleeve. Continue the pattern in the round for a further 2 cm. Now decrease 2 stitches on each side of both markers – read DECREASE TIP (8 stitches decreased on the round). Decrease like every 16-13-13-13-16-0 cm 1-2-2-2-1-0 more times = 216-224-248-272-304-332 stitches. Continue working until the body measures 30-30-29-31-30-30 cm from the division (4 cm left; try the jumper on and work to desired length). Knit 1 round and increase 20-20-20-24-24-28 stitches evenly spaced = 236-244-268-296-328-360 stitches. Change to circular needles size 3 mm. Work rib (knit 2, purl 2) for 4 cm. Cast off with knit over knit and purl over purl. The jumper measures approx. 60-62-64-66-68-70 cm from the shoulder. SLEEVES: Place the 73-81-89-93-95-95 stitches from the thread on the one side of the piece on short circular needles/double pointed needles size 3.5 mm and knit up 1 stitch in each of the 9-11-11-13-15-21 stitches cast on under the sleeve = 82-92-100-106-110-116 stitches. Insert a marker in the middle of the new stitches under the sleeve. Continue the pattern in the round. When the sleeve measures 2 cm, decrease 2 stitches on each side of the marker – remember DECREASE TIP. Decrease like this every 7½-5-4-3½-3-2½ cm a total of 5-7-8-9-10-11 times = 62-64-68-70-70-72 stitches. Continue working until the sleeve measures 40-38-36-36-34-33 cm from the division (or to desired length. There is 4 cm left). Knit 1 round and increase 6-4-4-6-6-8 stitches evenly spaced = 68-68-72-76-76-80 stitches. Change to double pointed needles size 3 mm and work rib (knit 2, purl 2) for 4 cm. Cast off with knit over knit and purl over purl. Work the other sleeve in the same way. ASSEMBLY: Fold the neck double to the inside and sew down. To avoid the neck being tight and rolling outwards, it is important that the seam is elastic. |
|||||||
Diagram explanations |
|||||||
|
|||||||
 |
|||||||
 |
|||||||
Have you finished this pattern?Tag your pictures with #dropspattern #winterweekendsweater or submit them to the #dropsfan gallery. Do you need help with this pattern?You'll find 25 tutorial videos, a Comments/Questions area and more by visiting the pattern on garnstudio.com. © 1982-2026 DROPS Design A/S. We reserve all rights. This document, including all its sub-sections, has copyrights. Read more about what you can do with our patterns at the bottom of each pattern on our site. |
|||||||


With over 40 years in knitting and crochet design, DROPS Design offers one of the most extensive collections of free patterns on the internet - translated to 17 languages. As of today we count 324 catalogues and 12285 patterns translated into English (UK/cm). 12285
We work hard to bring you the best knitting and crochet have to offer, inspiration and advice as well as great quality yarns at incredible prices! Would you like to use our patterns for other than personal use? You can read what you are allowed to do in the Copyright text at the bottom of all our patterns. Happy crafting!
Post a comment to pattern DROPS 246-11
We would love to hear what you have to say about this pattern!
If you want to leave a question, please make sure you select the correct category in the form below, to speed up the answering process. Required fields are marked *.