
Popular categories
Looking for a yarn?


Comments / Questions (7)
![]() Destiny (again) wrote:
Destiny (again) wrote:
I was too tired when I asked the previous question and figured it out the next morning. Thank you! Now i’m stuck all over again, I guess i’m not so good at reading these. To continue the yoke after raglan increases, am i working stockinette back and forth (minus the band stitches)?
03.02.2026 - 02:52DROPS Design answered:
Hi Destiny, Yes, you continue stockinette back and forth with the bands on each side, to the correct yoke-length before dividing for the sleeves and body. Regards, Drops team.
03.02.2026 - 07:06
![]() Destiny wrote:
Destiny wrote:
So i’m at the yoke part of the instructions. I’m making an XL and the increases are confusing me. is the ribbing supposed to match with the previous pattern? what does it mean by new ribbing? am i making all the yarn overs a purl on the right side?
01.02.2026 - 08:53DROPS Design answered:
Hi Destiny, You increase 1 stitch in each purled section from the right side. The new rib will be, K1, P2 from the right side and P1, K2 from the wrong side. Regards, Drops Team.
02.02.2026 - 07:08
![]() Suzan wrote:
Suzan wrote:
There any reason not to knit the sleeves in the round on the circular needles? I like to use the magic loop method.
12.09.2025 - 00:56DROPS Design answered:
Hi Suzan, you can do it in the round, using the magic loop method. Happy knitting!
12.09.2025 - 07:57
![]() Céline Adelon wrote:
Céline Adelon wrote:
Bonjour, quand je fais les jetés avant les 2 mailles envers sur le premier rang de l'empiècement, j'obtiens 71 mailles à la fin du rang au lieu des 78 mailles indiquées (taille L). Pouvez-vous m'indiquer où je commets une erreur ? Merci, bien cordialement
24.01.2024 - 07:45DROPS Design answered:
Bonjour Mme Adelon, lorsque vous tricotez les côtes en taille L, vous avez 55 mailles tricotées ainsi: 4 m point mousse, 23 fois (1 m end, 1 m env), 1 m end, 4 m point mousse. Vous allez ensuite augmenter dans les 23 sections mailles envers des côtes pour avoir: 4 m point mousse, 23 fois (1 m end, 2 m env), 1 m end, 4 m point mousse, soit 55+23=78 mailles. Bon tricot!
24.01.2024 - 08:30
![]() Maria wrote:
Maria wrote:
Varför måsta alla modeller ha långt hår som hänger i vägen så man inte kan se halsen ordentligt på stickade modeller...störigt!!
15.11.2022 - 09:15
![]() Elisabeth Petruskie wrote:
Elisabeth Petruskie wrote:
Hello again. On my last question I didn't clarify. Is the sleeve worked open, not in the round? So I would be seaming the length of the sleeve once I'm finished? Thank you for your kind help. Love your patterns. I have made several sweaters that I truly love and enjoyed making!
07.07.2022 - 04:52DROPS Design answered:
Hi Elisabeth, The sleeves are worked back and forth and sewn together to finish. Happy knitting!
07.07.2022 - 06:44
![]() Elisabeth Petruskie wrote:
Elisabeth Petruskie wrote:
Hello! On the sleeves, are they worked on circular needles all the way to the ribbing? Thank you for your help! Sincerely, Elisabeth
07.07.2022 - 00:56DROPS Design answered:
Dear Mrs Petruskie, sleeves are worked back and forth on circular needles to the end, ie including ribbing edge and sewn afterwards. Happy knitting!
07.07.2022 - 08:58
|
|
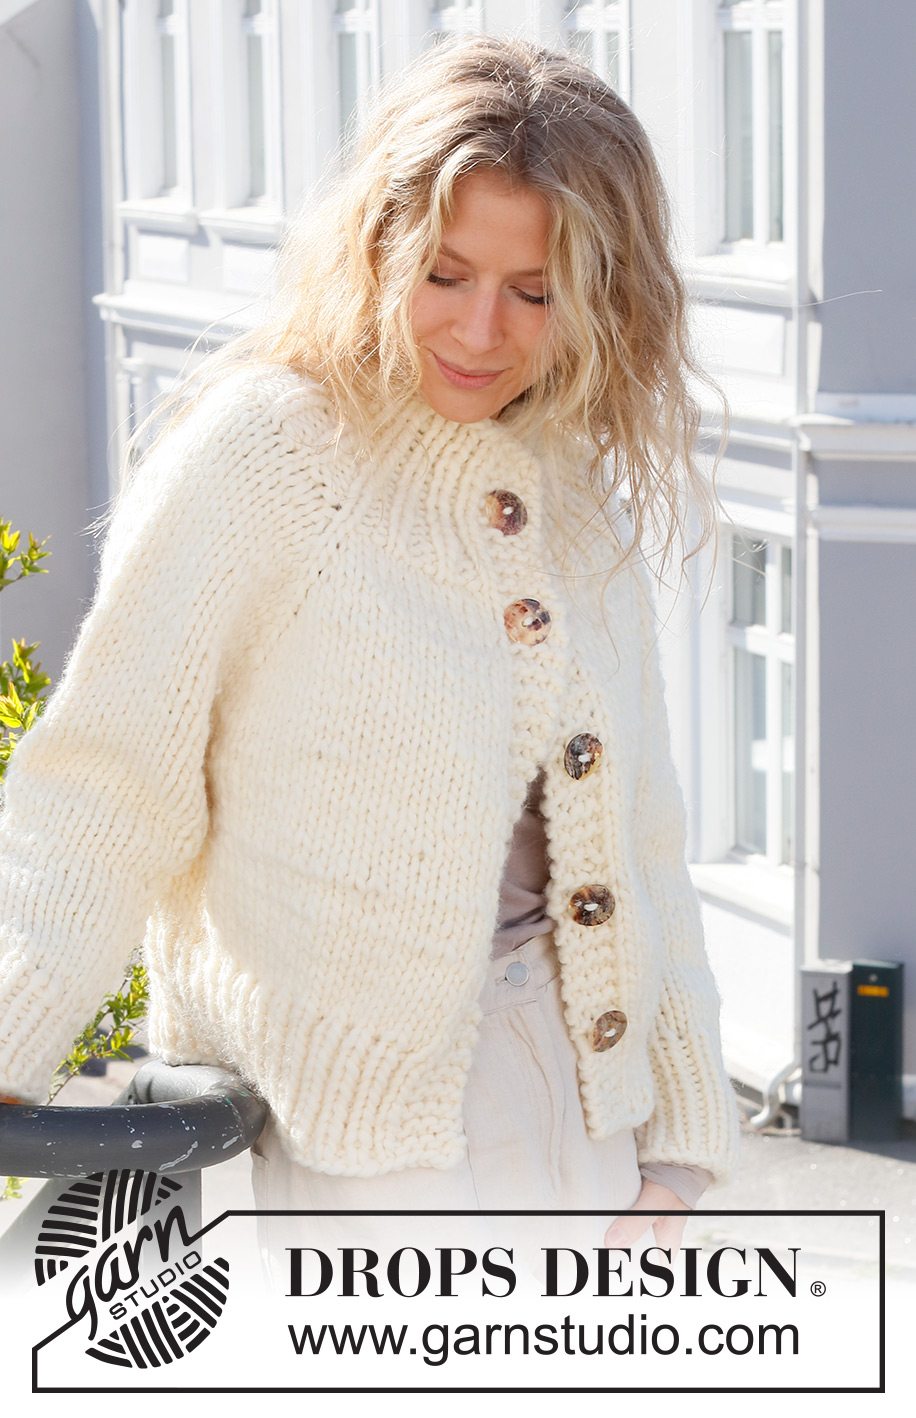
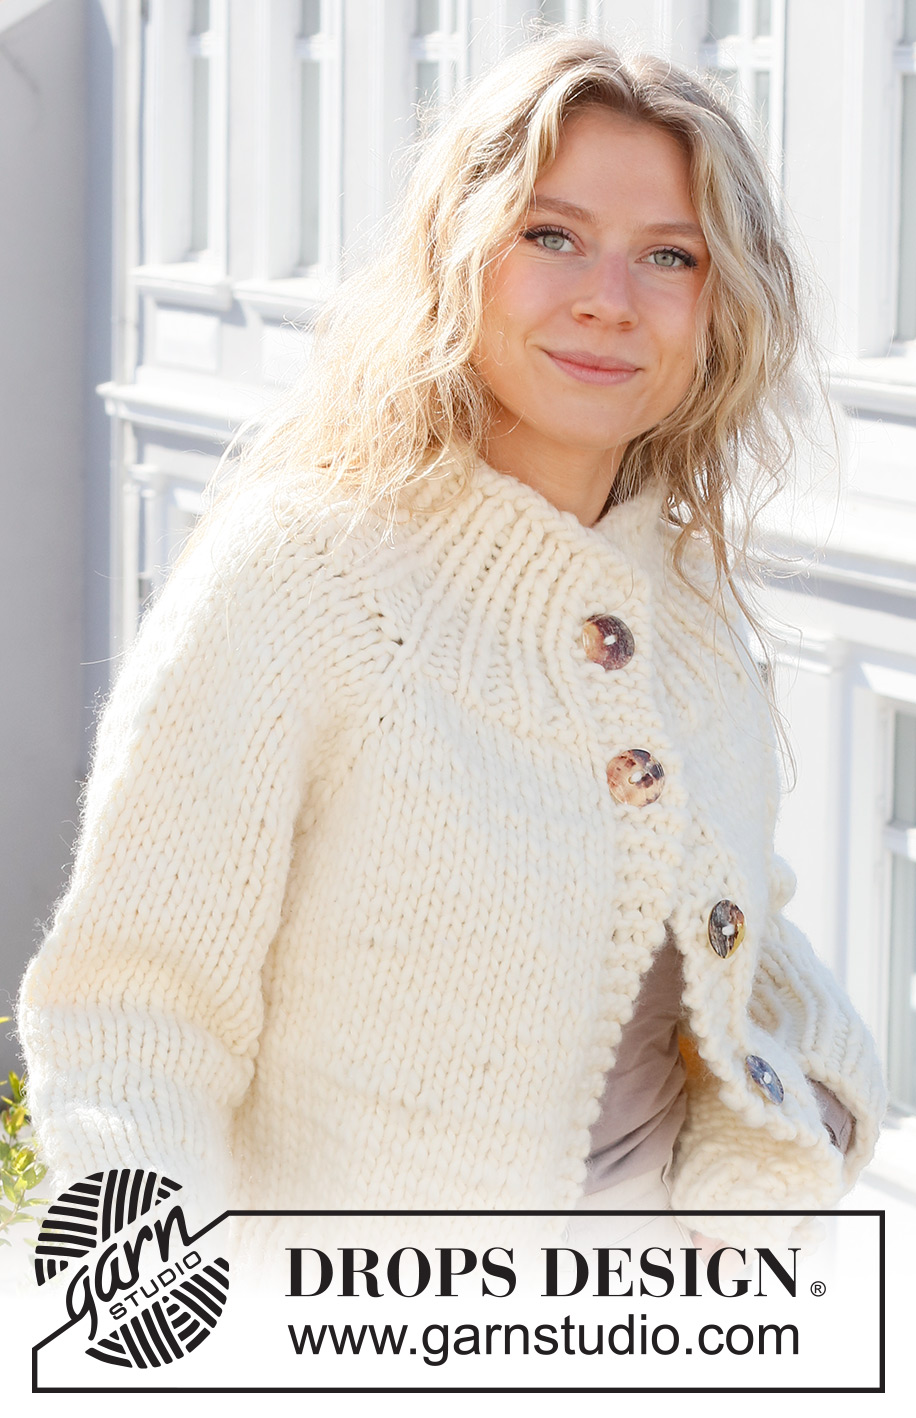
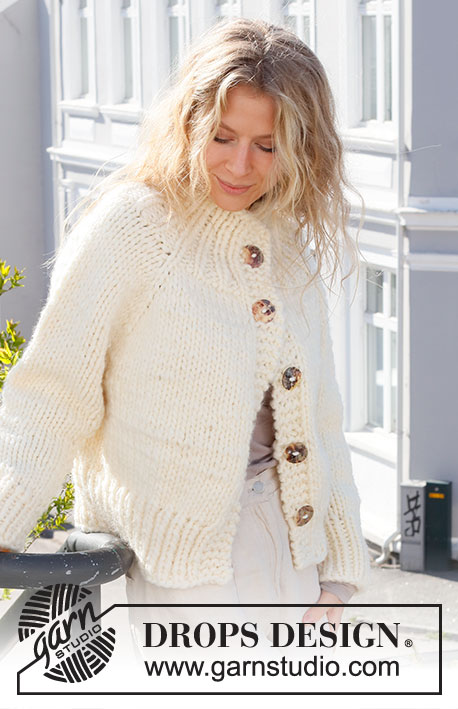
Snow Bird#snowbirdjacket |
|
 |
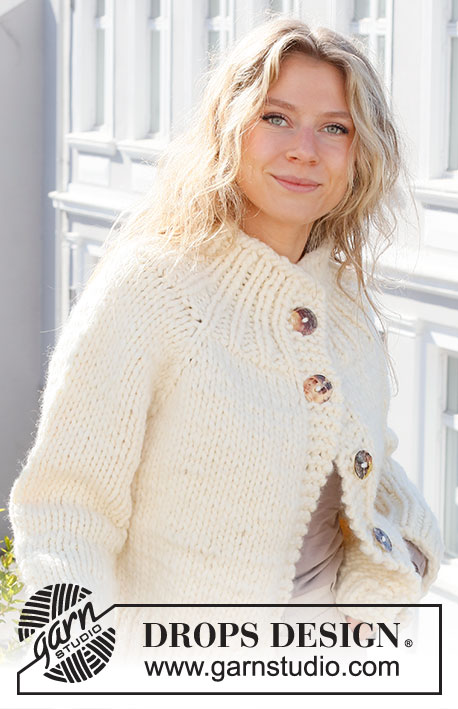 |
Knitted jacket in DROPS Polaris. The piece is worked top down with raglan. Sizes S - XXXL.
DROPS 227-26 |
|
|
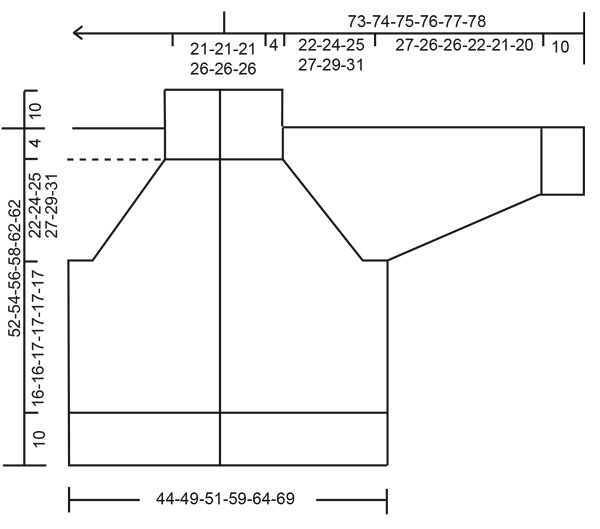
------------------------------------------------------- EXPLANATIONS FOR THE PATTERN: ------------------------------------------------------- RIDGE/GARTER STITCH (worked back and forth): Knit all rows. 1 ridge = knit 2 rows. CHANGING-STRAND TIP: When changing balls, divide the old strand in 2 for the last 15 cm – cut off 1 length, do the same with the new strand. Lay the first and last 15 cm over each other to give the normal yarn-thickness and continue working – this will leave no visible join. BUTTONHOLES: Work buttonholes on the right band (when the garment is worn). Work from the right side when there are 3 stitches left on the row as follows: Make 1 yarn over, knit 2 together and knit 1. On the next row, knit the yarn over to leave a hole. The first buttonhole is worked when the rib on the neck measures 5 cm. Then work the other 4-4-4-5-5-5 buttonholes with approx. 9½-9½-10-9-9-9 cm between each one. RAGLAN: Increase by making 1 yarn over on each side of 1 knitted stitch (raglan-line), in each transition from body to sleeves (= 8 stitches increased on the row). On the next row (wrong side) work the yarn overs as follows: BEFORE RAGLAN-LINE: Purl in the back loop. No hole. AFTER RAGLAN-LINE: Slip the yarn over from the left needle and put it back the other way (insert the left needle from the back when placing it back on the needle). Purl in the front loop. No hole. Then work the increased stitches in stocking stitch. CASTING-OFF TIP: To avoid the cast-off edge being tight you can cast off with a larger size needle. If the edge is still tight, make 1 yarn over after approx. each 8th stitch at the same time as casting off; the yarn overs are cast off as normal stitches. ------------------------------------------------------- START THE PIECE HERE: ------------------------------------------------------- JACKET - SHORT OVERVIEW OF THE PIECE: The neck, yoke and body are worked with circular needle back and forth, top down. The sleeves are worked back and forth with circular needle and sewn together to finish. Read CHANGING-STRAND TIP. NECK: Cast on 55-55-55-63-63-63 stitches with circular needle size 10 mm and DROPS Polaris. Purl 1 row from the wrong side, then work as follows from the right side: 4 band stitches in GARTER STITCH – read explanation above, * knit 1, purl 1 *, repeat *-* until there are 5 stitches left, knit 1 and 4 band stitches in garter stitch. Work this rib for 10 cm. Remember the BUTTONHOLES on the right band. Insert 1 marker at the beginning of the row – THE YOKE IS MEASURED FROM HERE. YOKE: Increase 1 stitch, by making 1 yarn over at the beginning of each purled section; on the next row (wrong side) work the yarn overs twisted = 78-78-78-90-90-90 stitches. Work as follows from the right side: 4 stitches in garter stitch, * knit 1, purl 2 *, repeat until there are 5 stitches left, purl 1 and 4 stitches in garter stitch. Work the new rib for 5 cm (a total of 15 cm rib). Change to circular needle size 12 mm. Insert 4 markers without working the stitches as follows: Count 13-13-13-16-16-16 stitches, insert marker in the next stitch (= front piece), count 14 stitches (= sleeve), insert marker in the next stitch, count 20-20-20-26-26-26 stitches (back piece), insert marker in the next stitch, count 14 stitches (= sleeve), insert marker in the next stitch, there are 13-13-13-16-16-16 stitches left after the last marker (= front piece). The stiches with a marker = raglan lines. Work stocking stitch with 4 band stitches in garter stitch on each side, AT THE SAME TIME on the first row from the right side, begin to increase to RAGLAN – read description above. Increase like this every 2nd row a total of 6-8-9-8-10-12 times = 126-142-150-154-170-186 stitches. REMEMBER THE KNITTING TENSION! Continue working until the yoke measures 22-24-25-27-29-31 from the marker. The next row is worked as follows : Work 19-21-22-24-26-28 stitches (= front piece), place the next 28-32-34-32-36-40 stitches on a thread (= sleeve), cast on 4-4-4-6-6-6 stitches under the sleeve, work 32-36-38-42-46-50 stitches (= back piece), place the next 28-32-34-32-36-40 stitches on a thread (= sleeve), cast on 4-4-4-6-6-6 stitches under the sleeve, work the last 19-21-22-24-26-28 stitches (= front piece). THE PIECE IS NOW MEASURED FROM HERE! BODY: = 78-86-90-102-110-118 stitches. Continue with stocking stitch and 4 band stitches in garter stitch on each side for 16-16-17-17-17-17 cm. There is approx. 10 cm left to finished length; try the jacket on and work to desired length. Purl 1 row from the wrong side (bands are knitted) where you increase 1 stitch = 79-87-91-103-111-119 stitches. Change to circular needle size 10 mm and work the next row as follows from the right side: 4 band stitches in garter stitch, * knit 1, purl 1 *, work from *-* until there are 5 stitches left, knit 1 and 4 band stitches in garter stitch. Continue this rib for 10 cm, then cast off with knit over knit and purl over purl – read CASTING-OFF TIP. The jacket measures approx. 52-54-56-58-60-62 cm from the shoulder down. SLEEVES: Place the 28-32-34-32-36-40 stitches from the thread on the one side of the piece on circular needle size 12 mm and cast on 2-2-2-3-3-3 stitches on each side = 32-36-38-38-42-46 stitches. Work stocking stitch back and forth for 4 cm. Now decrease 1 stitch on the right-hand side by knitting 2 together. Decrease 1 stitch on alternately the left-hand and right-hand side every 2nd row a total of 8-8-8-8-8-8 times (= 4-4-4-4-4-4 times on each side) = 24-28-30-30-34-38 stitches. Continue working until the sleeve measures 27-26-26-22-21-20 cm from the division. There is approx. 10 cm left to finished length; try the jacket on and work to desired length. Change to circular needle size 10 mm and work rib (knit 1, purl 1) back and forth for 10 cm. The sleeve measures approx. 37-36-36-32-31-30 cm. Cast off with knit over knit and purl over purl – remember CASTING-OFF TIP. Work the other sleeve in the same way. ASSEMBLY: Sew the sleeve seams in the outermost loop of the outermost stitch so the seam is flat. Sew the openings under the sleeves. Sew the buttons onto the left band. |
|
 |
|
Have you finished this pattern?Tag your pictures with #dropspattern #snowbirdjacket or submit them to the #dropsfan gallery. Do you need help with this pattern?You'll find 26 tutorial videos, a Comments/Questions area and more by visiting the pattern on garnstudio.com. © 1982-2026 DROPS Design A/S. We reserve all rights. This document, including all its sub-sections, has copyrights. Read more about what you can do with our patterns at the bottom of each pattern on our site. |
|


With over 40 years in knitting and crochet design, DROPS Design offers one of the most extensive collections of free patterns on the internet - translated to 17 languages. As of today we count 324 catalogues and 12290 patterns translated into English (UK/cm). 12290
We work hard to bring you the best knitting and crochet have to offer, inspiration and advice as well as great quality yarns at incredible prices! Would you like to use our patterns for other than personal use? You can read what you are allowed to do in the Copyright text at the bottom of all our patterns. Happy crafting!
Post a comment to pattern DROPS 227-26
We would love to hear what you have to say about this pattern!
If you want to leave a question, please make sure you select the correct category in the form below, to speed up the answering process. Required fields are marked *.