Comments / Questions (82)
![]() Cecilia wrote:
Cecilia wrote:
Where should place the markers that shape the back, sleeves and front? I believe there should be 8 markers in total but I don’t see any markers mentioned in the pattern. Thank you so much
26.12.2024 - 18:58DROPS Design answered:
Dear Cecilia! In this pattern we do not use markers (except this one for beg of round), because all increases are included in the pattern - see pattern diagram. Happy knitting!
28.12.2024 - 14:18
![]() Caroline D’Hondt wrote:
Caroline D’Hondt wrote:
Ik loop vast op de A1. Ik heb 102 steken. Ik moet 17 herhalingen van 6 doen. En daar snap ik het niet meer. Er staan ook zwarte bolletjes op het patroon. Wat willen die zeggen? Kan er op een simpele manier een uitleg gegeven worden? Ik ben beginnend breister en snap nog niet veel van de juiste vakterminologie 🙈 Alvast bedankt 🙏
12.12.2024 - 22:44
![]() Lili wrote:
Lili wrote:
Ik snap niet wat er staat: brei A.1 over alle steken (=20 herhalingen van 6 steken). Als A.1 klaar is in de hoogte zijn er 320 steken op de naald. Terwijl ik begin met 120 steken.
17.11.2024 - 18:38DROPS Design answered:
Dag Lili,
Je hebt 120 steken op de naald en A.1 is 20 steken in de breedte. Als je A.1 in de breedte herhaalt en dit doe je 6 keer dan heb je over de 120 steken gebreid. Vervolgens neem je naald 2 van A.1 en deze herhaal je ook steeds in de breedte over de volgende toer. Zo ga je verder totdat je alle rijen van A.1 in de hoogte hebt gebreid. Dan heb je, als het goed is 320 steken op de naald.
21.11.2024 - 20:19
![]() Erika wrote:
Erika wrote:
Hello, I'm a bit confused with the conversation to other yarn, if Alpaca at double thread is roughly the same of Nepal at 1 thread, I only need about 300gr for the medium size of this pattern? Or still the 600?
25.10.2024 - 09:52DROPS Design answered:
Dear Erika, when using the converter choose Alpaca, then type the mount of grams, ie 600 g in size S and select "2 threads". Happy knitting!
25.10.2024 - 13:06
![]() Dominique Fillion wrote:
Dominique Fillion wrote:
Est ce normal que la longueur de la manche pour le médium soit plus longue que la large. Médium 42 et large 48? Pull no224-11. Merci
09.10.2024 - 02:00DROPS Design answered:
Bonjour Mme Fillion, tout à fait, car l'empiècement est plus long et l'encolure est plus large en taille L , la manche sera en définitive plus longue en taille L, la demi-envergure correspond à 83 cm en L et 82 cm en M. N'hésitez pas à ajuster en fonction de la taille des bras de la personne qui va porter le pull si besoin. Faites lui essayer le pull et arrêtez le jersey quand il reste 4 cm avant la longueur totale requise et terminez en côtes. Bon tricot!
09.10.2024 - 08:44
![]() Anna wrote:
Anna wrote:
Dzień dobry Czy mogłabym wykonać tutorial na sweter męski Lucky Wish DROPS 224-21 DROPS Design: model nr z-953 Nagrywam tutoriale dla osób początkujących, które cieszą się powodzeniem. Mam wiele pozytywnych opinii. Dodatkowo polecam włóczki Dropsa. Proszę o wyrażenie zgody na nagranie filmu instruktażowego oraz wytyczne co do nagrywania. z poważaniem Anna Cierniak
21.08.2024 - 09:07DROPS Design answered:
Witaj Aniu, w tej sprawie musisz skontaktować się z socialmedia@garnstudio.com. Pozdrawiam!
21.08.2024 - 14:23
![]() Karin wrote:
Karin wrote:
Das ist so verwirrend die Zunahme 😂 kann man die Zunahme Runde für Runde erklären. Ab welcher Masche man zunehmen muss. Danke!
13.08.2024 - 13:00
![]() Karin wrote:
Karin wrote:
Verstehe die Zunahmen nicht, 17 Rapporte a 6 Maschen bei der Passe. Wie muss ich zunehmen?
05.08.2024 - 21:05DROPS Design answered:
Liebe Karin, man wird in jedem Rapport zunehmen - siehe 2. Symbol: es wird insgesamt 10 Maschen in jedem A.1 zugenommen, so sind es 16 M wenn A.1 fertig ist, dh 16 Maschen x 17 Rapporte = 272 Maschen. Viel Spaß beim Stricken!
06.08.2024 - 09:33
![]() Paola Bravo wrote:
Paola Bravo wrote:
Hola....buenas tardes me pude ayudar, estoy haciendo este patrón y la parte del cuerpo el tejido quedó inclinado , que hice mal me ayuda porfa🥹
10.07.2024 - 03:59DROPS Design answered:
Hola Paola, puedes concretar tu pregunta? ¿ A qué te refieres con inclinado? Algunas variaciones en la forma del tejido puede ser por la tensión, comprueba que la tensión del tejido sea correcta.
15.07.2024 - 00:32
![]() Sintia wrote:
Sintia wrote:
Hello, I plan to knit this pattern with one strand of kids-silk and one strand of Karisma . I will swatch but from the yarn group description I am hoping these will work for the pattern? I am also curious how much positive ease is in the sweater/jumper? Thank you!
30.06.2024 - 16:25DROPS Design answered:
Dear Sintia, please see the relevant measurements of the sweater on the schematic drawing at the bottom of the pattern. We suggest that you take a piece of similar style that fits the intended wearer, and compare the measurements. Happy Knitting!
30.06.2024 - 16:45
Lucky Wish#luckywishsweater |
|||||||
 |
 |
||||||
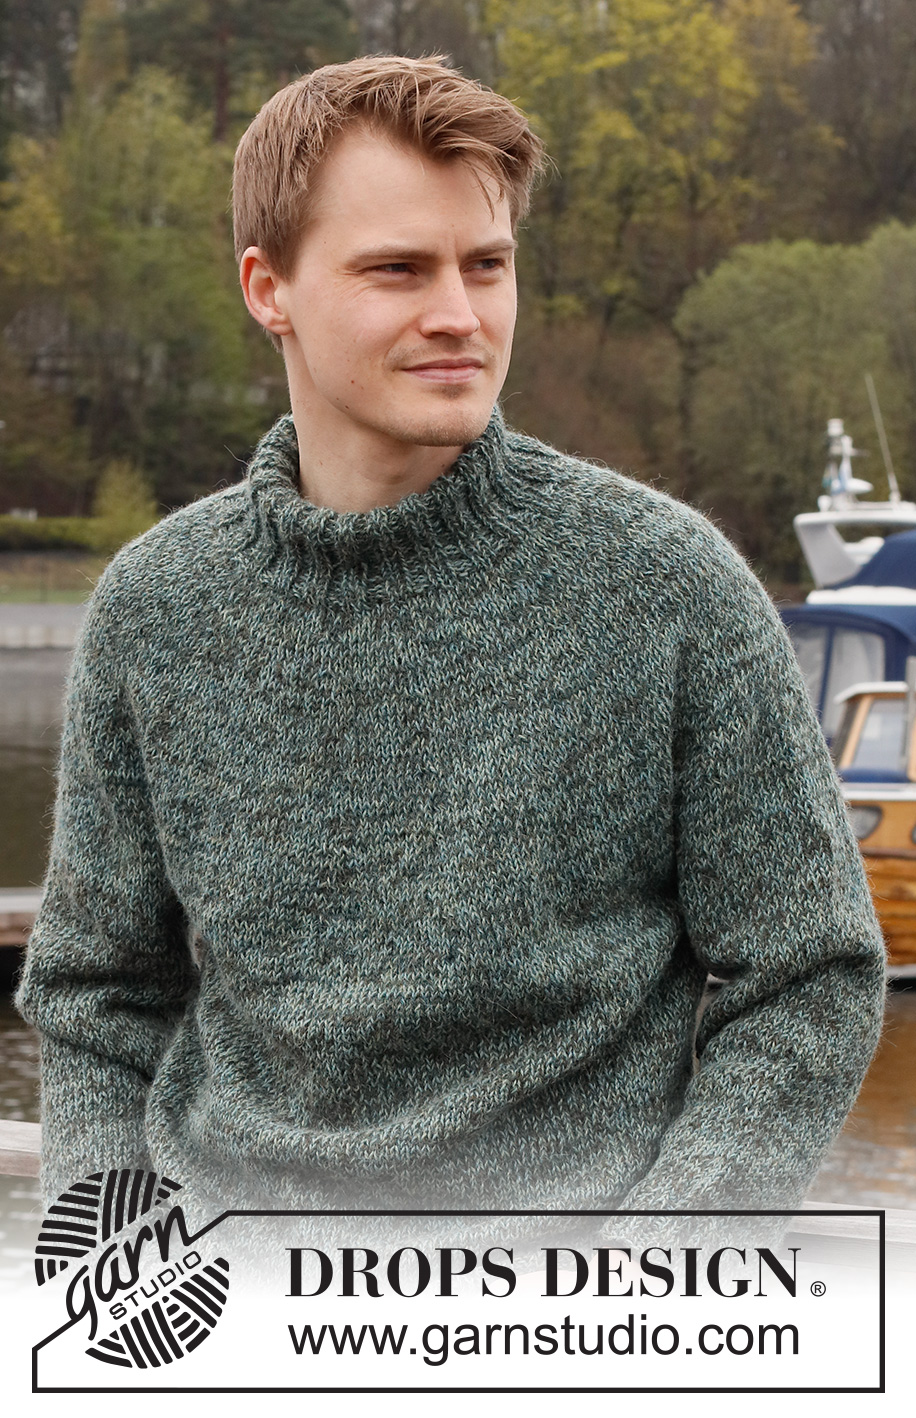
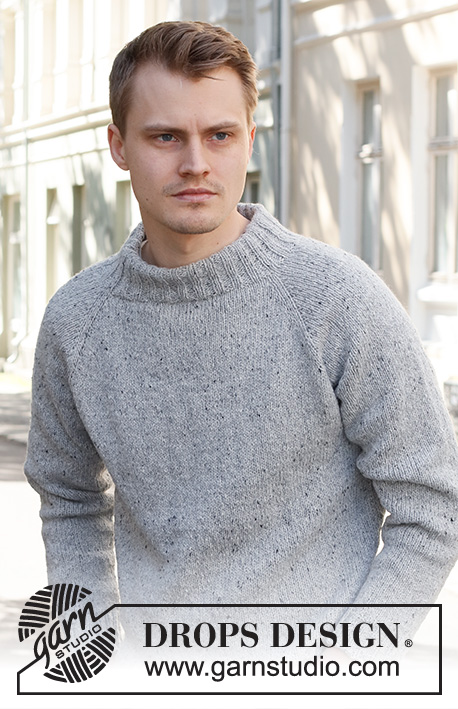
Knitted jumper for men in 2 strands DROPS Alpaca. The piece is worked top down with double neck and round yoke. Sizes S - XXXL.
DROPS 224-21 |
|||||||
|
------------------------------------------------------- EXPLANATIONS FOR THE PATTERN: ------------------------------------------------------- INCREASE TIP (evenly spaced): To work out how to increase evenly, count the total number of stitches on the needle (e.g. 80 stitches) and divide by the number of increases to be made (e.g. 16) = 5. In this example, increase by making 1 yarn over after each 5th stitch. On the next round knit the yarn overs twisted to avoid holes. PATTERN: See diagram A.1. The whole pattern is worked in stocking stitch. DECREASE TIP (for sleeves): Decrease 1 stitch on either side of the marker thread as follows: Work until there are 3 stitches left before the marker thread, knit 2 together, knit 2 (marker thread sits between these 2 stitches), slip 1 stitch as if to knit, knit 1 and pass the slipped stitch over the knitted stitch (2 stitches decreased). CASTING-OFF TIP: To avoid the cast-off edge being tight you can cast off with a larger size needle. If the edge is still tight, make 1 yarn over after approx. each 4th stitch at the same time as casting off; the yarn overs are cast off as normal stitches. ------------------------------------------------------- START THE PIECE HERE: ------------------------------------------------------- JUMPER – SHORT OVERVIEW OF THE PIECE: The neck and yoke are worked in the round with circular needle, from mid back and top down. The yoke is divided for body and sleeves and the body is continued in the round with circular needle. The sleeves are worked with double pointed needles, top down. DOUBLE NECK: Cast on 100-105-110-115-120-130 stitches with short circular needle size 4 mm and 1 strand of each colour DROPS Alpaca (= 2 strands). Knit 1 round. Work rib (knit 2, purl 3) for 4 cm. Now decrease 1 stitch in all the purled sections by purling 2 together = 80-84-88-92-96-104 stitches. Continue the new rib until the neck measures 12 cm. Change to circular needle size 5 mm. YOKE: Insert 1 marker at the beginning of the round mid-back; the yoke is measured from this marker! Knit 1 round where you increase 16-18-26-28-30-34 stitches evenly spaced – read INCREASE TIP = 96-102-114-120-126-138 stitches. Work A.1 over all stitches (= 16-17-19-20-21-23 repeats of 6 stitches). REMEMBER THE KNITTING TENSION! When A.1 has been completed in height there are 256-272-304-320-336-368 stitches on the round. Knit 1 round where you increase 0-0-0-4-8-0 stitches evenly spaced = 256-272-304-324-344-368 stitches. Continue working until the yoke measures 26-28-29-31-33-35 cm from the marker. The yoke is now divided for the body and sleeves as follows: Knit 38-40-44-49-53-58 (= half back piece), place the next 52-56-64-64-66-68 stitches on 1 thread for the sleeve, cast on 6-8-8-10-12-12 stitches (= in side under sleeve), knit 76-80-88-98-106-116 (= front piece), place the next 52-56-64-64-66-68 stitches on 1 thread for the sleeve, cast on 6-8-8-10-12-12 stitches (= in side under sleeve), knit 38-40-44-49-53-58 (= half back piece). The body and sleeves are finished separately. THE PIECE IS NOW MEASURED FROM HERE! BODY: There are now 164-176-192-216-236-256 stitches on the round. Continue with stocking stitch in the round for 32-32-33-33-33-33 cm (or to desired length; there is approx. 6 cm left). Change to circular needle size 4 mm and work rib (knit 2, purl 2) for 6 cm. Loosely cast off with knit over knit and purl over purl – read CASTING-OFF TIP. The jumper measures approx. 68-70-72-74-76-78 cm from the shoulder down. SLEEVES: Place the 52-56-64-64-66-68 stitches from the thread on the one side of the piece on double pointed needles/short circular needle size 5 mm and knit up 1 stitch in each of the 6-8-8-10-12-12 stitches cast on under the sleeve = 58-64-72-74-78-80 stitches. Insert a marker thread in the middle of the 6-8-8-10-12-12 stitches under the sleeve. Allow the thread to follow your work onwards; it will be used when decreasing under the sleeve. Start at the marker thread and work stocking stitch in the round for 3 cm. Now decrease 2 stitches under the sleeve – read DECREASE TIP. Decrease like this every 6-4-3-2½-2½-2½ cm a total of 6-8-11-11-12-12 times = 46-48-50-52-54-56 stitches. Continue without further decreases until the sleeve measures 39-38-37-36-34-32 cm from the division (there is approx. 4 cm left; try the jumper on and work to desired length). Shorter measurements in larger sizes due to wider neck and longer yoke. Knit 1 round where you increase 2-4-2-4-2-4 stitches evenly spaced = 48-52-52-56-56-60 stitches. Change to double pointed needles size 4 mm and work rib (knit 2, purl 2) for 4 cm. Cast off with knit over knit and purl over purl – remember CASTING-OFF TIP! The sleeve measures approx. 43-42-41-40-38-36 cm. Work the other sleeve in the same way. ASSEMBLY: Fold the neck double to the inside and sew down. To avoid the neck being tight and rolling outwards, it is important that the seam is elastic. |
|||||||
Diagram explanations |
|||||||
|
|||||||
 |
|||||||
 |
|||||||
Have you finished this pattern?Tag your pictures with #dropspattern #luckywishsweater or submit them to the #dropsfan gallery. Do you need help with this pattern?You'll find 26 tutorial videos, a Comments/Questions area and more by visiting the pattern on garnstudio.com. © 1982-2025 DROPS Design A/S. We reserve all rights. This document, including all its sub-sections, has copyrights. Read more about what you can do with our patterns at the bottom of each pattern on our site. |
|||||||


Post a comment to pattern DROPS 224-21
We would love to hear what you have to say about this pattern!
If you want to leave a question, please make sure you select the correct category in the form below, to speed up the answering process. Required fields are marked *.