
Popular categories
Looking for a yarn?


Comments / Questions (52)
![]() Carmen Rosa wrote:
Carmen Rosa wrote:
I found the instructions quite confusing thus I am using short rows/ German rows for shoulder line. Besides making shorter the neck rib. I hope this comment helps. 🙂
20.04.2026 - 02:35
![]() ELISABETH wrote:
ELISABETH wrote:
Merci beaucoup !
08.04.2026 - 08:50
![]() ELISABETH wrote:
ELISABETH wrote:
Je souhaite tricoter ce modèle avec des aiguilles DROITES ! je n'aime pas tricoter avec des circulaires , merci
02.04.2026 - 14:23DROPS Design answered:
Bonjour Élisabeth, vous trouverez alors ici comment adapter les explications en conséquence. Bon tricot!
07.04.2026 - 17:08
![]() Anne wrote:
Anne wrote:
Would the small size work for a medium woman's vest. Im struggling to find a pattern using Drops Nepal 450g?
19.03.2026 - 09:59DROPS Design answered:
Dear Anne, please find all vest patterns worked with same tension 17-16 sts for lady here - use the yarn converter when needed to see the appropriate amount for Nepal. Happy knitting!
19.03.2026 - 16:16
![]() Sue wrote:
Sue wrote:
Well, I'm pulling it right back today, hole for head is too small....
15.03.2026 - 15:14
![]() Sue wrote:
Sue wrote:
I'm at the neck, think I've got some holes where I did the diagonal shoulder, will do some darning!
03.03.2026 - 12:23
![]() Pete wrote:
Pete wrote:
I hope you have progressed ok, Sue? I finished mine the other day and fairly pleased with it. If anything, it’s the initial ribbing that doesn’t look so great. For the diagonal shoulders, it was just a case of working part of a row and then turning the work to work back again (a couple of times per shoulder). Regarding the part about picking up the strand between stitches, it remains unclear but I just tried a few different things to see what looked best (tinking back if it looked bad).
23.02.2026 - 15:51
![]() Sue wrote:
Sue wrote:
I'm having the same problem as you Pete, size small, not yet done the stepping part, not clear at all
18.02.2026 - 17:15
![]() Pete wrote:
Pete wrote:
Ok, I think I now understand (3 ‘steps’ of 6 stitches for each shoulder plus 26 cast off between for total of 62, accounting for the 1 neck decrease each side). So my new questions are: 1. Following the initial ribbing, is the mentioned decrease included in that first knit round on 4mm needles (I am assuming yes)? 2. Do you have a video to show how to “pick up the strand between 2 stitches and work it twisted together with the next stitch on the left needle” as I can’t visualise this?
13.02.2026 - 10:38
![]() Pete wrote:
Pete wrote:
Not just me having problems with shoulder/neckline. Working on the front for M size, I have 64 stitches. Next, I work 6 stitches and place these on a thread, and then work another 6 stitches and place these on another thread, and then presumably work the next 14 stitches and maybe place these on a thread? Then work the last 6 stitches (for that side of 32 stitches) and place these on a thread. And then completely give up? Can this be made clearer? Video didn’t help.
11.02.2026 - 11:30
|
|
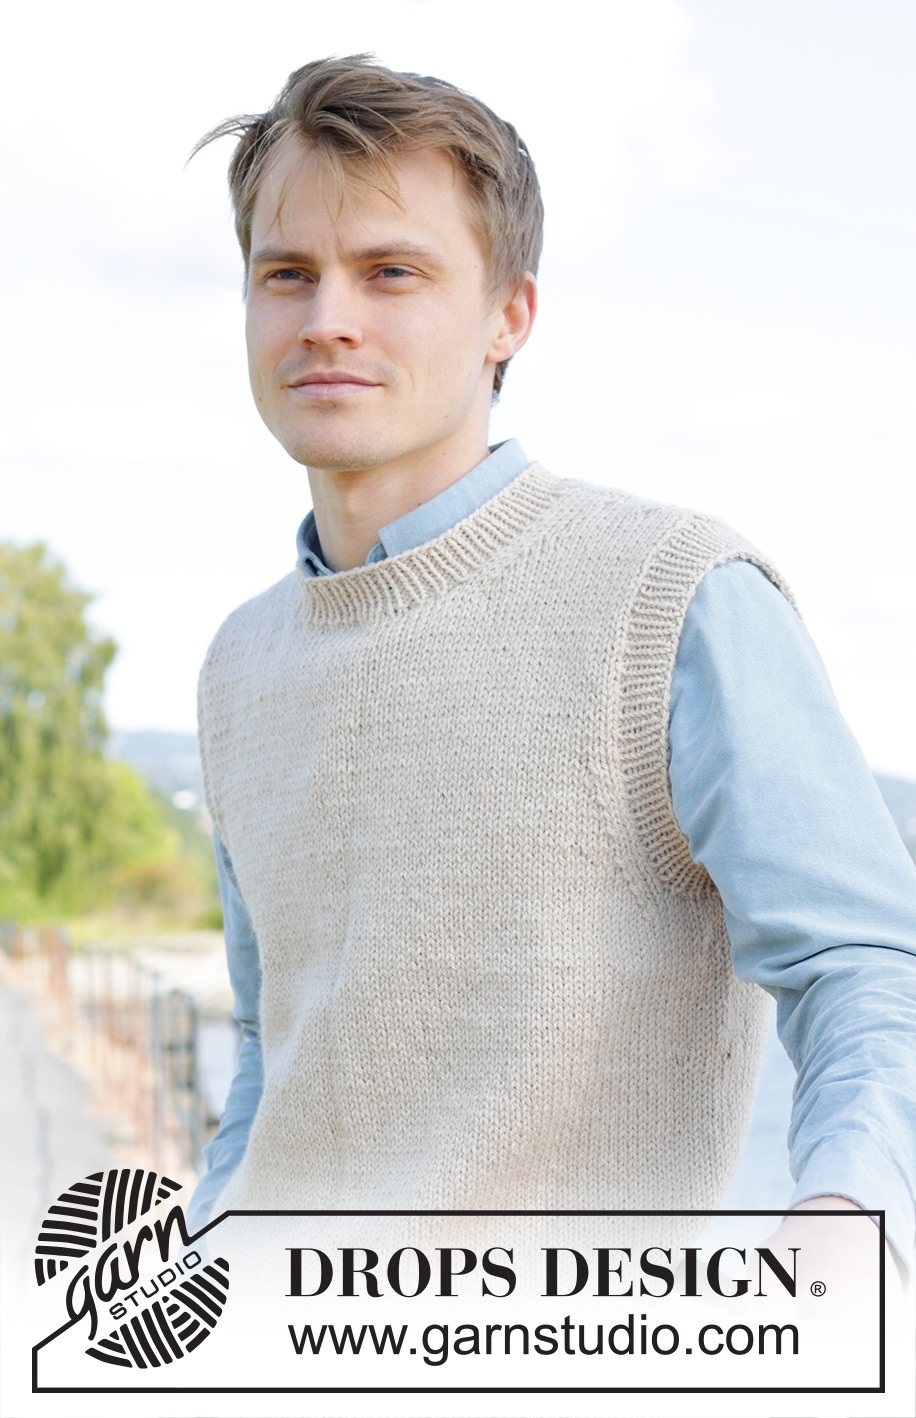
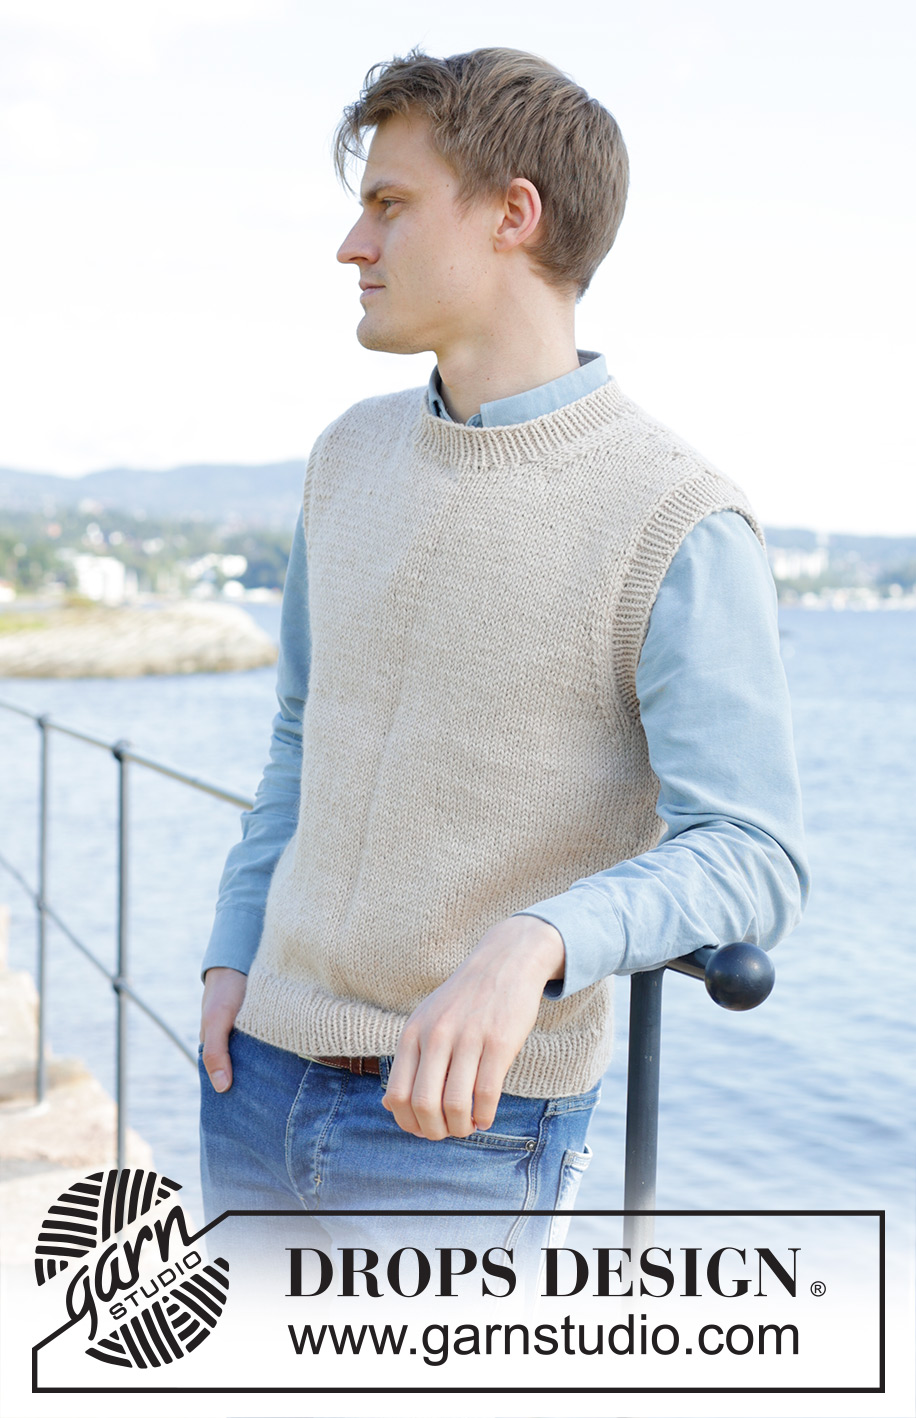
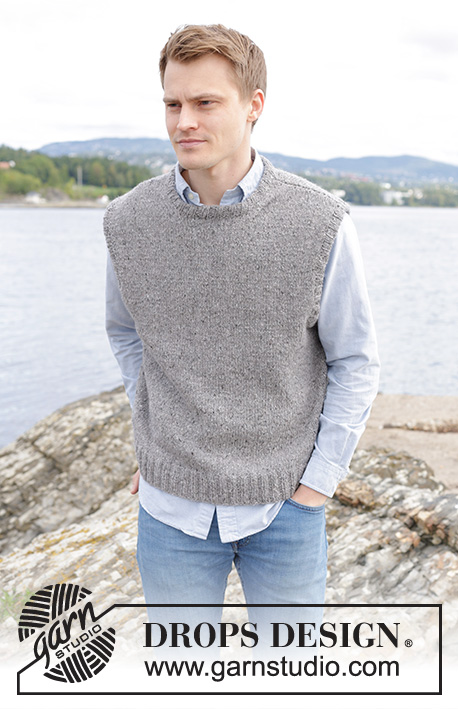
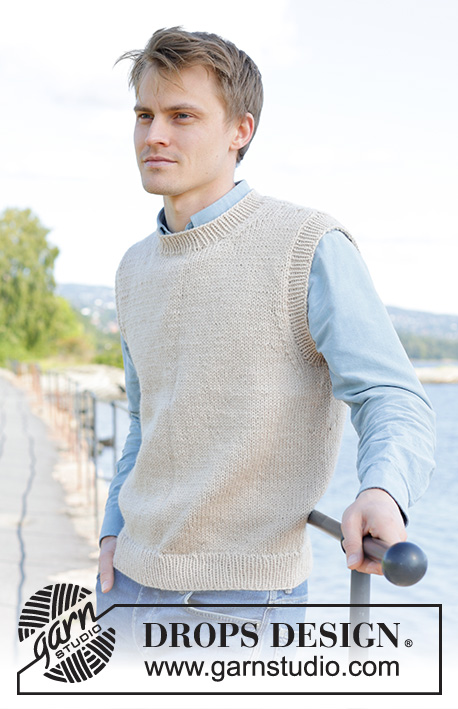
Vestfjord Vest#vestfjordvest |
|
 |
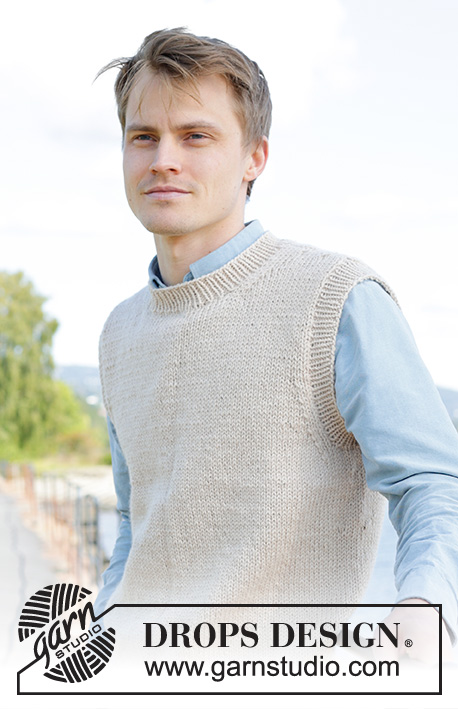 |
Knitted vest for men in DROPS Nepal. The piece is worked bottom up in stocking stitch. Sizes S - XXXL.
DROPS 246-13 |
|
|
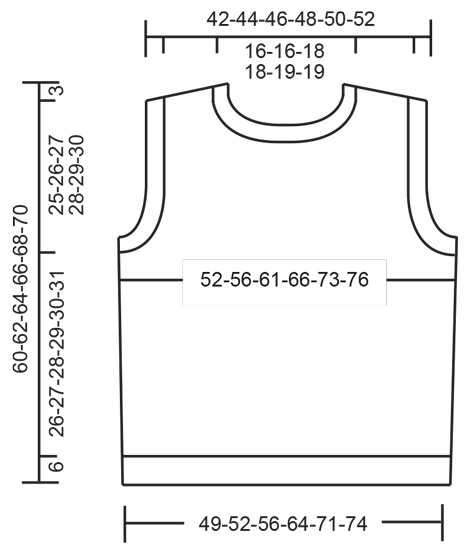
------------------------------------------------------- EXPLANATIONS FOR THE PATTERN: ------------------------------------------------------- INCREASE TIP (for sides of body): Work until there are 2 stitches left before the marker thread, 1 yarn over, knit 4 (marker thread sits between these 4 stitches), 1 yarn over. On the next round knit the yarn overs twisted to avoid holes. Then work the new stitches in stocking stitch. DECREASE TIP (for armholes and neckline): All decreases are worked from the right side! DECREASE 1 STITCH AT THE BEGINNING OF THE ROW: 1 edge stitch in garter stitch, knit 2, slip 1 stitch knit-wise, knit 1, pass the slipped stitch over the knitted stitch (= 1 stitch decreased). DECREASE 1 STITCH AT THE END OF THE ROW: Work until there are 5 stitches left on the row, knit 2 together (= 1 stitch decreased), knit 2 and 1 edge stitch in garter stitch. ------------------------------------------------------- START THE PIECE HERE: ------------------------------------------------------- VEST – SHORT OVERVIEW OF THE PIECE: The piece is worked in the round with circular needle, bottom up as far as the armholes. The piece is divided for the front and back pieces which are finished separately, back and forth. The neck and sleeve-edges are worked in the round with circular needle to finish. BODY: Cast on 188-196-214-242-268-282 stitches with circular needle size 4 mm and DROPS Nepal. Work rib in the round (knit 1, purl 1) for 6 cm. Knit 1 round and decrease 20-20-22-26-28-30 stitches evenly spaced = 168-176-192-216-240-252 stitches. Insert a marker-thread at the beginning of the round and 1 marker-thread after 84-88-96-108-120-126 stitches. Allow the threads to follow your work onwards – they are used when increasing in the sides. Change to circular needle size 5 mm. Work stocking stitch. REMEMBER THE KNITTING TENSION! When the piece measures 10 cm, increase 2 stitches on each side - read INCREASE TIP. Increase like this every 14-6-6-16-16-17 cm a total of 2-4-4-2-2-2 times = 176-192-208-224-248-260 stitches. Work until the piece measures 32-33-34-35-36-37 cm. On the next round cast off for the armholes as follows: Start 5-6-7-8-9-10 stitches before the first marker-thread, cast off 10-12-14-16-18-20 stitches, work as far as 5-6-7-8-9-10 stitches before the second marker-thread, cast off 10-12-14-16-18-20 stitches. Finish the front and back pieces separately. Place the first 78-84-90-96-106-110 stitches on a thread for the front piece. BACK PIECE: = 78-84-90-96-106-110 stitches. On the next row from the right side decrease 1 stitch on each side for the armholes - read DECREASE TIP. Continue with stocking stitch back and forth (with 1 edge stitch in garter stitch on each side) and decrease like this every 2nd row (each row from the right side) a total of 5-7-9-10-15-14 times, then every 4th row (every 2nd row from the right side) 3-3-2-2-1-2 times = 62-64-68-72-74-78 stitches. Work the shoulders and neckline simultaneously as described below. Read the next section before continuing. DIAGONAL SHOULDERS and NECKLINE: When the piece measures 57-59-61-63-65-67 cm, place stitches on a thread on each side for the shoulders (to avoid cutting the strand, work the stitches first): Place stitches on the threads on each side as follows: 5-6-6-7-7-7 stitches 2 times and then the last 7-6-7-7-7-9 stitches. When all the stitches are on the threads, place them back on circular needle size 5 mm. Work 1 row stocking stitch (to avoid holes in the transitions between stitches, pick up the strand between 2 stitches and work it twisted together with the next stitch on the left needle). Cast off on the next row. AT THE SAME TIME when the piece measures 58-60-62-64-66-68 cm, cast off the middle 26-26-28-28-30-30 stitches for the neck (18-19-20-22-22-24 stitches on each shoulder) and finish each shoulder separately. On the next row decrease 1 stitch from the neck. When all the stitches are cast off, the piece measures approx. 60-62-64-66-68-70 cm from the top of the shoulder. Repeat on the other shoulder. FRONT PIECE: = 78-84-90-96-106-110 stitches. On the next row from the right side, decrease 1 stitch on each side for the armholes - remember DECREASE TIP. Continue with stocking stitch back and forth (with 1 edge stitch in garter stitch on each side) and decrease like this every 2nd row (each row from the right side) a total of 5-7-9-10-15-14 times, then every 4th row (every 2nd row from the right side) 3-3-2-2-1-2 times = 62-64-68-72-74-78 stitches. When the piece measures 52-54-55-57-58-60 cm, place the middle 18-18-18-18-20-20 stitches on a thread for the neckline (22-23-25-27-27-29 shoulder stitches left) and finish each shoulder separately. Continue working and decreasing 1 stitch for the neck every 2nd row (each row from the right side) a total of 5-5-6-6-6-6 times – remember DECREASE TIP = 17-18-19-21-21-23 shoulder stitches. Now work the diagonal shoulders as described below. DIAGONAL SHOULDERS: When the piece measures 57-59-61-63-65-67 cm, place stitches on a thread on each side for the shoulders in the same way as on the back piece, i.e., 5-6-6-7-7-7 stitches 2 times and then the last 7-6-7-7-7-9 stitches. When all the stitches are on the threads, place them back on circular needle size 5 mm. Work 1 row stocking stitch in the same way as on the back piece. Cast off on the next row. The piece measures approx. 60-62-64-66-68-70 cm from the top of the shoulder. Repeat on the other shoulder. ASSEMBLY: Sew the shoulder seams. NECK: Start from the right side on one shoulder, with short circular needle size 4 mm, and knit up 76 to 92 stitches around the neck (including the stitches from the thread) inside the 1 edge stitch (stitch count must be divisible by 2). Work rib in the round (knit 1, purl 1) for 3 cm. Cast off with knit over knit and purl over purl. SLEEVE-EDGES: Start from the right side at the bottom of the armhole, with short circular needle size 4 mm, and knit up 96-98-102-106-110-114 stitches around the armhole, inside the 1 edge stitch (stitch count must be divisible by 2). Work rib in the round (knit 1, purl 1) for 3 cm. Cast off with knit over knit and purl over purl. Work the other sleeve-edge in the same way. |
|
 |
|
Have you finished this pattern?Tag your pictures with #dropspattern #vestfjordvest or submit them to the #dropsfan gallery. Do you need help with this pattern?You'll find 29 tutorial videos, a Comments/Questions area and more by visiting the pattern on garnstudio.com. © 1982-2026 DROPS Design A/S. We reserve all rights. This document, including all its sub-sections, has copyrights. Read more about what you can do with our patterns at the bottom of each pattern on our site. |
|


With over 40 years in knitting and crochet design, DROPS Design offers one of the most extensive collections of free patterns on the internet - translated to 17 languages. As of today we count 324 catalogues and 12290 patterns translated into English (UK/cm). 12290
We work hard to bring you the best knitting and crochet have to offer, inspiration and advice as well as great quality yarns at incredible prices! Would you like to use our patterns for other than personal use? You can read what you are allowed to do in the Copyright text at the bottom of all our patterns. Happy crafting!
Post a comment to pattern DROPS 246-13
We would love to hear what you have to say about this pattern!
If you want to leave a question, please make sure you select the correct category in the form below, to speed up the answering process. Required fields are marked *.