
Popular categories
Looking for a yarn?







































Comments / Questions (11)
 Kathrin wrote:
Hallo, ich habe nach den Abnahmen am Überwurf erst 30cm nach dem Markierer. Ich sollte bei der Größe (6/9 Monate) dann noch 6cm mit Blenden gerade weiter stricken, dann die Blenden zusammenstricken und noch mal 3cm in Runden stricken. Der noch offene und gerade herunter gestrickte Teil erscheint mir mit 6cm sehr lang und optisch nicht besonders schön. So sieht es auch nicht auf dem Bild aus. Die Maschenprobe stimmt. Ist es wirklich so gedacht? Danke und viele Grüße
26.10.2026 - 20:14DROPS Design answered:
Liebe Kathrin, man wird nur 3 cm (in die 4 ersten Größe) in Runden stricken, bevor man für beide Beine die Arbeit aufteilt. Viel Spaß beim Stricken!
27.10.2026 - 09:32
 Sammi wrote:
When picking up stitches on the six cast on stitches of the right band, am I picking up the stitches from the right side or the wrong side (putting the needle from back to front, or front to back)? I’m having a hard time envisioning how this part will look. Thank you so much for the help.
24.10.2026 - 23:39DROPS Design answered:
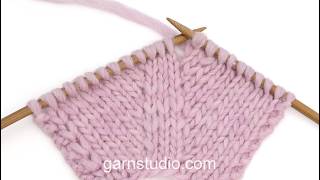
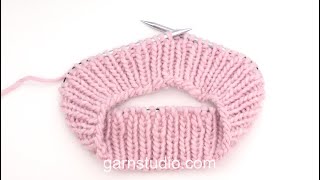
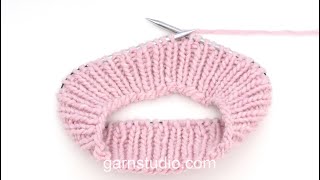
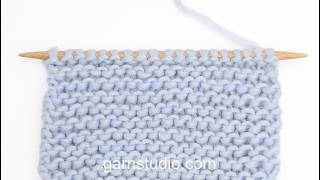
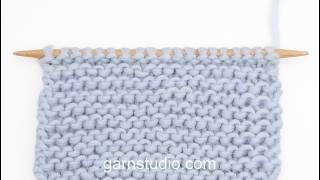
Dear Sammi, the stitches are picked up from the right side; you can see in this video how to pick up stitches in a garter stitch edge. Happy knitting!
25.10.2026 - 23:01
 LECLERC wrote:
Malheureusement les explications données apparaissent incompréhensibles. C’est bien dommage car le modèle est intéressant. Problème de traduction en français peut- être ? En l’état je ne peux que renoncer à le faire. Bien cordialement.
23.10.2026 - 14:59DROPS Design answered:
Bonjour Mme Leclerc, peut-être pouvez-vous nous indiquer la partie précise qui vous pose problème, notez que la construction de ce modèle est probablement différente de ce que vous connaissez déjà, mais en suivant toutes les étapes vous devriez y arriver. Votre magasin saura également vous assister même par mail ou téléphone si besoin. Bon tricot!
23.10.2026 - 16:21
Monique LECLERC wrote:
Bonjour Agathe, Je me pose des questions proches des vôtres, concernant le début de cette salopette et notamment de la bordure de 2 x 10 cm. Avez-vous pu résoudre le problème ? Si oui ce serait très gentil de m'expliquer à quoi doit ressembler la pièce . Merci beaucoup. Monique.
20.10.2026 - 16:15DROPS Design answered:
Bonjour Mme Leclerc, vous tricotez d'abord la 1ère bordure sur 10 cm, puis vous relevez les mailles de la 2ème bordure dans les mailles du montage de la 1ère et tricotez 10 cm = votre bordure mesure 20 cm au total, vous allez maintenant relever les mailles de l'empiècement le long du côté droit (vu sur l'endroit) de ces bordures ainsi: tricotez les mailles de la bordure du devant gauche, relevez les mailles le long des 20 cm des bordures et tricotez les mailles de la bordure du devant droit = vous avez maintenant toutes les mailles sur l'aiguille, tricotez le rang suivant sur l'envers et placez bien vos marqueurs comme indiqué (sans tricoter). Vous augmenterez ensuite pour le raglan et pour l'encolure comme indiqué sous l'empiècement. N'hésitez pas à nous indiquer à quel niveau vous bloquez que l'on puisse vous aider. Bonne continuation!
21.10.2026 - 09:46
Monique wrote:
Bonjour, J'ai fait la bande de 20 cm de l'encolure pour démarrer la salopette, d'abord droite puis gauche et je les ai réunies. Mais il n'y a pas moyen de voir à quoi ça doit ressembler ...J'obtiens 5mailles puis 48 m relevées, puis 5m. Mais du coup la bordure I-Cord est 10cm d'un côté de la bande puis 10 cm de l'autre côté. Est-ce correct ? Je ne comprends pas très bien pourquoi pour la suite... Merci de m'aider !
16.10.2026 - 18:07DROPS Design answered:
Bonjour Monique, lorsque vous avez relevé les mailles de l'empiècement le long des 20 cm des deux bordures, vous placez les marqueurs comme indiqué au début de l'empiècement et tricotez simplement l'empiècement en augmentant pour le raglan comme indiqué pour la taille choisie. La bordure I-cord est toujours de 5 m de chaque côté (devant gauche et devant droit), vous allez augmenter pour l'encolure V en même temps que pour le raglan. Bon tricot!
19.10.2026 - 10:10
Agathe wrote:
Pourquoi je ne tricote pas directement 20cm de bande d'encolure, plutôt que 10 cm puis relever les mailles et encore 10cm. A quoi doit ressembler la bande ? Est-ce que les 2x10cm sont différents ?
14.10.2026 - 01:35DROPS Design answered:
Bonjour Agathe, vous tricotez la bordure du devant droit et du devant gauche séparément, à partir du milieu dos (raison pour laquelle on relève les mailles de la bordure gauche), lorsque les 2 x 10 cm sont terminés vous avez votre bordure d'encolure et vous allez relever les mailles le long de ces 20 cm pour l'empiècement, et vous tricotez l'empiècement en commençant et en terminant par ces mailles de bordure. Bon tricot!
14.10.2026 - 07:36
Britta wrote:
Ist es richtig, dass ich die Maschen für den Überwurf gleichzeitig nach der zweiten Raglan Masche zunehme?
15.09.2026 - 10:36DROPS Design answered:
Liebe Britta, die 1. Zunahmen für Vorderteile wird beginnen, wenn man zum 2. Mal für Raglan zunimmt, dh bei der 2. Hinreihe der Passe. Viel Spaß beim Stricken!
16.09.2026 - 06:59
 Hson wrote:
Fast man har 500 tecken att skriva så har jag hållt mig inom det så får jag bara besked att meddelande är för långt!! Jag har skrivit hur ni bör rätta knapphålet... ni har missat att skriva fem maskor kvar på Varvet! Och att man behöver en tredje sticka när man stickar ihop framstyckena!!
14.09.2026 - 15:43DROPS Design answered:
Hej igen, tak for information om knaphullet, opskriften er nu opdateret online :)
16.09.2026 - 11:42
Hson wrote:
Ni kan ta bort mina tidigare frågor om ni vill🙂, har stickat och ser nu hur det ska vara Men beskrivningen av Knapphål är fel, det bör ni ändra i texten tror jag.🌻
12.09.2026 - 14:00DROPS Design answered:
Hei Hson. Så bra du fant det ut selv. Håper du da fikk strikke i helgen. Takk for tilbakemeldingen om Knappehull, men fint om du kan gi en beskrivelse på hva du mener er galt :) mvh DROPS Design
14.09.2026 - 14:35
Hson wrote:
Hur stickas omslaget, ökningen vid Omlott? Får inte den fina maskan som ni har på fotot..... (Ser nästan ut som en lyft maska)
11.09.2026 - 14:58DROPS Design answered:
Hei Hson. Husk å lese ÖKNINGSTIPS og hvordan det strikkes efter FRAMKANTSMASKORNA och före FRAMKANTSMASKORNA. Se gjerne våre hjelpevideo, som f.eks "Hur man stickar en i-cord kant, fram och tillbaka" mvh DROPS Design
14.09.2026 - 11:32
|
|
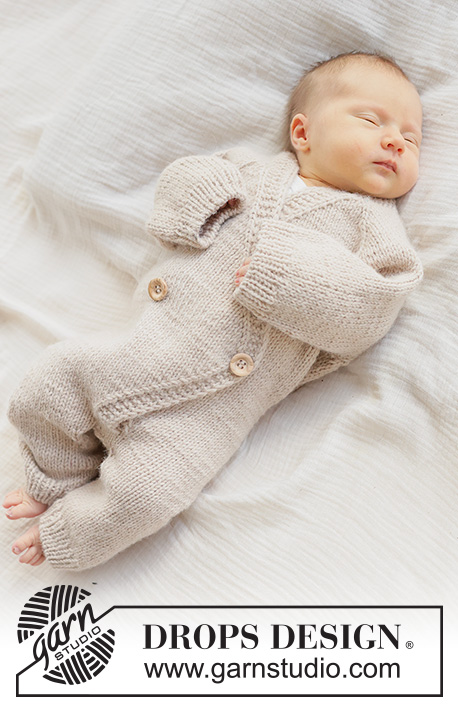
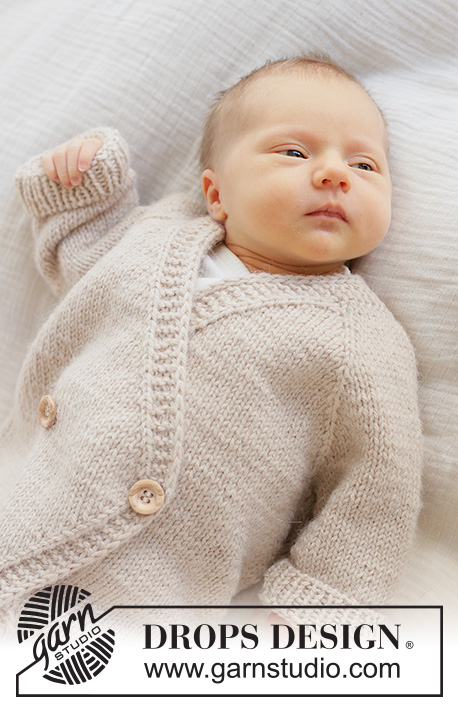
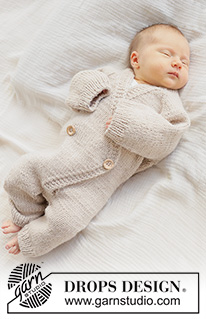
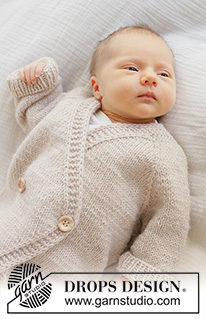
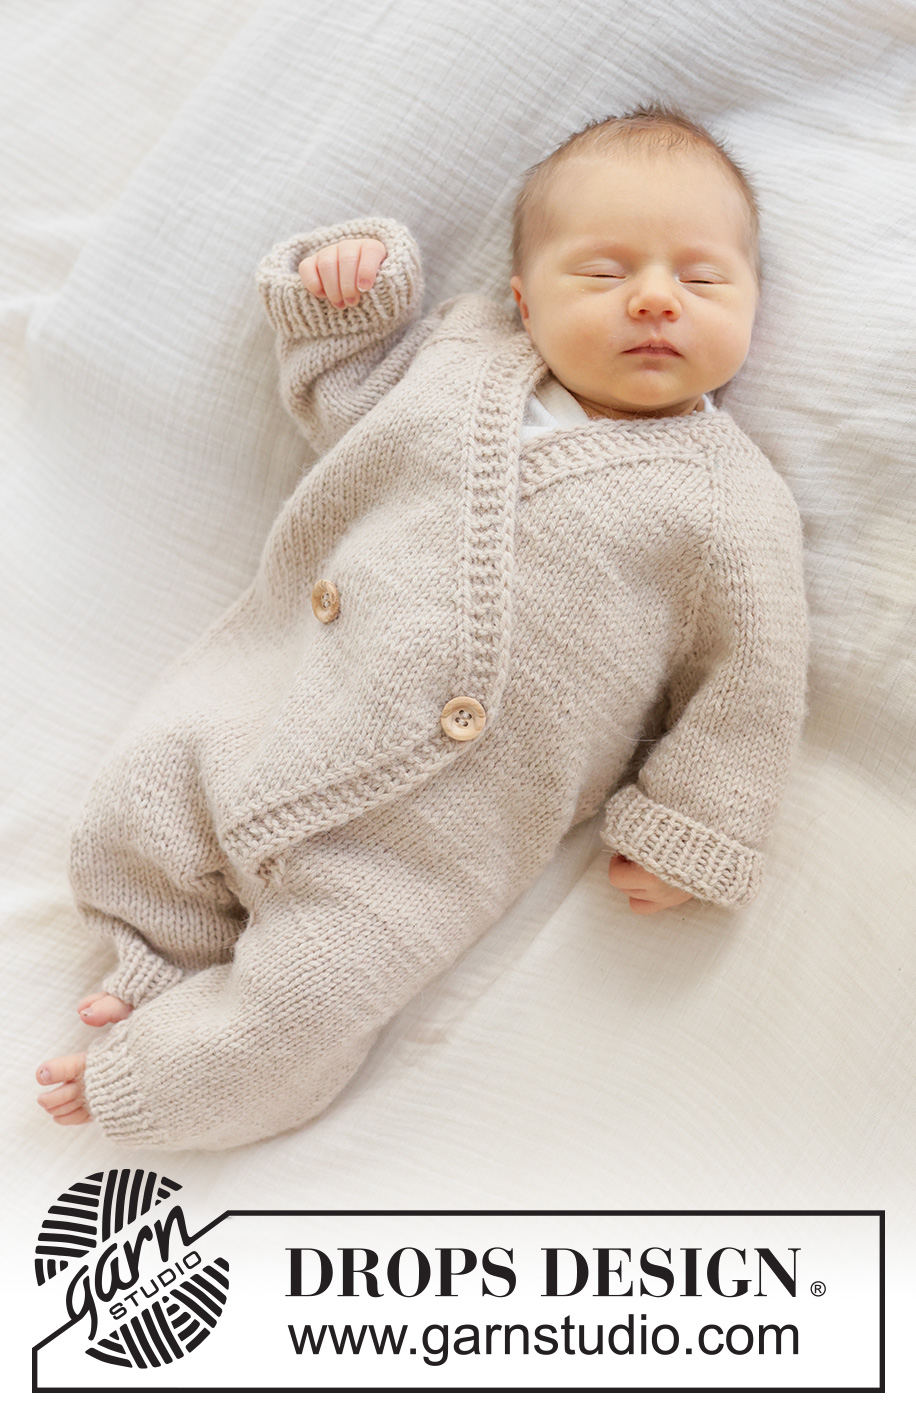
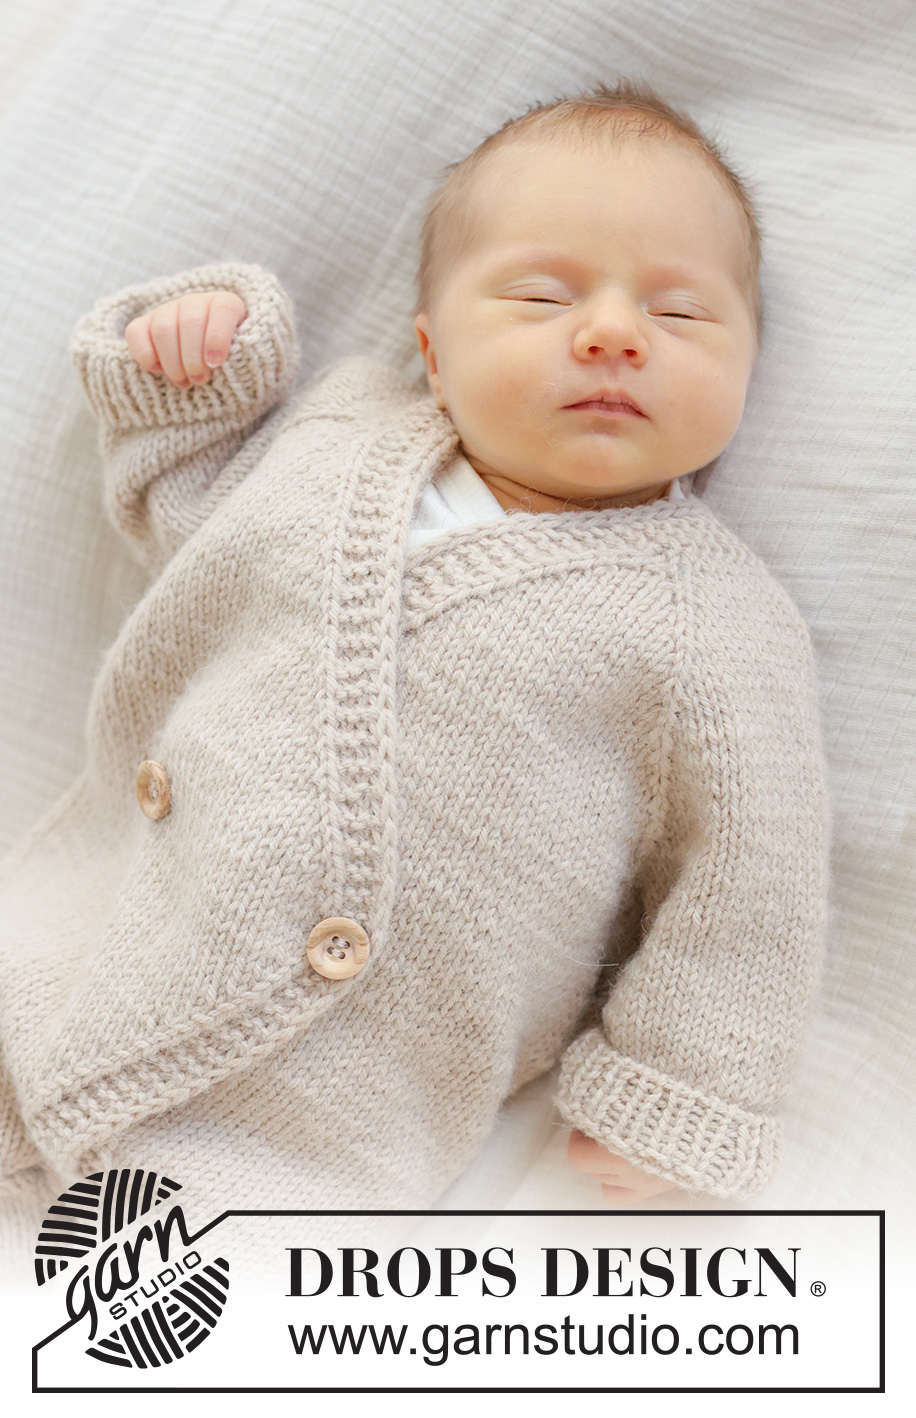
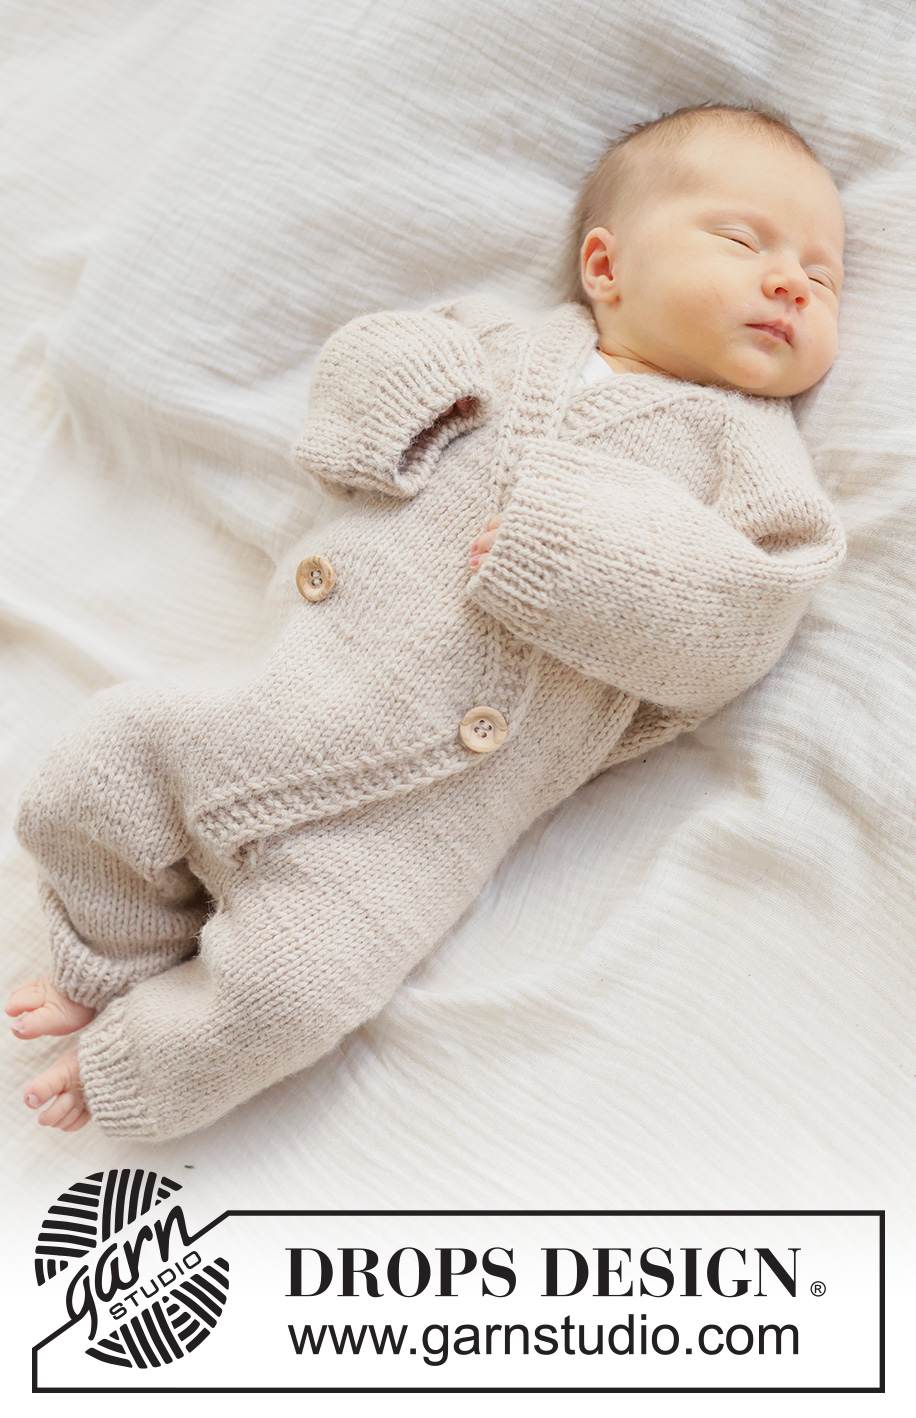
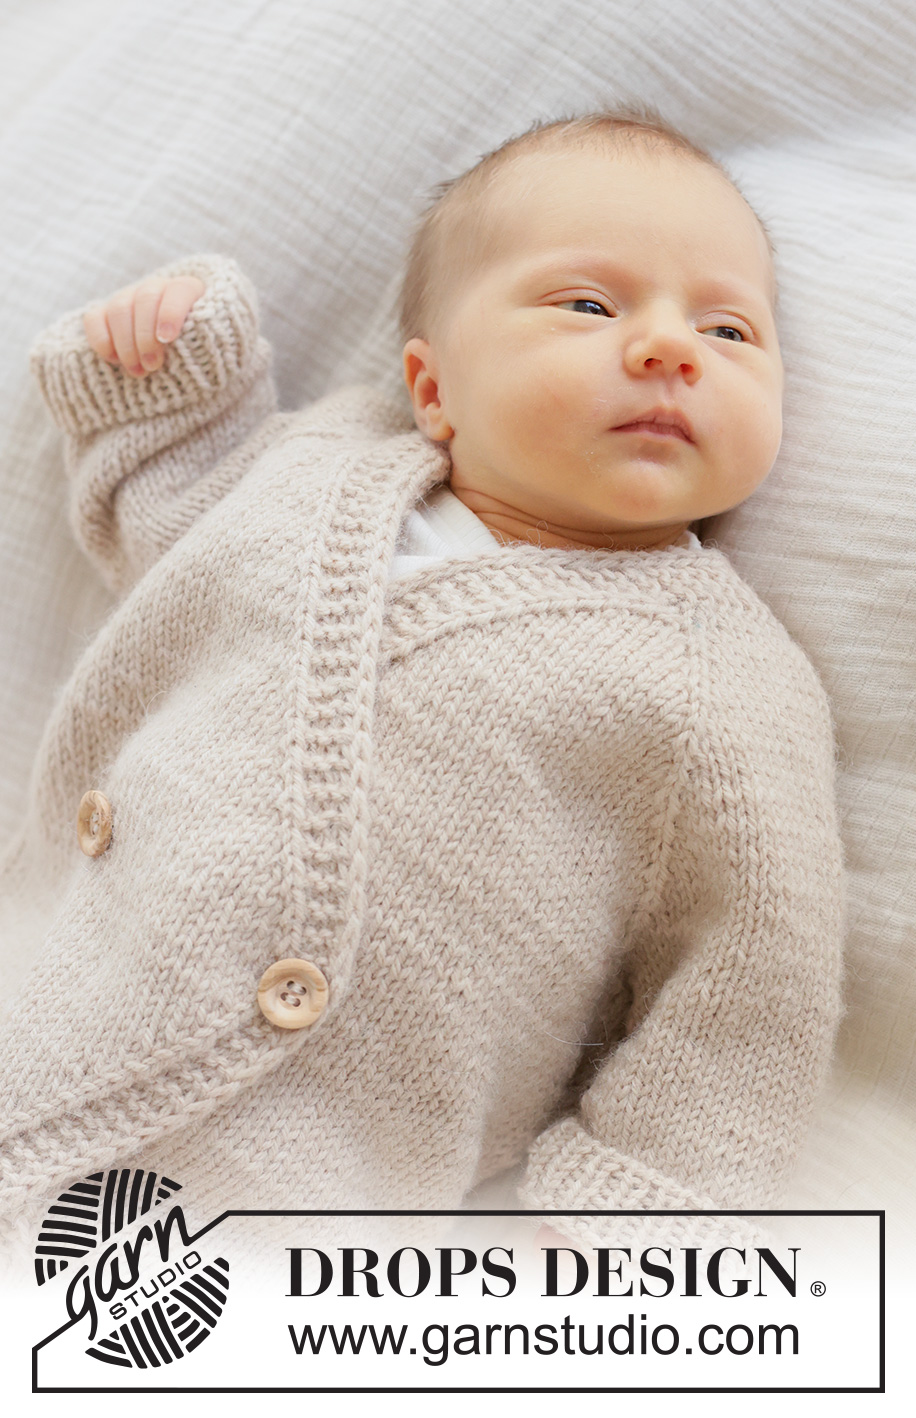
Warm Biscuit Overall#warmbiscuitoverall |
|
 |
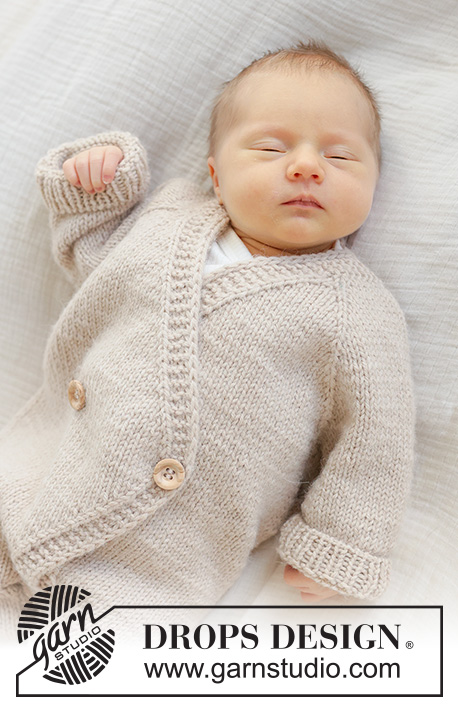 |
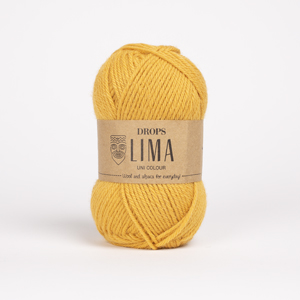
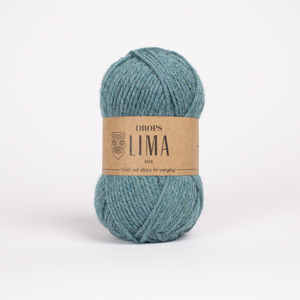
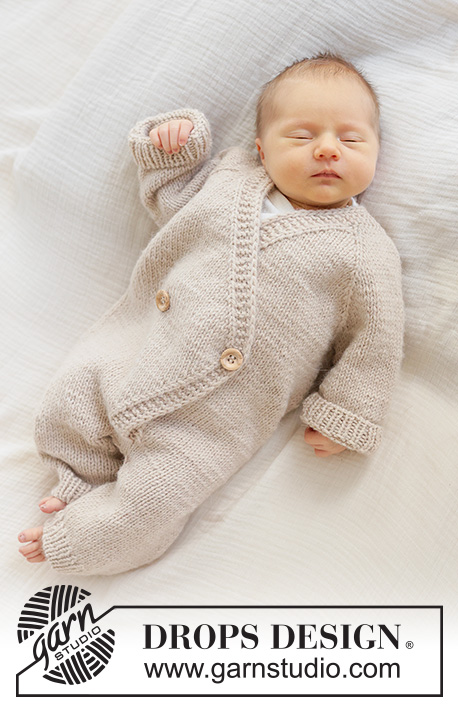
Knitted suit for baby and children in DROPS Lima. Piece is knitted top down with raglan, I-cord and V-neck. Size 0 – 4 years
DROPS Baby 53-24 |
|
|
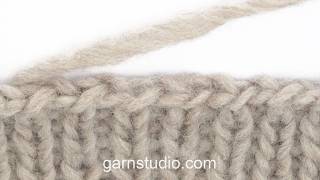
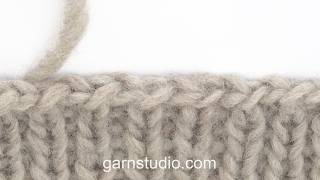
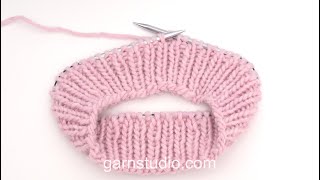
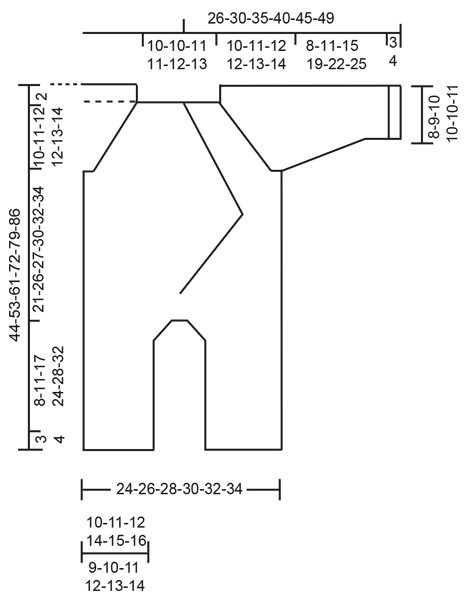
---------------------------------------------------------- EXPLANATION FOR THE PATTERN: ---------------------------------------------------------- GARTER STITCH (back and forth): 1 ridge = knit 2 rows. BAND WITH I-CORD: BEGINNING OF ROW: Work band as follows (= 5 stitches): Slip 1 stitch purlwise with strand in front of piece, knit 1 and work 3 stitches in garter stitch. END OF ROW: Work band as follows (= 5 stitches): Work until 5 stitches remain on row, work 3 stitches in garter stitch, slip 1 stitch purlwise with strand in front of piece, knit 1. Continue like this from both right side and wrong side. RAGLAN: All increases are done from right side. Increase 1 stitch by making 1 yarn over. On next row from wrong side work yarn overs as explained below: BEFORE RAGLAN STITCH (= twist yarn over towards the left): Purl yarn over in stitch loop behind the needle - to avoid holes. AFTER RAGLAN STITCH (= twist yarn over towards the right): Move yarn over from left needle to right needle purlwise, slip yarn over back on left needle by inserting left needle from behind in yarn over (yarn over is now twisted). Purl yarn over in stitch loop that is in front the needle - to avoid holes. INCREASE TIP: All increases are done from right side. Increase 1 stitch by making 1 yarn over. On next row from wrong side work yarn overs as explained below: AFTER BAND STITCHES + 1 stitch in stocking stitch (= twist yarn over towards the right): Move yarn over from left needle to right needle purlwise, slip yarn over back on left needle by inserting left needle from behind in yarn over (yarn over is now twisted). Purl yarn over in stitch loop that is in front the needle - to avoid holes. BEFORE BAND STITCHES + 1 stitch in stocking stitch (= twist yarn over towards the left): Purl yarn over in stitch loop behind the needle - to avoid holes. BUTTONHOLES: Decrease for 2 buttonholes on same row on right band (when garment is worn). Decrease from right side when 18-20-20-22-22-22-24 stitches remain on row as follows: ROW 1 (= right side): Make 1 yarn over, knit 2 together, work until 5 stitches remain on row, make 1 yarn over, knit 2 together, knit 1, slip 1 stitch purlwise with strand in front of piece, knit 1. ROW 2 (= wrong side): Work band as before and knit yarn overs = 2 buttonholes. DECREASE TIP-1 (applies to wrap-over): Decrease as follows before 5 band stitches: Work until 7 stitches remain, knit 2 together, work band as before Decrease as follows after 5 band stitches: Work 5 band stitches, slip 1 stitch knitwise, work next stitch, pass slipped stitch over. DECREASE TIP-2 (applies to mid under sleeves and on inside of legs): Decrease 1 stitch on each side of marker as follows: Work until 3 stitches remain before marker, knit 2 together, knit 2 (marker is between these 2 stitches), slip 1 stitch knitwise, knit 1, pass slipped stitch over stitch worked. ---------------------------------------------------------- START THE PIECE HERE: ---------------------------------------------------------- SUIT - SHORT OVERVIEW OF THE PIECE: In this pattern needles of different length have been used, begin with fitting length for number of stitches and switch as needed. First work a band edge in the back of neck, then pick up stitches for yoke in this band edge. Work yoke back and forth on circular needle from mid front, and work top down with increases for raglan and increases and decreases for wrap-over. When yoke is done, divide piece for body and sleeves. Work body downwards back and forth on circular needle until wrap-over is finished while putting the sleeves aside. Slip piece together and work in the round. Piece is divided for legs and each leg is worked in the round. Then work sleeves downwards in the round on needle. RIGHT BAND WITH I-CORD: Cast on 6 stitches on circular needle size 4 mm with DROPS Lima. RIGHT SIDE: Work 4 stitches in garter stitch, slip 1 stitch purlwise with strand in front of piece, knit 1. WRONG SIDE: Slip 1 stitch purlwise with strand in front of piece, knit 1, work 4 stitches in garter stitch. Repeat these 2 rows until band measures 9-9-10-10-10-11 cm. Cut the yarn. Slip stitches on a thread and work left band as explained. LEFT BAND: Pick up 1 stitch in every stitch from cast-on edge on right band = 6 stitches. RIGHT SIDE: Slip 1 stitch purlwise with strand in front of piece, knit 1 and work 4 stitches in garter stitch. WRONG SIDE: 4 stitches in garter stitch, slip 1 stitch purlwise with strand in front of piece, knit 1. Repeat these 2 rows until band measures 9-9-10-10-10-11 cm. Band measures 18-18-20-20-20-22 cm in total. Work next row as follows from right side: Slip 1 stitch purlwise with strand in front of piece, knit 1, and 2 stitches in garter stitch, slip next stitch purlwise with strand in front of piece, knit last stitches from band, pass slipped stitch over, pick up 40-42-48-48-50-52 new stitches along the side on right and left band, pick up inside 1 stitch in garter stitch and make sure to pick up same number of stitches from each band, slip the 6 stitches from right band back on left needle, knit the first 2 stitches together and work the last 4 stitches as before = 50-52-58-58-60-62 stitches. Purl 1 row from wrong side with 5 stitches BAND WITH I-CORD in each side - read explanation above. Insert 1 marker on the inside of 5 stitches band in one side, use this to measure from. YOKE: Insert 4 markers in piece without working the stitches, insert markers in a stitch, these stitches are called raglan stitches and increase is done for raglan on each side of raglan stitches. Count 6 stitches (= left front piece), insert 1st marker in next stitch, count 8-8-10-10-10-10 stitches (= sleeve), insert 2nd marker in next stitch, count 18-20-22-22-24-26 stitches (= back piece), insert 3rd marker in next stitch, count 8-8-10-10-10-10 stitches (= sleeve), insert 4th marker in next stitch. 6 stitches remain on row for right front piece. Work stocking stitch and band in each side and increase for RAGLAN on each side of raglan stitches – read explanation above. Also increase stitches and decrease stitches for wrap-over. When increases for raglan are done, divide the piece for body and sleeves. This is done before all increases for wrap-over are done, so read the 3 next sections before working. RAGLAN: Increase for raglan every other row, increase on each side of raglan stitches until 11-13-14-14-15-16 increases have been done in total (= 8 stitches increased on every increase row). Increases for sleeve are now done, but continue to increase for raglan on front piece and back piece on every other row 1-0-0-2-2-2 more times. 12-13-14-16-17-18 increases have been done in total on back piece/front piece and 11-13-14-14-15-16 increases on sleeves. When increases for raglan are done, divide the piece as explained below DIVISION FOR BODY AND SLEEVES. Remember to follow the knitting tension! COVER: Increase 1 stitch on inside of 5 stitches band + 1 stitch stocking stitch in each side. First increase is done on the 2nd increase for raglan, then continue increases every other row until 18-21-24-25-26-29 increases have been done in total in each side towards mid front - read INCREASE TIP. DIVIDING FOR BODY AND SLEEVES. AT THE SAME TIME when piece measures 10-11-12-12-13-14 cm from marker in the neck, divide piece for body and sleeves as follows: Work until the first raglan stitch (= front piece), slip the next 30-34-38-38-40-42 stitches on a thread for sleeve and cast on 6-6-6-8-8-8 stitches under sleeve, work 44-48-52-56-60-64 stitches in stocking stitch (= back piece), slip the next 30-34-38-38-40-42 stitches on a thread for sleeve, cast on 6-6-6-8-8-8 stitches under sleeve and work the last stitches as before (= front piece). BODY: Work stocking stitch and bands as before and continue increases for wrap-over. When all increases mid front are done, the piece is divided for body and sleeves and there are 40-44-48-52-54-58 stitches on each front piece and 50-54-58-64-68-72 stitches on back piece = 130-142-154-168-176-188 stitches. Now work 2 extra rows only over band (this is done to keep the band from stretching when decrease begins). Work as follows: Work 5 stitches band as before, turn, tighten yarn and work back over band from wrong side. Work 1 row over all stitches, decrease for BUTTONHOLES - read explanation above, on this row. Turn and work only over the first 5 stitches, turn and work back over these stitches. Work 1 row over all stitches from wrong side. On next row from right side begin decreases, decrease inside band stitches in each side – read DECREASE TIP! Decrease every other row 12-14-16-17-17-19 times in total. When all decreases for wrap-over are done, there are 106-114-122-134-142-150 stitches. Work until piece measures 28-34-36-39-41-43 cm from marker mid front. The band is now done. Now put piece together and work in the round - work from right side as explained below. Work band and stocking stitch as before until 6 stitches remain on row (= right band), place right band on top of the 6 stitches from left band and work stitches together 2 by 2 (knit 1 stitch from right band together with 1 stitch from left band) = 100-108-116-128-136-144 stitches. Then work piece in the round - insert 1 marker in the middle of the 6 stitches from band - this is now beginning of round. Work stocking stitch in the round until piece measures 31-37-39-42-45-48 cm from marker mid front (3-3-3-3-4-4 cm have been worked over all stitches). Now divide the piece for legs and finish each leg separately. Cut the yarn. DIVIDING FOR LEGS: Divide the piece for legs without working: Begin 3 stitches before marker on beginning of round, slip the first 6 stitches (= mid front) on a stitch holder, slip the next 44-48-52-58-62-66 stitches on a strand (= left leg), slip the next 6 stitches on a stitch holder (= mid back), 44-48-52-58-62-66 stitches remain on needle for right leg. Finish each leg separately. LEGS: = 44-48-52-58-62-66 stitches. Insert 1 marker at beginning of round (= on the inside of leg) and work in stocking stitch in the round. When 1 round has been worked, decrease 2 stitches on inside of leg - read DECREASE TIP. Decrease like this every 3rd round 3 times in total = 38-42-46-52-56-60 stitches on needle. Work stocking stitch in the round until leg measures 8-11-17-24-28-32 cm from division. Switch to double pointed needles size 3 mm and work rib in the round (= knit 1 and purl 1). When rib measures 3-3-3-4-4-4 cm cast off all stitches with Italian cast off or cast off somewhat loosely with knit over knit and purl over purl. Leg measures approx. 11-14-20-28-32-36 cm from division. SLEEVES: Slip 30-34-38-38-40-42 sleeve stitches from one thread on to needle size 4 mm and pick in addition up 1 stitch in each of the 6-6-6-8-8-8 stitches cast on under sleeve - read SLEEVE TIP = 36-40-44-46-48-50 stitches. Insert 1 marker in the middle of the 4-6-6-8-8-8 new stitches under sleeve - round begins at the marker. Work in stocking stitch in the round on needle - AT THE SAME TIME when 1 round has been worked after division, decrease 2 stitches mid under sleeve – read DECREASE TIP. Repeat decrease when piece measures 3 cm = 32-36-40-42-44-46 stitches. Work until sleeve measures 8-11-15-19-22-25 cm from division. Switch to double pointed needles size 3 mm and work rib (= knit 1 and purl 1) while AT THE SAME TIME increasing 4 stitches evenly on 1st round = 36-40-44-46-48-50 stitches. When rib measures 3-3-3-4-4-4 cm cast off all stitches with Italian cast off or cast off somewhat loosely with knit over knit and purl over purl. Sleeve measures approx. 11-14-18-23-26-29 cm from division. ASSEMBLY: Sew the 6 stitches from stitch holder mid front together with the 6 stitches from stitch holder mid back - sew with grafting/kitchener stitches to avoid a thick seam. Sew on buttons on left front piece so that they fit the buttonholes. |
|
 |
|
Have you finished this pattern?Tag your pictures with #dropspattern #warmbiscuitoverall or submit them to the #dropsfan gallery. Do you need help with this pattern?You'll find 32 tutorial videos, a Comments/Questions area and more by visiting the pattern on garnstudio.com. © 1982-2026 DROPS Design A/S. We reserve all rights. This document, including all its sub-sections, has copyrights. Read more about what you can do with our patterns at the bottom of each pattern on our site. |
|






With over 40 years in knitting and crochet design, DROPS Design offers one of the most extensive collections of free patterns on the internet - translated to 17 languages. As of today we count 333 catalogues and 12525 patterns translated into English (UK/cm). 12525
We work hard to bring you the best knitting and crochet have to offer, inspiration and advice as well as great quality yarns at incredible prices! Would you like to use our patterns for other than personal use? You can read what you are allowed to do in the Copyright text at the bottom of all our patterns. Happy crafting!
Post a comment to pattern DROPS Baby 53-24
We would love to hear what you have to say about this pattern!
If you want to leave a question, please make sure you select the correct category in the form below, to speed up the answering process. Required fields are marked *.