
Popular categories
Looking for a yarn?











































Comments / Questions (8)
 Marie Laure wrote:
Apres le 7ème rang d\'encolure il est expliqué qu\'il faut tricoter A3, A4 et A5 sur les 34 mailles du devant. Jai recommencé mon rang plusieurs fois et jai toujours 2 mailles de trop. Jai bien 34 mailles mais après vérification sur les diagrammes le nombre de mailles sur le premier rang n\'est que de 32 mailles hors augmentation. Pourriez vous m\'apporter un éclaircissement. Merci
16.10.2026 - 00:59DROPS Design answered:
Bonjour Marie-Laure, les augmentations du raglan du rang 7 sont comprises dans ces 34 mailles, vous allez effectivement tricoter ces 32 m avec 1 m jersey de chaque côté (l'augmentation du rang 7). Bon tricot!
16.10.2026 - 16:44
 Soufiee wrote:
Väldigt otydligt mönster!! Tredje gången jag river upp arbetet.. Borde stå tydligare att man ska fortsätta raglanökningen även när man har 158 maskor. Nu är det lätt att tolka det som att man först ska sticka klart diagram A3-A5 innan man fortsätter ökningen...
15.10.2026 - 12:18
 Tamara wrote:
The instructions are unclear on exactly when you should start the second set of increases. I'm at 158 sts. Should you finish A3, A4, A5 first and start the second set of increases when you begin A6,A7,A8 or start where you are at?
05.10.2026 - 08:57DROPS Design answered:
Dear Tamara, finish diagrams as shown and when A.3 is finished in height, work A.6 instead, when A.4 is finished in height work A.7 instead, when A.5 is finished in height work A.8 instead - at the same time, when you have 158 sts on needle, you will continue increasing every other round but now alternately 8 sts (body + sleeves) and 4 sts (body only). Can this help? Happy knitting!
05.10.2026 - 16:24
Fabienne wrote:
Bonjour, Étant donné que l'on tricote ce pull de haut en bas, comment doit-on lire les diagrammes ? De bas en haut où de haut en bas. Merci.
04.10.2026 - 20:11DROPS Design answered:
Bonjour Fabienne, les diagrammes se lisent de bas en haut, de droite à gauche sur l'endroit et de gauche à droite sur l'envers. Bon tricot!
05.10.2026 - 08:35
 Conny wrote:
Hallo nochmal, am Ende des Halsausschnitts sind es 128 Maschen, dann werden lt. Diagramm 12 Maschen zugenommen = 140 Maschen. Dann soll man 8 x 8 Maschen zunehmen. Das sind 64 Maschen, aber lt. Rechnung 174 - 140 =34. Hilfe!!! Gruß Conny
22.09.2026 - 17:23DROPS Design answered:
Liebe Conny, siehe unten :)
23.09.2026 - 08:14
Conny wrote:
Hallo, ich habe 128 Maschen auf den Nadeln und beginne mit der Passe. Ich muss 8x zunehmen und jeweils 8 Maschen. Ich komme hier nicht auf 174 Maschen. Können Sie mir das bitte erklären? Danke und Gruss Conny
22.09.2026 - 15:27DROPS Design answered:
Liebe Conny, wenn Sie dann 128 Maschen haben, haben Sie schon 4 Mals für den Raglan zugenommen, jetzte nehmen Sie noch 4 weitere Mal und gleichzeitig nehmen Sie wie gezeigt in A.3, A.4 und A.5 = 128 + 3 Maschen in A.3 + 8 Maschen in A.4 + 3 Maschen in A.5 + (Raglan: 8 Maschen x 4) = 174 Maschen. Viel Spaß beim Stricken!
23.09.2026 - 08:10
 Gunta wrote:
I don’t quite understand the beginning of the double neck. It says, “knit up 1 stitch in each stitch around the neckline = 96.” I don’t understand where the 96 stitches come from if 72 stitches were cast on initially.
19.09.2026 - 09:43DROPS Design answered:
Hi Gunta, You can knit up 2 stitches in every 14th stitch around the neckline. These extra stitches prevent the neck being tight. Regards, Drops Team.
20.09.2026 - 07:48
 Klaudia wrote:
Dzień dobry, wykonuję sweter w rozmiarze S. Jestem na etapie przerabiania karczu, wykonałam już 6-krotnie dodanie oczek na reglan i jestem na 4 rzędzie schematów A.3, A.4 oraz A.5 jednak mimo dwukrotnego wykonania wciąż na tym etapie wychodzi mi 156 oczek zamiast 158 według wzoru. Upewniłam się już, że dodałam oczka ze schematów
17.09.2026 - 12:11DROPS Design answered:
Witaj Klaudio, gdzieś mi umknęła Twoja wiadomość. Mi też wychodzi 156 oczek po przerobieniu rzędu 4 schematów. Zgłoszę korektę. Aktualizacja: korekta została wprowadzona. Pozdrawiamy!
16.10.2026 - 08:58
|
|||||||||||||||||||||||||
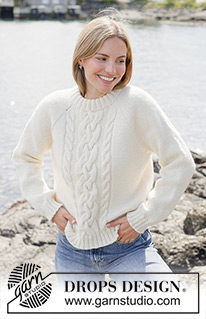
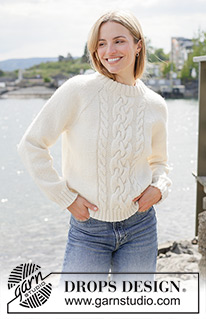
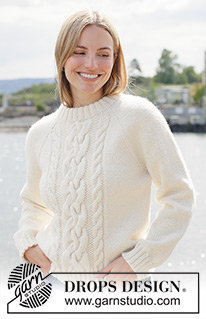
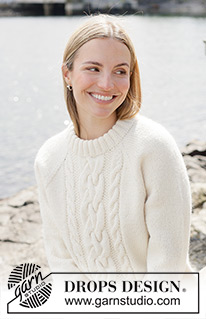
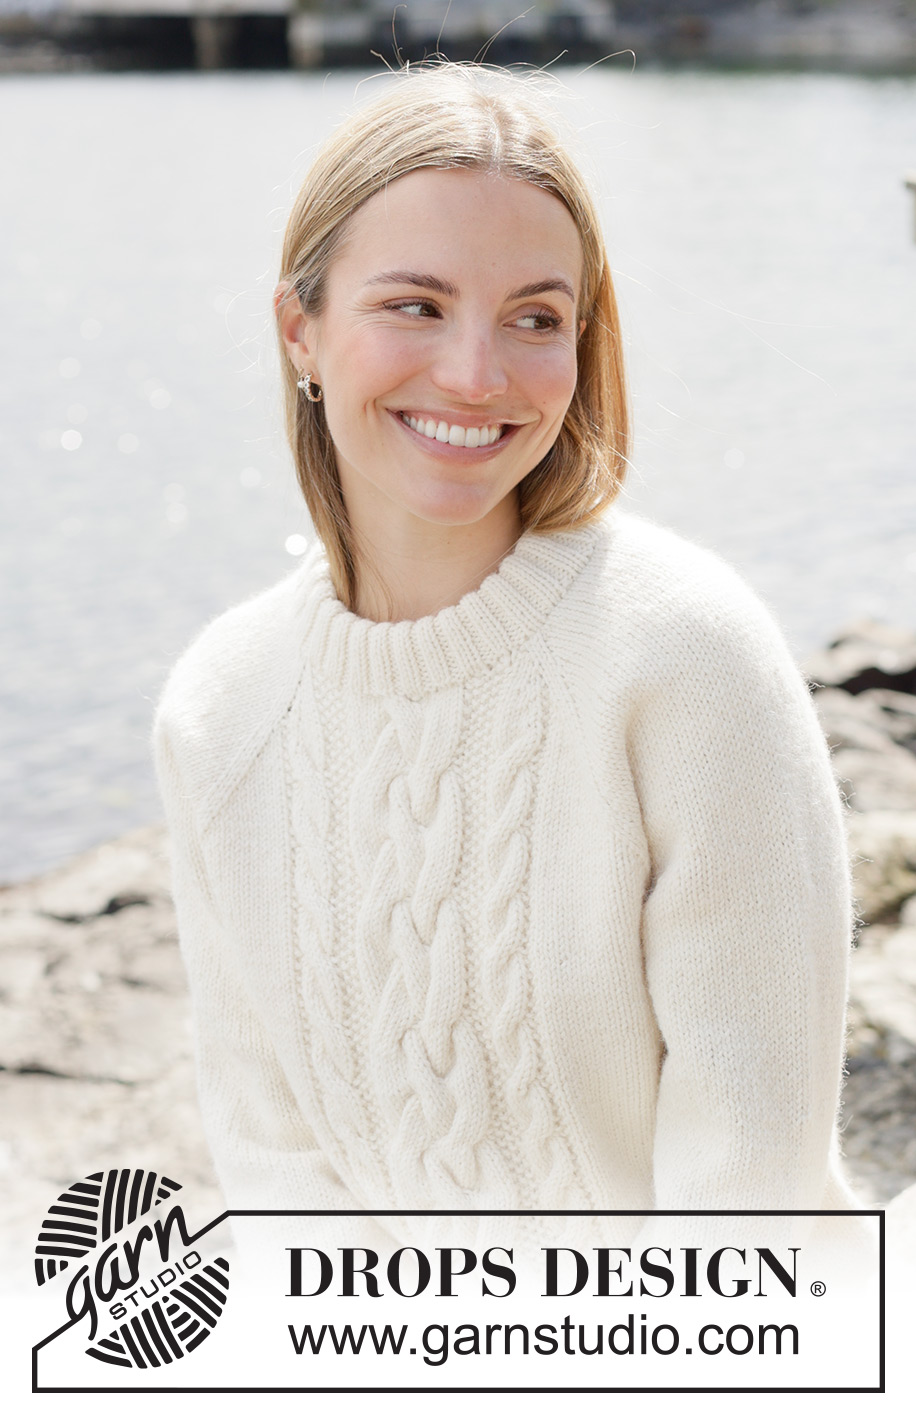
Storyline Sweater#storylinesweater |
|||||||||||||||||||||||||
 |
 |
||||||||||||||||||||||||
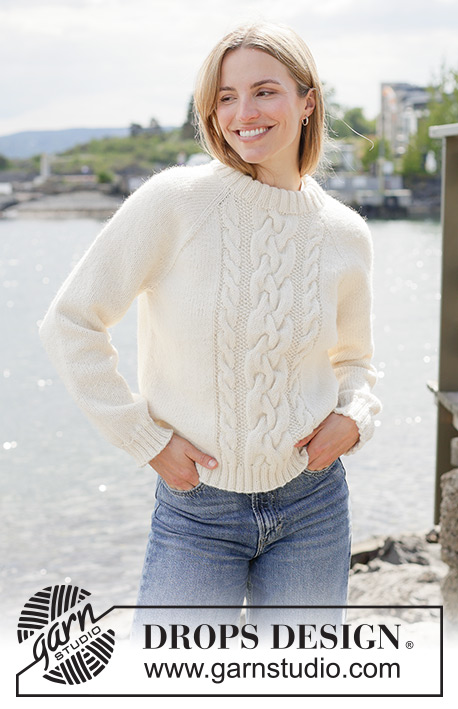
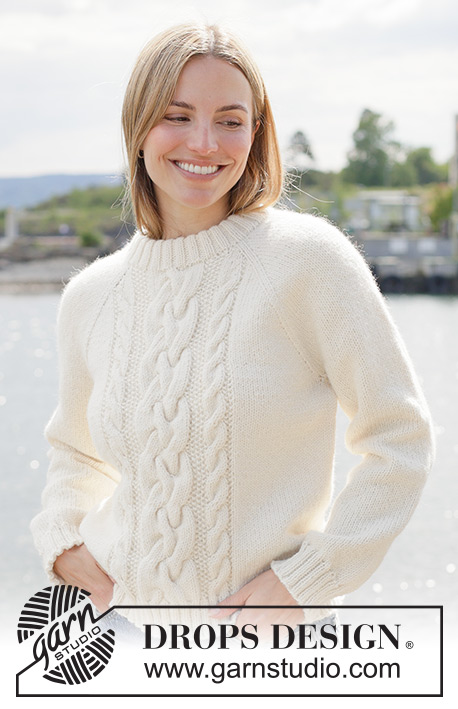
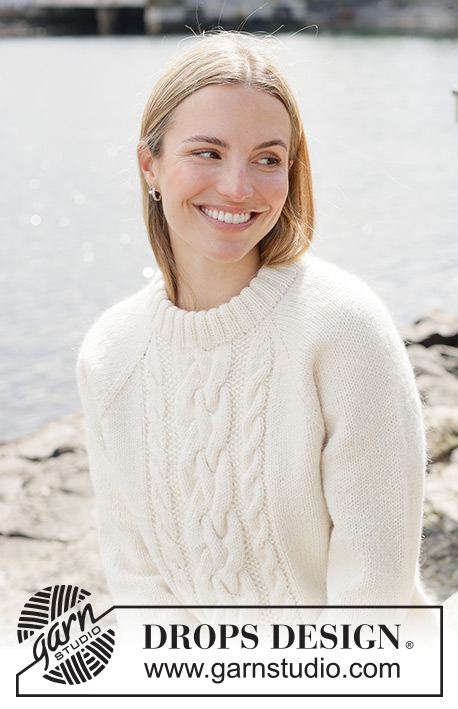
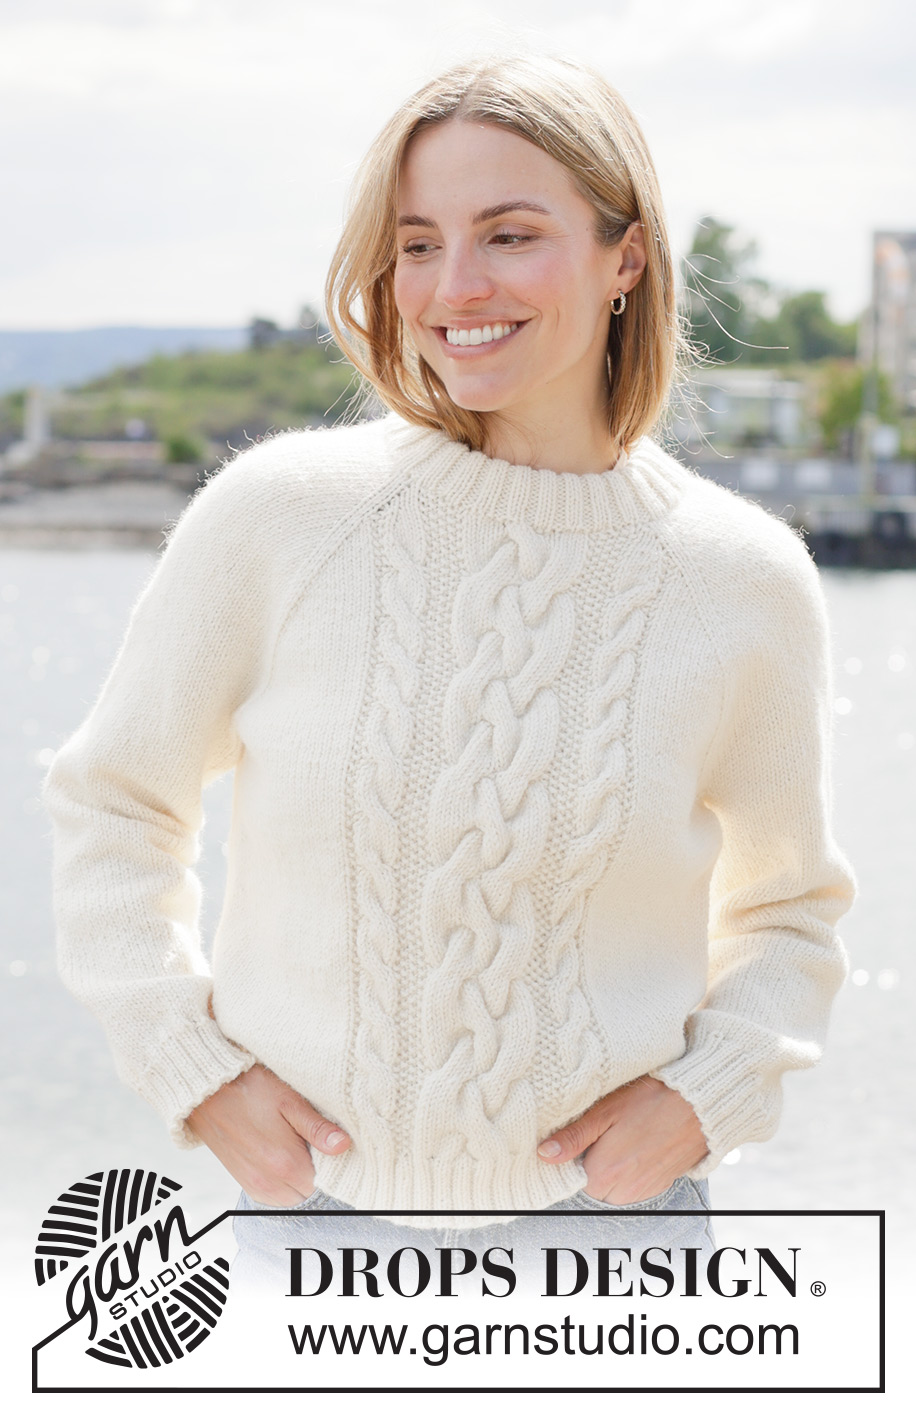
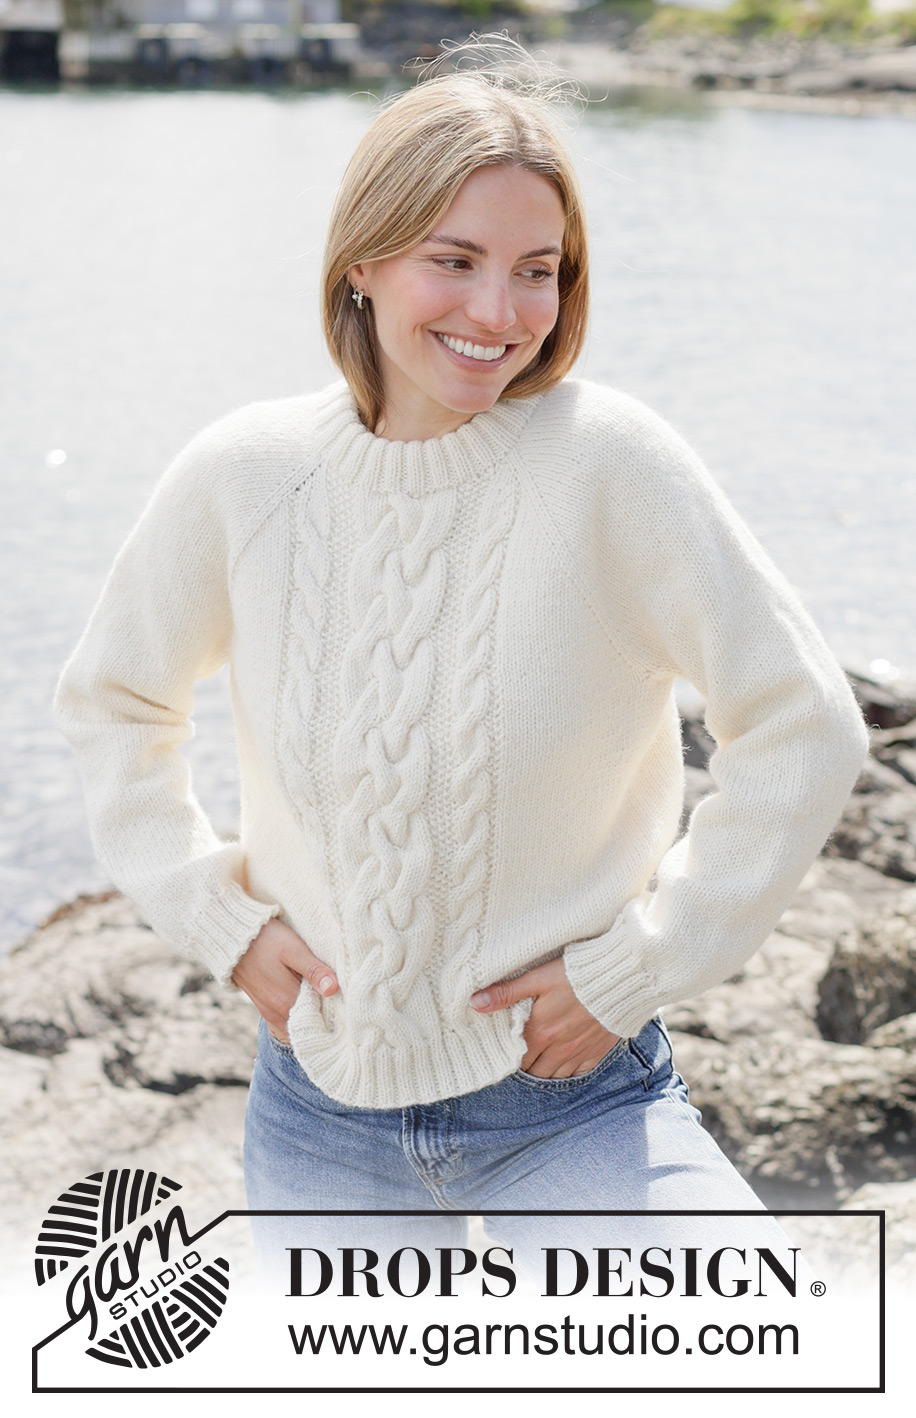
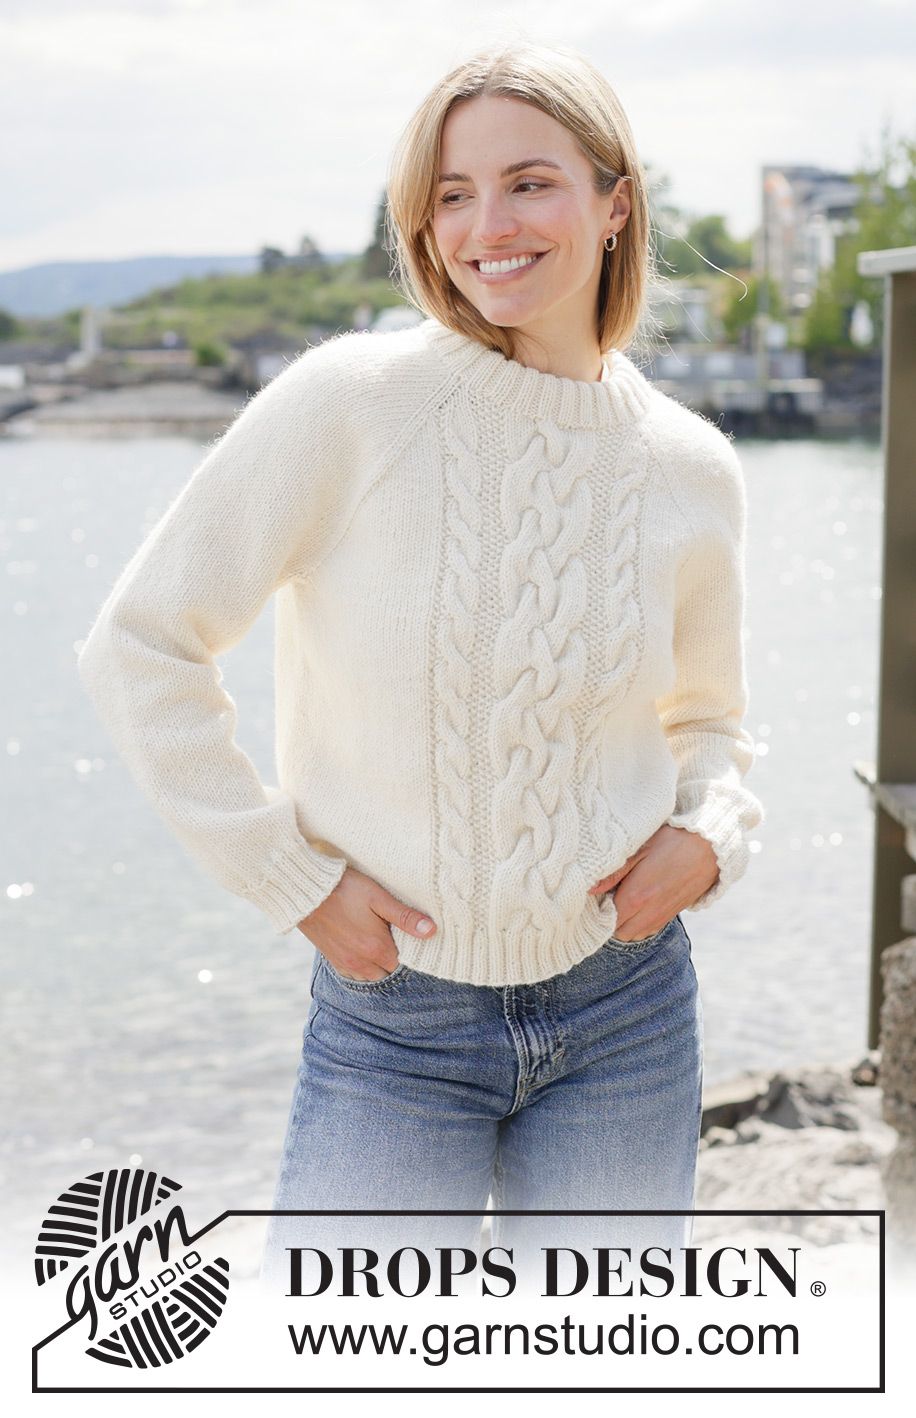
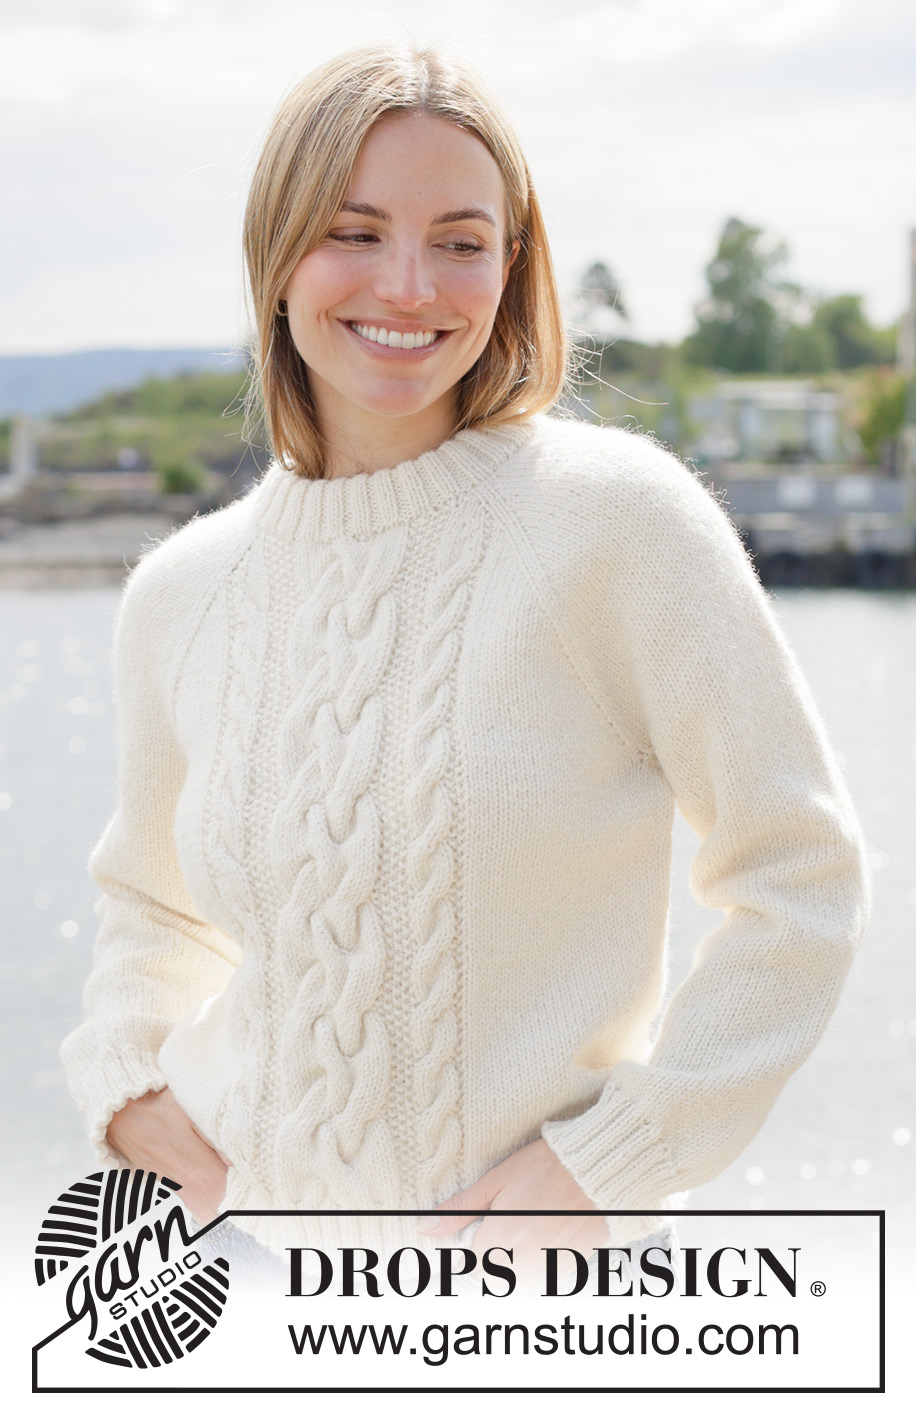
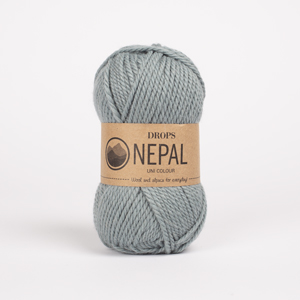
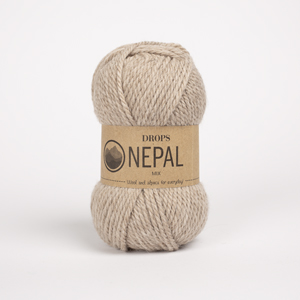
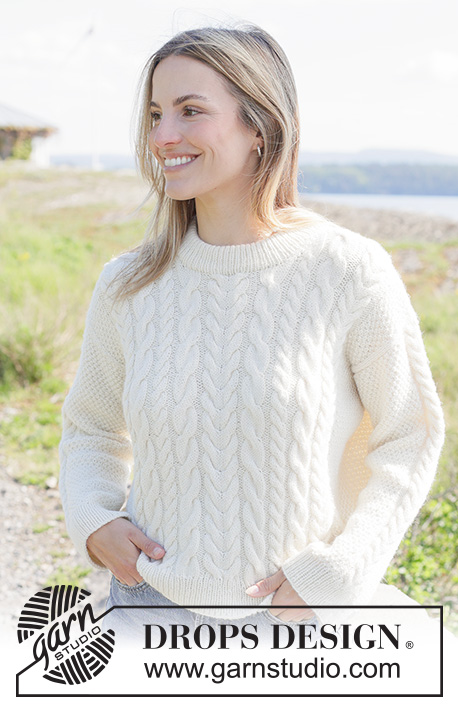
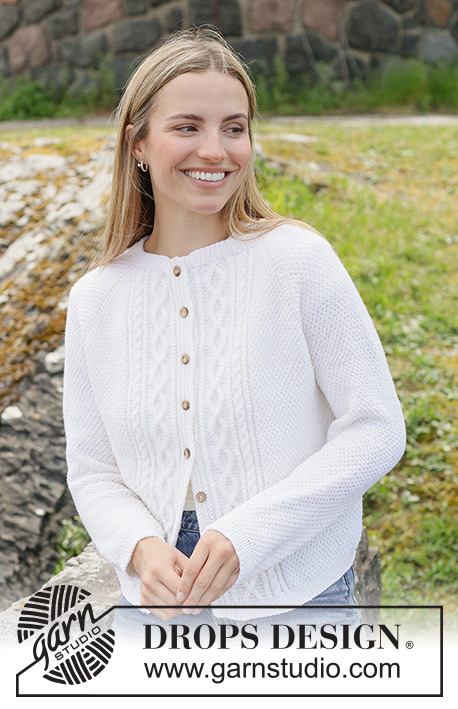
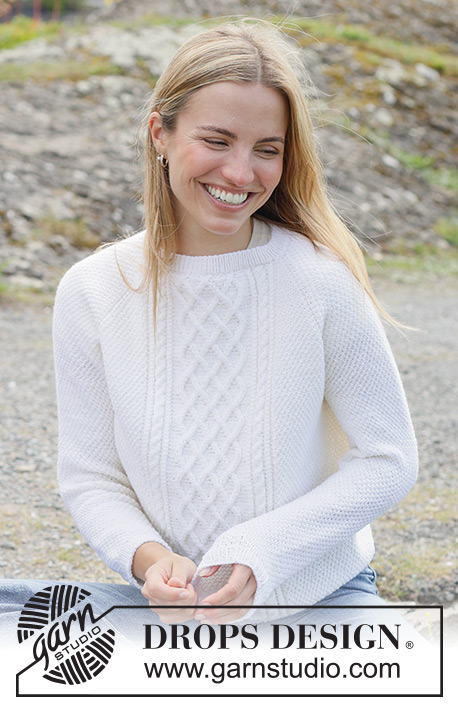
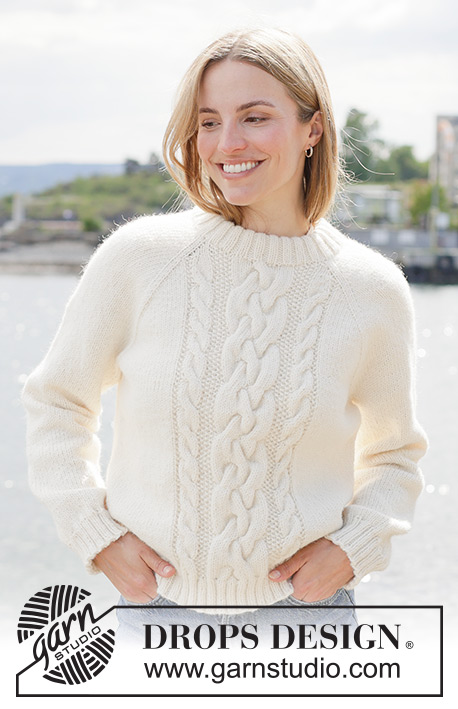
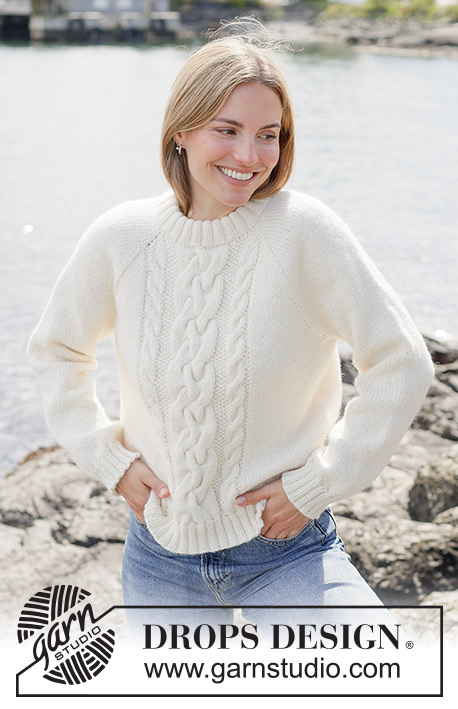
Knitted jumper in DROPS Nepal or DROPS Alaska. The piece is worked top down with raglan, cables and double neck. Sizes XS – XXXL.
DROPS 273-19 |
|||||||||||||||||||||||||
|
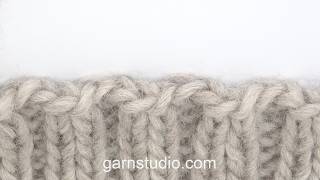
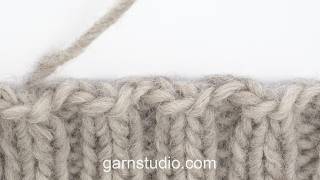
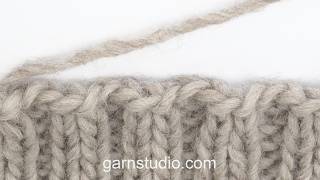
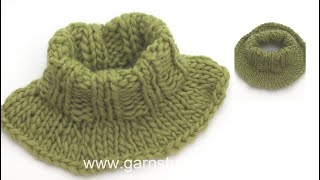
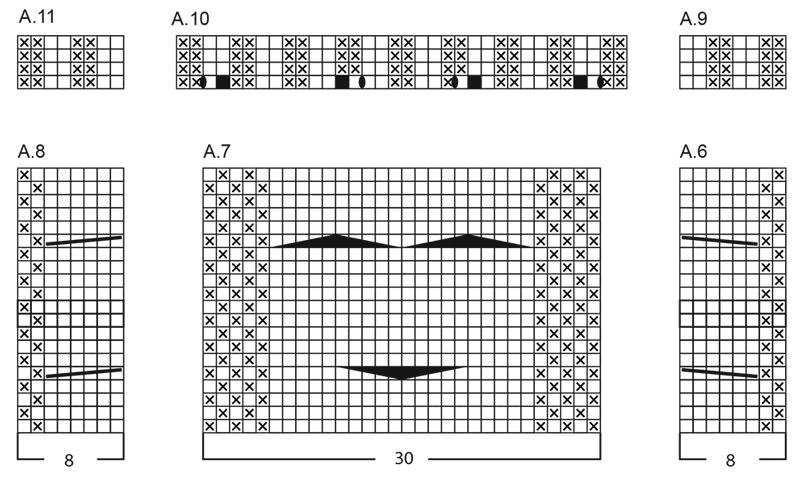
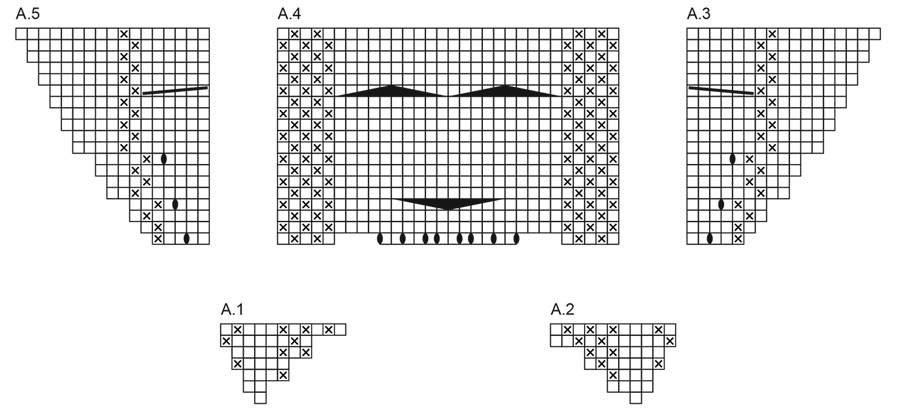
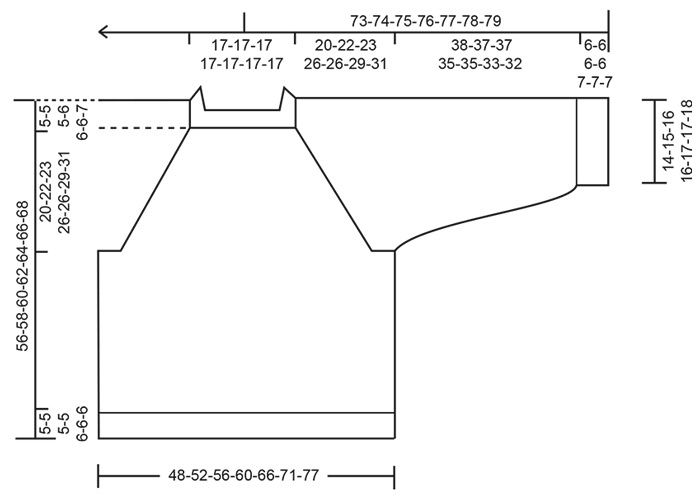
------------------------------------------------------- EXPLANATIONS FOR THE PATTERN: ------------------------------------------------------- PATTERN: See diagrams A.1 to A.11. The diagrams show the pattern from the right side. The diagrams are read from right to left when working from the right side and left to right when working from the wrong side. RAGLAN: All increases are worked from the right side! Increase 1 stitch by making 1 yarn over, which is worked as follows on the next row/round: NOTE: On the front piece the new stitches are worked into the pattern until A.1 - A.5 are finished, then in stocking stitch. On the sleeves and back piece the new stitches are worked in stocking stitch. FROM WRONG SIDE: BEFORE RAGLAN-STITCHES (yarn over twists to the left): Purl through the stitch loop that lies on the back of the needle (avoids a hole). AFTER RAGLAN-STITCHES (yarn over twists to the right): Slip the yarn over from the left needle to the right needle purl-wise, then replace it by inserting the left needle through the back (the yarn over is the other way round). Purl through the stitch loop that lies on the front of the needle (avoids a hole). FROM RIGHT SIDE: BEFORE RAGLAN-STITCHES (yarn over twists to the right): Slip the yarn-over purl-wise from the left to the right needle, place it back onto the left needle by inserting the left needle through the back (the yarn over is now the other way round). Knit through the stitch loop that lies on the front of the needle (avoids a hole). AFTER RAGLAN-STITCHES (yarn over twists to the left): Knit through the stitch loop that lies on the back of the needle (avoids a hole). INCREASE TIP: When increasing evenly on the first round of rib, it is important to increase in the stitches that will subsequently be purled, so the knitted stitches continue neatly from the stocking stitch. SLEEVE TIP: When knitting up stitches under the sleeve, you can get a small hole in the transition between stitches on the body and sleeve. This hole can be closed by picking up the strand between 2 stitches and working this strand twisted together with the first stitch between body and sleeve. DECREASE TIP: Decrease 1 stitch on each side of the marker-thread as follows: Work until there are 3 stitches left before the marker-thread, knit 2 together, knit 2 (marker-thread sits between these 2 stitches), slip 1 stitch knit-wise, knit 1 and pass the slipped stitch over the knitted stitch (2 stitches decreased). ------------------------------------------------------- START THE PIECE HERE: ------------------------------------------------------- JUMPER – SHORT OVERVIEW OF THE PIECE: The pattern uses both long and short needles; start with the length which fits the number of stitches and change when necessary. Cast on stitches for the neckline and work back and forth, top down while increasing for raglan and casting on stitches for the neckline on each side, until the neckline is finished. Then the yoke is continued in the round from mid-back. When the yoke is finished, it is divided for the body and sleeves and the body is continued in the round, while the sleeves wait. The sleeves are worked top down, in the round. Stitches are knitted up around the neckline and the neck is worked in the round, folded double and fastened to the inside. NECKLINE: Cast on 72-72-72-76-76-80-84 stitches with circular needle size 4.5 mm and DROPS Nepal or DROPS Alaska. Purl 1 row from the wrong side. Insert 4 markers as follows, without working the stitches and inserting each marker between 2 stitches (raglan-stitches). You increase for raglan on each side of these 2 raglan-stitches which are worked in stocking stitch. Count 2 stitches (= left front of neckline), insert marker-1 before the next stitch, count 20-20-20-22-22-24-26 stitches (= sleeve), insert marker-2 before the next stitch, count 28 stitches in all sizes (= back piece), insert marker-3 before the next stitch, count 20-20-20-22-22-24-26 stitches (= sleeve), insert marker-4 before the next stitch, there are 2 stitches left (= right front of neckline). In addition insert 1 marker in the middle of the row (mid-back), this marker should have a different colour than the 4 raglan-markers and is used when measuring the piece. INFORMATION BEFORE CONTINUING: You now work back and forth, casting on for the neckline, increasing for RAGLAN and working PATTERN– read explanations above for how to increase and work pattern. WORK AND INCREASE AS FOLLOWS: ROW 1 (right side): Work A.1 across the first stitch, knit until there is 1 stitch left on the row, increasing for RAGLAN on each side of the raglan-stitches (8 increased stitches), work A.2 across the last stitch and cast on 2 stitches for the neckline = 82-82-82-86-86-90-94 stitches. ROW 2 (wrong side): Work A.2 across the first 4 stitches (remember to read the diagrams from left to right when working from the wrong side), purl until there are 2 stitches left (yarn overs purled twisted as described under RAGLAN), work A.1 across the last 2 stitches and cast on 2 stitches for the neckline = 84-84-84-88-88-92-96 stitches. ROW 3 (right side): Work A.1 across the first 4 stitches, knit until there are 4 stitches left on the row, increasing for raglan on each side of the raglan-stitches (8 increased stitches), work A.2 across the last 4 stitches and cast on 2 stitches = 94-94-94-98-98-102-106 stitches. ROW 4 (wrong side): Work A.2 across the first 7 stitches, purl until there are 5 stitches left (yarn overs worked as before), work A.1 across the last 5 stitches and cast on 2 stitches = 96-96-96-100-100-104-108 stitches. ROW 5 (right side): Work A.1 across the first 7 stitches, knit until there are 7 stitches left on the row, increasing for raglan on each side of the raglan-stitches (8 increased stitches), work A.2 across the last 7 stitches and cast on 3 stitches = 107-107-107-111-111-115-119 stitches. ROW 6 (wrong side): Work A.2 across the first 11 stitches, purl until there are 8 stitches left (yarn overs worked as before), work A.1 across the last 8 stitches and cast on 3 stitches = 110-110-110-114-114-118-122 stitches. ROW 7 (right side): Work A.1 across the first 11 stitches, knit until there are 11 stitches left on the row, increasing for raglan on each side of the raglan-stitches (8 increased stitches), work A.2 across the last 11 stitches and cast on 10 stitches = 128-128-128-132-132-136-140 stitches. AFTER ROW 7: The neckline is finished and you have increased 4 times for raglan on each side of the raglan-stitches. Cut the strand. The piece is now worked in the round from mid back so you need to move stitches from the left to the right needle (without working them) as far as the marker mid-back. YOKE: Continue stocking stitch in the round from mid-back, working the 34 stitches on the front piece in pattern as follows: A.3, A.4, A.5. AT THE SAME TIME, continue increasing for raglan every 2nd round on each side of the raglan-stitches a total of 8-6-8-7-19-13-15 times (including the 4 increases already worked on the neckline) = 174-156-174-168-266-222-242 stitches. NOTE: When A.3 to A.5 are finished in height, work A.6 above A.3, A.7 above A.4 and A.8 above A.5, continuing the other stitches in stocking stitch. A.6 to A.8 are repeated in height. Remember to maintain the knitting tension. Now increase as follows: Increase for raglan every 2nd round on the front and back pieces and every 4th round on the sleeves (alternately 8 and 4 increased stitches). Increase like this a total of 16-20-20-24-12-22-22 times (= 8-10-10-12-6-11-11 times on the sleeves). There are 270-278-294-314-338-354-374 stitches and the yoke measures approx. 20-22-23-26-26-29-31 cm from the marker mid-back. All increases for raglan are finished: A total of 24-26-28-31-31-35-37 increases in height on the front and back pieces and 16-16-18-19-25-24-26 increases in height on the sleeves. Now divide for the body and sleeves. DIVIDE FOR BODY AND SLEEVES When dividing, the raglan-stitches will end up on the front and back pieces. Knit 39-41-43-46-50-54-58 (= ½ back piece), place the next 50-50-54-58-62-62-64 stitches on a stitch holder/thread for the sleeve, cast on 8-12-14-16-18-20-22 stitches (mid-under the sleeve), continue the next 92-96-100-106-114-122-130 stitches in stocking stitch and pattern (= front piece), place the next 50-50-54-58-62-62-64 stitches on a stitch holder/thread for the sleeve, cast on 8-12-14-16-18-20-22 stitches (mid-under the sleeve), knit the last 39-41-43-46-50-54-58 stitches (= ½ back piece). The body and sleeves are finished separately. BODY: = 186-202-214-230-250-270-290 stitches. Insert 1 marker in the middle of the 8-12-14-16-18-20-22 cast-on stitches under one sleeve. Work to the marker; the round now begins here. Continue stocking stitch and pattern in the round until the piece measures 46-48-50-51-52-54-55 cm from the marker mid-back. Change to circular needle size 3 mm and work rib as follows: Knit to the beginning of A.6, work A.9 above A.6, then A.10 above A.7, A.11 above A.8, and rib (knit 2 and purl 2) across the remaining 140-156-168-184-204-224-244 stitches while increasing 14-14-18-18-22-26-30 stitches evenly across these stitches – read INCREASE TIP = 204-220-236-252-276-300-324 stitches. The rib fits on the round and matches the pattern mid-front. When the rib measures 5-5-5-5-6-6-6 cm, cast off slightly loosely with knit above knit and purl above purl. The jumper measures approx. 51-53-55-56-58-60-61 cm from the marker mid-back and 56-58-60-62-64-66-68 cm from the shoulder. SLEEVES: Place the 50-50-54-58-62-62-64 sleeve-stitches from one thread/stitch holder onto circular needle size 4.5 mm and knit up 1 stitch in each of the 8-12-14-16-18-20-22 cast-on stitches under the sleeve – read SLEEVE TIP = 58-62-68-74-80-82-86 stitches. Insert a marker-thread in the middle of the 8-12-14-16-18-20-22 new stitches under the sleeve. The round starts by the marker-thread. Work stocking stitch in the round. AT THE SAME TIME, after 1 round, decrease mid-under the sleeve – read DECREASE TIP as follows: Decrease 2 stitches every 2nd round 1-2-2-2-2-2-2 times, then 2 stitches every 5-5-7-5-4-4-3 cm 2-2-4-6-8-8-9 times = 52-54-56-58-60-62-64 stitches. Continue working until the sleeve measures 38-37-37-35-35-33-32 cm from the division. Change to double pointed needles size 3 mm. Work rib (knit 2 and purl 2), AT THE SAME TIME increase 12-10-12-10-12-10-12 stitches evenly on the first round = 64-64-68-68-72-72-76 stitches. When the rib measures 6-6-6-6-7-7-7 cm, cast off with rib. The sleeve measures approx. 44-43-43-41-42-40-39 cm from the division. DOUBLE NECK: Use circular needle size 3 mm. Start from the right side, mid back and knit up 1 stitch in each stitch around the neckline = 96-96-96-100-100-104-108 stitches. Knit 1 round and increase evenly to a stitch count of 108-108-108-112-112-116-120 stitches – the stitch count must be divisible by 4. Work rib in the round (knit 2 and purl 2), adjusting so 2 knitted stitches on the rib match the 2 knitted stitches on each raglan-line. Work the rib for 9-9-9-10-10-11-11 cm. Use circular needle size 4.5 mm and cast off slightly loosely. Fold the neck double to the inside and sew down. To avoid the neck being tight and rolling outwards, it is important that the seam is elastic. |
|||||||||||||||||||||||||
Diagram explanations |
|||||||||||||||||||||||||
|
|||||||||||||||||||||||||
 |
|||||||||||||||||||||||||
 |
|||||||||||||||||||||||||
 |
|||||||||||||||||||||||||
Have you finished this pattern?Tag your pictures with #dropspattern #storylinesweater or submit them to the #dropsfan gallery. Do you need help with this pattern?You'll find 25 tutorial videos, a Comments/Questions area and more by visiting the pattern on garnstudio.com. © 1982-2026 DROPS Design A/S. We reserve all rights. This document, including all its sub-sections, has copyrights. Read more about what you can do with our patterns at the bottom of each pattern on our site. |
|||||||||||||||||||||||||






With over 40 years in knitting and crochet design, DROPS Design offers one of the most extensive collections of free patterns on the internet - translated to 17 languages. As of today we count 333 catalogues and 12525 patterns translated into English (UK/cm). 12525
We work hard to bring you the best knitting and crochet have to offer, inspiration and advice as well as great quality yarns at incredible prices! Would you like to use our patterns for other than personal use? You can read what you are allowed to do in the Copyright text at the bottom of all our patterns. Happy crafting!
Post a comment to pattern DROPS 273-19
We would love to hear what you have to say about this pattern!
If you want to leave a question, please make sure you select the correct category in the form below, to speed up the answering process. Required fields are marked *.