Comments / Questions (16)
![]() Emelie wrote:
Emelie wrote:
Hallo! Ich frage mich bei den Ärmeln was es bedeutet in der Höhe abzunehmen? „ ABNAHMETIPP lesen: 2 Maschen in jeder 2. Runde 2-2-3-3-3-4-4 x in der Höhe abnehmen, dann 2 Maschen alle 12-6-5-3-3)-2½-2½ cm 3-5-5-7-7-7-7 x in der Höhe abnehmen“ Vielen Dank !
31.12.2025 - 16:35
![]() Can You Brush This Yarn? wrote:
Can You Brush This Yarn? wrote:
Hi! I would like to mix Brushed Alpaca Silk with Kid Silk, but I was wondering if I could brush them to make the garnment look fluffier?
12.12.2025 - 22:53DROPS Design answered:
Hi, you can but try on a swatch first. Happy knitting!
15.12.2025 - 14:28
![]() Lene wrote:
Lene wrote:
Hejsa Jeg har et spørgsmål ang. ærme og indtagning. I str. xs skal der tages ind på hver 12. cm 3 gange, det giver 36 cm. Men allerede ved 34 cm skal der laves rib . Er der ikke en fejl der? Dbh Lene
03.12.2025 - 21:22DROPS Design answered:
Hej Lene, du tager ind når ærmet måler 1cm+4 omgange = ca 3 cm, 15cm og 27cm :)
04.12.2025 - 14:03
![]() AZAIS FLORENCE wrote:
AZAIS FLORENCE wrote:
Bonjour Est-il vraiment indispensable de doubler le fil pour utiliser cette laine (alpaga silk)? Si non, est-ce que vous auriez un modèle où le fil aurait été utilisé seul? Merci pour votre retour.
01.12.2025 - 17:47DROPS Design answered:
Bonjour Mme Azais, dans ce modèle oui, on doit doubler Brushed Alpaca Silk pour avoir la tension indiquée; retrouvez ici des pulls tricotés en Brushed Alpaca Silk seule (avec 1 seul fil). Bon tricot!
02.12.2025 - 09:25
![]() Brigitte wrote:
Brigitte wrote:
Hallo ☀️ ich habe gehofft in der Anleitung einen Hinweis auf die benötigte Wollmenge in der jeweiligen Größe zu finden, oder habe ich das übersehen? Ich weiß so nicht wieviel ich bestellen sollte. Wo bekomme ich Hilfe ? Vielen Dank !
25.11.2025 - 09:41DROPS Design answered:
Liebe Brigitte, die Wollmenge für jede Größe finden Sie oben unter Tab "Anleitung", hier braucht man z.B. 250 g Brushed Alpaca Silk / 25 g das Knäuel = 10 balls für XS. Viel Spaß beim Stricken!
26.11.2025 - 07:56
![]() Katleen wrote:
Katleen wrote:
Hallo, Hier is C + C = D. In patroon 264-23 waar ook met deze garen categorieën gebreid wordt is C + C = E … Zijn de garen categorieën veranderd want ik merk ook dat bij Melodie de huidige patronen op een kleinere naald gebreid worden . Beetje verwarrend … Is daar een verklaring voor … ? Groeten
17.11.2025 - 20:11DROPS Design answered:
Dag Katleen,
Nee, de garencategorieën zijn niet gewijzigd. In het patroon kan de stekenverhouding ietsje anders zijn dan aangegeven op het garen. Bijvoorbeeld om bewuster de stekken strakker of losser te maken. Het patroon is altijd leidend.
22.11.2025 - 14:37
![]() Maria wrote:
Maria wrote:
Si puo avere schema con ferri no circolari ,grazie
09.11.2025 - 22:18DROPS Design answered:
Buonasera Maria, in questa sede non ci è possibile adattare le spiegazioni alle singole esigenze. Una parte del modello è lavorata in piano, poi si prosegue in tondo. Buon lavoro!
10.11.2025 - 20:24
![]() Maria wrote:
Maria wrote:
Si puo avere schema con ferri no circolari ,grazie
09.11.2025 - 22:14DROPS Design answered:
Buonasera Maria, in questa sede non ci è possibile adattare le spiegazioni alle singole esigenze. Una parte del modello è lavorata in piano, poi si prosegue in tondo. Buon lavoro!
10.11.2025 - 20:24
![]() Birgit wrote:
Birgit wrote:
Hallo, ich stricke den Pullover und bin bis hierher sehr zufrieden. Mich wundert jedoch, dass ich beim Übergang zum Rumpfbündchen Maschen ZUnehmen soll. Üblicherweise wird an dieser Stelle abgenommen. Liegt hier ein Irrtum vor oder soll das so? Herzlichen Gruß Birgit
05.11.2025 - 12:17DROPS Design answered:
Liebe Birgit, das hat mit der Formgebung zu tun. Früher waren die Bündchen eher stramm und haben den Pullover unten etwas zusammengezogen, bei der aktuellen Mode soll das Bündchen lockerer fallen und den Pullover nicht zusammenziehen, daher werden vor dem Bündchen Maschen zugenommen - gerade dieser Pullover soll ja schön fließend fallen. Viel Spaß beim Weiterstricken - und schön, dass Ihnen die Anleitung gefällt! :-)
05.11.2025 - 20:06
![]() Therese wrote:
Therese wrote:
Framstycke: Sticka rätt över de 24-24-27-27-30-30-30 maskorna från höger axel, lägg upp 14-16-14-16-14-16-18 nya maskor till hals i slutet av detta varv, sticka rätt över de 24-24-27-27-30-30-30 maskorna från vänster axel = 62-64-68-70-74-76-78 maskor. Sticka slätstickning fram och tillbaka över framstycket tills arbetet mäter 13-13-14-14-15-15-15 cm från markören – Vilken markör? På axeln/mot halsen? Eller från att axlarna sattes ihop?
02.11.2025 - 21:12
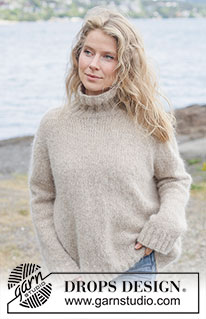
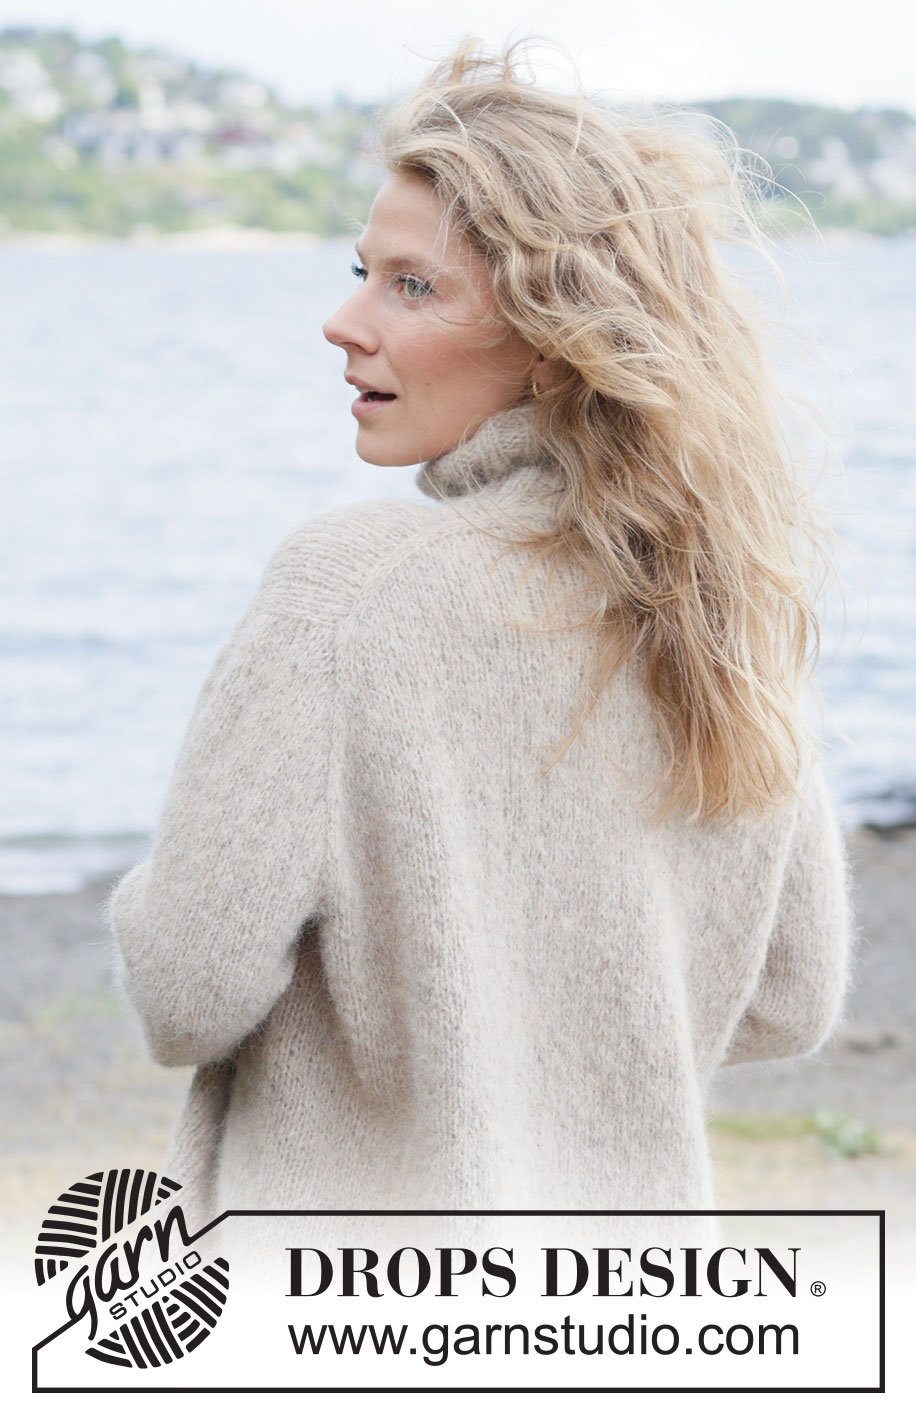
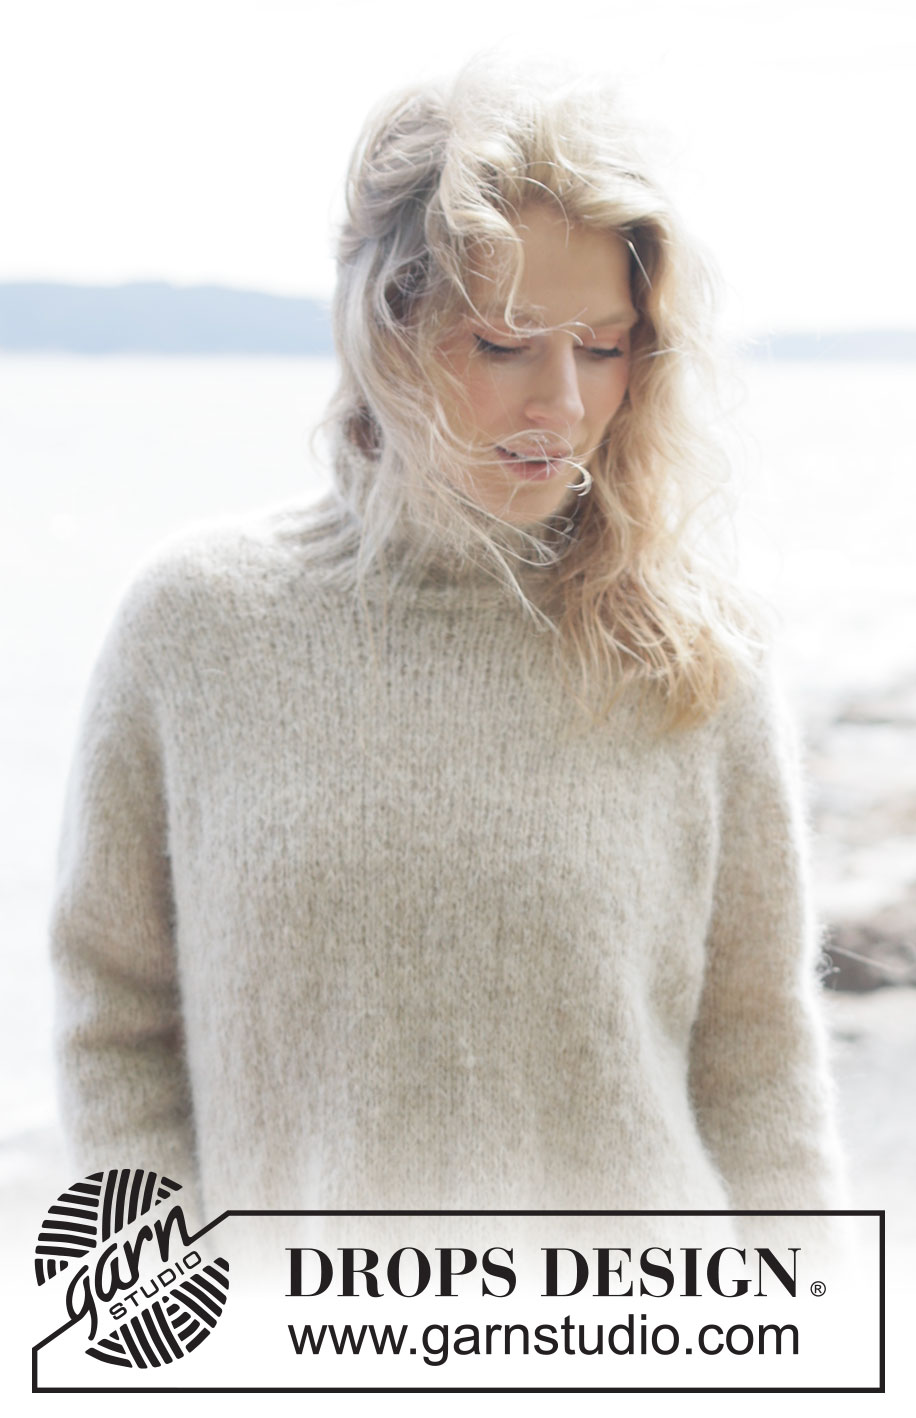
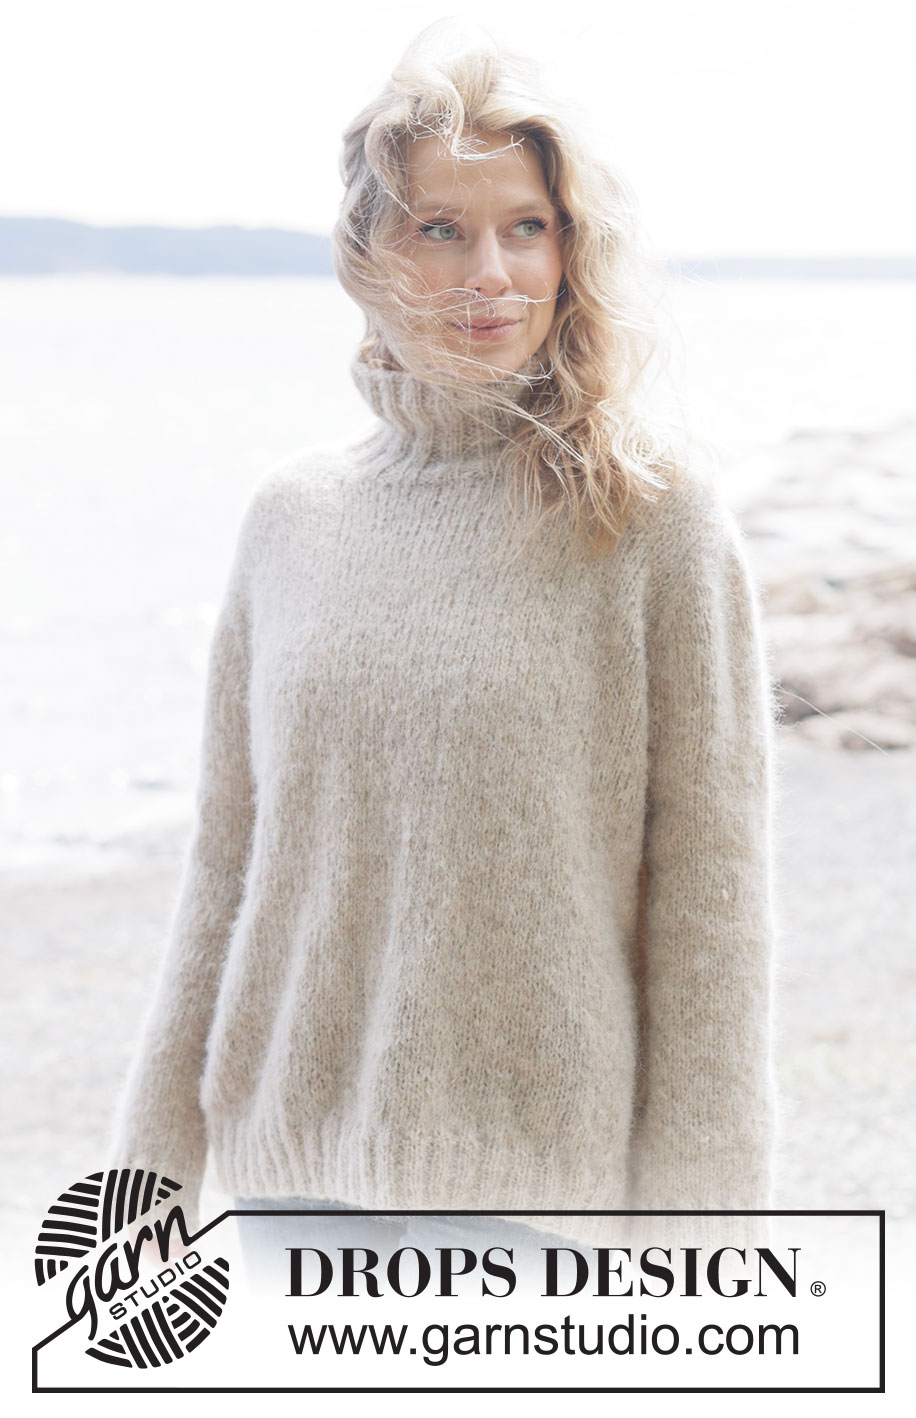
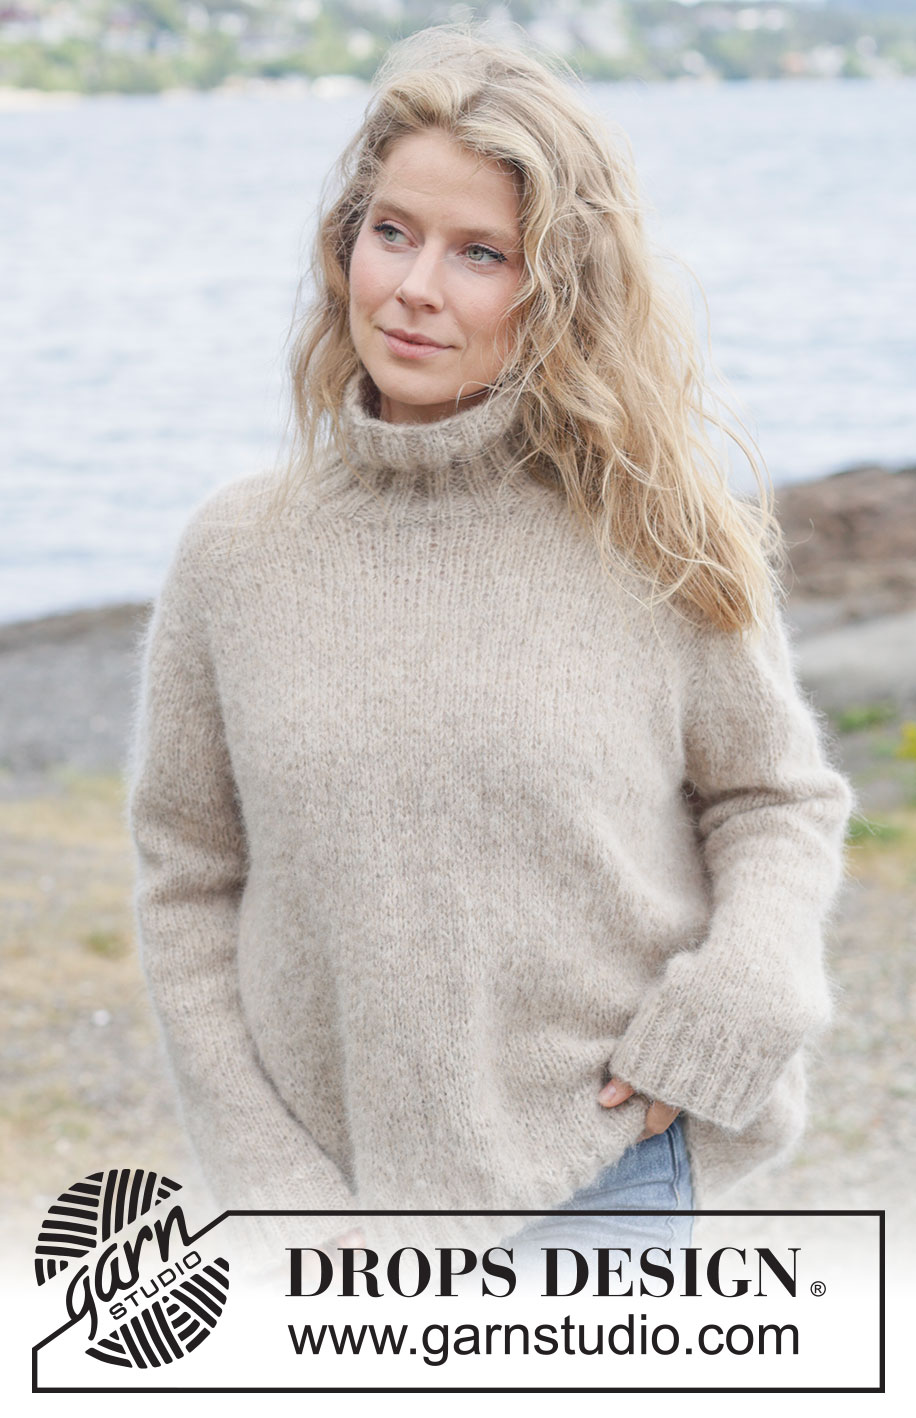
Frosted Oats Sweater#frostedoatssweater |
|
 |
 |
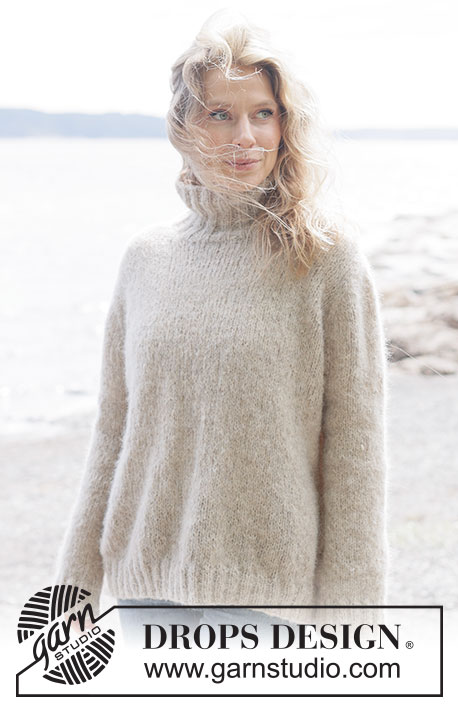
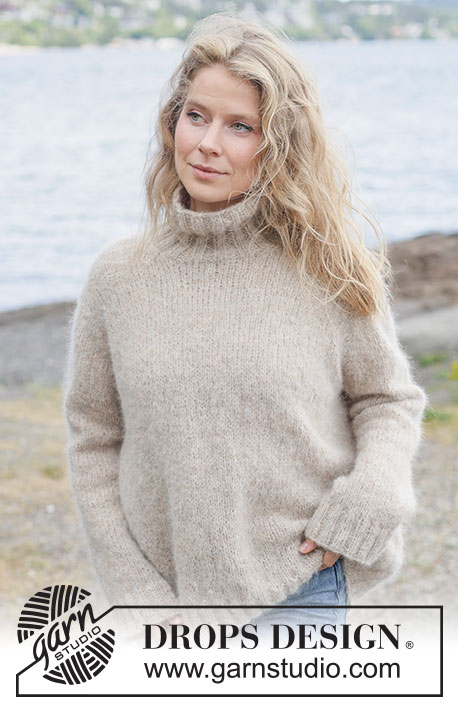
Knitted jumper in 2 strands DROPS Brushed Alpaca Silk. The piece is worked top down with European yoke and high neck. Sizes XS - XXXL.
DROPS 262-24 |
|
|
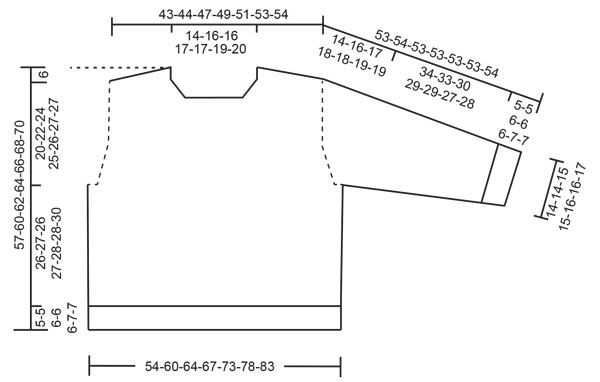
------------------------------------------------------- EXPLANATIONS FOR THE PATTERN: ------------------------------------------------------- INCREASE TIP-1: INCREASE 1 STITCH TOWARDS THE LEFT - from RIGHT SIDE: Use left needle to pick up yarn between 2 stitches from row below, pick up yarn from the front and knit in the stitch loop that is on the back of the needle. INCREASE 1 STITCH TOWARDS THE RIGHT - from RIGHT SIDE: Use left needle to pick up yarn between 2 stitches from row below, pick up yarn from the back and knit in the stitch loop that is on the front side of the needle. . INCREASE TIP-2: INCREASE 1 STITCH TOWARDS THE RIGHT - from WRONG SIDE: Use left needle to pick up yarn between 2 stitches from row below, pick up yarn from the back and purl in the stitch loop that is on the front side of the needle. INCREASE 1 STITCH TOWARDS THE LEFT - from WRONG SIDE: Use left needle to pick up yarn between 2 stitches from row below, pick up yarn from the front and purl in the stitch loop that is on the back side of the needle. SLEEVE TIP: When knitting up stitches under the sleeve, you can get a small hole in the transition between stitches on the body and sleeve. This hole can be closed by picking up the strand between 2 stitches and working this strand twisted together with the first stitch between body and sleeve. DECREASE TIP: Decrease 1 stitch on each side of the marker-thread as follows: Work until there are 3 stitches left before the marker-thread, knit 2 together, knit 2 (marker-thread sits between these 2 stitches), slip 1 stitch knit-wise, knit 1 and pass the slipped stitch over the knitted stitch (2 stitches decreased). ------------------------------------------------------- START THE PIECE HERE: ------------------------------------------------------- JUMPER - SHORT OVERVIEW OF THE PIECE: The pattern uses both long and short needles; start with the length which fits the number of stitches and change when necessary. Work according to points 1 – 5. 1 BACK PIECE: Cast on stitches for the back of the neck. Work the back piece back and forth, increasing stitches on each side until the shoulder stitch count has been achieved. The back piece has slightly diagonal shoulder. 2 FRONT PIECE: Worked in 2 sections to begin with (each side of neck). You knit up stitches along the back shoulder, working downwards and increasing for the neckline. Repeat on the other shoulder. Then stitches are cast on for the neckline and the 2 shoulders are joined. The front piece is worked back and forth to the correct measurement. 3 YOKE: Place the front and back pieces on the same needle, working first the front piece, knitting up stitches for one sleeve along one side of the front piece, then working the back piece and knitting up stitches for the second sleeve along the other side of the front piece. Continue in the round. 4 INCREASE FOR BODY AND SLEEVES: While working the yoke, you increase stitches first for the sleeves and later for both the body and sleeves. 5 BODY AND SLEEVES: When the yoke is finished, it is divided and the body is continued in the round while the sleeves wait. Then the sleeves are worked in the round, top down. Stitches are knitted up around the neckline and the neck is worked in the round to finish. If there is a «0» in your chosen size, skip the information and go straight to the next instruction. BACK PIECE: Cast on 22-24-24-26-26-28-30 stitches with circular needle size 6 mm and 2 strands DROPS Brushed Alpaca Silk. ROW 1 (wrong side): Purl. ROW 2 (right side): Read INCREASE TIP-1. Knit 3, increase 1 stitch towards the left, knit until there are 3 stitches left, increase 1 stitch towards the right, knit 3. ROW 3 (wrong side): Read INCREASE TIP-2. Purl 3, increase 1 stitch towards the right, purl until there are 3 stitches left, increase 1 stitch towards the left, purl 3. Work ROWS 2 and 3 a total of 10-10-11-11-12-12-12 times (20-20-22-22-24-24-24 rows worked) = 62-64-68-70-74-76-78 stitches. Remember to maintain the knitting tension. Cut the strand and place the stitches on a thread/stitch holder. LEFT SHOULDER: Find the left back shoulder as follows: Lay the back piece flat, right side up, with the thread/stitch holder towards you; left side of piece = left shoulder. Start from the right side by the neck and knit up 1 stitch in each row along the back left shoulder inside the outermost stitch = 20-20-20-22-22-24-24-24 shoulder-stitches. Insert 1 marker by the neck. All lengths on the front piece are measured from here. Work stocking stitch, with the first row from the wrong side, until the piece measures 5 cm. Now increase for the neckline as follows: ROW 1 (right side): Remember INCREASE TIP-1. Knit 3, increase 1 stitch towards the left, work to end of row. ROW 2 (wrong side): Purl. Work ROWS 1 and 2 a total of 4-4-5-5-6-6-6 times (8-8-10-10-12-12-12 rows worked) = 24-24-27-27-30-30-30 stitches. The increases for the neckline are finished and the piece measures approx. 10-10-11-11-12-12-12 cm from the marker. Some of this neckline will lie on the back piece. Neckline in front = 9-9-10-10-11-11-11 cm. Neckline at back = 1 cm. Cut the strand and place the stitches on a thread/stitch holder. Work the right shoulder. RIGHT SHOULDER: Start from the right side by the armhole and knit up 1 stitch in each row along the shoulder to the neckline, inside the outermost stitch = 20-20-22-22-24-24-24 shoulder-stitches. Insert 1 marker by the neck. All lengths on the front piece are measured from here. Work stocking stitch, with the first row from the wrong side, until the piece measures 5 cm. Now increase for the neckline as follows: ROW 1 (right side): Knit until there are 3 stitches left, increase 1 stitch towards the right, knit 3 - remember INCREASE TIP-1. ROW 2 (wrong side): Purl. Work ROWS 1 and 2 a total of 4-4-5-5-6-6-6 stitches (8-8-10-10-12-12-12 rows worked) = 24-24-27-27-30-30-30 stitches. The increases for the neckline are finished and the piece measures approx. 10-10-11-11-12-12-12 cm from the marker. Some of this neckline will lie on the back piece. Neckline in front = 9-9-10-10-11-11-11 cm. Neckline at back = 1 cm. FRONT PIECE: On the next row from the right side, join the 2 shoulders together for the front piece as follows: Knit the 24-24-27-27-30-30-30 stitches on the right front shoulder, cast on 14-16-14-16-14-16-18 stitches for the neckline, knit the 24-24-27-27-30-30-30 stitches from the left front shoulder = 62-64-68-70-74-76-78 stitches. Work stocking stitch back and forth until the piece measures 13-13-14-14-15-15-15 cm from the marker, with the last row from the wrong side. The front and back pieces are now joined for the yoke, and stitches are knitted up for the sleeves as follows: ROW 1 (right side): Knit together the first 2 stitches on the front piece (1 stitch decreased), knit until there are 2 stitches left on the front piece, slip 1 stitch, knit 1 and pass the slipped stitch over (1 stitch decreased), insert 1 marker here, knit up 18-18-20-20-22-22-22 stitches along the left-hand side of the front piece inside the outermost stitch (= sleeve-stitches), insert 1 marker, knit together the first 2 stitches on the back piece (1 stitch decreased), knit until there are 2 stitches left on the back piece, slip 1 stitch, knit 1 and pass the slipped stitch over (1 stitch decreased), insert 1 marker here, knit up 18-18-20-20-22-22-22 stitches along the right-hand side of the front piece inside the outermost stitch (= sleeve-stitches), insert 1 marker here = 156-160-172-176-188-192-196 stitches. YOKE: Continue in the round. ROUND 1: Knit and increase 1 stitch on each side of both sleeves – remember INCREASE TIP-1 – increasing 1 stitch towards the left at the beginning of the sleeve and 1 stitch towards the right at the end of the sleeve, the stitch count on the sleeves increases but remains the same on the front and back pieces. Work this round 3 times = 24-24-26-26-28-28-28 stitches on the sleeves, 60-62-66-68-72-74-76 stitches on the front and back pieces) = 168-172-184-188-200-204-208 stitches Continue as follows: ROUND 1: Knit and increase 1 stitch on each side of both sleeves – remember INCREASE TIP-1, the stitch count on the sleeves increases but remains the same on the front and back pieces. ROUND 2: Knit. Work ROUNDS 1 and 2 a total of 4-4-4-5-3-2-1 times (8-8-8-10-6-4-2 rounds worked; a total of 7-7-7-8-6-5-4 increases in height on the sleeves, with 32-32-34-36-34-32-30 sleeve-stitches and 60-62-66-68-72-74-76 stitches on the front and back pieces) = 184-188-200-208-212-212-212 stitches. Work the next round as follows: ROUND 1: Knit 2, increase 1 stitch towards the left, knit until there are 2 stitches left on the front piece before the first marker, increase 1 stitch towards the right, knit 2, move the marker onto the right needle, increase 1 stitch towards the left, knit to the next marker (= sleeve), increase 1 stitch towards the right, move the marker onto the right needle, knit 2, increase 1 stitch towards the left, knit until there are 2 stitches left on the back piece, before the next marker, increase 1 stitch towards the right, knit 2, move the marker onto the right needle, increase 1 stitch towards the left, knit to the next marker (= sleeve), increase 1 stitch towards the right, move the marker onto the right needle (= 8 increased stitches, with 1 increased stitch on each side of 2 stitches in each transition between body and sleeves). ROUND 2: Knit. Work ROUNDS 1 and 2 a total of 2 6-8-9-9-11-13-14 times (12-16-18-18-22-26-28 rounds worked. A total of 13-15-16-17-17-18-18 increases in height on the sleeves and 6-8-9-9-11-13-14 increases in height on the body. There are 44-48-52-54-56-58-58 sleeve-stitches and 72-78-84-86-94-100-104 stitches on the front and back pieces) = 232-252-272-280-300-316-324 stitches. The sleeve measures approx. 14-16-17-18-18-19-19 cm – NOTE: If the jumper is folded double at the shoulder, it measures approx. 20-22-24-25-26-27-27 cm from the top of the shoulder and down the armhole. If the piece is shorter than this, continue working to the correct measurement without increasing. Now divide for the body and sleeves. DIVIDE FOR BODY AND SLEEVES: Knit the first 72-78-84-86-94-100-104 stitches (= front piece), place the next 44-48-52-54-56-58-58 stitches on a thread for the sleeve, cast on 4-6-6-8-8-10-12 stitches (mid-under the sleeve), knit 72-78-84-86-94-100-104 (= back piece) place the next 44-48-52-54-56-58-58 stitches on a thread for the sleeve, cast on 4-6-6-8-8-10-12 stitches (mid-under the sleeve). The body and sleeves are finished separately. BODY: = 152-168-180-188-204-220-232 stitches. Work stocking stitch in the round until the piece measures 26-27-26-27-28-28-30 cm, from the cast-on stitches under the sleeve. Change to circular needle size 5 mm. Work rib (knit 2, purl 2), AT THE SAME TIME increase 20-24-24-28-28-32-32 stitches evenly on the first round = 172-192-204-216-232-252-264 stitches. When the rib measures 5-5-6-6-6-7-7 cm, cast off. The jumper measures approx. 57-60-62-64-66-68-70 cm. SLEEVES: Place the 44-48-52-54-56-58-58 sleeve-stitches from one thread on circular needle size 6 mm and knit up 1 stitch in each of the 4-6-6-8-8-10-12 stitches cast on under the sleeve – read SLEEVE TIP = 48-54-58-62-64-68-70 stitches. Insert a marker-thread in the middle of the 4-6-6-8-8-10-12 stitches under the sleeve- the round starts by the marker-thread. Work stocking stitch in the round. AT THE SAME TIME, when the sleeve measures 1 cm from the division, decrease mid-under the sleeve – read DECREASE TIP as follows: Decrease 2 stitches every 2nd round a total of 2-2-3-3-3-4-4 times, then every 12-6-5-3-3-2½-2½ cm 3-5-5-7-7-7-7 times = 38-40-42-42-44-46-48 stitches. Continue working until the sleeve measures 34-33-30-29-29-27-28 cm from the division. Change to double pointed needles size 5 mm. Work rib (knit 2, purl 2), AT THE SAME TIME increase 6-4-6-6-8-6-8 stitches evenly on the first round = 44-44-48-48-52-52-56 stitches. When the rib measures 5-5-6-6-6-7-7 cm, cast off slightly loosely with rib. The sleeve measures approx. 39-38-36-35-35-34-35 cm from the division. HIGH NECK: Use circular needle size 5 mm and 2 strands DROPS Brushed Alpaca Silk. Start from the right side on one shoulder line and knit up approx. 72-80-84-88-88-96-104 stitches inside 1 stitch around the neckline. Knit 1 round and adjust the stitch count if necessary (must be divisible by 4). Work rib in the round (knit 2, purl 2) for 11-12-12-12-13-13-13 cm. Cast off slightly loosely with rib. |
|
 |
|
Have you finished this pattern?Tag your pictures with #dropspattern #frostedoatssweater or submit them to the #dropsfan gallery. Do you need help with this pattern?You'll find 30 tutorial videos, a Comments/Questions area and more by visiting the pattern on garnstudio.com. © 1982-2026 DROPS Design A/S. We reserve all rights. This document, including all its sub-sections, has copyrights. Read more about what you can do with our patterns at the bottom of each pattern on our site. |
|







Post a comment to pattern DROPS 262-24
We would love to hear what you have to say about this pattern!
If you want to leave a question, please make sure you select the correct category in the form below, to speed up the answering process. Required fields are marked *.