DROPS Children 49 · Lots of new kid designs!

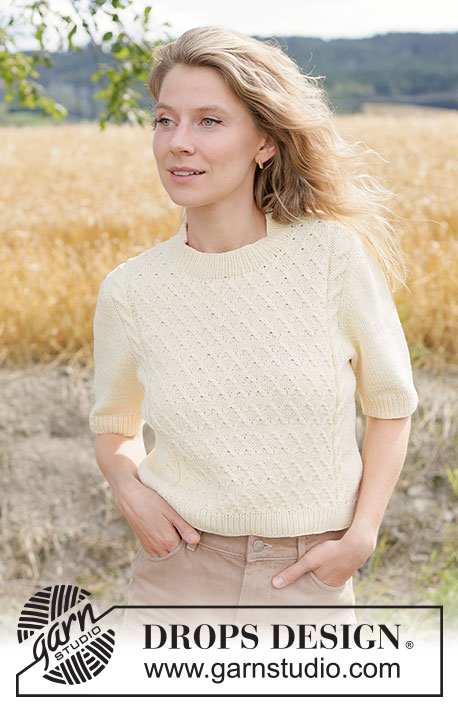
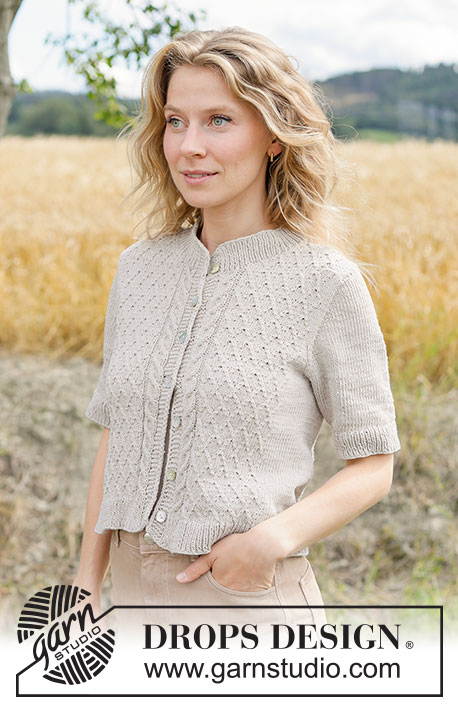
European yoke 3/4 Neck is finished after the stitches for sleeves are knitted up

Continue watching

Video thumbnail for European yoke 1/4 – Back piece
6:56
European yoke 1/4 – Back piece

In this DROPS video, we show you how to work the back piece on a garment with a European yoke. The neckline is finished after the stitches for the yoke are knitted up. We show you how to increase stitches for the shoulders. Cast on stitches for the back of the neckline and work the yoke back and forth, top down, while increasing each side until the number of stitches for the required shoulder width are achieved. The back piece has slightly diagonal shoulders. We show 4 increase-rows as follows: ROW 1 (wrong side): Purl. ROW 2 (right side): Read INCREASE TIP-1. Knit 3, increase 1 stitch towards the left, knit until there are 3 stitches left on the row, increase 1 stitch towards the right, knit. 3.ROW 3 (wrong side): Read INCREASE TIP-2. Purl 3, increase 1 stitch towards the left, purl until there are 3 stitches left on the row, increase 1 stitch towards the right, purl 3. AFTER ROW 3: Work ROWS 2 and 3 a total of 7 times. Cut the strand. Place the stitches on a stitch holder. INCREASE TIP-1: INCREASE 1 STITCH TOWARDS THE LEFT – from right side: Use the left needle to pick up the front strand between 2 stitches from the previous row, knit through from the back. INCREASE 1 STITCH TOWARDS THE RIGHT – from right side: Use the left needle to pick up the back strand between 2 stitches from the previous row, knit through from the front. INCREASE TIP-2: INCREASE 1 STITCH TOWARDS THE LEFT – from wrong side: Use the left needle to pick up the back strand between 2 stitches from the previous row, purl through from the front. INCREASE 1 STITCH TOWARDS THE RIGHT – from wrong side: Use the left needle to pick up the front strand between 2 stitches from the previous row, purl through from the back. Yarn used: DROPS Andes. You can find pattern using this technique and more related videos below.

Video thumbnail for European yoke 4/4 – Neck is finished after the stitches for sleeves are knitted up
10:39
European yoke 4/4 – Neck is finished after the stitches for sleeves are knitted up

In this DROPS video, we show you how to increase for the sleeves and for the front and back pieces when working a European yoke while, at the same time, casting on stitches under each sleeve. When all the increases are finished and the yoke is the correct length, it is divided for the body and sleeves. The body is continued in the round with circular needle, top down, while the sleeves wait. Work as follows: ROUND 1: Knit all stitches (we only show the beginning and end of this round). ROUND 2: Knit until there are 2 stitches left before the first marker, increase towards the right, knit 2, move the marker onto the right needle, increase towards the left, knit across the sleeve-stitches, increase towards the right, move the marker onto the right needle, knit 2, increase towards the left, knit until there are 2 stitches left before the next marker, increase towards the right, knit 2, move the marker onto the right needle, increase towards the left, knit across the sleeve-stitches, increase towards the right, move the marker onto the right needle, knit 2, increase towards the left, knit to end of round (= 1 stitch increased on each side of 2 stitches in each transition between body and sleeves = a total of 8 increased stitches). Repeat these 2 rounds the stated number of times in your pattern. The piece now measures X cm measured down the middle of the sleeve, from where stitches were knitted up, when the jumper is folded double at the shoulder. The piece measures X cm outermost along the armhole. Work to the first marker (= transition between front piece and left shoulder). Now divide the yoke for the body and sleeves, casting on stitches under both sleeves. Follow your pattern for how many stitches are placed on a thread, how many stitches are cast on and how you continue the body. INCREASE TIP-1: INCREASE 1 STITCH TOWARDS THE LEFT – from right side: Use the left needle to pick up the front strand between 2 stitches from the previous row, knit through the back loop. INCREASE 1 STITCH TOWARDS THE RIGHT – from right side: Use the left needle to pick up the back strand between 2 stitches from the previous row, knit through the front loop. Yarn used: DROPS Andes. You need to read your chosen pattern and work the correct number of stitches. You can find pattern using this technique and more related videos below.

You might also like

Video thumbnail for European yoke - Short overview. Neck is finished after the stitches for sleeves are knitted up
4:54
European yoke - Short overview. Neck is finished after the stitches for sleeves are knitted up

In this DROPS video we show a brief overview of how to knit a garment with an European yoke, where the neck is finished after the stitches for the sleeves are knitted up. The garment is worked as follows, according to these 5 steps: 1) BACK PIECE: Cast on stitches for the back of the neckline and work the back piece top down, at the same time as increasing each side until you have reached the correct shoulder-width. The back piece has slightly diagonal shoulders. 2) FRONT PIECE: The front piece is worked in 2 pieces (each side of the neck). Start by knitting up stitches along one shoulder on the back piece. Work the front piece top down, at the same time as increasing for the neckline. Repeat for the second front piece along the other back shoulder. 3) YOKE: On the next row, place all stitches on the same circular needle as follows: Work across one front piece, pick up stitches for the sleeve along the side of the front piece, work across the back piece, pick up stitches for the sleeve along the side of the second front piece, work across the second front piece. The yoke is continued back and forth across all stitches, with the rows starting and ending mid-front. 4) INCREASE FOR NECK, BODY AND SLEEVES: While working the yoke, begin by increasing only for the neckline and sleeves, then subsequently for both the body and sleeves. Once the final increase for the neckline is done, the 2 front pieces are joined mid-front and the piece is continued in the round. 5) BODY AND SLEEVES: When all the increases are finished and the yoke has been worked to the correct length, it is divided for the body and sleeves. The body is continued in the round with a circular needle, top down, while the sleeves wait.

Video thumbnail for European yoke 4/4 – Neck is finished after the stitches for sleeves are knitted up
10:39
European yoke 4/4 – Neck is finished after the stitches for sleeves are knitted up

In this DROPS video, we show you how to increase for the sleeves and for the front and back pieces when working a European yoke while, at the same time, casting on stitches under each sleeve. When all the increases are finished and the yoke is the correct length, it is divided for the body and sleeves. The body is continued in the round with circular needle, top down, while the sleeves wait. Work as follows: ROUND 1: Knit all stitches (we only show the beginning and end of this round). ROUND 2: Knit until there are 2 stitches left before the first marker, increase towards the right, knit 2, move the marker onto the right needle, increase towards the left, knit across the sleeve-stitches, increase towards the right, move the marker onto the right needle, knit 2, increase towards the left, knit until there are 2 stitches left before the next marker, increase towards the right, knit 2, move the marker onto the right needle, increase towards the left, knit across the sleeve-stitches, increase towards the right, move the marker onto the right needle, knit 2, increase towards the left, knit to end of round (= 1 stitch increased on each side of 2 stitches in each transition between body and sleeves = a total of 8 increased stitches). Repeat these 2 rounds the stated number of times in your pattern. The piece now measures X cm measured down the middle of the sleeve, from where stitches were knitted up, when the jumper is folded double at the shoulder. The piece measures X cm outermost along the armhole. Work to the first marker (= transition between front piece and left shoulder). Now divide the yoke for the body and sleeves, casting on stitches under both sleeves. Follow your pattern for how many stitches are placed on a thread, how many stitches are cast on and how you continue the body. INCREASE TIP-1: INCREASE 1 STITCH TOWARDS THE LEFT – from right side: Use the left needle to pick up the front strand between 2 stitches from the previous row, knit through the back loop. INCREASE 1 STITCH TOWARDS THE RIGHT – from right side: Use the left needle to pick up the back strand between 2 stitches from the previous row, knit through the front loop. Yarn used: DROPS Andes. You need to read your chosen pattern and work the correct number of stitches. You can find pattern using this technique and more related videos below.

Video thumbnail for European yoke 1/4 – Back piece
6:56
European yoke 1/4 – Back piece

In this DROPS video, we show you how to work the back piece on a garment with a European yoke. The neckline is finished after the stitches for the yoke are knitted up. We show you how to increase stitches for the shoulders. Cast on stitches for the back of the neckline and work the yoke back and forth, top down, while increasing each side until the number of stitches for the required shoulder width are achieved. The back piece has slightly diagonal shoulders. We show 4 increase-rows as follows: ROW 1 (wrong side): Purl. ROW 2 (right side): Read INCREASE TIP-1. Knit 3, increase 1 stitch towards the left, knit until there are 3 stitches left on the row, increase 1 stitch towards the right, knit. 3.ROW 3 (wrong side): Read INCREASE TIP-2. Purl 3, increase 1 stitch towards the left, purl until there are 3 stitches left on the row, increase 1 stitch towards the right, purl 3. AFTER ROW 3: Work ROWS 2 and 3 a total of 7 times. Cut the strand. Place the stitches on a stitch holder. INCREASE TIP-1: INCREASE 1 STITCH TOWARDS THE LEFT – from right side: Use the left needle to pick up the front strand between 2 stitches from the previous row, knit through from the back. INCREASE 1 STITCH TOWARDS THE RIGHT – from right side: Use the left needle to pick up the back strand between 2 stitches from the previous row, knit through from the front. INCREASE TIP-2: INCREASE 1 STITCH TOWARDS THE LEFT – from wrong side: Use the left needle to pick up the back strand between 2 stitches from the previous row, purl through from the front. INCREASE 1 STITCH TOWARDS THE RIGHT – from wrong side: Use the left needle to pick up the front strand between 2 stitches from the previous row, purl through from the back. Yarn used: DROPS Andes. You can find pattern using this technique and more related videos below.