
Popular categories
Looking for a yarn?


Comments / Questions (10)
![]() Saara wrote:
Saara wrote:
Onko videota satulaolkapään neulomiseen videota ?
26.10.2025 - 12:19DROPS Design answered:
Klikkaa ohjeen otsikon alapuolella olevaa video-linkkiä ja valitse sitten seuraava video: Satulaolkapäiden lisäysten tekeminen tasoneuletta neulottaessa
27.10.2025 - 16:24
![]() Olivia wrote:
Olivia wrote:
Jeg skriver fordi jeg (endda efter at have konsulteret mine garvede strikkeveninder) er itvivl om hvordan man strikker snoningerne i halskanten. Jeg føler det er lidt kringlet formuleret, og tænkte om det muligvis kunne blive klaret lidt op? (Taler om "Læg tråden foran arbejdet, stik højre pind ned under arbejdet og op foran arbejdet(...)"). Tak på forhånd !
09.10.2025 - 14:01DROPS Design answered:
Hej Olivia. I videon Hvordan starter man med at strikke en rullekant ser du hur du ska göra. Mvh DROPS Design
10.10.2025 - 08:45
![]() Elvira wrote:
Elvira wrote:
Hej upptäckte att antal maskor i strl xl efter alla axel ökningar ej kan stämma. Det blir inte 194 maskor totalt inklusive med de förkortade varven på 138. Jag får det till 234 maskor. Det står att man ska fortsätta mönstret med ökningar 24 ggr.
04.01.2025 - 00:01
![]() Carpentier wrote:
Carpentier wrote:
Bonjour, comment tricoter ce pull de bas en haut, J’arrive au niveau de col et je suis perdue. Merci
27.11.2024 - 10:51DROPS Design answered:
Bonjour Mme Carpentier, si vous préférez tricoter de bas en haut, il sera bien plus simple de choisir un modèle conçu ainsi, retrouvez les tous ici, ajoutez des filtres si besoin. Bon tricot!
27.11.2024 - 13:43
![]() Revesz Zsuzsanna wrote:
Revesz Zsuzsanna wrote:
Szeretném a kötés minta revízióját és a pontos változatot kérni. A részletes leírás nem követhető, a rövid összefoglaló a vállrészt körbe kötve írja de a képeken nem ez látszik. Gyönyörű a pulóver, szeretném elkészíteni de ehhez segítségre van szükségem. Köszönöm
08.10.2024 - 20:49
![]() Claude Bousseau wrote:
Claude Bousseau wrote:
Bonjour, j'ai relu 10 fois les explications l'ouvrage commencé et je ne comprends rien 🙄:" continuez... entre les marqueurs 2 et 3" = milieu des mailles pour l'épaule, non ? "Tricoter 1 maille endroit, augmenter 1 maille pour l'épaule" = on fait une augmentation au milieu de l'épaule ? "... augmenter 1 maille pour l'épaule, tricoter 2 mailles endroit, augmenter 1 maille pour l'épaule..." on est où là ? aidez-moi svp
09.02.2023 - 09:07DROPS Design answered:
Bonjour, tout à fait, les premiers rangs raccourcis ont été fait de part et d'autre des marqueurs 1 et 4 pour l'une des épaules, on tricote ensuite les rangs raccourcis de la même façon pour l'autre épaule, entre les marqueurs 2 et 3. Bon tricot!
09.02.2023 - 10:14
![]() Francesca Grassi wrote:
Francesca Grassi wrote:
Buona sera chiedo un altra cosa in merito al modello. Dopo l esecuzione del collo arrotolato dite di unire il lavoro e continuare in tondo . Nelle foto però il lavoro sembra staccato. Le spalle cucite come se fosse tutto lavorato staccato. Non riesco a capire . Grazie
03.11.2022 - 17:17DROPS Design answered:
Buonasera Francesca, il modello è corretto, deve unire in tondo e proseguire. Buon lavoro!
03.11.2022 - 18:14
![]() Giovanna wrote:
Giovanna wrote:
Buongiorno sto realizzando il modello Blue butterfly . ho 98 maglie e devo diminuire a 84 usando il seguente metodo. Lavorare 1 maglia a maglia legaccio, passare 1 maglia a diritto senza lavorarla, 1 maglia diritto, accavallare la maglia passata sopra quella appena lavorata, lavorare fino a quando rimangono 3 maglie sul ferro, 2 maglie insieme a diritto e 1 maglia a maglia legaccio. Il calcolo è: 98:14= 7 Come faccio? Grazie
09.10.2022 - 18:47DROPS Design answered:
Buonasera Giovanna, in quel punto non deve applicare il SUGGERIMENTO PER LE DIMINUZIONI, che andrà invece utilizzato come indicato durante la lavorazione del davanti. Le diminuzioni da 98 a 84 maglie devono essere invece a intervalli regolari con il metodo che preferisce, anche lavorando 2 maglie in 1. Buon lavoro!
10.10.2022 - 19:13
![]() Marina Tavelli wrote:
Marina Tavelli wrote:
Quanta lana prendere per un modello di taglia media chiuso e girocollo?
05.10.2022 - 10:23DROPS Design answered:
Buonasera Marina, per delle modifiche personalizzate può rivolgersi al suo rivenditore DROPS di fiducia. Buon lavoro!
05.10.2022 - 19:57
![]() Janice Hansen wrote:
Janice Hansen wrote:
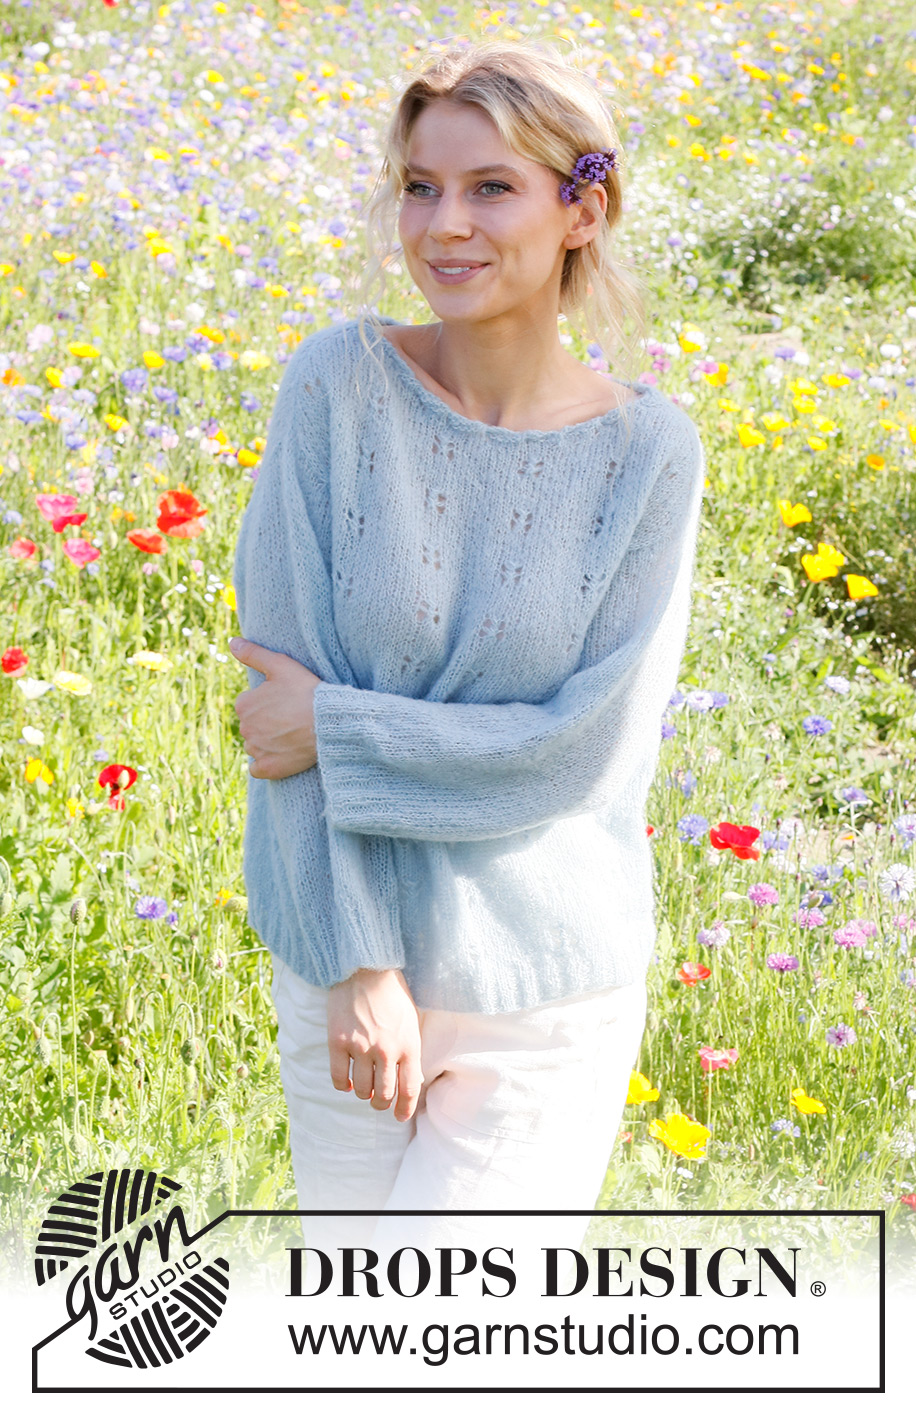
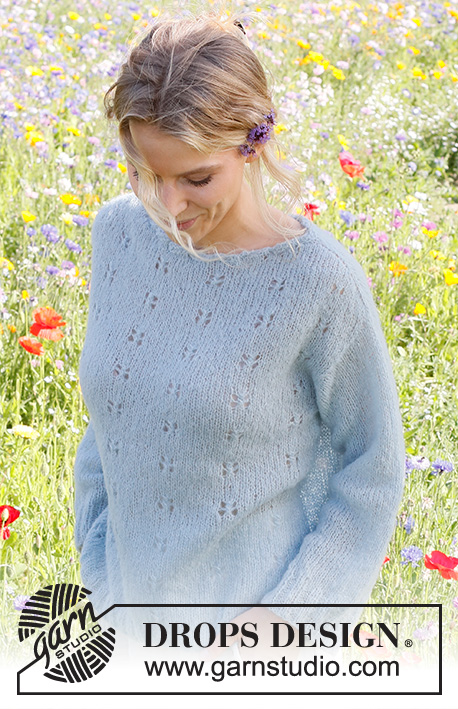
Soft summer fields
13.03.2022 - 23:25
|
|||||||||||||
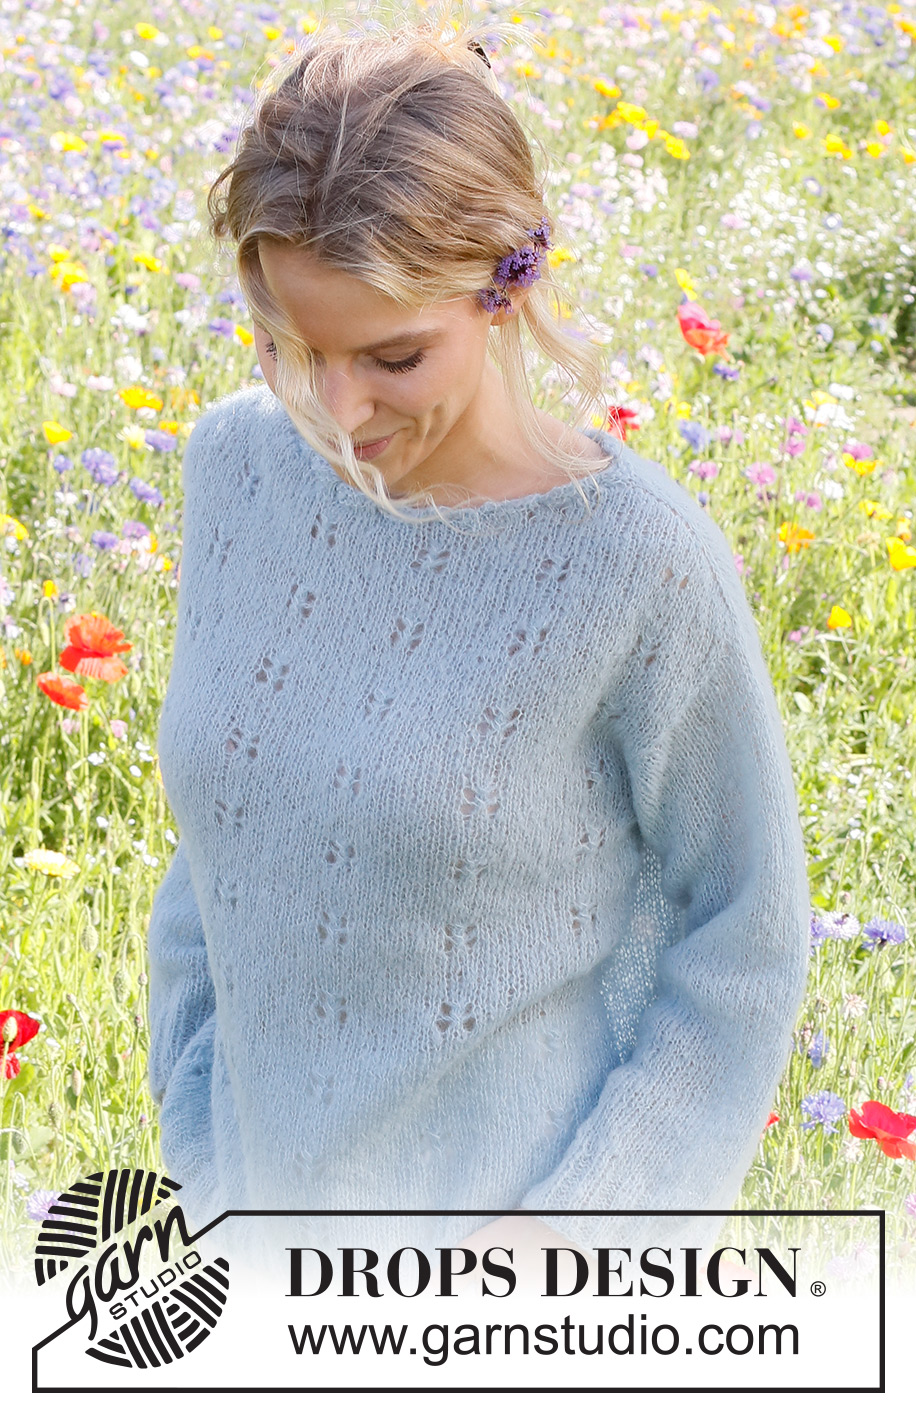
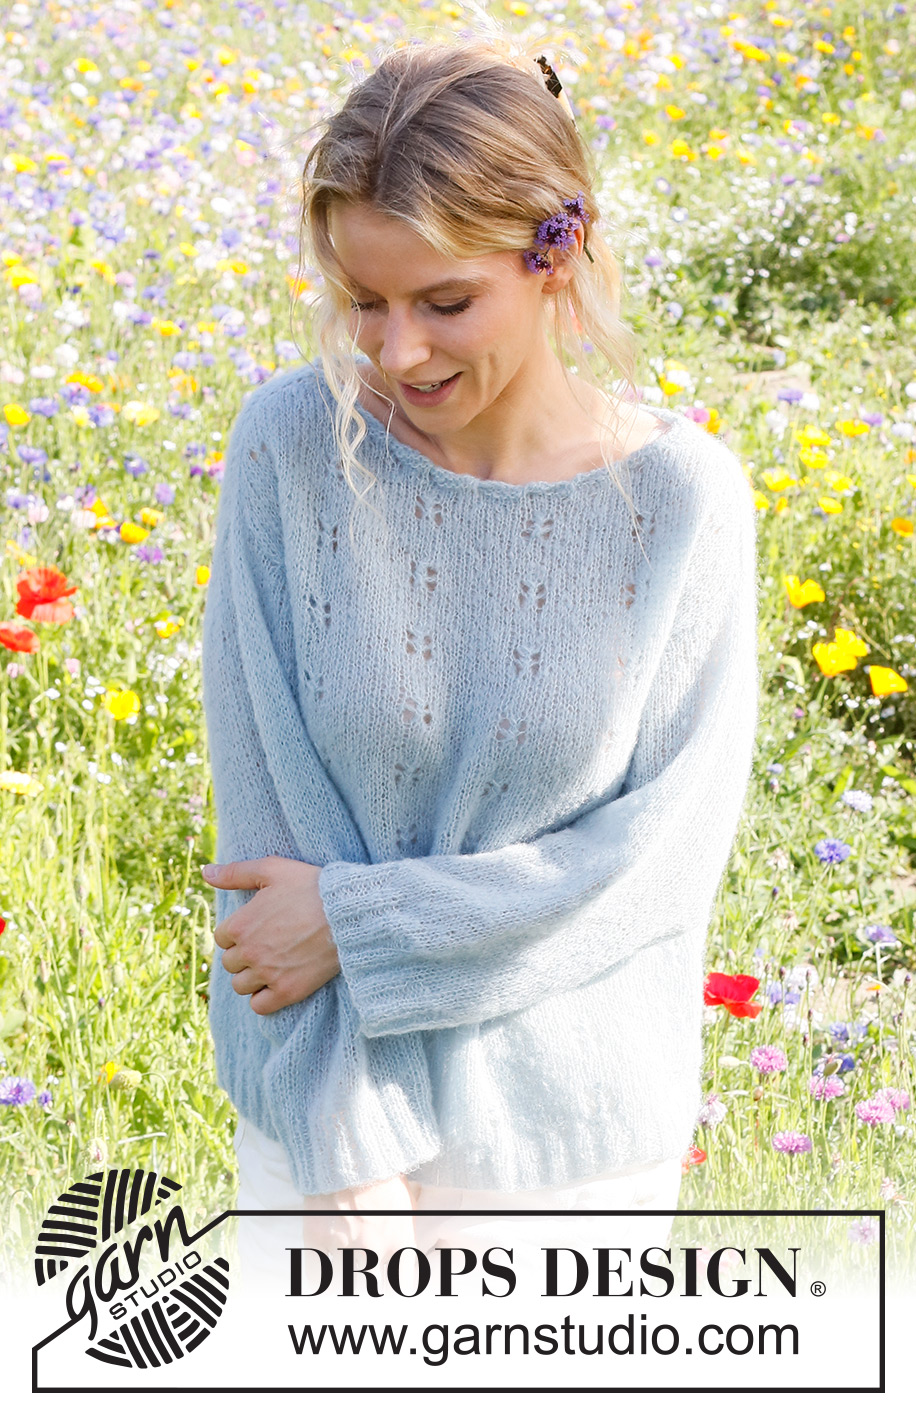
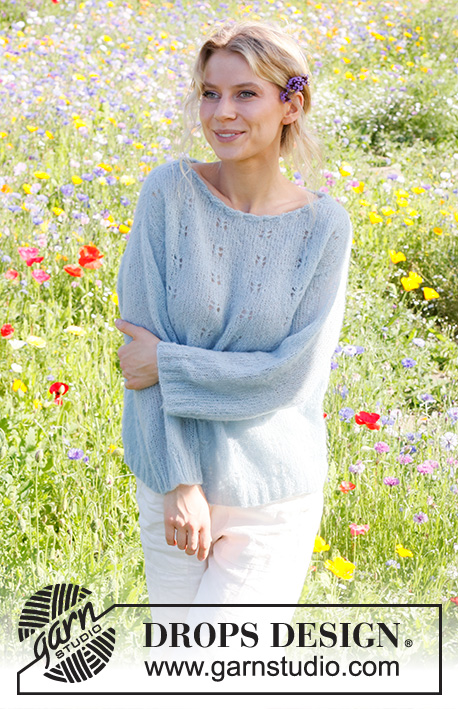
Blue Butterfly#bluebutterflysweater |
|||||||||||||
 |
 |
||||||||||||
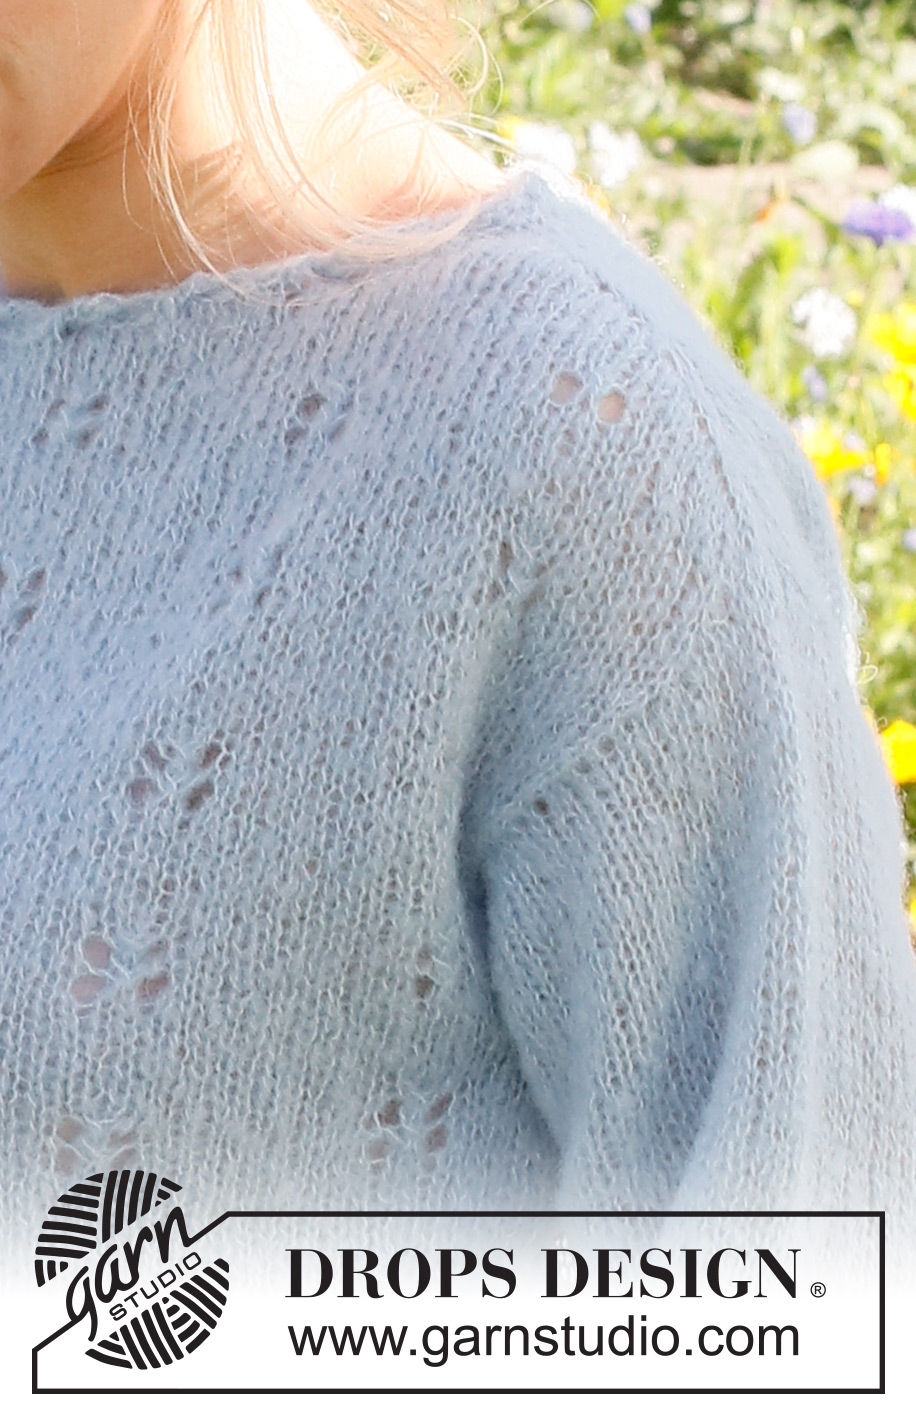
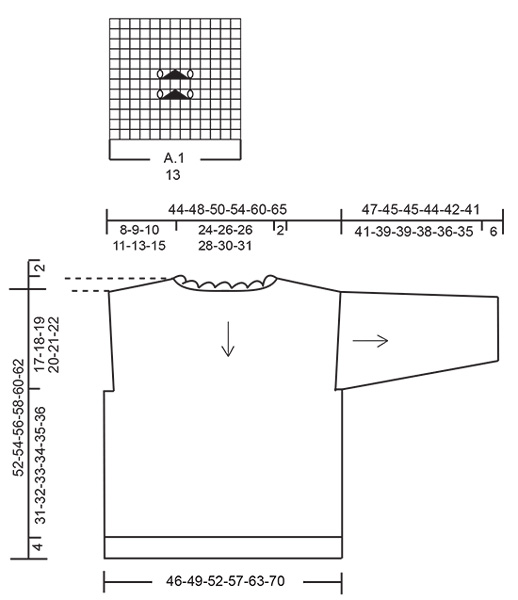
Knitted jumper in DROPS Brushed Alpaca Silk. The piece is worked top down, with increases for shoulders, lace pattern and decorative neck-line. Sizes S - XXXL.
DROPS 230-49 |
|||||||||||||
|
------------------------------------------------------- EXPLANATIONS FOR THE PATTERN: ------------------------------------------------------- RIDGE/GARTER STITCH (worked back and forth): Knit all rows. 1 ridge = knit 2 rows. PATTERN: See diagram A.1. The diagram shows all rows in the pattern from the right side. INCREASE TIP (shoulders): RIGHT SIDE: Increase after markers 1 and 3 and before markers 2 and 4. BEFORE MARKER: The new stitch twists to the right. Use the left needle to pick up the strand between 2 stitches from the previous round/row, pick the strand up from the back and knit in the front loop. AFTER MARKER: The new stitch twists to the left. Use the left needle to pick up the strand between 2 stitches from the previous round/row, pick the strand up from the front and knit in the back loop. WRONG SIDE: Increase after markers 4 and 2 and before markers 3 and 1. BEFORE MARKER: The new stitch twists to the right. Use the left needle to pick up the strand between 2 stitches from the previous row, pick the strand up from the front and purl in the back loop. AFTER MARKER: The new stitch twists to the left. Use the left needle to pick up the strand between 2 stitches from the previous row, pick the strand up from the back and purl in the front loop. DECREASE TIP: All decreases are worked from the right side! Work 1 garter stitch, slip 1 stitch as if to knit, knit 1, pass the slipped stitch over the knitted stitch, work until there are 3 stitches left on the row, knit 2 together and 1 garter stitch. ------------------------------------------------------- START THE PIECE HERE: ------------------------------------------------------- JUMPER – SHORT OVERVIEW OF THE PIECE: The jumper is worked top down. The neck is worked back and forth, then the yoke in the round. The yoke is divided for the body and sleeves. Front and back pieces are worked separately back and forth with circular needle. The sleeves are worked back and forth with circular needle. NECK: Cast on 98-104-104-110-116-122 stitches with circular needle size 4 mm and DROPS Brushed Alpaca Silk. Work 3 RIDGES – read description above, back and forth. To create a rolling-edge work as follows from the right side: 1 edge stitch in garter stitch, knit 3, * twist the stitches on the right needle 360 degrees as follows: Take the strand to the right side and take the right needle under the piece and up to the right side, knit 6 *, work from *-* until there are 4 stitches left, knit 3 and 1 edge stitch in garter stitch. Now join the piece and continue in the round. Knit 1 round and decrease 14-16-10-12-14-16 stitches evenly spaced = 84-88-94-98-102-106 stitches. Insert 1 marker at the beginning of the round; the yoke is measured from this marker. YOKE: Change to circular needle size 5 mm. Insert 4 markers without working the stitches and insert them between 2 stitches: Count 1 stitch (shoulder-stitch), insert marker-1, count 40-42-45-47-49-51 stitches (back piece), insert marker-2, count 2 stitches (shoulder-stitches), insert marker-3, count 40-42-45-47-49-51 stitches (front piece), insert marker-4, there is 1 stitch left (shoulder-stitch). Now work short rows in stocking stitch over one shoulder AT THE SAME TIME as you increase 2 stitches for the shoulder on each row – read INCREASE TIP, as follows: Work 3 stitches past marker-1 – remember to increase on the shoulder, turn, tighten the strand and work 3 stitches past marker-4 – remember to increase, turn, tighten the strand, * work 3 stitches past the previous short row – remember to increase, turn, tighten the strand, work 3 stitches past the previous short row on the other side, turn, tighten the strand *, work from *-* until you have worked 10 short rows on each side, finish the last row at the beginning of the round (between the 2 stitches between markers 1 and 4). You have increased 10 stitches at each marker. Cut the strand. Move the start of the round to between the 2 stitches between markers 2 and 3 and work short rows here in the same way as on the first shoulder. When the short rows are finished, there are 124-128-134-138-142-146 stitches. REMEMBER THE KNITTING TENSION! Continue with the start of the round between markers 2 and 3 and work as follows: Knit 1, increase 1 stitch for the shoulder, knit 4-5-0-1-2-3, work A.1 4-4-5-5-5-5 times, knit 4-5-0-1-2-3, increase 1 stitch for the shoulder, knit 2, increase 1 stitch for the shoulder, knit 60-62-65-67-69-71, increase 1 stitch for the shoulder, knit 1. Continue this pattern and increase for the shoulders on each round. The increased stitches on the front piece are worked into A.1 (the stitches which do not fit into the pattern are worked in stocking stitch). When you have increased 17-19-21-24-28-33 times (including the short rows) there are 152-164-178-194-214-238 stitches. The piece measures approx. 8-9-10-11-13-15 cm. Now divide for the front and back pieces as follows: Knit 1 stitch and place it on a thread for the sleeve, work 74-80-87-95-105-117 stitches in stocking stitch and A.1 as before (front piece), knit 2, place these 2 stitches on a thread for the sleeve, work 74-80-87-95-105-117 stitches in stocking stitch and place these stitches on a thread for the back piece, knit 1 and place this stitch on the thread for the sleeve. Cut the strand. FRONT PIECE: = 74-80-87-95-105-117 stitches. Continue back and forth with stocking stitch and A.1, with 1 edge stitch in GARTER STITCH – read description above, on each side. The front is measured from the division. When the piece measures 4 cm, decrease 1 stitch on each side – read DECREASE TIP! Decrease like this every 4 cm a total of 3-3-4-4-4-4 times = 68-74-79-87-97-109 stitches. When the piece measures 17-18-19-20-21-22 cm from the division, cast on 6 stitches at the end of the next 2 rows = 80-86-91-99-109-121 stitches. Continue with stocking stitch, A.1 and 1 stitch in garter stitch on each side. When the piece measures approx. 31-32-33-34-35-36 cm from the 6 cast-on stitches (finish after some rows stocking stitch after a row with holes) knit 1 row from the right side and increase 8-10-13-13-15-15 stitches evenly spaced = 88-96-104-112-124-136 stitches. Change to circular needle size 4 mm and work rib from the wrong side as follows: 1 garter stitch, * knit 2, purl 2 *, work from *-* until there are 3 stitches left, knit 2 and 1 garter stitch. Cast off when the rib measures 4 cm. BACK PIECE: Place the 74-80-87-95-105-117 stitches back on circular needle size 5 mm. Work stocking stitch with 1 stitch in garter stitch on each side. The back is measured from the division. When the piece measures 4 cm, decrease 1 stitch on each side. Decrease like this every 4 cm a total of 3-3-4-4-4-4 times = 68-74-79-87-97-109 stitches. When the piece measures 17-18-19-20-21-22 cm from the division, cast on 6 stitches at the end of the next 2 rows = 80-86-91-99-109-121 stitches. Continue with stocking stitch and 1 stitch in garter stitch on each side. When the piece measures 31-32-33-34-35-36 cm from the 6 cast-on stitches, knit 1 row from the right side and increase 8-10-13-13-15-15 stitches evenly spaced = 88-96-104-112-124-136 stitches. Change to circular needle size 4 mm and work rib from the wrong side as follows: 1 garter stitch, * purl 2, knit 2 *, work from *-* until there are 3 stitches left, purl 2 and 1 garter stitch. Cast off when the rib measures 4 cm. SLEEVES: Start at the cast-on stitches for the armhole on the back piece. Using circular needle size 5 mm, work as follows from the right side: Knit up 1 stitch in each of the 6 cast-on stitches under sleeve, knit up 23-25-26-28-30-31 stitches as far as the 2 stitches on the thread (shoulder-stitches), place these 2 stitches on the needle and knit them, knit up 23-25-26-28-30-31 stitches to the cast-on stitches under sleeve on the front piece and knit up 1 stitch in each of these 6 stitches = 60-64-66-70-74-76 stitches. Work stocking stitch back and forth, with 1 edge stitch in garter stitch on each side. When the sleeve measures 4 cm, decrease 1 stitch on each side. Decrease like this every 12-12-8-6-4-4 cm a total of 3-3-4-5-7-7 times = 54-58-58-60-60-62 stitches. When the sleeve measures 41-39-39-38-36-35 cm, knit 1 row from the right side and increase 0-0-0-2-2-0 stitches evenly spaced = 54-58-58-62-62-62 stitches. Change to circular needle size 4 mm and work rib from the wrong side as follows: 1 garter stitch, * knit 2, purl 2 *, work from *-* and 1 garter stitch. Cast off when the rib measures 6 cm. The sleeve measures approx. 47-45-45-44-42-41 cm. Work the other sleeve in the same way, but starting at the cast-on stitches for the armhole on the front piece. ASSEMBLY: Sew the sleeve and side seams in one go, inside the 1 edge stitch. Sew the neck together mid-back, inside the 1 edge stitch. |
|||||||||||||
Diagram explanations |
|||||||||||||
|
|||||||||||||
 |
|||||||||||||
Have you finished this pattern?Tag your pictures with #dropspattern #bluebutterflysweater or submit them to the #dropsfan gallery. Do you need help with this pattern?You'll find 32 tutorial videos, a Comments/Questions area and more by visiting the pattern on garnstudio.com. © 1982-2026 DROPS Design A/S. We reserve all rights. This document, including all its sub-sections, has copyrights. Read more about what you can do with our patterns at the bottom of each pattern on our site. |
|||||||||||||


With over 40 years in knitting and crochet design, DROPS Design offers one of the most extensive collections of free patterns on the internet - translated to 17 languages. As of today we count 324 catalogues and 12290 patterns translated into English (UK/cm). 12290
We work hard to bring you the best knitting and crochet have to offer, inspiration and advice as well as great quality yarns at incredible prices! Would you like to use our patterns for other than personal use? You can read what you are allowed to do in the Copyright text at the bottom of all our patterns. Happy crafting!
Post a comment to pattern DROPS 230-49
We would love to hear what you have to say about this pattern!
If you want to leave a question, please make sure you select the correct category in the form below, to speed up the answering process. Required fields are marked *.