
Popular categories
Looking for a yarn?
























Comments / Questions (54)
 Suk wrote:
Thanks for the explanation on the RS row, how about on the WS row, R2(WS) & R4(WS) - how to increase on these rows? Thanks
28.02.2020 - 12:10DROPS Design answered:
Dear Suk, you will only increase on the RS rows, from WS work: 1 edge st in garter st, purl until 1 st remain (= purl the yarn over twisted to avoid holes), finish with 1 edge st in garter stitch. Happy knitting!
28.02.2020 - 13:23
Suk wrote:
Inc 1 st in each side inside 1 edge st in garter st on every row and inc 1 st on each side of the middle 60 sts every other row. - What does this mean? Is it like this: Cast on 72 sts, R1(RS): K6, K60, K6 (72 sts) R2(WS): P6, P60, P6 (72 sts) - R3(RS): K1, YO, K5, YO, K60, YO, K5, YO, K1 (76sts) R4(WS): K1,PTBL,K5, PTBL, K60, PTBL,K5,PTBL,K1 (76sts) - how to increase on this row? Thanks
27.02.2020 - 22:19DROPS Design answered:
Dear Suk, correct, but you start increasing from first row, ie row 1: K1, YO, K5, YO, K60, YO, K5, YO, K1 YO and then work every RS row like this: K1, YO, K to the first marker, YO, slip marker, K60, slip marker, YO, K to the last st, YO, K last st. Happy knitting!
28.02.2020 - 08:11
 Cristina De Filippis wrote:
Io non riesco a capire come si fanno gli aumenti...
01.11.2019 - 20:44DROPS Design answered:
Buonasera Cristina, gli aumenti vanno lavorati su tutti i ferri, all'interno della maglia di vivagno, e un ferro si e uno no ai lati delle 60 maglie centrali. Ci riscriva se ha ancora bisogno di aiuto. Buon lavoro!
01.11.2019 - 23:29
 Paula wrote:
Bonjour, J'ai une question sur les augmentations. Il faut augmenter 1 m de chaque côté des 60 m centrales tous les 2 rangs. Est-ce que l'augmentation de fait avant le marqueur ? C'est-à-dire, on arrive au marqueur, on fait une augmentation, in tricote les 60 mailles centrales, marqueur et ensuite une autre augmentation ? C'est ça ? Merci beaucoup !
11.10.2019 - 22:47DROPS Design answered:
Bonjour Paula, pas exactement, vous tricotez jusqu'au marqueur, augmentez 1 m, glissez le marqueur, tricotez les 60 m, glissez le marqueur, augmentez 1 m = les 60 m entre les marqueurs ne vont pas augmenter, on va augmenter seulement avant et après ces 60 m. Bon tricot!
14.10.2019 - 09:03
 Hanne Gram wrote:
Kan det være rigtigt, at sjalet, uden at trække i det, kun måler 15cm i længden ved nakken, når udtagningens er færdige?
17.09.2019 - 08:36DROPS Design answered:
Hej Hanne, hvis du strikker i DROPS Lace og overholder strikkefastheden, så får du målene som står i opskriften (altså 43 cm inden Picotkanten). Efter det beskriver vi hvordan man gør sjalet vådt og trækker det ud i de rigtige mål. Sørg for at du ikke strikker for stramt. God fornøjelse!
17.09.2019 - 15:41
 Madeline wrote:
I’m about to start working on this beautiful shawl but before I do I just want to clarify that all the increases occur before the lace section starts.
23.08.2019 - 13:42DROPS Design answered:
Dear Madeline, correct, when all increases are done there are 363 sts and you work the lace pattern following the diagrams. Happy knitting!
23.08.2019 - 14:50Ann Waller wrote:
Do you increase on the second stitch in on both ends of wrong side rows as well as right side rows
19.07.2018 - 19:19DROPS Design answered:
Hi Ann, Yes, you increase inside the edge stitch on both sides every row - so both right and wrong side and on each side of the mid-stitch every 2nd row. Happy knitting!
20.07.2018 - 07:59
 Hélène wrote:
Bonjour, Quand il est indiqué: Tricoter maintenant 1 côte mousse, EN MÊME TEMPS, répartir 3 augmentations au 1er rang = 363 m. Cela veut-il bien dire que l'on fait 2 rangs à l'endroit à la suite l'un de l'autre? Comment doit-on répartir les 3 augmentations? Merci d'avance pour ce beau patron et pour vos éclaircissements.
06.04.2018 - 22:37DROPS Design answered:
Bonjour Hélène, tout à fait, on tricote 2 rangs endroit: 1 sur l'endroit en répartissant 3 augmentations - voir ici et 1 sur l'envers. Bon tricot!
09.04.2018 - 09:19
 Denise wrote:
Dans le diagramme drops 169 8 a2 et a1 rang 7 que veut dire la fin du rang le carré non fermé et le a3 rang 7 le carré sorti du diagramme. Merci
19.03.2018 - 15:44DROPS Design answered:
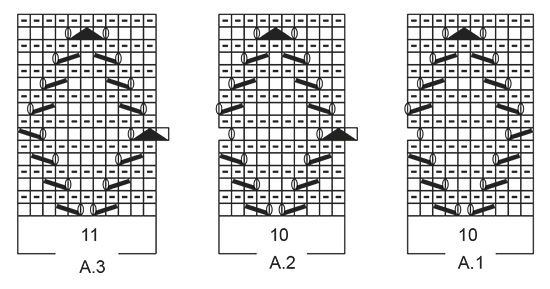
Bonjour Denise, la dernière maille de A.1 va être tricotée avec la les 2 premières m de A.2 (le jeté remplace cette maille) et la dernière maille de A.2 sera tricotée avec les 2 premières m de A.3 (le jeté remplace cette maille). Bon tricot!
19.03.2018 - 16:29
Dagmar wrote:
Hej jeg har et spørgsmål ang. Mønsteret. Skal jeg kun strikke A1 og A2 34 gange og kun A3 1 gang på hver pind? Jeg har 363 masker hvordan kan jeg så gentage mønsteret 34 gange a’ 20 masker Med venlig hilsen Dagmar Skovbo
05.03.2018 - 18:13DROPS Design answered:
Hej Dagmar, du har 363 masker, strikker 1 kantmaske, A.1-1gang(10m), A.2-34gange 10=340m, A.3-1gang (11m), 1 kantmaske = ialt 363 masker. God fornøjelse!
17.05.2018 - 15:35
|
|||||||||||||||||||
Falling in Lace#fallinginlaceshawl |
|||||||||||||||||||
|
|
|||||||||||||||||||
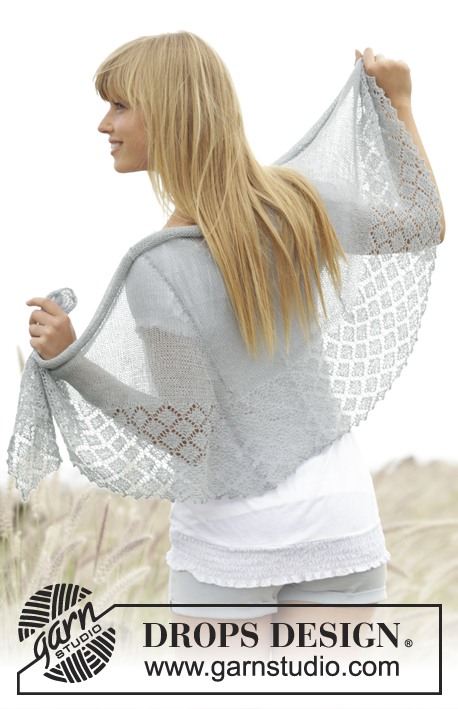
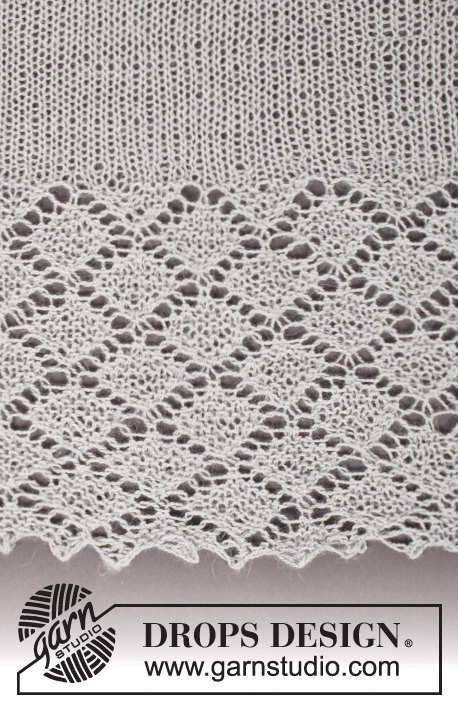
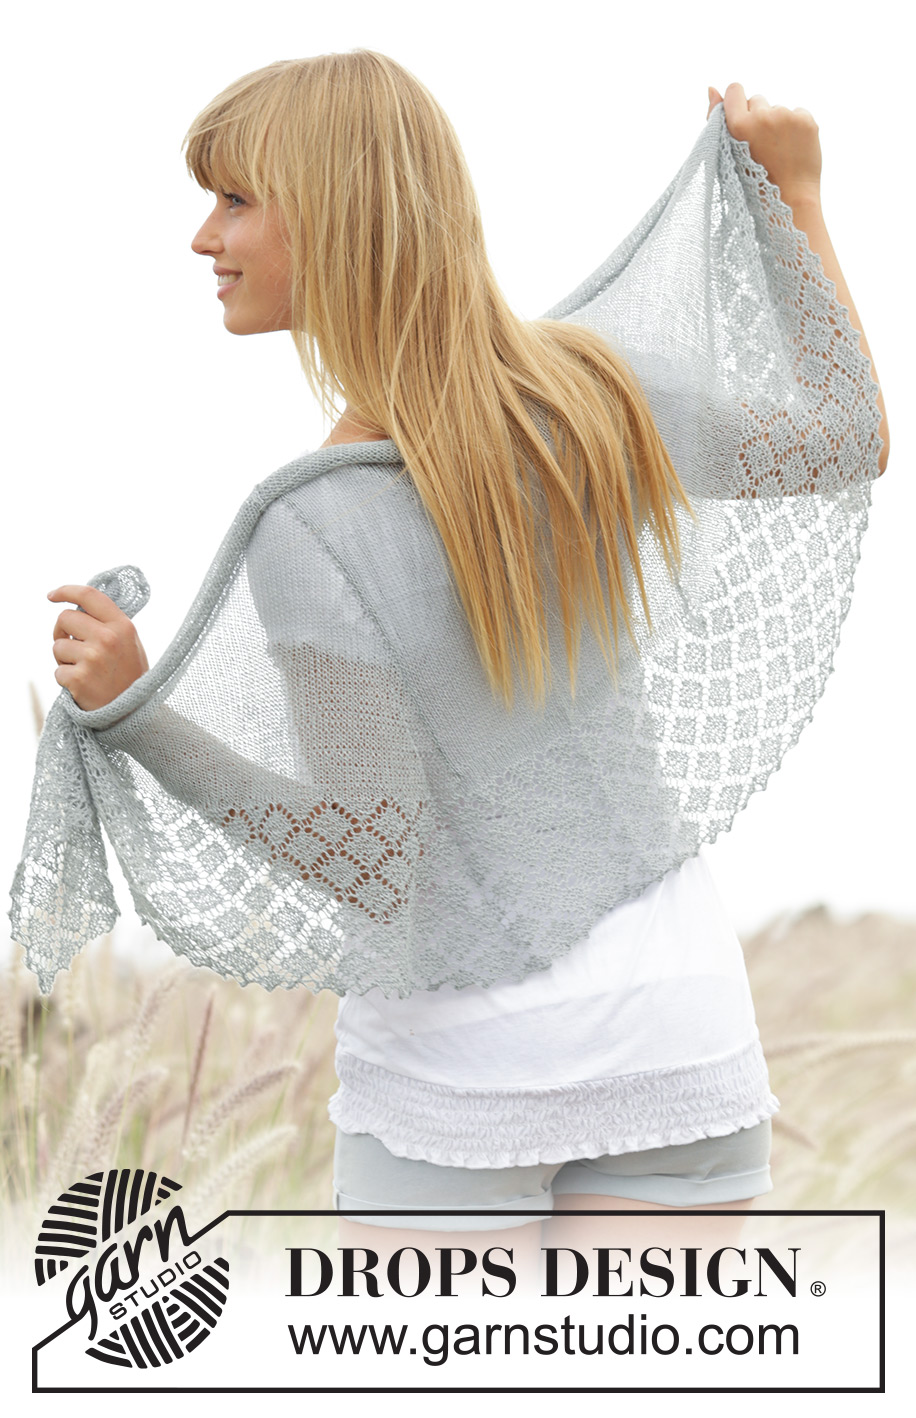
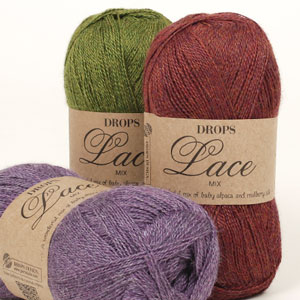
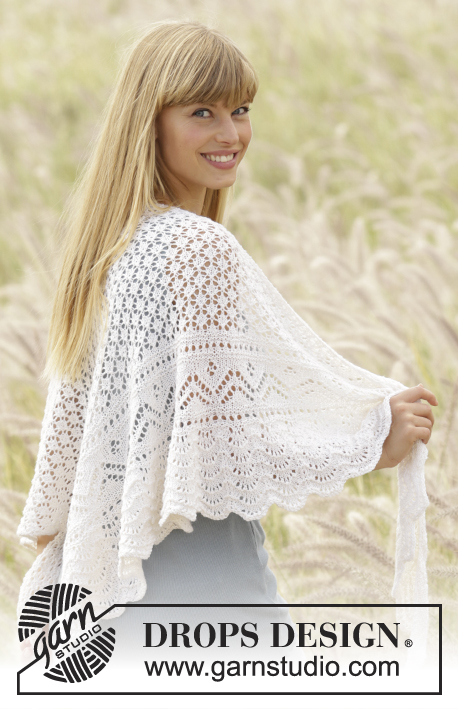
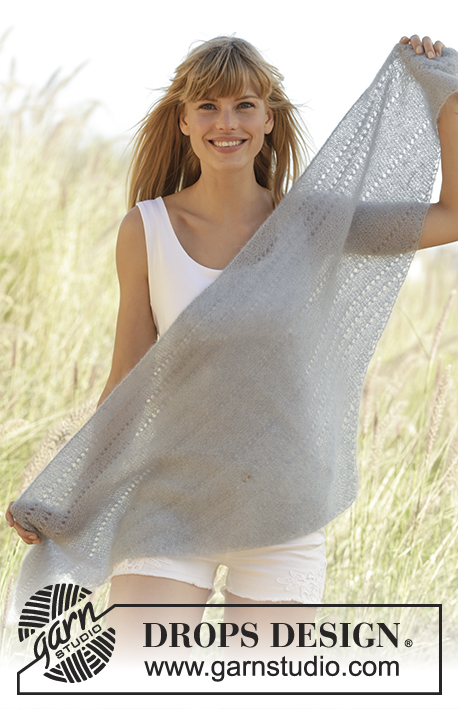
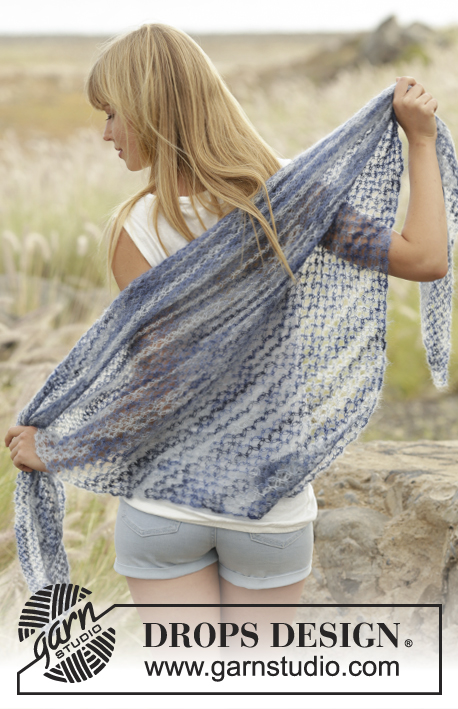
Knitted DROPS shawl in stocking st with edge with lace pattern and ridges in "Lace".
DROPS 169-8 |
|||||||||||||||||||
|
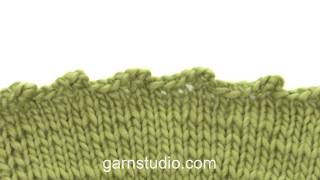
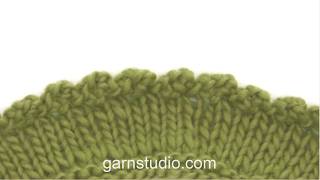
KNITTING TENSION: This garment is to be soaked and blocked/stretched to size afterwards so the knitting tension is not that important. But to get a sense of whether you are working too loose/tight, work a test on needle size 3 mm in stocking st and get approx. 24 sts x 32 rows = 10 x 10 cm. GARTER ST (back and forth on needle): K all rows. 1 ridge = 2 rows K. PATTERN: See diagrams A.1 to A.3. The diagrams show all rows in pattern seen from RS. INCREASE TIP: Inc 1 st by making 1 YO. On next row P YO twisted, i.e. work in the back loop of st instead of front to avoid holes. ---------------------------------------------------------- SHAWL: Worked back and forth on circular needle from neck down. Cast on 72 sts on circular needle size 3 mm with Lace, insert 2 markers in the piece on each side of the middle 60 sts. Continue in stocking st with 1 edge st in GARTER ST - see explanation above, in each side of piece - AT THE SAME TIME inc as follows - READ INCREASE TIP: Inc 1 st in each side inside 1 edge st in garter st on every row and inc 1 st on each side of the middle 60 sts every other row. REMEMBER THE KNITTING TENSION Continue like this until inc have been done 48 times in total on each side of the 60 sts and 96 times in each side = 360 sts on needle. Now work 1 ridge, AT THE SAME TIME inc 3 sts evenly on 1st row in ridge = 363 sts. Piece now measures approx. 30 cm mid back. Continue to work pattern from RS as follows: 1 edge st in garter st, A.1 (= 10 sts), A.2 (= 10 sts) 34 times in width, A.3 (= 11 sts), 1 edge st in garter st. Repeat A.1-A.3 4 times in total vertically. Piece measures approx. 43 cm. Cast off with picot edge. CAST OFF EDGE WITH PICOT: Cast off the first 2 sts on needle. (*insert right needle in between the 2 first sts on left needle (i.e in between sts on needle not true sts), make a YO on right needle, pull the YO through the sts and slip the YO onto left needle *, repeat from *-* 2 more times (= 3 new sts on left needle). ** K first st on left needle, slip first st on right needle over last st worked **), repeat from **-** 7 times in total and repeat from (-) along the side of the shawl until 1 sts remains. Cut the yarn and pull it through the last st. BLOCKING: Place the shawl in lukewarm water until it is soaking wet. Carefully squeeze out the water from the shawl - do not twist. Then roll the shawl in a towel and squeeze to remove more water - the piece will now only be moist. Place the shawl on a carpet or mattress - carefully stretch it out to measurements. Shawl should measures approx. 50 cm from mid back. Insert pins along the edge and also insert 1 pin in every picot along cast-off edge to make them more visible. Leave shawl to dry. Repeat the process when the garment has been washed. |
|||||||||||||||||||
Diagram explanations |
|||||||||||||||||||
|
|||||||||||||||||||
 |
|||||||||||||||||||
Have you finished this pattern?Tag your pictures with #dropspattern #fallinginlaceshawl or submit them to the #dropsfan gallery. Do you need help with this pattern?You'll find 8 tutorial videos, a Comments/Questions area and more by visiting the pattern on garnstudio.com. © 1982-2026 DROPS Design A/S. We reserve all rights. This document, including all its sub-sections, has copyrights. Read more about what you can do with our patterns at the bottom of each pattern on our site. |
|||||||||||||||||||






With over 40 years in knitting and crochet design, DROPS Design offers one of the most extensive collections of free patterns on the internet - translated to 17 languages. As of today we count 333 catalogues and 12532 patterns translated into English (UK/cm). 12532
We work hard to bring you the best knitting and crochet have to offer, inspiration and advice as well as great quality yarns at incredible prices! Would you like to use our patterns for other than personal use? You can read what you are allowed to do in the Copyright text at the bottom of all our patterns. Happy crafting!
Post a comment to pattern DROPS 169-8
We would love to hear what you have to say about this pattern!
If you want to leave a question, please make sure you select the correct category in the form below, to speed up the answering process. Required fields are marked *.