
Popular categories
Looking for a yarn?


Comments / Questions (24)
![]() Hanan Salah Eldin wrote:
Hanan Salah Eldin wrote:
Bonjour je ne comprends pas bien comment faire les emmanchures ( DOS & DEVANT: ... en commençant 2-2-5-7-11-15 mailles avant le début du tour, rabattre les 2-2-8-12-20-28 mailles suivantes pour l'emmanchure)quand rabattre après ou avant le début du tour ? Merci
18.01.2023 - 21:49DROPS Design answered:
Bonjour Mme Salah Eldin, le tour de division se commence 2-2-5-7-11-15 mailles avant la fin du tour (tricotez le tour précédent jusqu'à ce qu'il reste ces 2-2-5-7-11-15 mailles avant le tour suivant, puis rabattez les 2-2-8-12-20-28 mailles suivantes pour l'emmanchure, tricotez jusqu'à ce qu'il reste 0-0-3-5-9-13 mailles avant le A.1 suivant de l'autre côté du pull et rabattez les 2-2-8-12-20-28 mailles suivantes, vous devez avoir 92-98-102-108-112-116 mailles pour le dos et le devant. Autrement dit, vous rabattez les mailles de A.1 + des mailles avant/après en fonction de la taille, raison pour laquelle on commence avant le début du tour. Bon tricot!
19.01.2023 - 10:18
![]() HANAN SALAH ELDIN wrote:
HANAN SALAH ELDIN wrote:
Je n’arrive pas à faire les diminutions à intervalle dans la taille XXL j’ai tjs des mailles en moins ou en plus . Dans quelles mailles faut-il faire les diminutions ? On a 159 m et on doit diminuer 32 , Merci
28.12.2022 - 20:24DROPS Design answered:
Bonjour Mme Sala Eldin, cette leçon explique comment diminuer à intervalles réguliers - cf Répartir des diminutions / Exemple 2 (car 159/32= 4.9). Bon tricot!
02.01.2023 - 11:31
![]() Laptite wrote:
Laptite wrote:
Bonjour, j'aimerais réaliser un pull col V avec la Drops Alpaca en suivant les explications de votre modèle White Trail. Combien de mailles/rangs faudra t-il ajouter si je supprime les rangs de point mousse et les points ajourés des côtés et des manches ? D'autres modifications seraient-elles nécessaires pour réaliser ce modèle avec le col V tel qu'il est présenté ? Merci pour votre aide. Cordialement
12.12.2022 - 08:37DROPS Design answered:
Bonjour Mme Laptite, ce modèle se tricote avec un fil du groupe B, or DROPS Alpaca appartient au groupe A, en double, on peut suivre un modèle du groupe C, mais pour suivre ce modèle, il vous faudra tout recalculer en fonction de votre propre tension, vous pouvez vous inspirer de modèles de pulls tricotés avec une laine du groupe A . Bon tricot!
12.12.2022 - 10:09
![]() Christel wrote:
Christel wrote:
Merci j’ai mieux compris. Le deuxième message était une erreur de ma part. Merci ☺️
16.09.2022 - 10:49
![]() Christel wrote:
Christel wrote:
Bonjour. J’ai un soucis avec les rangs raccourcis de l’épaule gauche. Pouvez-vous svp m’expliquer à nouveau. Dois je dépasser le trou qui s’est formé ou dois je vraiment laisser 12 mailles et tourner. Merci pour votre réponse
16.09.2022 - 05:02DROPS Design answered:
Bonjour Christel, dites-nous si la réponse ci-dessous a pu vous aider, si ce n'est pas le cas, peut-être pouvez-vous reformuler votre question (au cas où nous n'aurions pas bien compris), merci pour votre compréhension. Bonne continuation!
16.09.2022 - 09:54
![]() Christel wrote:
Christel wrote:
Bonjour. J’ai un soucis avec les rangs raccourcis de l’épaule gauche. Pouvez-vous svp m’expliquer à nouveau. Dois je dépasser le trou qui s’est formé ou dois je vraiment laisser 12 mailles et tourner. Merci pour votre réponse
15.09.2022 - 20:39DROPS Design answered:
Bonjour Christel, pour les rangs raccourcis des épaules, vous devez laisser plus de mailles non tricotées à la fin de chaque rang sur l'envers (épaule gauche) / sur l'endroit (épaule droite) - Quand il reste 3 mailles sur l'aiguille, tricotez 1 rang sur toutes les mailles, si un trou s'est formé, relevez le fil à la transition et tricotez le torse avec la maille suivante. Lorsque les épaules seront terminées, vous les assemblerez comme d'habitude (cf couture d'épaules). Bon tricot!
16.09.2022 - 09:31
![]() Claudia wrote:
Claudia wrote:
Hola mi pregunta es en referencia a las vueltas cortas, al terminar de hacer las vueltas cortas se tienen mas vueltas en la parte hacia el centro de la labor, que en la parte que esta en los hombros?
22.06.2022 - 17:36DROPS Design answered:
Hola Claudia, sí, vas a tener más vueltas hacia el escote que en los hombros.
22.06.2022 - 19:23
![]() Claudia wrote:
Claudia wrote:
Muss beim Armausschnitt nicht 2-2-5-7-11-15 M vor dem Rundenbeginn mit dem Abketten begonnen werden? Sonst wird nicht direkt über A1 abgekettet, sondern 2 M verschoben, denn A1 befindet sich am Ende der Runde, nicht am Rundenbeginn.
07.06.2022 - 14:22DROPS Design answered:
Liebe Claudia, Sie sind ja recht, danke für den Hinweis, eine Korrektur erfolgt. Viel Spaß beim stricken!
17.06.2022 - 11:05
![]() Mila Georgieva wrote:
Mila Georgieva wrote:
Lieber Drops Team, Der Pulli gefällt mir wirklich sehr, seit Langem wollte ich etwas so Einfaches und Elegantes stricken. Allerdings, ich bin nicht sicher in diesem Satz: \"Rückenteil und Vorderteil werden bis zum Ende einzeln in Hin- und Rück-Reihen auf der Rundnadel gestrickt.\" Bitte Euch um Erläuterung. Danke vielmals! LG: Mila
20.05.2022 - 20:34DROPS Design answered:
Liebe Mila, Vorder- und Rückenteil werden von untean nach oben und separat gestrickt (jedes Stück einzeln), wir stricken mit einer Rundnadel, damit es genügend Platz für alle Maschen gibt. Kann das Ihnen helfen? Viel Spaß beim stricken!
23.05.2022 - 07:54
![]() Isabel Ramos wrote:
Isabel Ramos wrote:
Elegante e versátil
15.03.2022 - 23:26
|
||||||||||||||||||||||
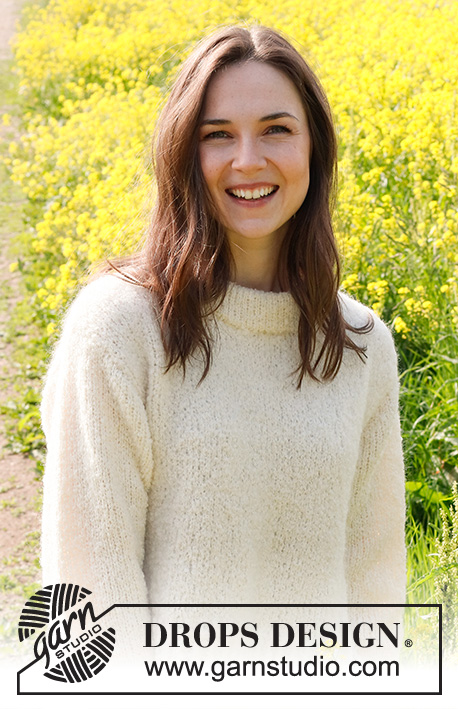
White Trail#whitetrailsweater |
||||||||||||||||||||||
 |
 |
|||||||||||||||||||||
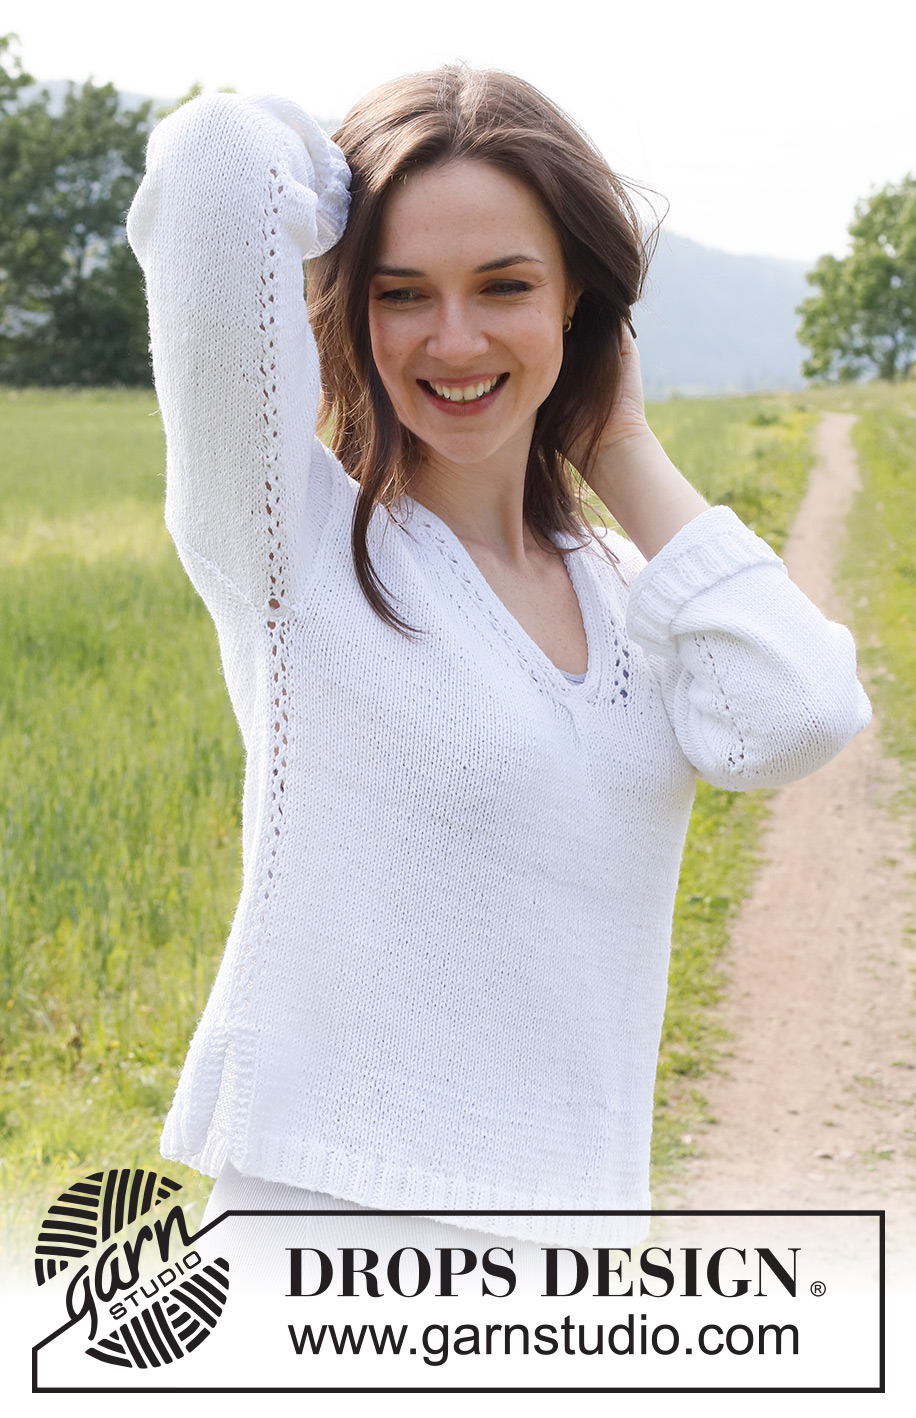
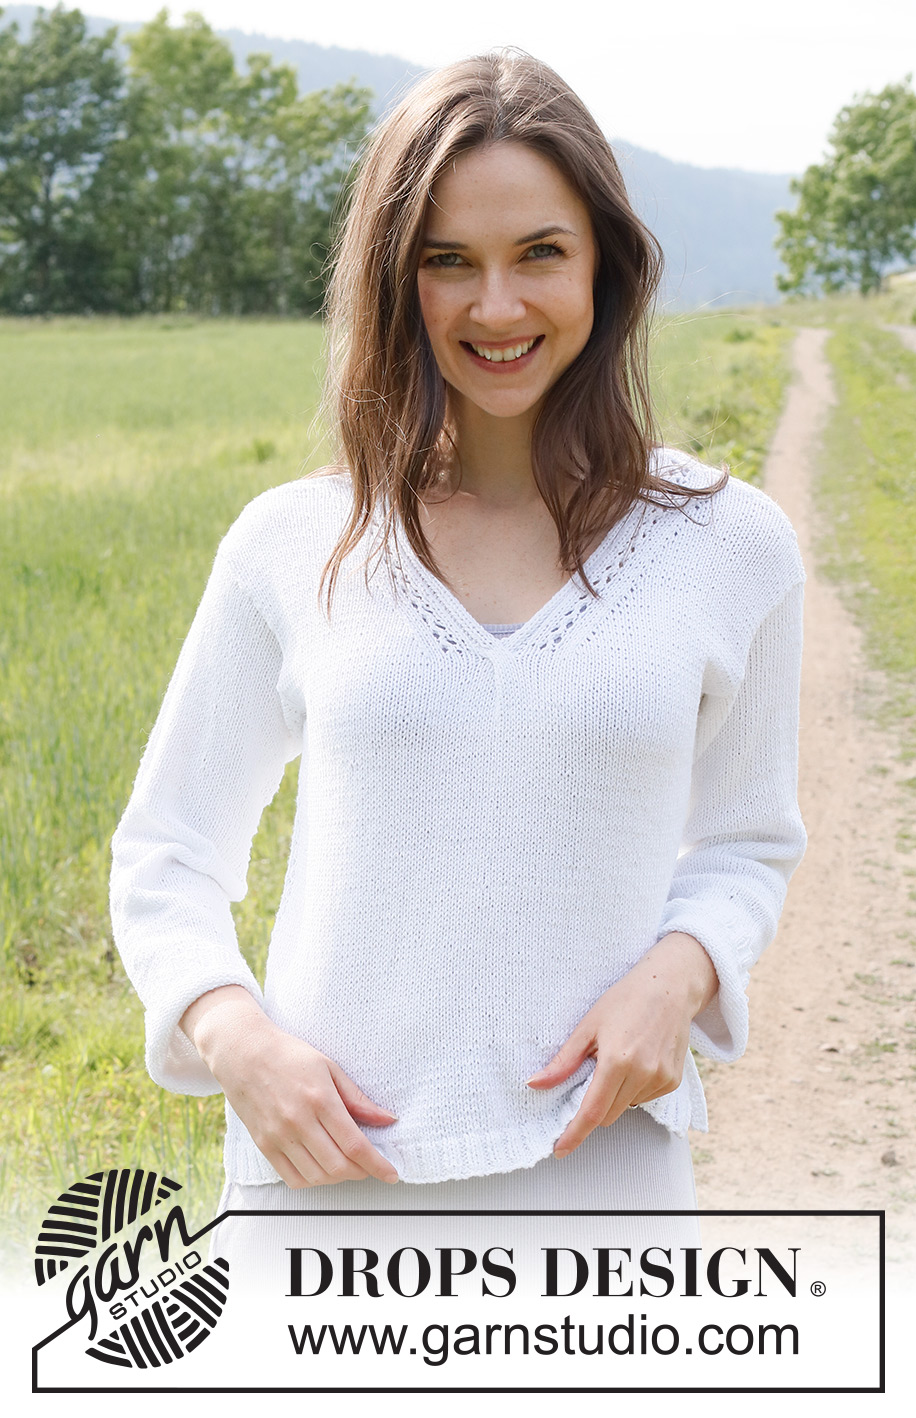
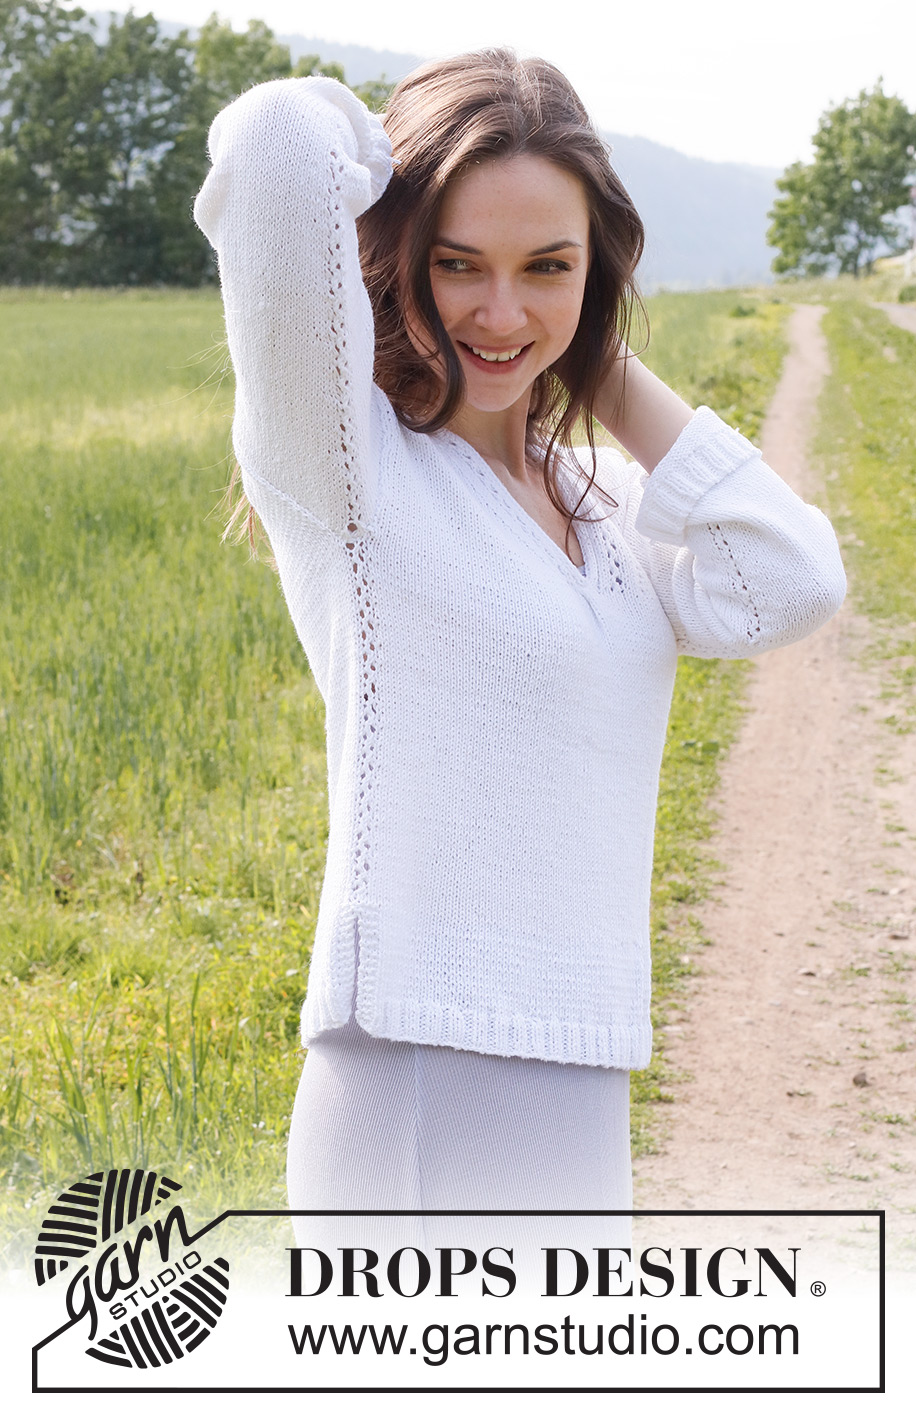
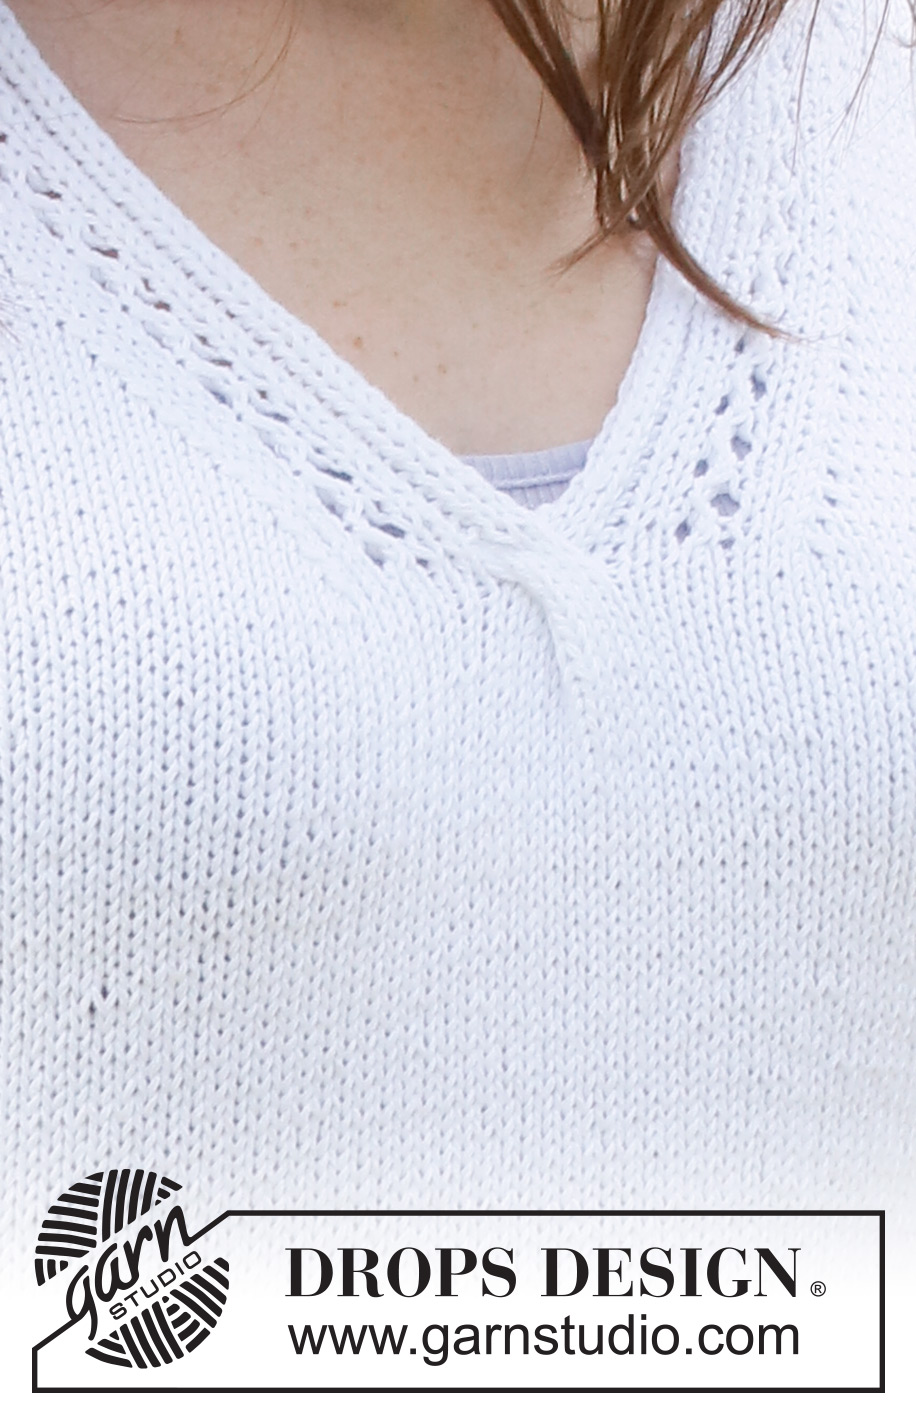
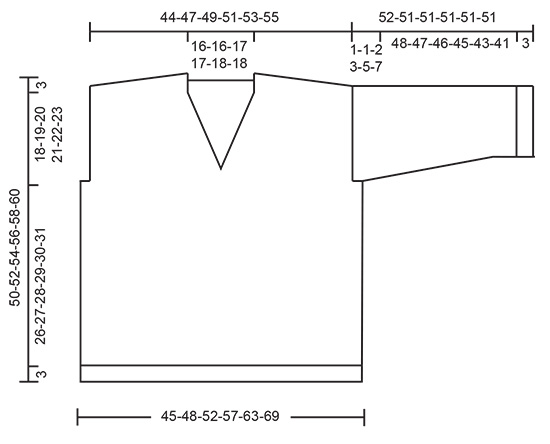
Knitted jumper in DROPS Belle. Piece is knitted bottom up with V-neck and lace pattern. Size: S - XXXL
DROPS 230-6 |
||||||||||||||||||||||
|
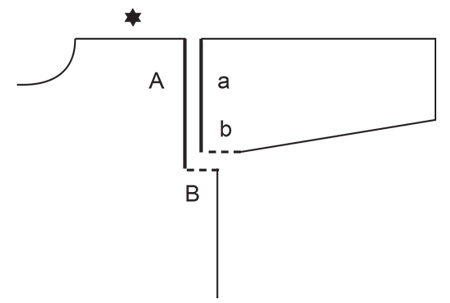
---------------------------------------------------------- EXPLANATION FOR THE PATTERN: ---------------------------------------------------------- GARTER STITCH (back and forth): Knit all rows. 1 ridge vertically = knit 2 rows. GARTER STITCH (worked in the round): 1 ridge vertically = 2 rounds, i.e. knit 1 round and purl 1 round. PATTERN: See diagrams A.1 to A.4. Diagrams show all rows in pattern seen from the right side. DECREASE TIP (evenly): To calculate how to decrease evenly, use number of stitches on needle (e.g. 106 stitches) and divide stitches by number of decreases to be done (e.g. 18) = 5,8. In this example decrease by knitting approx. every 5th and 6th stitch together. INCREASE TIP (applies to under sleeves): Work until 2 stitches remain before A.1, make 1 yarn over, knit 2, A.1, knit 2, make 1 yarn over (= 2 stitches increased). On next round knit yarns over twisted to avoid holes. Then work the new stitches in stocking stitch. ---------------------------------------------------------- START THE PIECE HERE: ---------------------------------------------------------- JUMPER - SHORT OVERVIEW OF THE PIECE: Work back piece and front piece first back and forth on circular needle separately until vent is done. Then work body in the round on circular needle up to armholes. Then work front piece and back piece back and forth separately. Work sleeves in the round on double pointed needles/circular needle up to sleeve cap, then work the rest of sleeve back and forth. Finish with a edge i-cord at the back of neck. BACK PIECE: Cast on 112-124-136-148-164-180 stitches on circular needle size 3 mm with DROPS Belle. Purl 1 row from wrong side. Then work rib as follows: Work 3 stitches in GARTER STITCH - read explanation above, work rib (knit 2/purl 2) until 5 stitches remain on needle, knit 2, work 3 stitches in garter stitch. Continue rib back and forth like this until piece measures 3 cm. Work next row from right side as follows: Work 3 stitches in garter stitch, knit the next 106-118-130-142-158-174 stitches and decrease at the same time 18-24-26-28-32-36 stitches evenly – read DECREASE TIP, work 3 stitches in garter stitch = 94-100-110-120-132-144 stitches. Switch to circular needle size 4 mm. Purl 1 row with 3 stitches in garter stitch in each side. Now work in stocking stitch with 3 stitches in garter stitch in each side until piece measures 8 cm, adjust so that next row is worked from right side. REMEMBER THE KNITTING TENSION! Cut the yarn. Put piece aside. FRONT PIECE: Work the same way as on back piece but do not cut the yarn. BODY: Now insert front piece and back piece on to same circular needle size = 188-200-220-240-264-288 stitches. Work in stocking stitch in the round and continue with GARTER STITCH - read explanation above (= 6 stitches in garter stitch in each side). When 2 ridges have been worked over the 6 stitches, work pattern as follows: Knit 1 stitch. Insert a marker thread here (after this stitch). This is now the beginning of round. Knit over the first 92-98-108-118-130-142, A.1 over the next 2 stitches (= over the middle 2 stitches over the 6 stitches in garter stitch), knit over the next 92-98-108-118-130-142 stitches, work A.1 over the last 2 stitches (= over the middle 2 stitches of the 6 stitches in garter stitch). Continue in the round like this until piece measures 29-30-31-32-33-34 cm from cast-on edge. Now cast off stitches for armholes in each side as follows: Begin 2-2-5-7-11-15 stitches before beginning of round, cast off the next 2-2-8-12-20-28 stitches for armhole, work until 0-0-3-5-9-13 stitches remain before next A.1, cast off the next 2-2-8-12-20-28 stitches for armhole, work the rest of round = 92-98-102-108-112-116 stitches both for front piece and back piece. FRONT PIECE: = 92-98-102-108-112-116 stitches. Work back and forth in stocking stitch and with 1 edge stitch in garter stitch in each side. When piece measures 32-33-34-35-36-37 cm (approx. 3 cm from where stitches for armholes were cast off in each side), work first row in A.2 over the middle 10 stitches on needle. Work next row from wrong side as follows: 1 edge stitch in garter stitch, purl the next 45-48-50-53-55-57 stitches before slipping them on a thread (= 46-49-51-54-56-58 stitches for right front piece/shoulder), purl the next 45-48-50-53-55-57 stitches, 1 edge stitch in garter stitch (= 46-49-51-54-56-58 stitches for left front piece/shoulder). LEFT FRONT PIECE/ SHOULDER: Work pattern as follows: 1 edge stitch in garter stitch, stocking stitch until 13 stitches remain, knit 2 together (= 1 stitch decreased for V-neck), work A.3 over the last 11 stitches. Work 1 row from wrong side with A.3 towards V-neck, 1 edge stitch in garter stitch towards armhole and stocking stitch over the remaining stitches. Continue pattern like this and decrease for V-neck every other row 10-10-11-11-12-12 times and every 4th row 7 times = 29-32-33-36-37-39 stitches for shoulder. Continue to work until piece measures 47-49-51-53-55-57 cm. Now work short rows over shoulder (continue pattern as before over the 11 stitches towards the neck) as follows: ROW 1 (= right side): Work over all stitches. ROW 2 (= wrong side): Turn, work until 6-6-7-7-8-8 stitches remain on needle. ROW 3: Turn, tighten yarn and work the rest of the row. ROW 4: Work until 3-3-3-4-4-4 stitches more remain than on previous time. ROW 5: Turn, tighten yarn and work the rest of the row. ROW 6: Work until 3-3-3-4-4-4 stitches more remain than on previous time. ROW 7: Turn, tighten yarn and work the rest of the row. ROW 8: Work until 3-3-3-4-4-4 stitches more remain than on previous time. ROW 9: Turn, tighten yarn and work the rest of the row. ROW 10: Work the first 3 stitches before slipping them on a thread (use stitches later for neck edge on back piece), cast off the remaining stitches on shoulder. RIGHT FRONT PIECE/ SHOULDER: Work pattern from the right side as follows: A.4 over the first 11 stitches, slip 1 stitch knitwise, knit 1, pass slipped stitch over stitch worked (= 1 stitch decreased for V-neck), knit until 1 stitch remains, 1 edge stitch in garter stitch. Work 1 row from wrong side with A.4 towards V-neck, stocking stitch and 1 edge stitch in garter stitch towards the armhole. Continue pattern like this and decrease for V-neck every other row 10-10-11-11-12-12 times and every 4th row 7 times = 29-32-33-36-37-39 stitches for shoulder. Continue to work until piece measures 47-49-51-53-55-57 cm. Now work short rows over shoulder (continue pattern as before over the 11 stitches towards the neck) as follows: ROW 1 (= right side): Work until 6-6-7-7-8-8 stitches remain on needle. ROW 2: Turn, tighten yarn and work the rest of the row. ROW 3: Work until 3-3-3-4-4-4 stitches more remain than on previous time. ROW 4: Turn, tighten yarn and work the rest of the row. ROW 5: Work until 3-3-3-4-4-4 stitches more remain than on previous time. ROW 6: Turn, tighten yarn and work the rest of the row. ROW 7: Work until 3-3-3-4-4-4 stitches more remain than on previous time. ROW 8: Turn, tighten yarn and work the back. ROW 9: Work the first 3 stitches before slipping them on a thread, cast off the remaining stitches by knitting. BACK PIECE: = 92-98-102-108-112-116 stitches. Work back and forth in stocking stitch and with 1 edge stitch in garter stitch in each side. When piece measures 46-48-50-52-54-56 cm, slip the middle 38-38-40-40-42-42 stitches on a thread for neck, and finish each shoulder separately. Then on next row from the neck, cast off 1 stitch = 26-29-30-33-34-36 stitches for shoulder. Continue back and forth with stocking stitch and 1 edge stitch in garter stitch in each side, at the same time on next row from right side work short rows on shoulders as follows: Right shoulder: ROW 1 (= right side): Work over all stitches. ROW 2 (= wrong side): Turn, work until 6-6-7-7-8-8 stitches remain on needle. ROW 3: Turn, tighten yarn and work the rest of the row. ROW 4: Work until 3-3-3-4-4-4 stitches more remain than on previous time. ROW 5: Turn, tighten yarn and work the rest of the row. ROW 6: Work until 3-3-3-4-4-4 stitches more remain than on previous time. ROW 7: Turn, tighten yarn and work the rest of the row. ROW 8: Work until 3-3-3-4-4-4 stitches more remain than on previous time. ROW 9: Turn, tighten yarn and work the back. When short rows are done, cast off all stitches by purling from wrong side. Jumper measures approx. 50-52-54-56-58-60 cm from shoulder and down. Left shoulder: ROW 1 (= right side): Work until 6-6-7-7-8-8 stitches remain on needle. ROW 2: Turn, tighten yarn and work the rest of the row. ROW 3: Work until 3-3-3-4-4-4 stitches more remain than on previous time. ROW 4: Turn, tighten yarn and work the rest of the row. ROW 5: Work until 3-3-3-4-4-4 stitches more remain than on previous time. ROW 6: Turn, tighten yarn and work the rest of the row. ROW 7: Work until 3-3-3-4-4-4 stitches more remain than on previous time. ROW 8: Turn, tighten yarn and work the back. When short rows are done, cast off all stitches by knitting from right side. Jumper measures approx. 50-52-54-56-58-60 cm from shoulder and down. SLEEVES: Cast on 64-68-72-72-76-76 stitches on double pointed needles size 3 mm with Belle. Knit 1 round. Then work rib (= knit 2/purl 2) in the round for 3 cm. Knit 1 round while decreasing 12-14-16-14-16-14 stitches evenly - remember DECREASE TIP = 52-54-56-58-60-62 stitches. Switch to double pointed needles size 4 mm. Work pattern as follows: A.1 over the first 2 stitches, knit the remaining stitches on round. When piece measures 8-8-8-8-6-7 cm, increase 1 stitch on each side of A.1 - read INCREASE TIP. Increase like this approx. every 3½-3-3-2½-2½-2 cm 12-13-14-15-16-17 times in total = 76-80-84-88-92-96 stitches. When sleeve measures 51-50-49-48-46-44 cm, work sleeve cap back and forth on circular needle until finished measurements. Continue to work in stocking stitch from the middle of A.1 until sleeve measures approx. 52-51-51-51-51-51 cm. Cast off. Work the other sleeve the same way. ASSEMBLY: Sew shoulder seams inside cast-off edges - begin at the edge on shoulder and sew one and one stitch in towards the neck until 3 stitches remain on front piece (there are 3 stitches more on front piece than on back piece). Sew sleeve cap to armhole. Then sew vent at the top of sleeve to bottom of armhole - see chart. BACK NECK EDGE: Begin from right side at one shoulder seam and pick up approx. 42 to 46 stitches (including stitches from thread) up to next shoulder seam on back piece. Cut the yarn, now work an i-cord in these stitches, as follows: Slip the 3 stitches from thread on edge on right front piece on needle size 3 mm. Work i-cord from right side as follows: Knit 2, knit next stitch twisted together with the first/next stitch picked up on back piece. Move the 3 stitches from right needle back on to left needle (in the order they have). Continue like this along the entire neck edge on back piece until there are no stitches left to work. Cast off the remaining stitches. Sew the last 3 stitches together with the 3 stitches on thread on left front piece. Fasten off. |
||||||||||||||||||||||
Diagram explanations |
||||||||||||||||||||||
|
||||||||||||||||||||||
 |
||||||||||||||||||||||
 |
||||||||||||||||||||||
 |
||||||||||||||||||||||
Have you finished this pattern?Tag your pictures with #dropspattern #whitetrailsweater or submit them to the #dropsfan gallery. Do you need help with this pattern?You'll find 28 tutorial videos, a Comments/Questions area and more by visiting the pattern on garnstudio.com. © 1982-2026 DROPS Design A/S. We reserve all rights. This document, including all its sub-sections, has copyrights. Read more about what you can do with our patterns at the bottom of each pattern on our site. |
||||||||||||||||||||||


With over 40 years in knitting and crochet design, DROPS Design offers one of the most extensive collections of free patterns on the internet - translated to 17 languages. As of today we count 324 catalogues and 12290 patterns translated into English (UK/cm). 12290
We work hard to bring you the best knitting and crochet have to offer, inspiration and advice as well as great quality yarns at incredible prices! Would you like to use our patterns for other than personal use? You can read what you are allowed to do in the Copyright text at the bottom of all our patterns. Happy crafting!
Post a comment to pattern DROPS 230-6
We would love to hear what you have to say about this pattern!
If you want to leave a question, please make sure you select the correct category in the form below, to speed up the answering process. Required fields are marked *.