
Popular categories
Looking for a yarn?


Comments / Questions (158)
Vale wrote:
Si, hice la disminución. en el video se levantan puntos, de un borde cerrado... ayudame porfis :)
27.02.2011 - 16:26DROPS Design wrote:
Hola Vale, antes de alcanzar los 33-34-35-36-37-38 cm, hiciste la disminución total de los 8 pts como se indica? Y, para levantar los pts detrás del borde delantero, guíate por el video tutorial mencionado al final de las instrucciones. Saludos!!
27.02.2011 - 07:19Vale wrote:
3.-A cont levantar 14 pts nuevos por detrás del borde (vista) delantero = 102-110-122-134-146-158 pts. Cont de ida y vuelta en la ag con 14 pts para el borde (vista) delantero a cada lado. --> como puedo levantar puntos, si en ninguna parte dice que lo cierre nada. GRACIAS POR ACOGER MI DUDA! :) espero me puedas ayudar de atemano GRACIAS!!
26.02.2011 - 02:45Vale wrote:
1.- "Comenzar después del 15-17-20-23-26-29 pt a partir del primer MP" --> pase los 23 ptos a la otra aguja. 2.-Tejer 14 pts del borde (vista) delantero – ver arriba – y pt jersey en los sig 74-82-94-106-118-130 pts. --> teji los 14 ptos pero, pero en la vuelta quedan 83 ptos, podria seguir en la siguiente vuelta, pero los 14 puntos, que me pide que acontinuación levante, no quedarian detras del borde delantero.
26.02.2011 - 02:44Vale wrote:
El problema se presenta aquí: "Cuando la pieza mida 33-34-35-36-37-38 cm, cortar el hilo. Continuar como sigue: Comenzar después del 15-17-20-23-26-29 pt a partir del primer MP. Tejer 14 pts del borde (vista) delantero – ver arriba – y pt jersey en los sig 74-82-94-106-118-130 pts. A cont levantar 14 pts nuevos por detrás del borde (vista) delantero = 102-110-122-134-146-158 pts. Cont de ida y vuelta en la ag con 14 pts para el borde (vista) delantero a cada lado. "
26.02.2011 - 02:43Vale wrote:
Hay que bueno!!! :) hace días que busco ayuda!!! gracias por atender mi pregunta :) lo voy a tener que escribir en hartos post, pok no me deja ecribirlo entero
26.02.2011 - 02:41
![]() DROPS Design wrote:
DROPS Design wrote:
Hola Vale, no especificas cuál es tu pregunta. :D
25.02.2011 - 04:59Vale wrote:
AyudA con el escote
25.02.2011 - 02:33
![]() DROPS Design NL wrote:
DROPS Design NL wrote:
Hoi. Er staat bij de capuchon tussen () incl. de st van de hulpnld. Dus in totaal 60-65 st incl. de st van de voorbiezen. Succes verder. Gr. Tine.
08.11.2010 - 12:10
![]() Irene wrote:
Irene wrote:
Ik snap het stukje bij de capuchon niet helemaal... Moet je nu 60-65 steken opnemen (dus een totaal van 88-93 steken incl voorbiezen)of maar 32-37 omdat je er al 28 hebt van de voorbiezen??
07.11.2010 - 16:12
|
|
Campfire |
|
 |
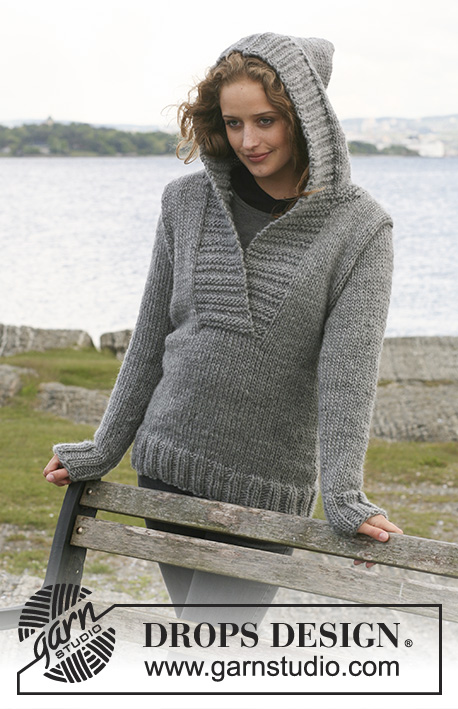 |
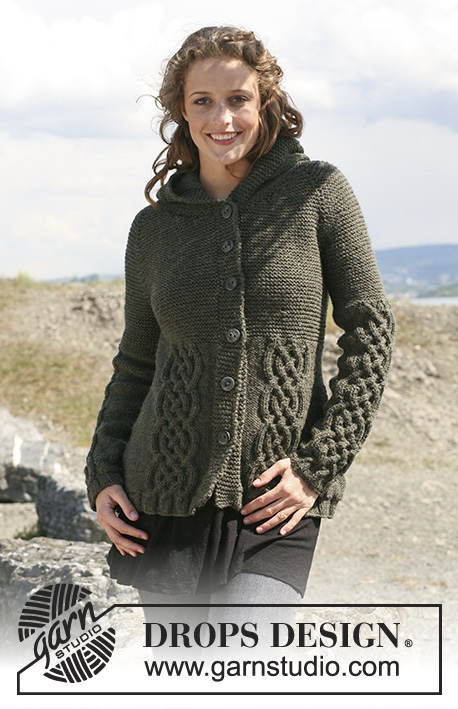
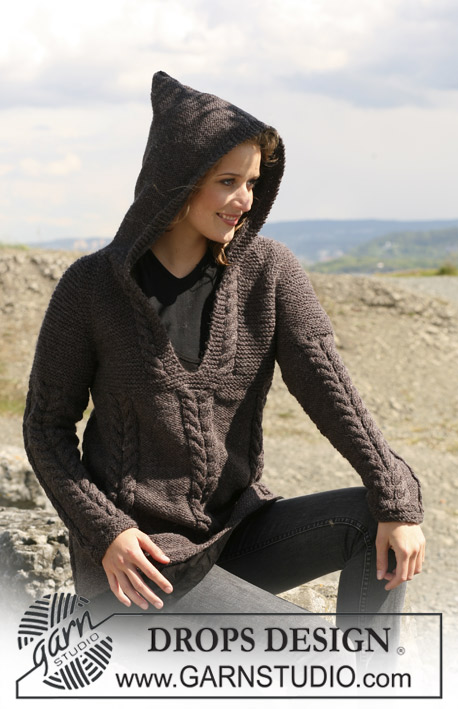
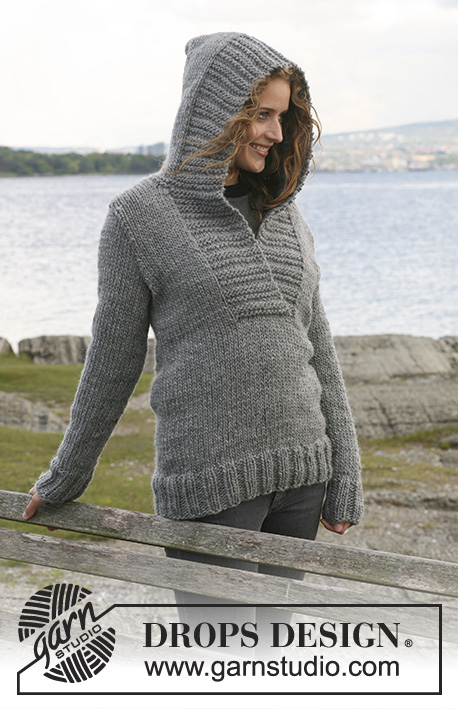
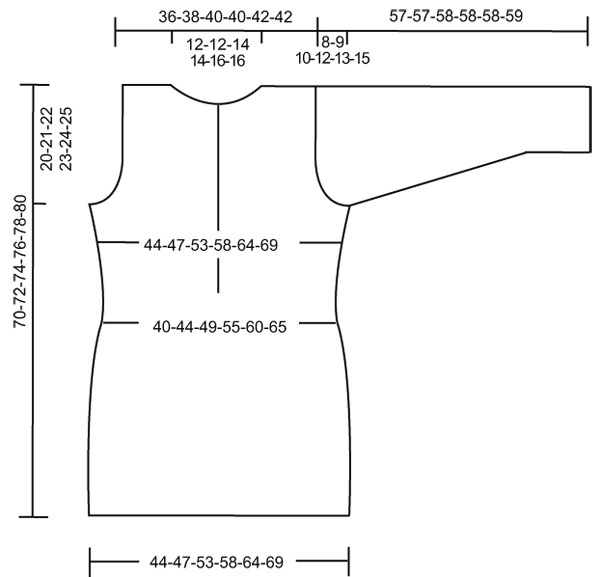
Knitted DROPS Jumper with hood in ”Snow”. Size S - XXXL.
DROPS 109-1 |
|
|
Front bands: Starting from RS: * K 4 rows, P 2 rows *, repeat from *-*. Note! Left front i.e the sts that are picked up behind the right front = pick up row counts as the first K row of the K 4 rows. Body piece: Worked in the round. Cast on 96-104-116-128-140-152 sts on needle size 8 mm with Snow. P 1 round and continue in rib, K2/P2. When piece measures 10 cm continue in stocking st. Insert 1 Marking Thread (MT) at beg of round and 1 MT after 48-52-58-64-70-76 sts (= the sides). Remember the knitting tension! When piece measures 15-16-17-18-19-20 cm dec 1 st on each side of both MT (= 4 dec per round). Repeat the dec when piece measures 30-31-32-33-34-35 cm = 88-96-108-120-132-144 sts (= 44-48-54-60-66-72 sts on back and front piece). When piece measures 33-34-35-36-37-38 cm, cut the thread. Now continue as follows: Beg after the 15-17-20-23-26-29 st from the first MT. Work 14 sts front band – see above – and stocking st on the next 74-82-94-106-118-130 sts. Now pick up 14 new sts behind the front band = 102-110-122-134-146-158 sts. Continue back and forth on needle with 14 front band sts each side. At the same time when piece measures 36-37-38-39-40-41 cm inc 1 st on both sides of each MT (= 4 inc per round). Repeat the inc when piece measures 46-47-48-49-50-51 cm = 110-118-130-142-154-166 sts. When piece measures 50-51-52-53-54-55 cm cast off 6 sts each side (i.e. 3 sts on each side of MT) for armhole = 98-106-118-130-142-154 sts. Now complete back and front pieces separately. Back piece: = 42-46-52-58-64-70 sts. Cast off to shape the armhole each side at the beg of every row: 2 sts 0-0-1-2-3-4 times and 1 st 1-2-2-3-3-4 times = 40-42-44-44-46-46 sts. When piece measures 68-70-72-74-76-78 cm cast off the middle 12-12-14-14-16-16 sts for neck and dec 1 st on neckline on next row = 13-14-14-14-14-14 sts left on each shoulder. Cast off when piece measures 70-72-74-76-78-80 cm. Right front piece: = 28-30-33-36-39-42 sts. Cast off to shape the armhole as described for back piece = 27-28-29-29-30-30 sts. When piece measures 60-62-64-66-68-70 cm slip 14 sts towards mid front on a stitch holder and now dec to shape the neckline on every other row as follows: 1 st 0-0-1-1-2-2 times = 13-14-14-14-14-14 sts left on shoulder. Cast off when piece measures 70-72-74-76-78-80 cm. Left front piece: Like right front piece, but mirrored. Sleeve: Worked in the round on double pointed needles. Cast on 28-28-28-32-32-32 sts on needle size 8 mm. Insert 1 MT at beg of round. P 1 round and continue in rib, K2/P2. When piece measures 8 cm continue in stocking st, at the same time dec 2-2-0-4-2-2 sts evenly on first round = 26-26-28-28-30-30 sts. When piece measures 10 cm inc 1 st on both sides of MT on every 6-5-5-3.5-3.5-2.5 cm a total of 7-8-8-10-10-12 times = 40-42-44-48-50-54 sts. When piece measures 49-48-48-46-45-44 cm - Note! Less on the larger sizes because of longer sleeve cap and wider shoulder – cast off 3 sts on both sides of MT for armhole, and now complete piece back and forth on needle. Cast off to shape the sleeve cap each side at the beg of every row: 2 sts 1 time and 1 st 2-3-4-5-6-7 times, then 2 sts each side until piece measures 56-56-57-57-57-58 cm, cast off 3 sts each side 1 time and cast off remaining sts. Piece measures approx 57-57-58-58-58-59 cm. Hood: Pick up approx 60 to 65 sts round neckline (incl sts on stitch holder) on needle size 8 mm with Snow. Work 4 rows garter st with front bands as before. At the same time inc 5 sts evenly (do not inc on front band sts) on the last row = 65 to 70 sts. Continue in stocking st with 14 front band sts each side as before until hood measures 35-35-36-36-37-37 cm. Cast off. Fold hood double and sew tog at top from RS. Assembly: Set in sleeves. www.garnstudio.com |
|
 |
|
Have you finished this pattern?Tag your pictures with #dropspattern or submit them to the #dropsfan gallery. Do you need help with this pattern?You'll find 21 tutorial videos, a Comments/Questions area and more by visiting the pattern on garnstudio.com. © 1982-2026 DROPS Design A/S. We reserve all rights. This document, including all its sub-sections, has copyrights. Read more about what you can do with our patterns at the bottom of each pattern on our site. |
|


With over 40 years in knitting and crochet design, DROPS Design offers one of the most extensive collections of free patterns on the internet - translated to 17 languages. As of today we count 324 catalogues and 12290 patterns translated into English (UK/cm). 12290
We work hard to bring you the best knitting and crochet have to offer, inspiration and advice as well as great quality yarns at incredible prices! Would you like to use our patterns for other than personal use? You can read what you are allowed to do in the Copyright text at the bottom of all our patterns. Happy crafting!
Post a comment to pattern DROPS 109-1
We would love to hear what you have to say about this pattern!
If you want to leave a question, please make sure you select the correct category in the form below, to speed up the answering process. Required fields are marked *.