
Popular categories
Looking for a yarn?




























Comments / Questions (30)
 Degraeve Vera wrote:
Wat is minderen aan de binnenkant van 2 steken
25.10.2026 - 15:23DROPS Design answered:
Dag Vera,
Je mindert eigenlijk steeds direct naast de 2 steken recht. In wezen staat het goed aangegeven bovenaan bij de 'TIP VOOR HET MINDEREN-2', dus als je die instructie aanhoudt, komt het goed.
25.10.2026 - 18:00
 Petra wrote:
Wird das mit einem Faden gestrickt oder mit zwei und für was 200 Gramm Wolle
28.09.2026 - 13:26DROPS Design answered:
Liebe Petra, hier wird man mit 1 Faden DROPS Flora stricken mit einer Maschenprobe von 24 Maschen x 32 Reihen glattrechts. Hier lesen Sie mehr über diese Wolle. Viel Spaß beim Stricken!
29.09.2026 - 08:46
 Lisbet wrote:
Jeg forstår ikke i opskriften forstykke, hvor der står. Videre lukkes der 2 masker af på hver pind fra halsen 3 gange. Skal der tages ind både på ret og vrang siden og hvordan lukker jeg to maskeraf, ifølge indtagningstips 2 tages der kun 1 maske ind. Tak på forhånd for fin opskrift på vest.
27.09.2026 - 21:34DROPS Design answered:
Hei Lisbet. FELLETIPS-2 gjelder når det felles innenfor 2 masker, men når du skal felle 2 masker 3 ganger feller du av 2 masker 3 ganger hver gang du strikker fra halsen (den ene skulderen blir det da fra retten, mens den andre skulderen fra vrangen, og da felles det av som vanlig). Men etter disse avfellingene (2+2+2 i den ene siden og 2+2+2 i den andre siden), skal det felles innenfor 2 masker, se FELLETIPS-2. mvh DROPS Design
28.09.2026 - 14:08
Anne Margrete Larsen wrote:
Ser godt ud
26.09.2026 - 17:43
 Aline wrote:
Sto lavorando la taglia XL di questo pattern e a breve dovrò cominciare a diminuire. Le diminuzioni sono solo al primo giro? Secondo il calcolo (250 : 60 = 4,17) dovrei quindi diminuire ogni 4° maglia fino ad arrivare a 292 maglie sul ferro?
26.08.2026 - 17:13DROPS Design answered:
Buonasera Aline, per la taglia XL deve partire da 352 maglie e diminuire 60 maglie, quindi deve lavorare insieme a diritto circa ogni 5° e 6° maglia.
31.10.2026 - 17:40
 Ann wrote:
Förstår inte diagrammet för att plocka upp maskor runt halsbanden. Stickar storlek L. Hur fördelar jag mellan fram och bakstycke? Har 26 maskor på en tråd mitt fram.
17.08.2026 - 11:38DROPS Design answered:
Hei Ann. Når du strikker opp masker rundt halskanten pass på at det blir like mange masker fra skulderen og til de maskene det ble felt av for hals på bakstykket, som fra bakstykket og opp til den andre skulderen + at det strikkes opp litt flere masker over de 42 maskene bak. Det samme gjelder på forstykket, altså fra maskene på tråden og opp til skulderen og ned fra skulderen til maskene på tråden. Det plukkes opp ca like mange masker foran som bak, men det er viktig at maskeantallet er delbart med 4 (f.eks 132 masker). mvh DROPS Design
17.08.2026 - 12:10
Anne wrote:
Aus der Maßskizze am Ende der Anleitung kann ich nicht erkennen, wie breit das Teil auf Brusthöhe ist. Bei einer Brustweite von 85 cm, welche Größe müsste ich da nehmen?
03.03.2026 - 17:32DROPS Design answered:
Liebe Anne, hier lesen Sie, wie man die Maßskizze liest und wie man die Größe wählt. Viel Spaß beim Stricken!
04.03.2026 - 07:29
Ann-Kristin Fredriksson wrote:
Vilken storlek ska jag välja? Byst 118, hals 41, längd 55 och midja 116 cm.
19.02.2026 - 09:54DROPS Design answered:
Hej Ann-Kristin. Det beror på hur tight du vill att plagget ska sitta. Det bästa är att du mäter ett plagg du redan har och jämför med måtten på måttskissen längst ner på mönstret. Måtten på måttskissen visar plaggets mått i cm i alla storlekar. Mvh DROPS Design
19.02.2026 - 14:29
 Emma-Lea wrote:
Hi, I'm on the decreases on the front piece and a confused as to the wording. "Decrease INSIDE 2 stitches". Does this mean knitting 1 or 2 stitches and then decrease? "Decreasing on each side" Does this mean I'm decreasing at the beginning and end of my row and on every row? Any help would be appreciated. Thanks
01.01.2026 - 03:33DROPS Design answered:
Hi Emma, 1) 'inside 2 stitches' means that at the beginning of row you knit 2 stitches and then decrease, at the end of row - you knit until there are 4 stitches left and decrease. Please see DECREASE TIP-2 in the pattern. 2) 'decreasing on each side' means that you decrease at the beginning and at the end of row. 3) 'decrease at the beginning of every row' means that you decrease in each row, at the beginning only. Please read the instructions carefully. Happy knitting!
05.01.2026 - 13:10
 Liz wrote:
Very easy to follow, classic slipover, Very happy, now to do a v neck version
27.05.2025 - 18:24
|
|
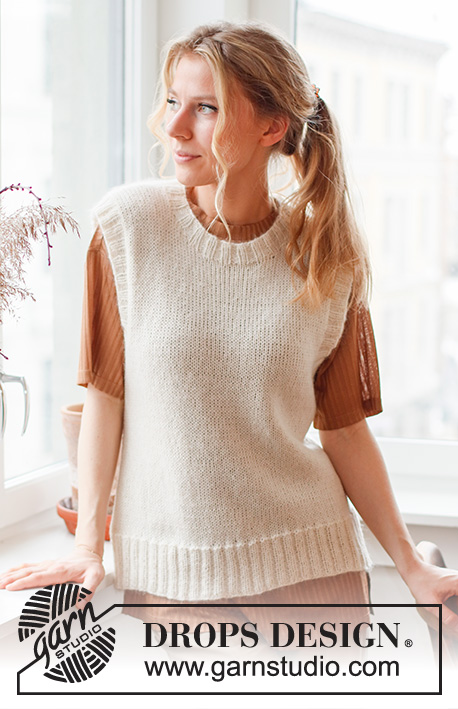
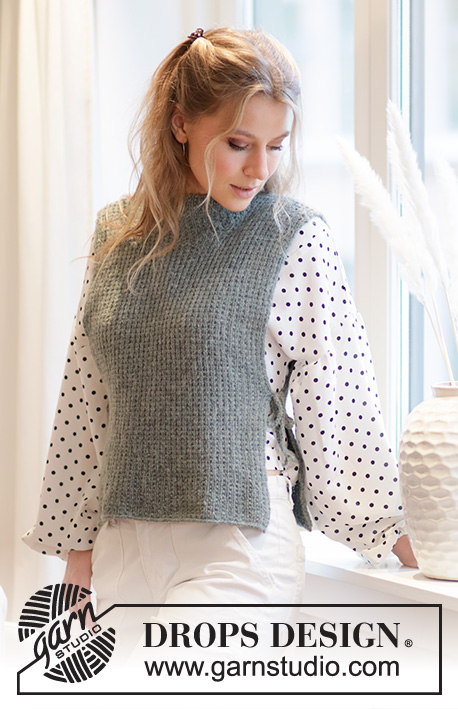
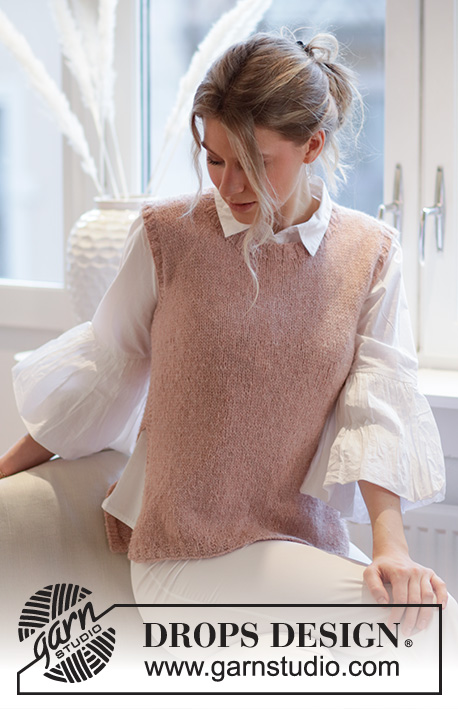
Abby Vest#abbyvest |
|
 |
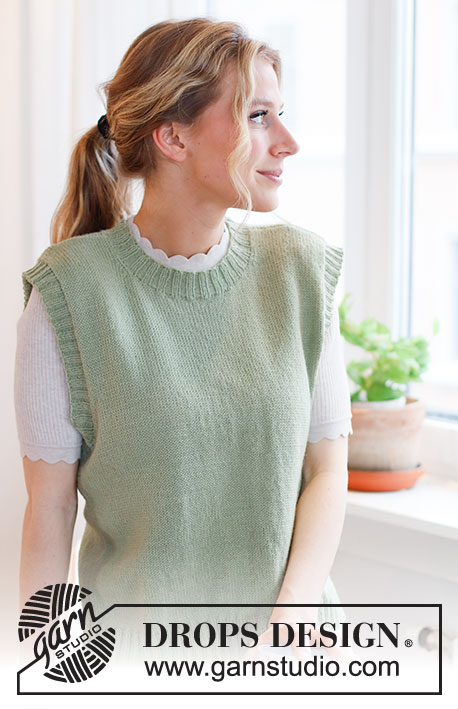 |
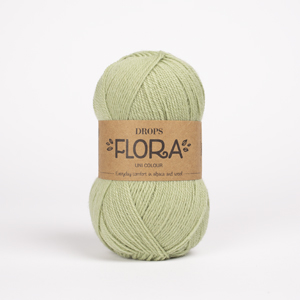
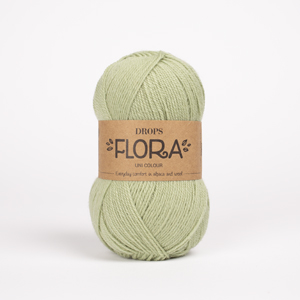
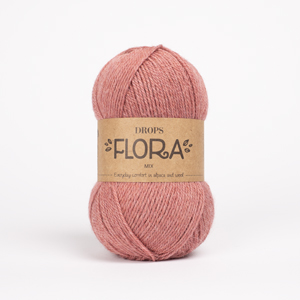
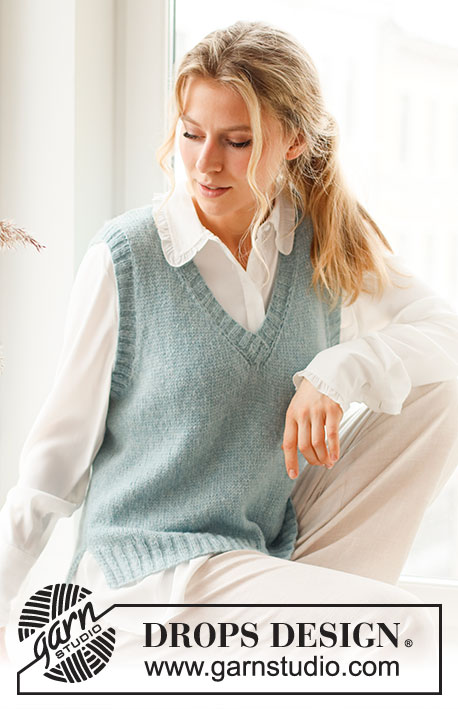
Knitted vest / slipover in DROPS Flora. The piece is worked in stocking stitch with ribbed edges. Sizes S - XXXL.
DROPS 220-42 |
|
|
------------------------------------------------------- EXPLANATIONS FOR THE PATTERN: ------------------------------------------------------- DECREASE TIP (evenly spaced): To work out how to decrease evenly, count the total number of stitches on the needle (e.g. 280 stitches) and divide by the number of decreases to be made (e.g. 48) = 5.8. In this example, decrease by knitting together approx. each 5th and 6th stitch. DECREASE TIP-2 (for armholes and neck): Decrease on the inside of 2 stitches. All decreases are worked from the right side. Decrease as follows at the beginning of the row: Knit 2, slip 1 stitch as if to knit, knit 1 and pass the slipped stitch over the knitted stitch. Decrease as follows at the end of the row: Work until there are 4 stitches left, knit 2 together and knit the last 2 stitches. ------------------------------------------------------- START THE PIECE HERE: ------------------------------------------------------- VEST – SHORT OVERVIEW OF THE PIECE: The piece is worked in the round with circular needle, bottom up as far as the armholes. Then the front and back pieces are finished separately, back and forth. The neck and armhole edges are worked in the round to finish. BODY: Cast on 280-300-324-352-384-424 stitches with circular needle size 2.5 mm and Flora. Knit 1 round. Work rib (knit 2, purl 2) for 5 cm. Change to circular needle size 3 mm and work stocking stitch, decreasing 48-52-56-60-64-72 stitches evenly spaced on the first round = 232-248-268-292-320-352 stitches – read DECREASE TIP in explanations above. Insert 1 marker at the beginning of the round and 1 marker after the next 116-124-134-146-160-176 stitches. Allow the markers to follow your work onwards; they are used when casting off for the armholes. Work stocking stitch until the piece measures 30-31-32-33-34-35 cm from the cast-on edge. REMEMBER THE KNITTING TENSION! On the next round cast off for the armholes, starting 3 stitches before the first marker. Cast off 6 stitches (the marker sits in the middle of these 6 stitches), work until there are 3 stitches left before the second marker, cast off the next 6 stitches (the marker sits in the middle of these 6 stitches) and work to the end of the round. The front and back pieces are now finished separately. FRONT PIECE: = 110-118-128-140-154-170 stitches. Work stocking stitch back and forth and cast off for both armholes at the beginning of every row as follows: Cast off 2 stitches 2-2-2-3-3-3 times on each side. Now continue to decrease inside 2 stitches, decreasing 1 stitch on each side 8-9-12-14-18-24 times – read DECREASE TIP-2 = 86-92-96-100-106-110 stitches. Continue with stocking stitch. When the piece measures 45-47-48-50-51-53 cm, place the middle 22-22-26-26-28-28 stitches on a thread for the neck and each shoulder is finished separately. Continue casting off on each row from the neck as follows: 2 stitches 3 times. Then decrease inside 2 stitches, decreasing 1 stitch 3 times – remember DECREASE TIP-2 = 23-26-26-28-30-32 stitches on the shoulder. Continue with stocking stitch until the piece measures 54-56-58-60-62-64 cm (24-25-26-27-28-29 cm from the bottom of the armhole). Cast off with knit from the right side (making sure the cast-off edge is not tight). Work the other shoulder in the same way. BACK PIECE: = 110-118-128-140-154-170 stitches. Work stocking stitch back and forth and cast off for both armholes at the beginning of every row as follows: Cast off 2 stitches 2-2-2-3-3-3 times on each side. Now continue to decrease inside 2 stitches, decreasing 1 stitch on each side 8-9-12-14-18-24 times = 86-92-96-100-106-110 stitches. Continue with stocking stitch. When the piece measures 52-54-56-58-60-62 cm, cast off the middle 38-38-42-42-44-44 stitches for the neck and each shoulder is finished separately. Then cast off 1 stitch on the next row from the neck = 23-26-26-28-30-32 stitches on the shoulder. Continue with stocking stitch until the piece measures 54-56-58-60-62-64 cm (24-25-26-27-28-29 cm from the bottom of the armhole). Cast off with knit from the right side (making sure the cast-off edge is not tight). Work the other shoulder in the same way. ASSEMBLY: Sew the shoulder seams. NECK: Start from the right side, at one of the shoulder seams. Using short circular needle size 2.5 mm, knit up 124 to 140 stitches (including the 22-22-26-26-28-28 stitches from the thread) inside 1 stitch around the neck opening (number of stitches must be divisible by 4). Work rib in the round (knit 2, purl 2) for 3 cm. Cast off with knit over knit and purl over purl. ARMHOLE-EDGE: Start from the right side, by the side seam under the armhole. Using short circular needle size 2.5 mm, knit up 140 to 168 stitches around the armhole (number of stitches must be divisible by 4). Work rib in the round (knit 2, purl 2) for 3 cm. Cast off with knit over knit and purl over purl. Work the other armhole in the same way. |
|
 |
|
Have you finished this pattern?Tag your pictures with #dropspattern #abbyvest or submit them to the #dropsfan gallery. Do you need help with this pattern?You'll find 14 tutorial videos, a Comments/Questions area and more by visiting the pattern on garnstudio.com. © 1982-2026 DROPS Design A/S. We reserve all rights. This document, including all its sub-sections, has copyrights. Read more about what you can do with our patterns at the bottom of each pattern on our site. |
|






With over 40 years in knitting and crochet design, DROPS Design offers one of the most extensive collections of free patterns on the internet - translated to 17 languages. As of today we count 333 catalogues and 12525 patterns translated into English (UK/cm). 12525
We work hard to bring you the best knitting and crochet have to offer, inspiration and advice as well as great quality yarns at incredible prices! Would you like to use our patterns for other than personal use? You can read what you are allowed to do in the Copyright text at the bottom of all our patterns. Happy crafting!
Post a comment to pattern DROPS 220-42
We would love to hear what you have to say about this pattern!
If you want to leave a question, please make sure you select the correct category in the form below, to speed up the answering process. Required fields are marked *.