
Popular categories
Looking for a yarn?


Comments / Questions (37)
![]() Stefanie Messerschmitt wrote:
Stefanie Messerschmitt wrote:
Hallo,\\r\\nwerden bei der Blende noch zusätzlich Randmaschen angeschlagen?\\r\\nViele Grüße Stefanie Messerschmitt
18.05.2025 - 14:14
![]() Christine wrote:
Christine wrote:
Hallo, ich habe die Maschen zwischen den beiden Blenden für das Rückteil angeschlagen, eine Reihe links gestrickt und komme nun schon nicht mehr weiter! Werden aus der Blende auch Maschen zugenommen? Ich verstehe es irgendwie nicht? Christine
27.03.2025 - 14:24DROPS Design answered:
Liebe Christine, danach markieren Sie jedes Teil für die Raglan wie beschrieben, dann wird es für Raglan zungonommen; es wird keine Maschen aus der Blende zugenommen, es wird aber Maschen nach der Blende (linkes Vorderteil)/vor der Blende (rechtes Vorderteil) für das V-Halsausschnitt zuerst in jeder 4. Reihe dann in jeder 2. Reihe zugenommen. Viel Spaß beim Stricken!
27.03.2025 - 15:52
![]() Feuvray wrote:
Feuvray wrote:
Bonjour,Décidément je ne comprends pas ce modèle mais je souhaite y arriver, comme les deux bordures sont de chaque coté des mailles montées pour l'empiècement, comment peut-on faire les jetés pour augmenter l'encolure? cela ne peut pas être en début de rang, avant de tricoter les 4 mailles de bordure, et si c'est après les 4 mailles de bordure, ça fera 2 jetés l'un à coté de l'autre? Quelque chose m'échappe, merci d\'avance de vos conseils éclairés
04.03.2025 - 21:31DROPS Design answered:
Bonjour Mme Feuvray, pour l'encolure du devant gauche, vous augmentez après les mailles de bordure devant = tricotez ces 4 mailles et faites 1 jeté, et pour le devant droit, faites le jeté juste avant les 4 m de la bordure devant, cf ENCOLURE V au tout début des explications pour savoir comment tricoter ces jetés. Bon tricot!
05.03.2025 - 08:26
![]() Feuvray wrote:
Feuvray wrote:
Bonjour, J'ai encore un souci, je ne comprends pas comment faire les augmentations de l'encolure, il est indiqué de les faire en même temps que le raglan, mais comment est-ce possible? d'abord je commence les augmentations de raglan puis ensuite les augmentations de l'encolure? d'avance merci pour votre éclairage
03.03.2025 - 18:27DROPS Design answered:
Bonjour Mme Feuvray, vous allez augmenter simultanément pour le raglan et l'encolure V mais pas au même rythme: pour le raglan vous augmentez tous les 2 rangs alors que pour l'encolure, vous augmenterez d'abord tous les. 4 rangs puis tous les 2 rangs. Autrement dit, vous allez tricoter 1 rang sur l'endroit en augmentant pour le raglan, 1 rang sur l'envers, 1 rang sur l'endroit en augmentant pour le raglan + l'encolure V, 1 rang sur l'envers = vous avez augmenté. 2 fois tous les 2 rangs pour le raglan et 1 fois pour l'encolure V. Continuez ainsi en répétant le nombre d'augmentations (et la fréquence) indiqué pour la taille. Bon tricot!
04.03.2025 - 09:14
![]() Feuvray wrote:
Feuvray wrote:
Rebonjour, Désolée, je viens de vous envoyer une question qui n'a plus lieu d'être, je viens de comprendre, je faisais une erreur d'interprétation Merci
03.03.2025 - 15:08
![]() Feuvray wrote:
Feuvray wrote:
Bonjour, merci pour votre réponse à ma question précédente J'ai une autre question : dans les augmentations dos devant, je ne comprends pas car s'il est indiqué 2 mailles avant le fil marqueur faire un jété et tricoter 4 mailles endroit, je ne comprends pas comment le fil marqueur peut se trouver entre les 4 mailles tricotées, pour moi le fil marqueur se trouve après le jeté d'avance merci de vos explications Cordialement
03.03.2025 - 15:01DROPS Design answered:
Bonjour Mme Feuvray, lorsque l'on doit augmenter pour les côtés en bas du pull, on va augmenter de part et d'autre des 4 mailles sur chacun des côtés - le marqueur est au milieu des nouvelles mailles montées sous les manches, vous augmentez ainsi: 1 jeté, 2 mailles, marqueur côté, 2 mailles, 1 jeté et ça sur les deux côtés du pull. Bon tricot!
03.03.2025 - 16:19
![]() Feuvray wrote:
Feuvray wrote:
Bonjour, Après avoir monté les 78 mailles entre les deux devants, et tricoté un rang envers, si je regarde mon ouvrage endroit face à moi, la bordure sur le côté gauche correspond bien au devant droit? et la bordure sur le côté droit correspond bien au côté gauche? c'est bien comme ça qu'il faut le comprendre pour faire les augmentations de l'encolure? D'avance merci pour votre réponse Cordialement
28.02.2025 - 18:49DROPS Design answered:
Bonjour Mme Feuvray, quand on tricote de haut en bas, on commence sur l'endroit par le devant gauche et on termine par le devant droit. Sur l'envers, on commence par le devant droit et on termine par le devant gauche. Ici on nomme le devant droit/gauche le côté droit/gauche quand on porte le pull. Bon tricot!
03.03.2025 - 08:25
![]() Patsy Violaris wrote:
Patsy Violaris wrote:
For the V neck increase can you confirm that after the first increase on 4th row they are then every 2nd row like the Raglan sides? It’s just that the V neck seems quite short.
15.12.2024 - 23:15DROPS Design answered:
Dear Patsy, yes, it's correct. You first increase once after 4 rows, then increase every 2nd row as many times as stated for your size. Happy knitting!
15.12.2024 - 23:41
![]() Suzanne wrote:
Suzanne wrote:
What is the best method for assembly? I have tested several methods but have not achieved a clean look. Please advise of the recommended stitch for sewing the bands to the sweater.
10.11.2024 - 16:03DROPS Design answered:
Dear Suzanne, there are several methods for assembling a piece; you can find some video tutorials on these here: https://www.garnstudio.com/videos.php?c=assembly-sew-together&lang=en. In the following video, we use invisible grafting/kitchener stitch and small stitches to join the bands to the neckline: https://www.garnstudio.com/video.php?id=1800&lang=en. Happy knitting!
10.11.2024 - 20:05
![]() Evrard Gisèle wrote:
Evrard Gisèle wrote:
Faut il faire en même temps les augmentations pour le raglan et celles pour l’encolure en V ? Ou commencer l’encolure après le raglan ? Merci déjà
20.09.2024 - 20:00DROPS Design answered:
Bonjour Mme Evrard, on augmente pour le raglan, et pour l'encolure en même temps, mais pas exactement au même rythme, çar on augmente tous les 2 rangs pour le raglan mais d'abord tous les 4 rangs puis tous les 2 rangs pour l'encolure. Bon tricot!
23.09.2024 - 07:42
|
|||||||
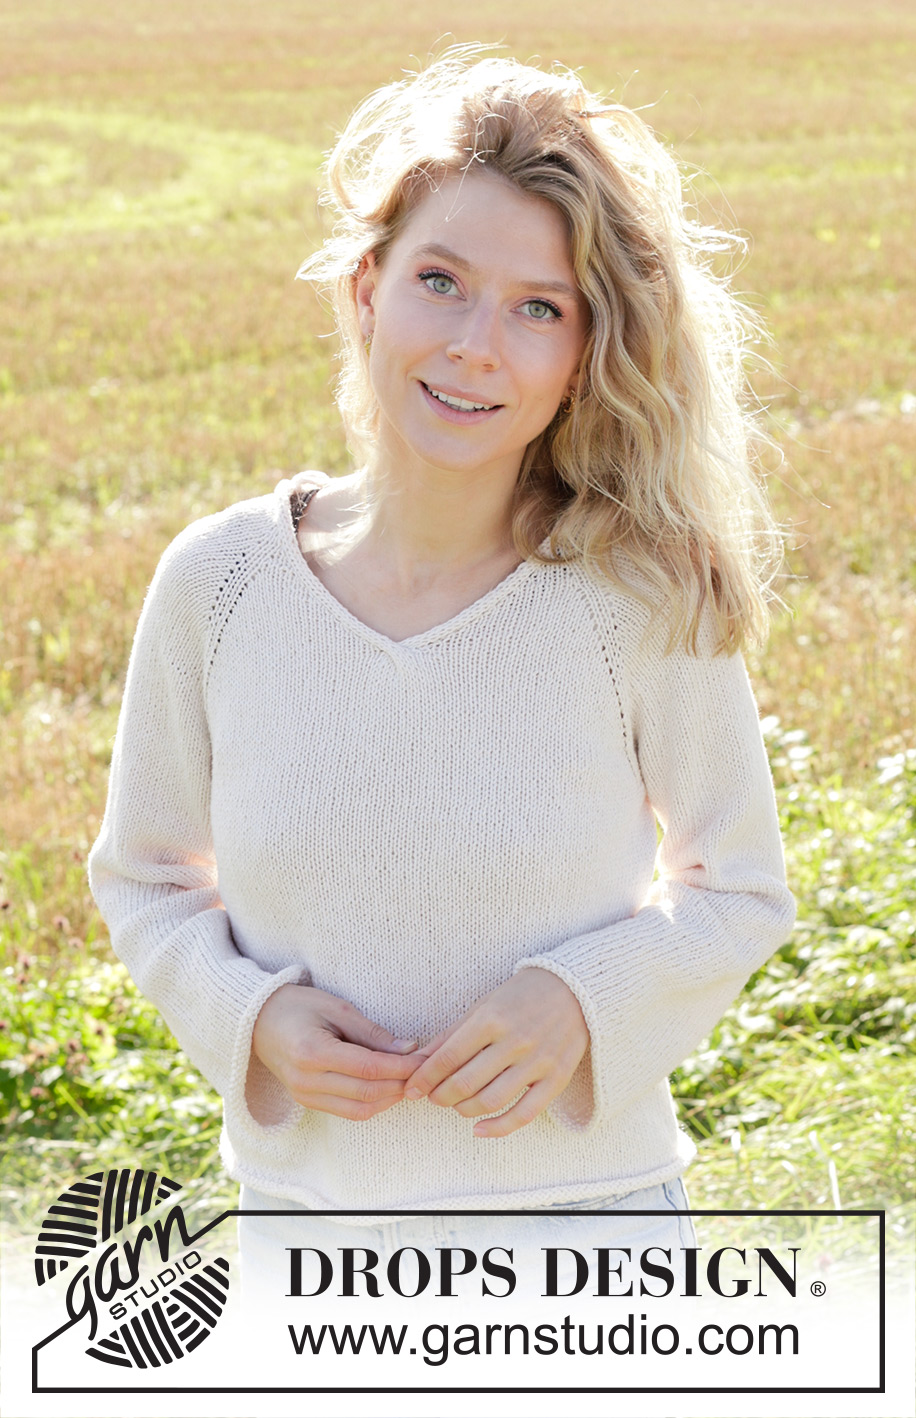
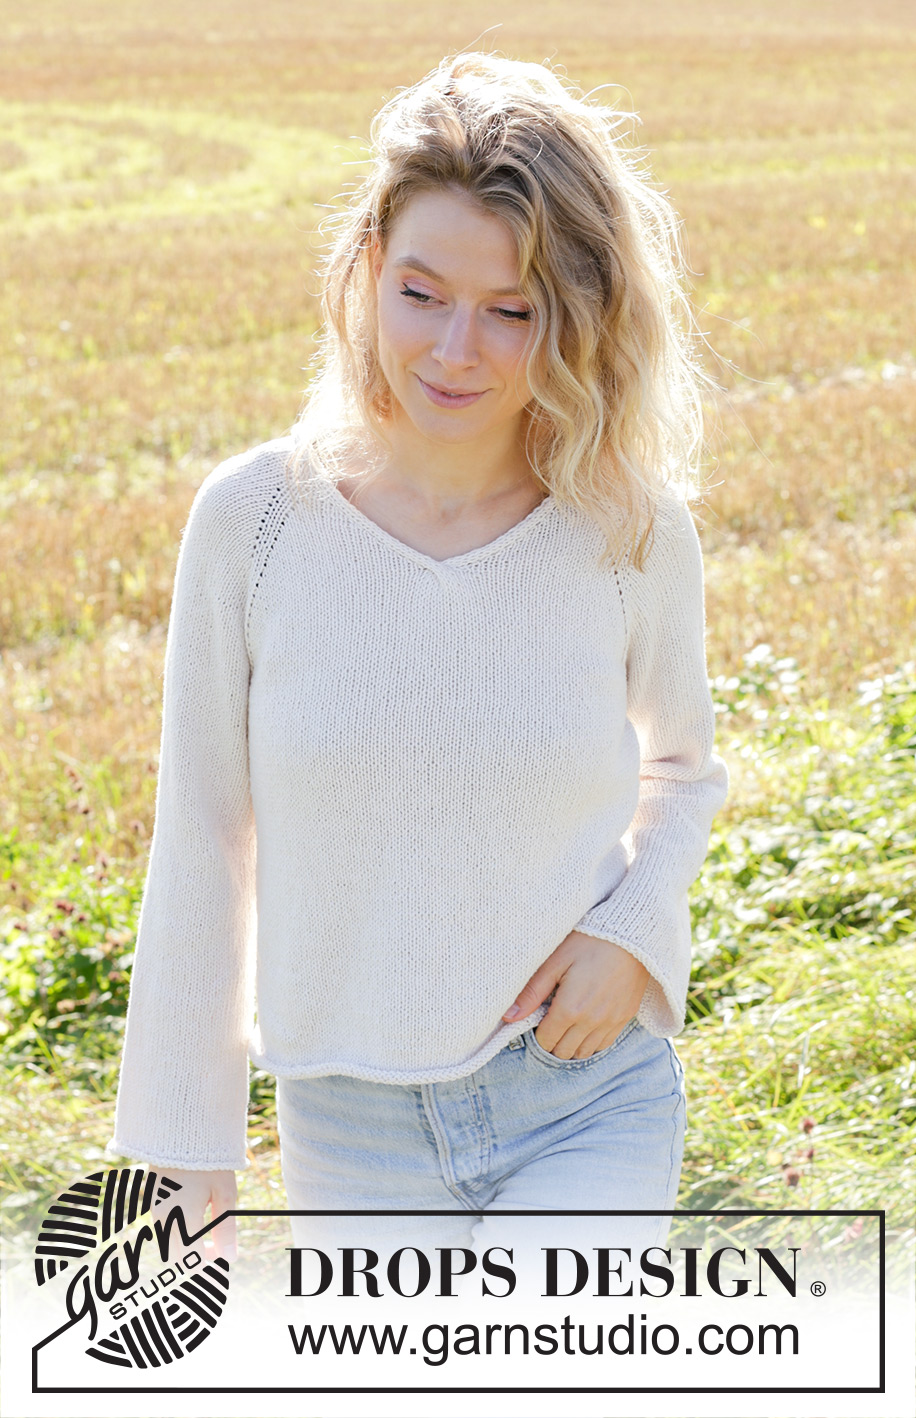
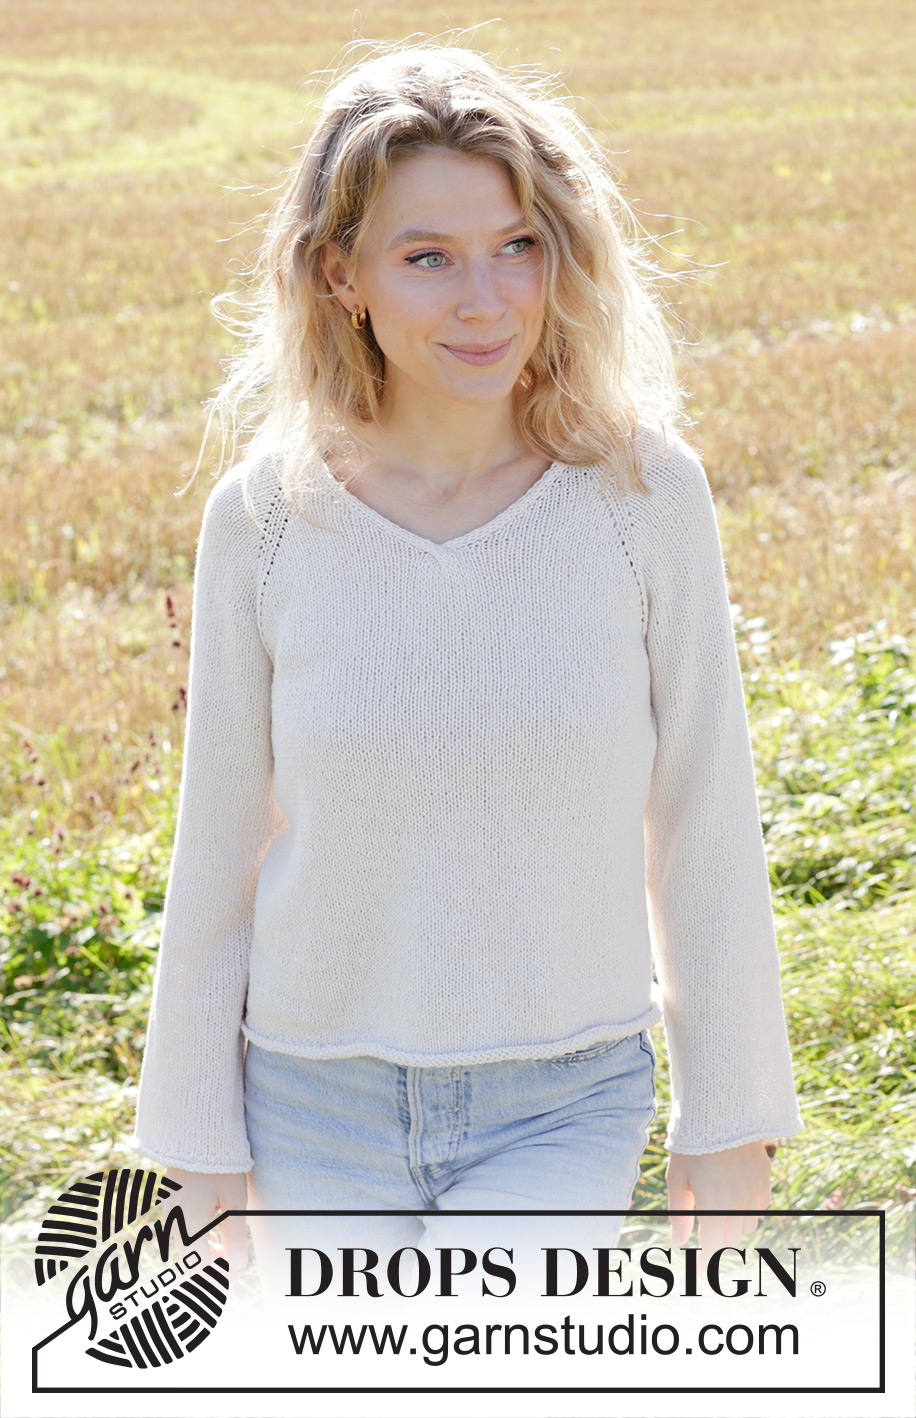
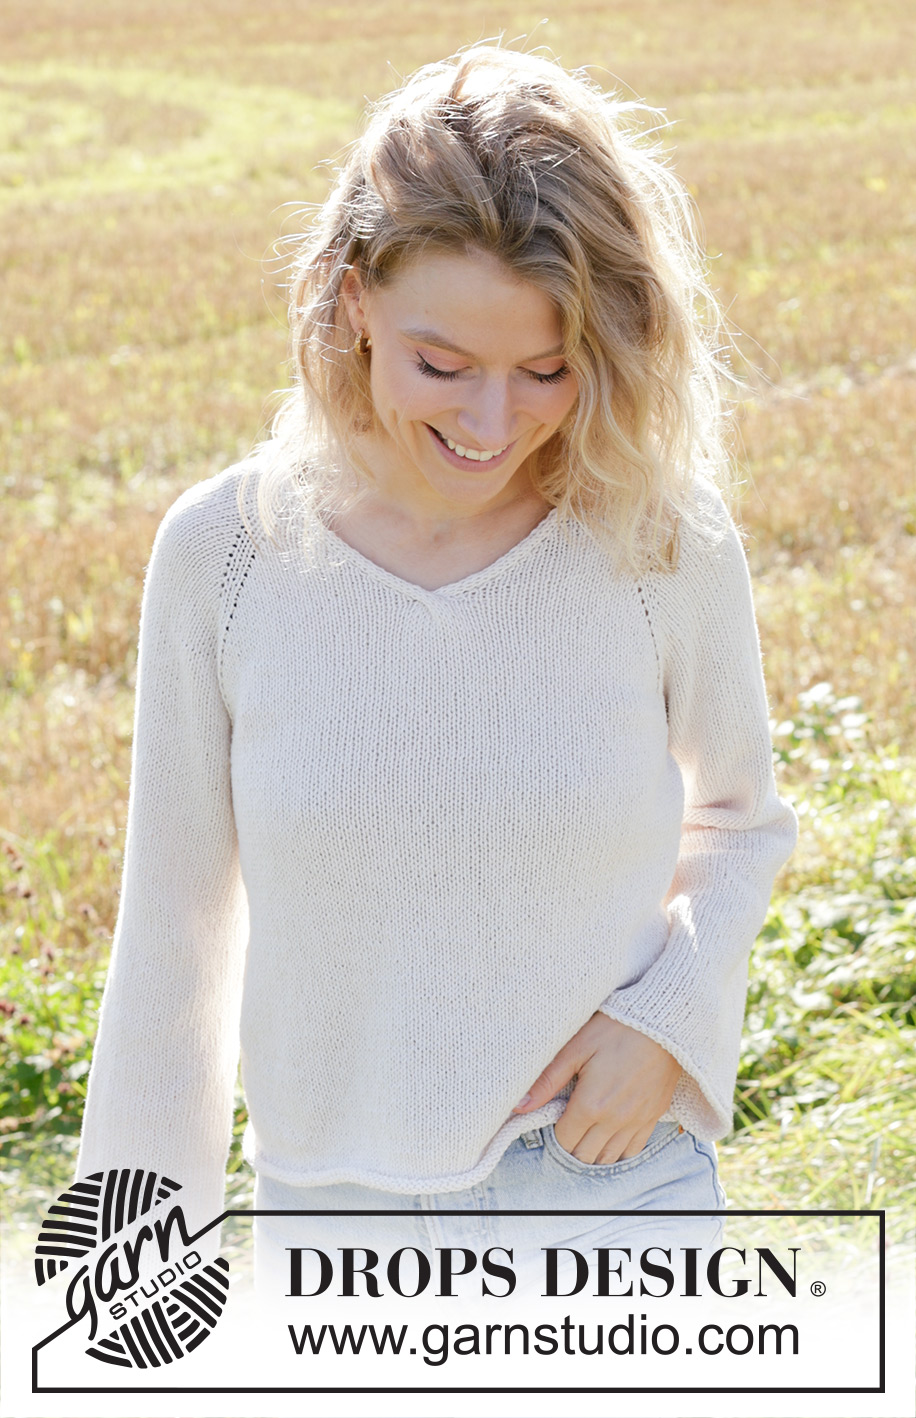
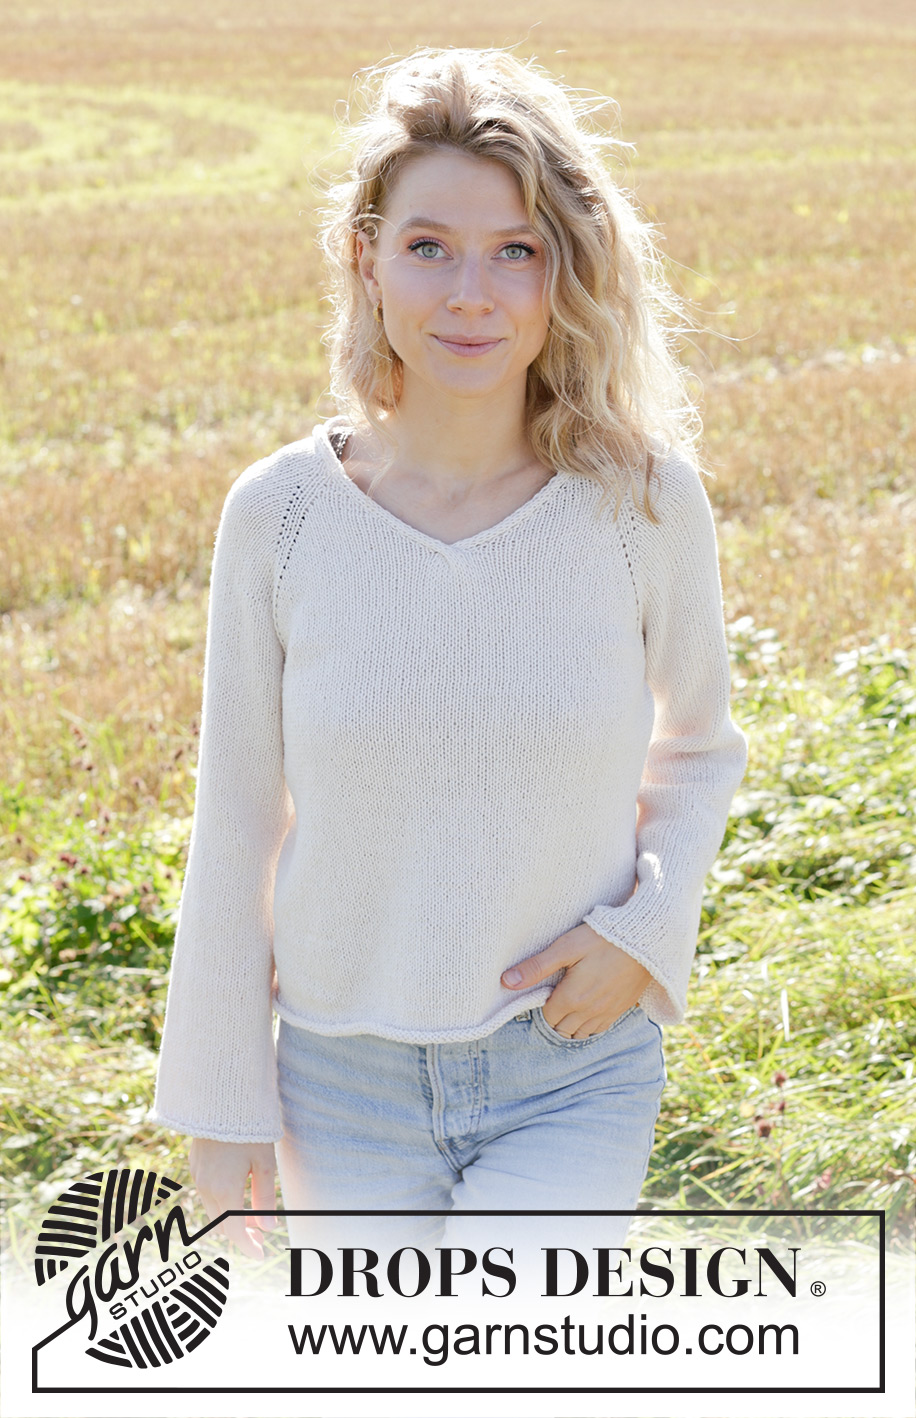
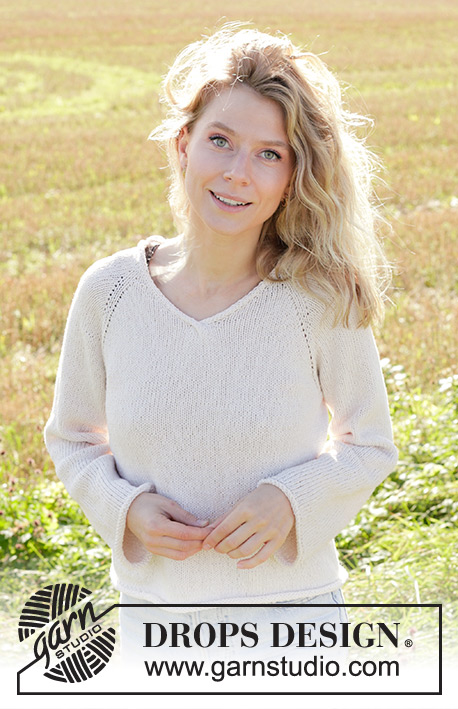
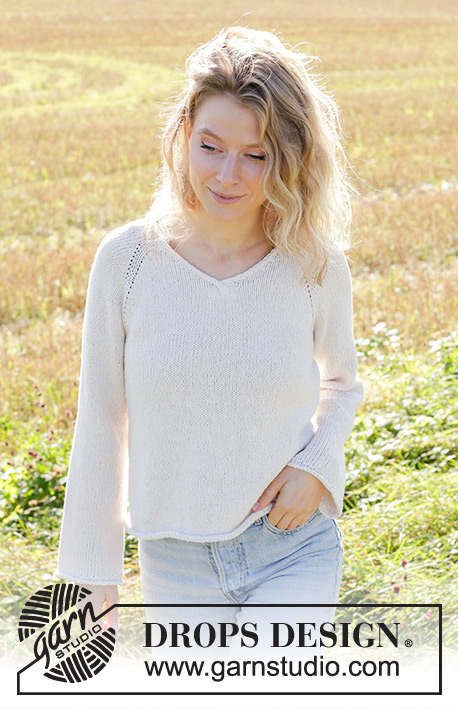
Morning Moon#morningmoonsweater |
|||||||
 |
 |
||||||
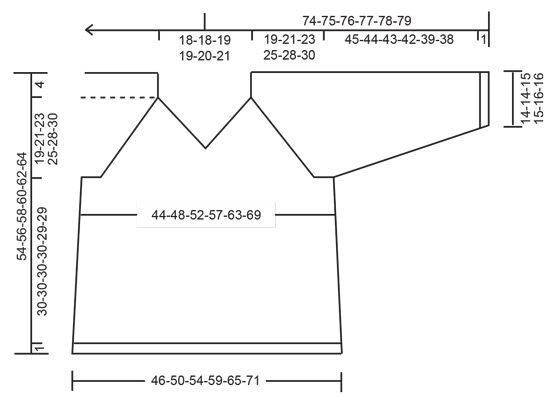
Knitted jumper in DROPS Belle. The piece is worked top down with stocking stitch, raglan, V-neck and rolled edges. Sizes S-XXXL.
DROPS 249-15 |
|||||||
|
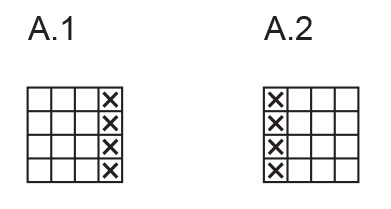
------------------------------------------------------- EXPLANATIONS FOR THE PATTERN: ------------------------------------------------------- PATTERN (for bands): See diagrams A.1 and A.2. The diagrams show all rows in the pattern from the right side. RAGLAN: All increases are worked from the right side! Increase for raglan before/after the marker-thread as follows: Work until there is 1 stitch left before the marker thread, make 1 yarn over, knit 2 (marker thread sits between these 2 stitches) make 1 yarn over. YARN OVERS THEN WORKED AS FOLLOWS: Working back and forth: BEFORE MARKER-THREAD: Purl the back loop. AFTER MARKER-THREAD: Slip the yarn-over off the left needle and replace it the other way round (insert left needle through back when replacing it). Purl the front loop. Working in the round: BEFORE MARKER-THREAD: Slip the yarn-over off the left needle and replace it the other way round (insert left needle through back when replacing it). Knit the front loop. AFTER MARKER-THREAD: Knit the back loop. V-NECK: All increases are worked from the right side! Increase as follows: Work the left band as before, make 1 yarn over, work until there are 4 stitches left, make 1 yarn over, work the right band as before. On the next row (= wrong side) work the yarn overs as follows: AFTER RIGHT BAND: Slip the yarn-over off the left needle and replace it the other way round (insert left needle through back when replacing it). Purl the front loop. BEFORE LEFT BAND: Purl the back loop. DECREASE TIP (for sleeves): Decrease 1 stitch on each side of the marker-thread as follows: Work until there are 3 stitches left before the marker-thread, knit 2 together, knit 2 (marker-thread sits between these 2 stitches), slip 1 stitch knit-wise, knit 1 and pass the slipped stitch over the knitted stitch. INCREASE TIP (for body): Increase 1 stitch on each side of the marker-thread: Work until there are 2 stitches left before the marker thread, make 1 yarn over, knit 4 (marker thread sits between these 4 stitches) make 1 yarn over. On the next round work the yarn overs as follows: BEFORE MARKER-THREAD: Slip the yarn-over off the left needle and replace it the other way round (insert left needle through back when replacing it). Knit the front loop (stitch twists towards the right). AFTER MARKER-THREAD: Knit the back loop (stitch twists towards the left). ------------------------------------------------------- START THE PIECE HERE: ------------------------------------------------------- JUMPER – SHORT OVERVIEW OF THE PIECE: The pattern uses both long and short needles; start with the length which fits the number of stitches and change when necessary. The bands are worked first, then stitches are cast on between them and the yoke is worked with circular needle, back and forth from mid-front and top down. When the V-neck is finished, the front pieces are joined and the yoke is continued in the round. When the yoke is finished, it is divided for the body and sleeves. The body is continued in the round, while the sleeves wait. The sleeves are worked in the round. RIGHT BAND: Cast on 4 stitches with double pointed needles size 4 mm and DROPS Belle. Work A.1 back and forth for 17-17-17½-17½-18-18½ cm. Cut the strand and lay the band to one side. LEFT BAND: Cast on 4 stitches with double pointed needles size 4 mm and DROPS Belle. Work A.2 back and forth for 17-17-17½-17½-18-18½ cm. The last row is from the wrong side. Now cast on stitches as follows: YOKE: Change to circular needle size 4 mm. Work the left band as before from the right side, cast on 76-76-78-78-80-82 stitches, work the right band as before from the right side = 84-84-86-86-88-90 stitches. Purl 1 row from the wrong side with 4 band-stitches worked as before on each side. Insert 4 marker-threads, without working the stitches: Count 6 stitches (= front piece), insert 1 marker-thread, count 18 stitches (= sleeve), insert 1 marker-thread, count 36-36-38-38-40-42 stitches (= back piece), insert 1 marker-thread, count 18 stitches (= sleeve), insert 1 marker-thread, there are 6 stitches left on the row (= front piece). Work stocking stitch back and forth with 4 band stitches on each side, AT THE SAME TIME increase for both RAGLAN and V-NECK – read description above. Therefore, read the next section before continuing. REMEMBER THE KNITTING TENSION! Increase for raglan before and after all 4 marker-threads, every 2nd row (= 8 increased stitches) 22-26-29-34-35-36 times. Then only increase on the front and back pieces (= 4 increased stitches) 0-0-0-0-3-6 times. A total of 176-208-232-272-292-312 increases for raglan. Increase for the V-neck on both sides (mid-front) every 4th row 1 time, then every 2nd row 11-11-12-12-13-14 times. A total of 12-12-13-13-14-15 increases for the V-neck on each front piece. When the V-neck increases are finished, purl 1 row from the wrong side, then join the front pieces from the right side as follows: Knit until there are 4 stitches left, place these 4 stitches on a cable needle held behind the piece, knit the first 4 stitches on the other front piece, insert 1 marker (the round starts here), knit the 4 stitches from the cable needle. Continue with stocking stitch in the round and finish the increases for raglan. When all the increases are finished there are 284-316-344-384-408-432 stitches. Continue in the round without further increases, until the yoke measures 19-21-23-25-28-30 cm mid-back. DIVIDE FOR BODY AND SLEEVES: Start mid-front, knit 41-45-49-54-59-64 (= half front piece), place the next 60-68-74-84-86-88 stitches on 1 thread for the sleeve, cast on 10-10-12-12-14-16 stitches (in side under sleeve), knit 82-90-98-108-118-128 (= back piece), place the next 60-68-74-84-86-88 stitches on 1 thread for the sleeve, cast on 10-10-12-12-14-16 stitches (in side under sleeve), knit the last 41-45-49-54-59-64 stitches (= half front piece). The body and sleeves are finished separately. The piece is now measured from here! BODY: = 184-200-220-240-264-288 stitches. Insert 1 marker-thread in the middle of the cast-on stitches under each sleeve, with 92-100-110-120-132-144 stitches on both the front and back pieces. Continue with stocking stitch in the round until the body measures 10-10-10-10-9-7 cm from the division. Increase 2 stitches in each side – read INCREASE TIP. Increase like this a total of 2-2-2-2-2-3 times every 10-10-10-10-10-7 cm = 192-208-228-248-272-300 stitches. Continue with stocking stitch until the body measures 30-30-30-30-29-29 cm from the division. Now work a rolled edge. Start the round under one sleeve and work rib (knit 1, purl 1) for 1 round. Knit 3 rounds. Cast off. The jumper measures approx. 54-56-58-60-62-64 cm from the shoulder. SLEEVES: Place the 60-68-74-84-86-88 stitches from the thread on the one side of the piece on short circular needle/double pointed needles size 4 mm and knit up 1 stitch in each of the 10-10-12-12-14-16 stitches cast on under the sleeve = 70-78-86-96-100-104 stitches. Insert a marker-thread in the middle of the new stitches under the sleeve. This is used when decreasing under the sleeve. The round starts here. Work stocking stitch in the round for 3-4-3-4-2-4 cm. Now decrease 2 stitches under the sleeve – read DECREASE TIP. Decrease like this every 6-4-3-2-2-1½ cm a total of 6-9-12-16-17-18 times = 58-60-62-64-66-68 stitches. Work until the sleeve measures 45-44-43-42-39-38 cm from the division (with 1 cm left to finished length). Work rib for 1 round (knit 1, purl 1), then knit 3 rounds. Cast off. The sleeve measures approx. 46-45-44-43-40-39 cm. ASSEMBLY: Sew together the bands from the front pieces = mid-back, then sew the bands to the neckline. |
|||||||
Diagram explanations |
|||||||
|
|||||||
 |
|||||||
 |
|||||||
Have you finished this pattern?Tag your pictures with #dropspattern #morningmoonsweater or submit them to the #dropsfan gallery. Do you need help with this pattern?You'll find 26 tutorial videos, a Comments/Questions area and more by visiting the pattern on garnstudio.com. © 1982-2026 DROPS Design A/S. We reserve all rights. This document, including all its sub-sections, has copyrights. Read more about what you can do with our patterns at the bottom of each pattern on our site. |
|||||||


With over 40 years in knitting and crochet design, DROPS Design offers one of the most extensive collections of free patterns on the internet - translated to 17 languages. As of today we count 324 catalogues and 12290 patterns translated into English (UK/cm).
We work hard to bring you the best knitting and crochet have to offer, inspiration and advice as well as great quality yarns at incredible prices! Would you like to use our patterns for other than personal use? You can read what you are allowed to do in the Copyright text at the bottom of all our patterns. Happy crafting!
Post a comment to pattern DROPS 249-15
We would love to hear what you have to say about this pattern!
If you want to leave a question, please make sure you select the correct category in the form below, to speed up the answering process. Required fields are marked *.