
Popular categories
Looking for a yarn?
















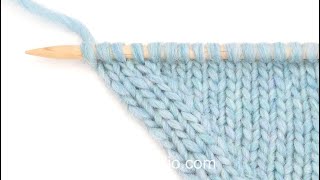
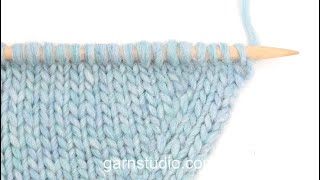
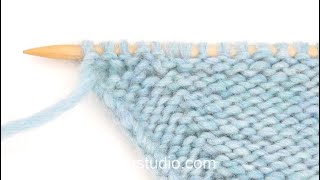

























Comments / Questions (8)
 Anna wrote:
Nachdem ich das Projekt mittlerweile erfolgreich beenden konnte (danke für die bereits beantwortete Frage), wüsste ich gern noch, ob empfohlen wird, die fertige Jacke mit Drops Air zu blocken bzw. zu waschen. Muss ich damit rechnen, dass sich die Form stark verändert oder kann ich beim blocken vielleicht etwas spazielles beachten, um dies zu verhindern? Gruß Anna
02.11.2026 - 22:42DROPS Design answered:
Liebe Anna, einige Strickerinnen blocken alles, andere niemals, so kann das etwas persönlich sein; aber wenn Sie das machen möchten, seien Sie sicher, alle Pflegehinweise richtig zu folgen - Ihr DROPS Händler kann Ihnen auch gerne damit helfen, auch per E-Mail oder Telefon. Viel Spaß beim Stricken!
03.11.2026 - 10:33
Doris Walz wrote:
Ich habe die ersten 8 Reihen gestrickt mit den Zunahmen, jetzt kommen die Sattelschulterzunehmen mit den I Cord Blenden. Meine Frage wäre: in der 8. Reihe steht die Blende mit I-Cord über 7 Ma. stricken und am Ende der Reihe auch dem I-Cord dann 13 neue Maschen anschlagen und dann wieder mit I-Cord beginnen? Die Maschen für den I-Cord sollen ja übereinander sein für die Blende? Da komme ich nicht weiter. Danke
25.09.2026 - 10:40DROPS Design answered:
Liebe Frau Walz, die 7 ersten Maschen der 8. Reihe sind für die rechte Blende, am Ende der 8. Reihe schlagen Sie 13 neuen Maschen (die letzen Maschen für den Halsausschnitt für das linke Vorderteil, einschl. die 7 Blenden-Maschen)- bei der nächsten Hinreihe stricken Sie die ersten 7 Maschen wie die Blende mit I-cord, und die anderen Maschen glattrechts. Viel Spaß beim Stricken!
25.09.2026 - 16:47
 Corine wrote:
Je reformule ma question : Au niveau du col après avoir relevé les mailles, tricoté 2 cm en côtes 1/1 et arrêté les mailles, le modèle indique de tricoter 3 rgs en jersey. Comment repartir des côtes ? Faut il a nouveau relever des mailles pour tricoter ce jersey donnant un aspect boulotté au col ? Merci beaucoup
02.09.2026 - 21:10DROPS Design answered:
Bonjour Corine, vous tricotez en côtes pendant 2 cm, en arrêtant par un rang sur l'endroit = le rang suivant va se tricoter sur l'envers, tricotez maintenant 3 rangs jersey (1 rang envers sur l'envers + 1 rang endroit sur l'endroit + 1 rang envers sur l'envers) et rabattez les mailles à l'endroit au rang suivant (sur l'endroit). Bon tricot!
03.09.2026 - 18:27
Corine wrote:
Bonjour, Au niveau du col quand on a arrêté les mailles comment tricoter en jersey ? Faut-il relever des mailles ? Merci par avance
01.09.2026 - 22:00DROPS Design answered:
Bonjour Corine, le col se tricote à la fin du gilet, on va relever les mailles tout autour de l'encolure, sur l'endroit, en commençant par la bordure du devant droit, puis le long du devant droit, de l'épaule, du dos, de l'autre épaule et du devant gauche en terminant par la bordure du devant gauche; tricotez ensuite le 1er rang sur l'envers (en côtes, avec les mailles de bordure devant comme avant et 1m end de chaque côté). Bon tricot!
02.09.2026 - 17:57
Claudia wrote:
Sorry ich habe viel von euch gestrickt aber hier stehe ich schon am Anfang an: direkt nach dem Anschlag mit den Zunahmen beginnen ohne eine Reihe gestrickt zu haben🤯 warum werden für das Rückenteil 30 Maschen gerechnet und für das Vorderteil nur 4?
25.08.2026 - 08:58DROPS Design answered:
Liebe Claudia, ja genau, die Zunahmen beginnen bei der 1. Reihe, wenn Sie lieber eine Reihe davor stricken möchten dann stricken Sie am besten alle Maschen links (= Rückreihe), dann beginnen Sie die Zunahmen bei der nächsten Hinreihe. Es sind weniger Maschen für die Vorderteile (nur 2 am Anfang) da man neuen Maschen für Halsauschnitt am Ende der 8 ersten Reihe anschlagen wird. Viel Spaß beim Stricken!
25.08.2026 - 10:29
Anna wrote:
Kann es sein, dass der Zunahmetipp 2 für die Rückreihen falsch ist? Ich bin noch Anfängerin, finde aber mehrere Tutorials auf YouTube, wo die nach links - bzw. rechts geneigten Zunahmen in der Rückreihe genau andersherum beschrieben werden.
16.08.2026 - 21:40DROPS Design answered:
Liebe Anna, vielleicht können Ihnen diese Videos helfen? Wir zeigen wie man die Maschen bei den Rückreihen hier nach links und hier nach rechts zunimmt. Viel Spaß beim Stricken!
17.08.2026 - 09:36
Renate wrote:
Nach den Ärmelzunahmen wird die gleiche Maschenzahl angegeben wie vor den Ärmelzunahmen: 38,38,62 für Größe XS. Kann das sein? Um die angegebene Gesamtzahl 214 zu erreichen, habe ich nach 10 Zunahmereihen für Größe XS 48,48, 82 Maschen. Habe ich da etwas falsch verstanden?
24.05.2026 - 12:33DROPS Design answered:
Liebe Renate, es waren nur 18 Maschen für jeden Ärmel, Sie haben 10 Mal 2 Maschen zugenommen = es sind (10+18+10) = 38 Maschen für jeden Ärmel. Bei diesen Zunahmen (bis 214 M insg.) wird man nur 4 Maschen (= Ärmel) zunehmne, so haben Sie 174 M (vor Ärmelzunahmnen) + 4 Zunahmen 10 Mal = 214 Maschen. Viel Spaß beim Stricken!
26.05.2026 - 11:10
 Peyton wrote:
Hi, I think there's an error on row 7 for the yoke. It says to purl 18 stitches while working on the right side instead of to knit 18.
04.02.2026 - 21:35
|
|
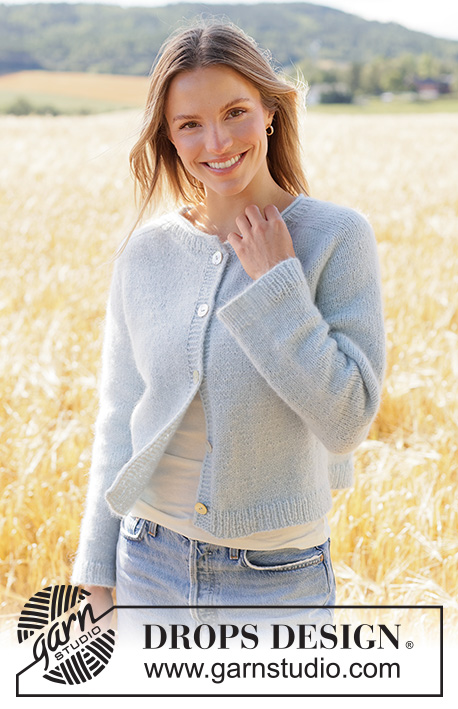
Waterline Cardigan#waterlinecardigan |
|
 |
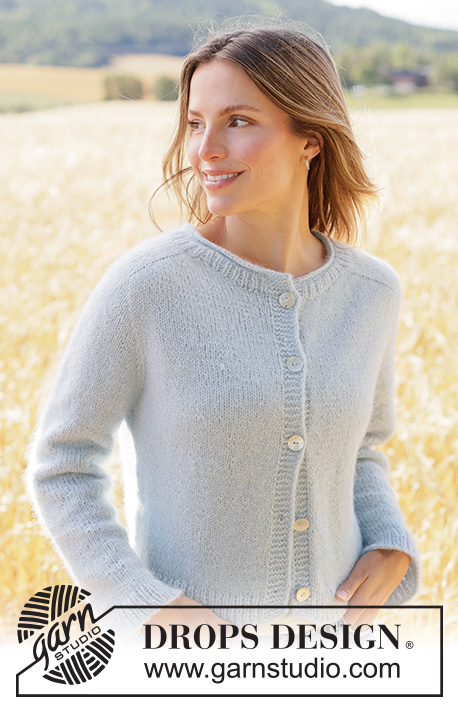 |
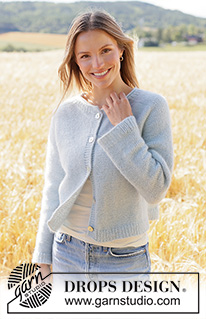
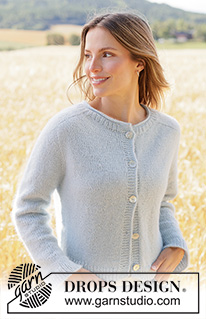
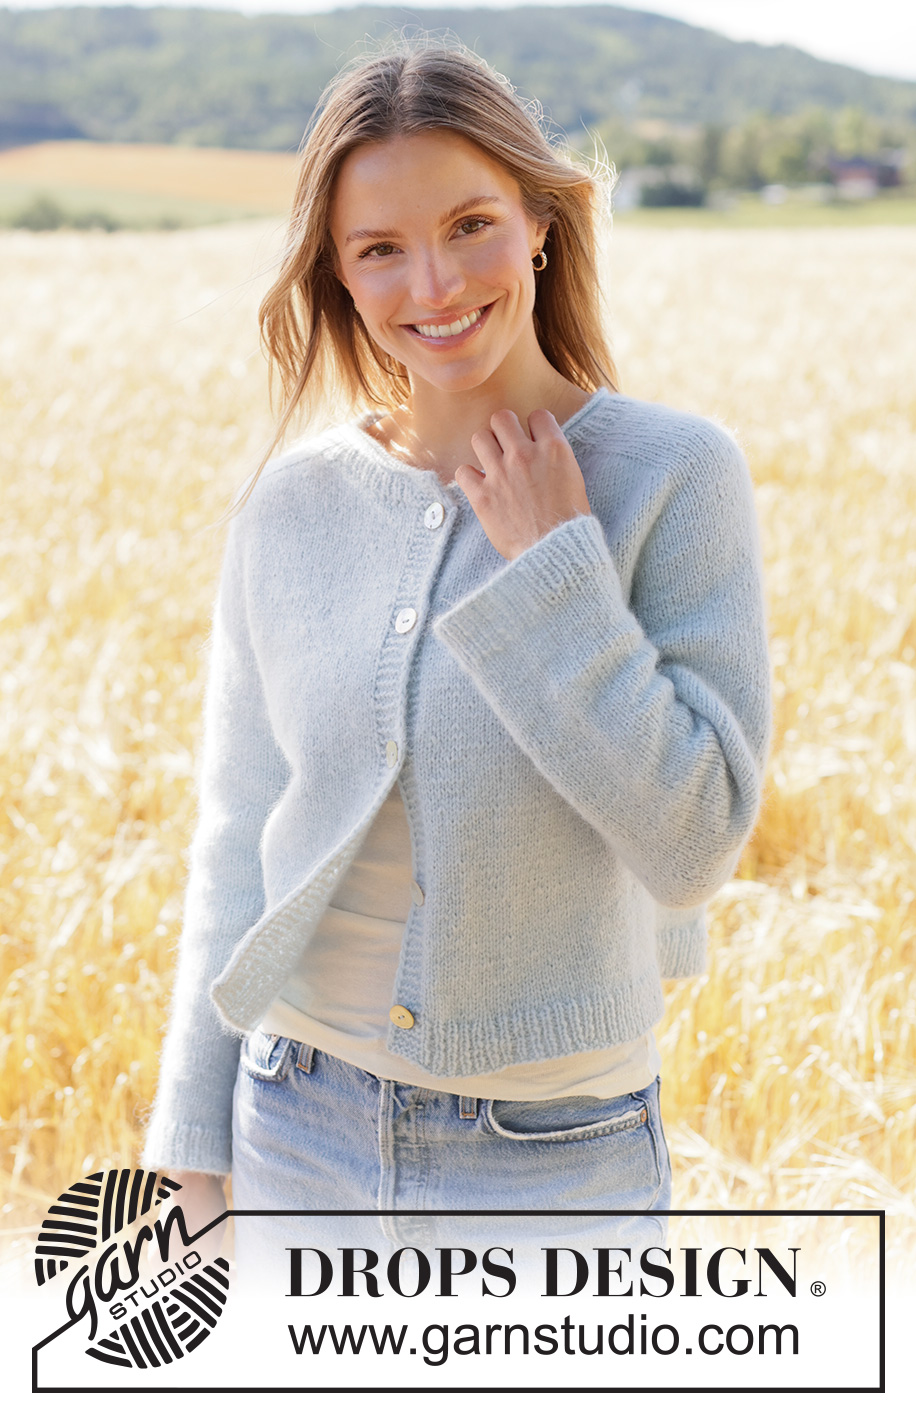
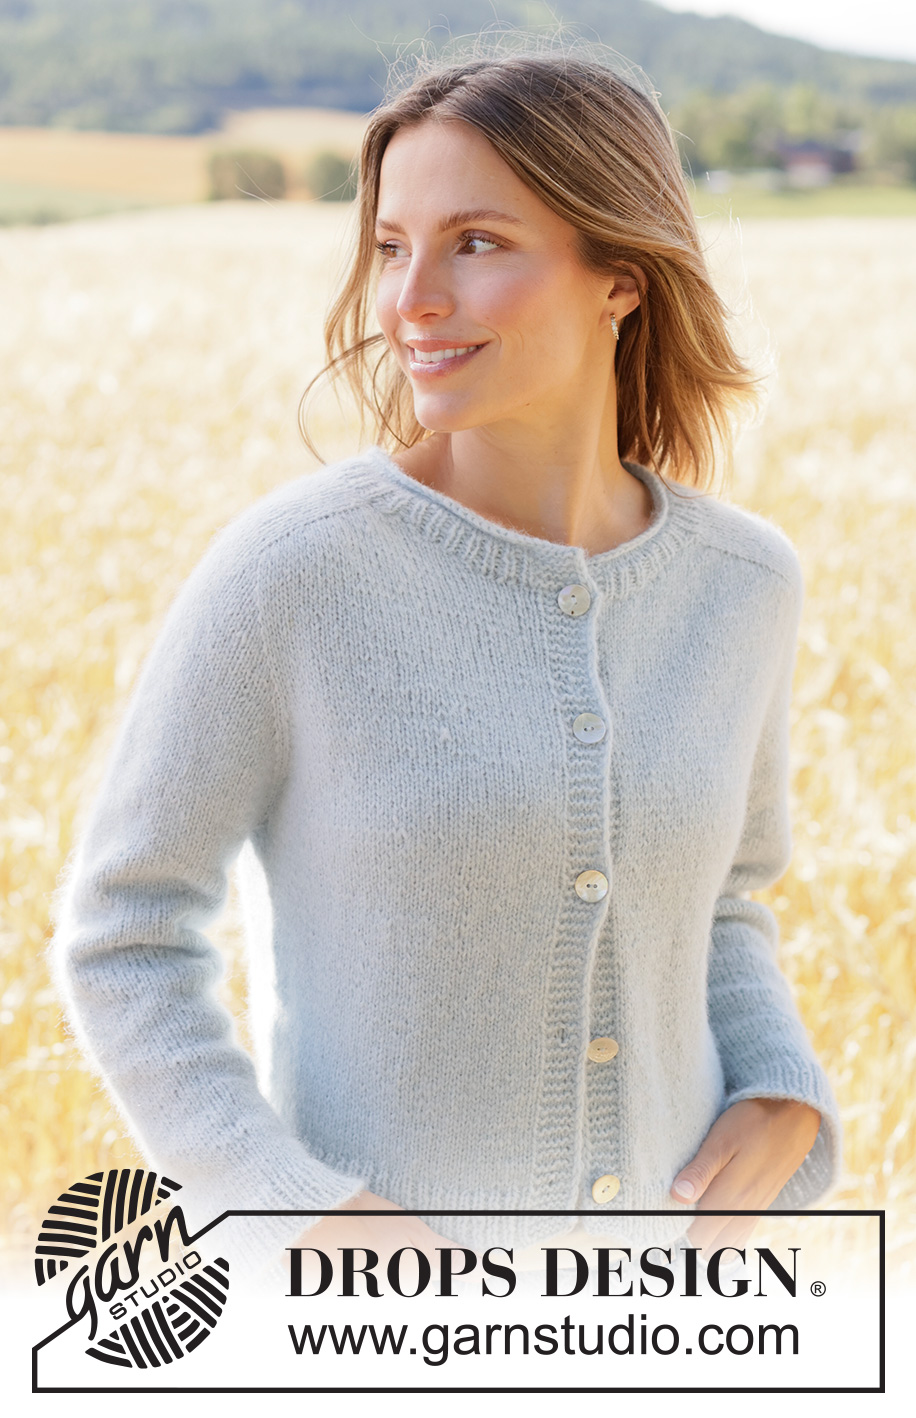
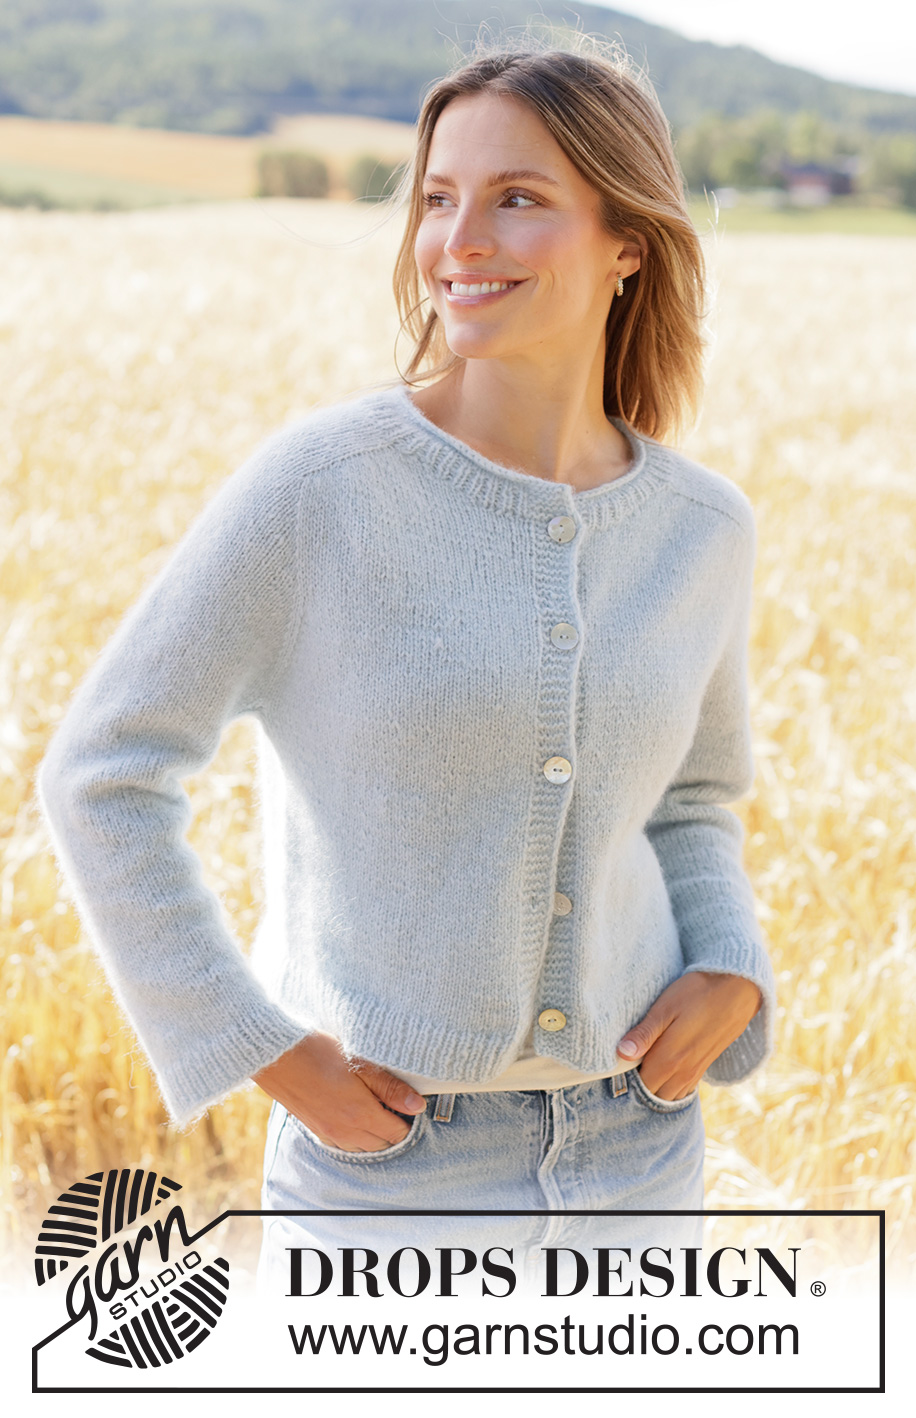
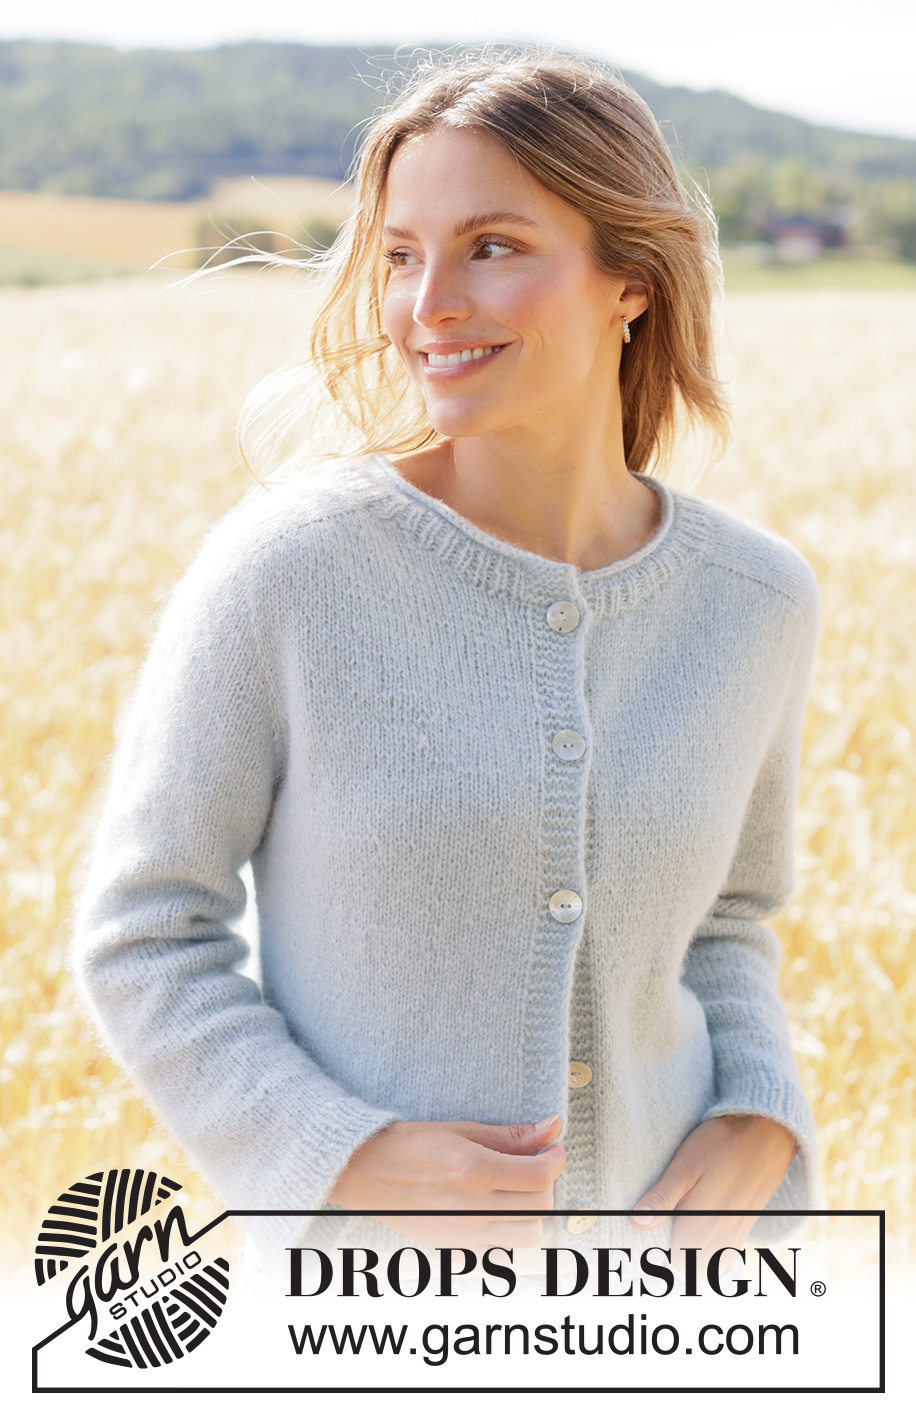
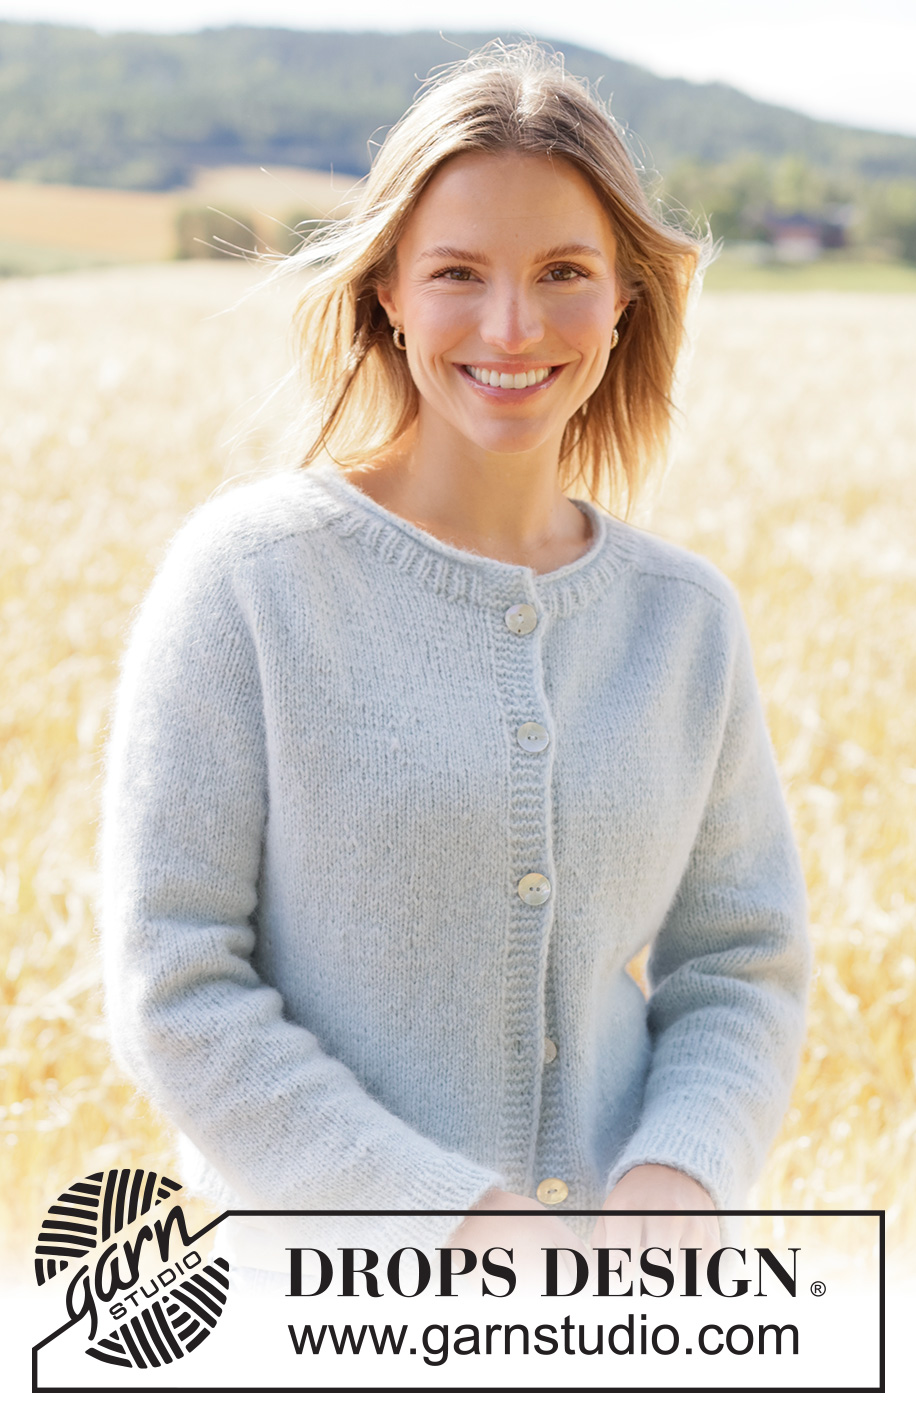
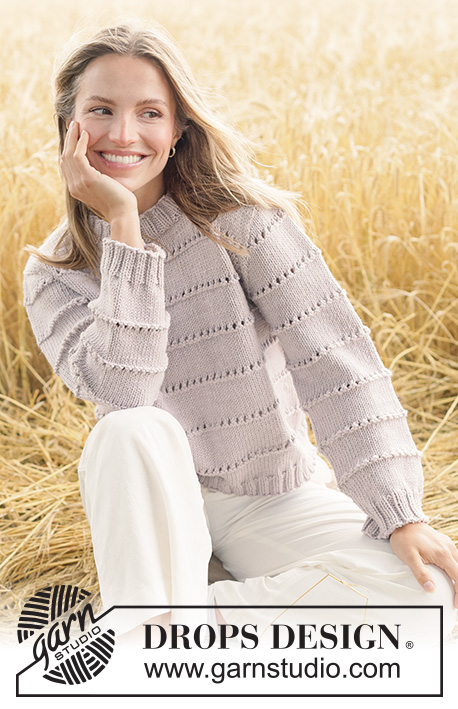
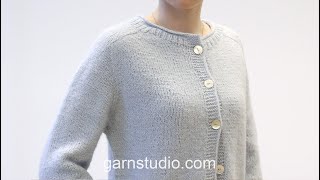
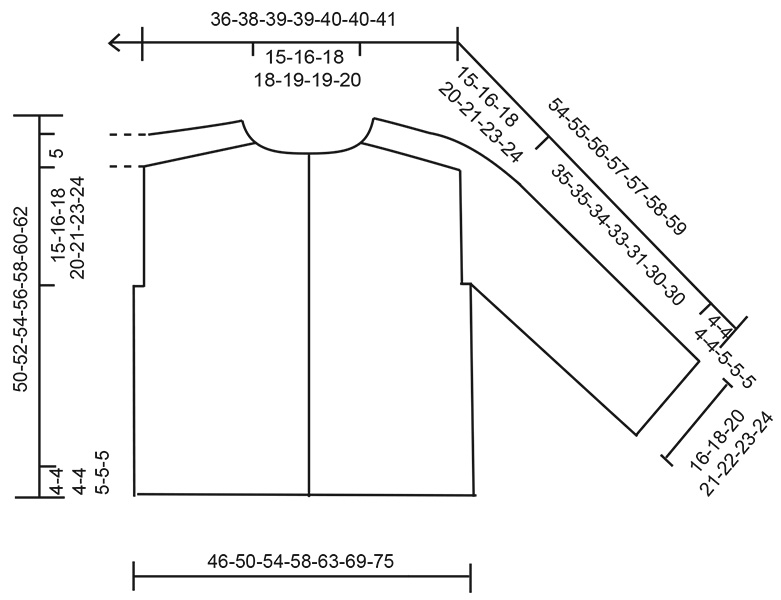
Knitted jacket in DROPS Air. The piece is worked top down in stocking stitch, with saddle shoulders, rolled neck-edge and I-cord. Sizes XS - XXXL.
DROPS 266-8 |
|
|
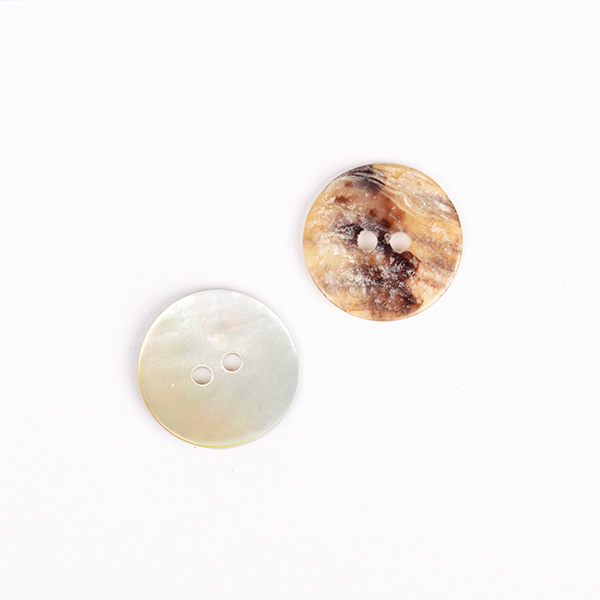
------------------------------------------------------- EXPLANATIONS FOR THE PATTERN: ------------------------------------------------------- GARTER STITCH (worked back and forth): Knit all rows, from both the right and wrong side. 1 ridge in height = knit 2 rows. INCREASE TIP-1 (from right side): INCREASE 1 STITCH TOWARDS RIGHT BEFORE MARKER: Use the left needle to pick up the strand between 2 stitches from the row below, pick up the strand from the back and knit through the stitch loop that is on the front of the needle. INCREASE 1 STITCH TOWARDS LEFT AFTER MARKER: Use the left needle to pick up the strand between 2 stitches from the row below, pick up the strand from the front and knit through the stitch loop that is on the back of the needle. INCREASE TIP-2 (from wrong side): INCREASE 1 STITCH TOWARDS LEFT BEFORE MARKER: Use the left needle to pick up the strand between 2 stitches from the row below, pick up the strand from the front and purl through the stitch loop that is on the back of the needle. INCREASE 1 STITCH TOWARDS RIGHT AFTER MARKER: Use the left needle to pick up the strand between 2 stitches from the row below, pick up the strand from the back and purl through the stitch loop that is on the front of the needle. BANDS WITH I-CORD: BEGINNING OF ROW: Work the band as follows (7 stitches): Slip 1 stitch purl-wise with yarn in front, knit 1, work 5 garter stitches. END OF ROW: Work the band as follows (7 stitches): Work until there are 7 stitches left on the row, work 5 garter stitches, slip 1 stitch purl-wise with yarn in front, knit 1. Work like this from both the right and wrong side. BUTTONHOLES: Work the buttonholes on the right band (when the garment is worn) from the right side, when there are 5 stitches left on the row as follows: ROW 1 (right side): Make 1 yarn over, knit 2 together, knit 1, slip 1 purl-wise with strand in front, knit 1. ROW 2 (wrong side): Work the band as before, knit the yarn over to leave a hole. The first buttonhole is worked on the first row from the right side after the stitches are cast on for the bands. Then work the other 4-4-5-5-5-6-6 buttonholes with 10½-10½-9-9-9½-8-8½ cm between each one. SLEEVE TIP: When knitting up stitches under the sleeve, you can get a small hole in the transition between stitches on the body and sleeve. This hole can be closed by picking up the strand between 2 stitches and working this strand twisted together with the first stitch between body and sleeve. DECREASE TIP: Decrease 1 stitch on each side of the marker-thread as follows: Work until there are 3 stitches left before the marker-thread, knit 2 together, knit 2 (marker-thread sits between these 2 stitches), slip 1 stitch knit-wise, knit 1 and pass the slipped stitch over the knitted stitch (2 stitches decreased). ------------------------------------------------------- START THE PIECE HERE: ------------------------------------------------------- JACKET – SHORT OVERVIEW OF THE PIECE: The pattern uses both long and short needles; start with the length which fits the number of stitches and change when necessary. The yoke is worked back and forth while increasing for the neckline. When the yoke is finished, it is divided for the body and sleeves. The body is finished back and forth, while the sleeves wait. The sleeves are worked top down in the round. Stitches are knitted up around the neckline and the neck is worked back and forth to finish. YOKE: Cast on 66-68-70-70-72-72-74 stitches with circular needle size 5 mm and DROPS Air. Insert 4 markers, each between 2 stitches and without working the stitches as follows - these markers are used when increasing for the saddle shoulders, sleeves and yoke: Count 2 stitches (= front piece), insert marker-1 before the next stitch. Count 18 stitches from marker-1, insert marker-2 before the next stitch (= sleeve). Count 26-28-30-30-32-32-34 stitches from marker-2 (= back piece), insert marker-3 before the next stitch. Count 18 stitches from marker-3, insert marker-4 before the next stitch (= sleeve). There are 2 stitches left after marker-4 (= front piece). Work stocking stitch back and forth, increasing for the shoulders and casting on for the front neckline as follows - you only increase on the front and back pieces, the stitch count on the sleeves remains the same: ROW 1 (right side) – read INCREASE TIP-1: * Knit to the first/next marker, increase 1 stitch towards the right, move the marker onto the right needle, knit 18 stitches (= sleeve), move the marker onto the right needle, increase 1 stitch towards the left *, work from *-* 1 more time, knit to end of row, cast on 2 stitches = 72-74-76-76-78-78-80 stitches. ROW 2 (wrong side) – read INCREASE TIP-2: * Purl to the first/next marker, increase 1 stitch towards the left, move the marker onto the right needle, purl 18 stitches (= sleeve), move the marker onto the right needle, increase 1 stitch towards the right *, work from *-* 1 more time, purl to end of row, cast on 2 stitches = 78-80-82-82-84-84-86 stitches. ROW 3 (right side): * Knit to the first/next marker, increase 1 stitch towards the right, move the marker onto the right needle, knit 18 stitches (= sleeve), move the marker onto the right needle, increase 1 stitch towards the left *, work from *-* 1 more time, knit to end of row, cast on 2 stitches = 84-86-88-88-90-90-92 stitches. ROW 4 (wrong side): * Purl to the first/next marker, increase 1 stitch towards the left, move the marker onto the right needle, purl 18 stitches (= sleeve), move the marker onto the right needle, increase 1 stitch towards the right *, work from *-* 1 more time, purl to end of row, cast on 2 stitches = 90-92-94-94-96-96-98 stitches. ROW 5 (right side): * Knit to the first/next marker, increase 1 stitch towards the right, move the marker onto the right needle, knit 18 stitches (= sleeve), move the marker onto the right needle, increase 1 stitch towards the left *, work from *-* 1 more time, knit to end of row, cast on 3 stitches = 97-99-101-101-103-103-105 stitches. ROW 6 (wrong side): * Purl to the first/next marker, increase 1 stitch towards the left, move the marker onto the right needle, purl 18 stitches (= sleeve), move the marker onto the right needle, increase 1 stitch towards the right *, work from *-* 1 more time, purl to end of row, cast on 3 stitches = 104-106-108-108-110-110-112 stitches. ROW 7 (right side): * Knit to the first/next marker, increase 1 stitch towards the right, move the marker onto the right needle, knit 18 stitches (= sleeve), move the marker onto the right needle, increase 1 stitch towards the left *, work from *-* 1 more time, knit to end of row and cast on 11-12-13-13-14-14-15 stitches for the neckline = 119-122-125-125-128-128-131 stitches. ROW 8 (wrong side): Work the first 7 stitches according to BANDS WITH I-CORD – read explanation above, * purl to the first/next marker, increase 1 stitch towards the left, move the marker onto the right needle, purl 18 stitches (= sleeve), move the marker onto the right needle, increase 1 stitch towards the right *, work from *-* 1 more time, purl to end of row and cast on 11-12-13-13-14-14-15 stitches = 134-138-142-142-146-146-150 stitches. There are 28-29-30-30-31-31-32 stitches on each front piece, 18 stitches on each sleeve and 42-44-46-46-48-48-50 stitches on the back piece. You have increased a total of 8 times for the saddle shoulders. INCREASE FOR SADDLE SHOULDERS: Continue stocking stitch back and forth, working bands with I-cord on each side. Continue increasing for the saddle shoulders. Work the first BUTTONHOLE – read explanation above. ROW 1 (right side): * Knit to the first/next marker, increase 1 stitch towards the right, move the marker onto the right needle, knit 18 stitches (= sleeve), move the marker onto the right needle, increase 1 stitch towards the left *, work from *-* 1 more time, knit to end of row (4 increased stitches). ROW 2 (wrong side): * Purl to the first/next marker, increase 1 stitch towards the left, move the marker onto the right needle, purl 18 stitches (= sleeve), move the marker onto the right needle, increase 1 stitch towards the right *, work from *-* 1 more time, purl to end of row (= 4 increased stitches). Work ROWS 1 and 2 until you have increased 10 times – a total of 18 increases in height for the saddle shoulders including the increases on the neckline = 174-178-182-182-186-186-190 stitches. Remember to maintain the knitting tension. There are 38-39-40-40-41-41-42 stitches on each front piece, 18 stitches on each sleeve and 62-64-66-66-68-68-70 stitches on the back piece. Now increase for the sleeves. INCREASE FOR SLEEVES: Increase only on the sleeves, the stitch count on the front and back pieces remains the same. Work stocking stitch and the bands, and increase 4 stitches every row from the right side as follows - remember INCREASE TIP-1: ROW 1 (right side): * Work to the first/next marker, move the marker onto the right needle, increase 1 stitch towards the left, knit to the next marker, increase 1 stitch towards the right, move the marker onto the right needle, *, work from *-* 1 more time, knit to end of row (= 4 increased stitches). ROW 2 (wrong side): Work the band as before, purl until there are 7 stitches left, work the band as before. Work ROWS 1 and 2 a total of 10-10-10-10-8-5-3 times (20-20-20-20-16-10-6 rows worked) = 214-218-222-222-218-206-202 stitches. There are 38-39-40-40-41-41-42 stitches on each front piece, 38-38-38-38-34-28-24 stitches on each sleeve and 62-64-66-66-68-68-70 stitches on the back piece. Now increase for both the yoke and the sleeves as follows. INCREASE FOR YOKE: Work stocking stitch and increase on both the sleeves and the front and back pieces, increasing 8 stitches each row from the right side (i.e., increasing 1 stitch before and after each marker) as follows: ROW 1 (right side): * Work until there is 1 stitch left before the first marker, increase 1 stitch towards the right, knit 1, move the marker onto the right needle, increase 1 stitch towards the left, knit to the next marker, increase 1 stitch towards the right, move the marker onto the right needle, knit 1, increase 1 stitch towards the left *, work from *-* 1 more time, knit to end of row (8 increased stitches). ROW 2 (wrong side): Work the band as before, purl until there are 7 stitches left, work the band as before. Work ROWS 1 and 2 a total of 6-8-10-12-15-20-23 times (12-16-20-24-30-40-46 rows worked) = 262-282-302-318-338-366-386 stitches. There are 44-47-50-52-56-61-65 stitches on each front piece, 50-54-58-62-64-68-70 stitches on each sleeve and 74-80-86-90-98-108-116 stitches on the back piece. The piece measures approx. 20-21-23-25-26-28-29 cm from outermost on the shoulder (= 5 cm shoulder-depth and 15-16-18-20-21-23-24 cm sleeve-increases). Now divide for the body and sleeves. DIVIDE FOR BODY AND SLEEVES: Work 44-47-50-52-56-61-65 stitches as before (= front piece), place the next 50-54-58-62-64-68-70 stitches on a stitch holder for the sleeve, cast on 4-6-6-8-10-10-12 stitches (mid-under the sleeve), work 74-80-86-90-98-108-116 stitches as before (= back piece), place the next 50-54-58-62-64-68-70 stitches on a stitch holder for the sleeve, cast on 4-6-6-8-10-10-12 stitches (mid-under the sleeve), work the last 44-47-50-52-56-61-65 stitches as before (= front piece). The body and sleeves are finished separately. BODY: = 170-186-198-210-230-250-270 stitches. Continue stocking stitch and the bands back and forth until the piece measures 46-48-50-52-53-55-57 cm from the cast-on edge mid-back. On the next row from the right side, begin the rib, AT THE SAME TIME increase 29-29-31-35-35-39-43 stitches evenly on the row (do not increase across the bands) = 199-215-229-245-265-289-313 stitches. Change to circular needle size 3.5 mm. Work the band as before, work rib (knit 1, purl 1 - remember to increase) until there are 8 stitches left, knit 1 and work the band as before. When the rib measures 4-4-4-4-5-5-5 cm, cast off. The jacket measures approx. 50-52-54-56-58-60-62 cm from the cast-on edge mid-back. SLEEVES: Place the 50-54-58-62-64-68-70 sleeve-stitches from one stitch holder onto circular needle size 5 mm and knit up 1 stitch in each of the 4-6-6-8-10-10-12 stitches cast on under the sleeve – read SLEEVE TIP = 54-60-64-70-74-78-82 stitches. Insert a marker-thread in the middle of the 4-6-6-8-10-10-12 stitches under the sleeve. The round starts by the marker-thread. Work stocking stitch in the round. AT THE SAME TIME, when the sleeve measures 1 cm from the division, decrease mid-under the sleeve – read DECREASE TIP as follows: Decrease 2 stitches 2 times every 2nd round, then decrease 2 stitches every 4-4-4-3½-3-3-2 cm, 1-3-4-6-7-8-9 times = 48-50-52-54-56-58-60 stitches. Continue working until the sleeve measures 35-35-34-33-31-30-30 cm from the division. Change to double pointed needles size 3.5 mm. Work rib (knit 1, purl 1), AT THE SAME TIME increase 4-6-6-6-6-6-6 stitches evenly on the first round = 52-56-58-60-62-64-66 stitches. When the rib measures 4-4-4-4-5-5-5 cm, cast off with rib. The sleeve measures approx. 39-39-38-37-36-35-35 cm from the division. NECK: Use circular needle size 3.5 mm. Start from the right side, mid-front and knit up 113 to 133 stitches along the neckline. The stitch count must be divisible by 2+1. Work the first row from the wrong side as follows: The band as before, work rib (purl 1, knit 1) until there are 8 stitches left, purl 1 and work the band as before. Work this rib back and forth for 2-2-2-2-2½-2½-2½ cm, finishing after a row from the right side. Work 3 rows of stocking stitch, with the bands as before (= rolled edge). Use circular needle size 5 mm and cast off with knit from the right side. ASSEMBLY: Sew the buttons onto the left band. |
|
 |
|
Have you finished this pattern?Tag your pictures with #dropspattern #waterlinecardigan or submit them to the #dropsfan gallery. Do you need help with this pattern?You'll find 28 tutorial videos, a Comments/Questions area and more by visiting the pattern on garnstudio.com. © 1982-2026 DROPS Design A/S. We reserve all rights. This document, including all its sub-sections, has copyrights. Read more about what you can do with our patterns at the bottom of each pattern on our site. |
|



With over 40 years in knitting and crochet design, DROPS Design offers one of the most extensive collections of free patterns on the internet - translated to 17 languages. As of today we count 333 catalogues and 12536 patterns translated into English (UK/cm). 12536
We work hard to bring you the best knitting and crochet have to offer, inspiration and advice as well as great quality yarns at incredible prices! Would you like to use our patterns for other than personal use? You can read what you are allowed to do in the Copyright text at the bottom of all our patterns. Happy crafting!
Post a comment to pattern DROPS 266-8
We would love to hear what you have to say about this pattern!
If you want to leave a question, please make sure you select the correct category in the form below, to speed up the answering process. Required fields are marked *.