
Looking for a yarn?


Comments / Questions (113)
![]() Mathilde wrote:
Mathilde wrote:
Bonjour, je ne comprends pas pour la division à l'empiècement, je tricote un taille S je suis censée avoir 39 mailles pour les manches et 61 pour le devant mais j'ai 55 mailles pour le devant (19+18*2=55) et 43 mailles pour les manches (15+14*2=43), sans compter les mailles qui servent de repère pour les augmentations. Je ne comprends pas où je me suis trompée, pouvez-vous m'aider svp
27.11.2025 - 18:42DROPS Design answered:
Bonjour Mathilde, vous avez tout juste, mais la division ne va pas se faire exactement au raglan, autrement dit, on attribue 2 m de chaque côté des manches + les mailles des raglans au devant et au dos; pour le demi-dos vous aviez 10 m + 18= 28 + 1 m du raglan + 2 m de la manche =31; pour la manche vous aviez 15+14x2=43 - 2 m pour le dos - 2 m pour le devant = 39 m, pour le devant, vous aviez 19 m x 18x2= 55 m + 2 m des manches + les m des raglans = 61 m, et pour la dernière manche, comme la 1ère, les 2 dernières m de la manche sont pour le dos. Bon tricot!
28.11.2025 - 07:53
![]() Lea wrote:
Lea wrote:
Bonjour, Cela fait deux fois que je recommence ce pull. À nouveau, les manches sont asymétriques lors de mon deuxième essai. Elles le sont moins qu’au premier (je n’avais pas augmenté où il le fallait pour le devant et le dos). Quel pourrait-être le problème ? J’ai besoin de votre éclairage! Merci beaucoup,
24.11.2025 - 20:38
![]() Heidi Hammes wrote:
Heidi Hammes wrote:
Die 260 maschen in grösse xxl Werden die 4 Raglanmaschen mitgezählt? Meine Fragen werden leider nicht mehr beantwortet Mfg Heidi
19.11.2025 - 17:11DROPS Design answered:
Liebe Frau Hammes, ja genau sie sind damit mitgezählt und zwar : es sind 84 M für die Halsblende, man wird für Raglan 8 Maschen insegsamt 22 Mal = 84+ (22x8)=260 Maschen. Viel Spaß beim Stricken!
20.11.2025 - 08:51
![]() Heidi Hammes wrote:
Heidi Hammes wrote:
Bei der passe in grösse xxl sollen es 260 maschen sein. Bei mir sind es 260 maschen, aber ohne die 4 Raglan maschen. Ist das richtig so??? Eine Antwort wäre schön. Mfg Heidi
17.11.2025 - 15:15
![]() Lene wrote:
Lene wrote:
"2.PINNE (vrangen): Strikk glattstrikk og snu når du har strikket 3 masker forbi det siste merket. 3.PINNE (retten): Strikk glattstrikk og øk til raglan på hver side av alle merkene, (8 masker økt), snu når du har strikket 2 masker mer enn ved forrige vending. " Hvordan får man økt til raglan på alle merkene hvis det siste merket på 2. pinne er nr. 4 og ikke nr. 3?
14.11.2025 - 17:34DROPS Design answered:
Hei Lene. Ta en titt på den generelle hjelpevideoen: Hvordan øke til raglan samtidig som det strikkes forkortete pinner. Du finner den til høyre / eller under bildet. mvh DROPS Design
17.11.2025 - 14:45
![]() Anna wrote:
Anna wrote:
Tack för svaret, dock stämmer inte det ni säger med antalet maskor för fram/bakstycken och ärmar. Ni säger att jag ska ha 51 maskor för varje ärm och 67 för fram/bakstycke. Men det blir 55 maskor för varje ärm och 63 för fram/bakstycke i storlek L med korrekta ökningar. Därför blir det skevt så att 2 maskor från första ärmen går till bakstycket och 6 maskor till framstycket. Sen 2 maskor av andra ärmen till framstycket och 6 maskor till bakstycket. Kan ni se över detta?
10.11.2025 - 22:27DROPS Design answered:
Hei Anna. Du startet med 23 masker på for - og bakstykket. På for-og bakstykket økes det 22 ganger x 4 steder = 44 økte masker på forstykket og 44 masker på bakstykket = 23+44=67 masker på forstykket og 67 masker på bakstykket. Du startet med 15 masker på ermene og det økes 18 ganger på hver erme = 36 økte masker + 15 masker = 51 masker på hver erme. 67+67+15+15+4= 240 masker. mvh DROPS Design
24.11.2025 - 12:48
![]() Marianne wrote:
Marianne wrote:
For det første: forstår nå at jeg må strikke frem og tilbake, men: «2.PINNE (vrangen): Strikk glattstrikk og snu når du har strikket 3 masker forbi det siste merket» Betyr dette 4. merket?
10.11.2025 - 14:09DROPS Design answered:
Hei Marianne, Ja, det siste merket er 4. merket. Hilsen Drops Team.
11.11.2025 - 06:52
![]() Marianne wrote:
Marianne wrote:
Hei Kan man ikke bare strikke rundt, i stedet for å snu i starten av arbeidet (ragland)?
08.11.2025 - 17:30DROPS Design answered:
Hei Marianne. I begynnelsen strikkes det forkortede pinner, slik at det blir en forhøyning bak. Denne må strikkes frem og tilbake. mvh DROPS Design
10.11.2025 - 15:04
![]() Anna wrote:
Anna wrote:
Vid uppdelning av fram- och bakstycke och ärmar. Jag stickar strl L. Om jag stickar 37 maskor så hamnar jag 2 maskor förbi M1, och efter att ha flyttat över 47 maskor för ärm har jag 5 maskor kvar innan M2. Sen blir det 2 maskor förbi M3 och 5 kvar innan M4. Blir inte detta snett? Vore mer rimligt om det te.x var 5 maskor förbi/kvar till markör närmast framstycket och 2 förbi/kvar närmast bakstycket, eller tvärt om. Eller tänker jag helt fel?
03.11.2025 - 18:56
![]() HEIDI HAMMES wrote:
HEIDI HAMMES wrote:
Hallo, stricke XXL Wie viele maschen befinden sich jeweils zwischen den Markierungen nach den verkürzte n Reihen? Für Hilfe wäre ich dankbar. Mfg Heidi
29.10.2025 - 17:02DROPS Design answered:
Hi Haidi, in size XXL, after short rows, you will have 19 sts between the markers 1 and 2 / 3 and 4, 29 sts between the markers 2 and 3 / 1 and 4, and 4 raglan stitches (with markers), in total 19+19+29+29+4=100 sts. Happy knitting!
18.11.2025 - 10:12
|
|
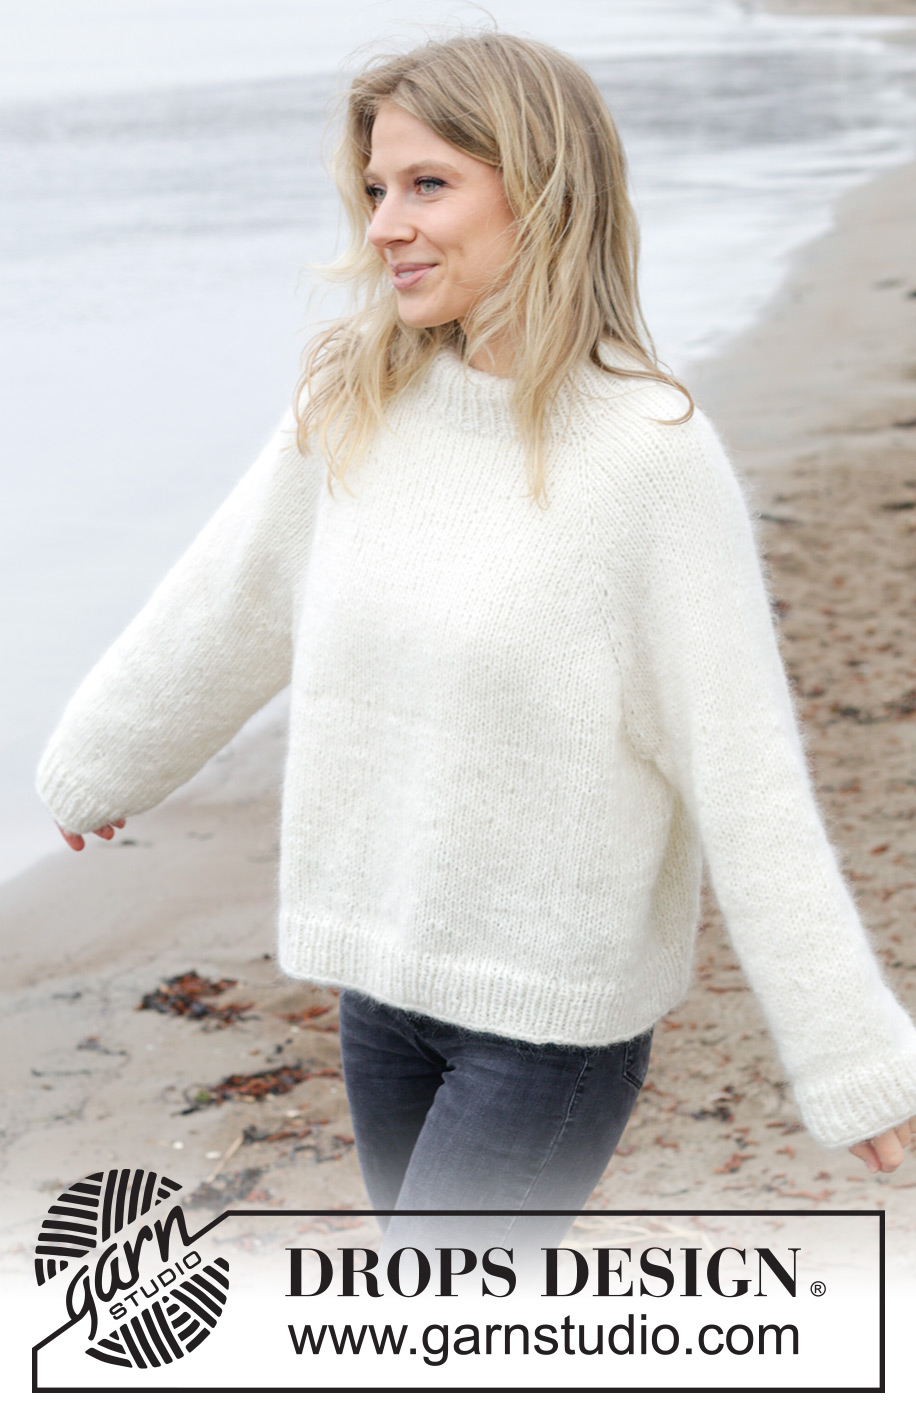
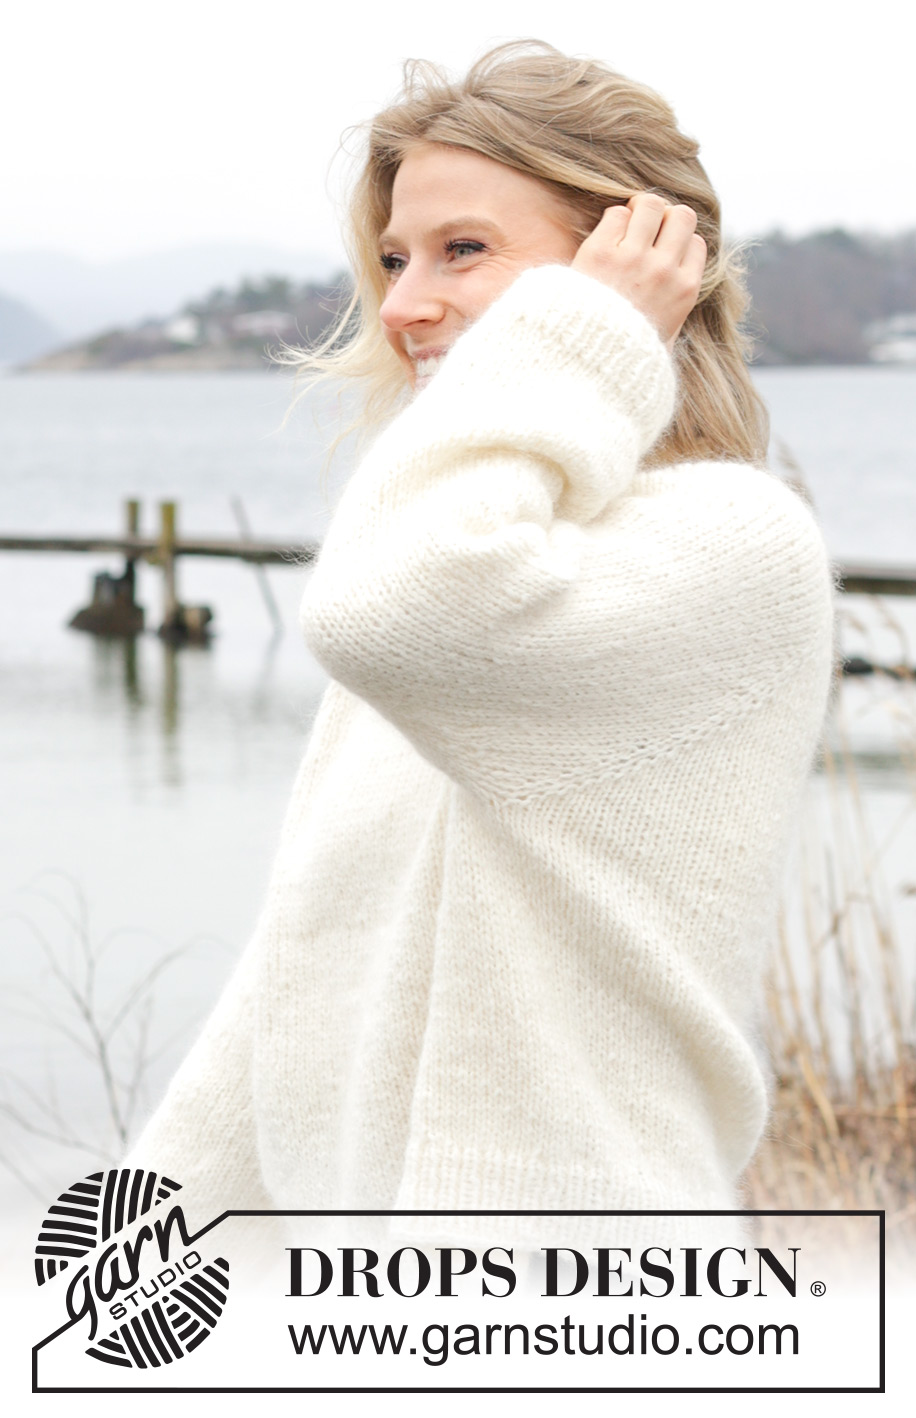
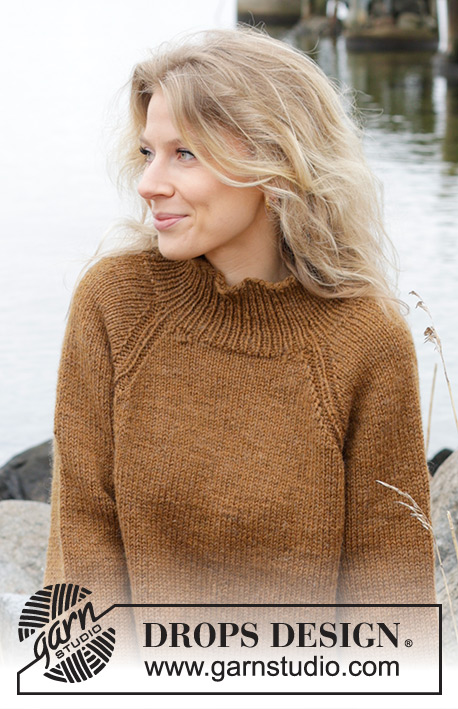
Sweet November#sweetnovembersweater |
|
 |
 |
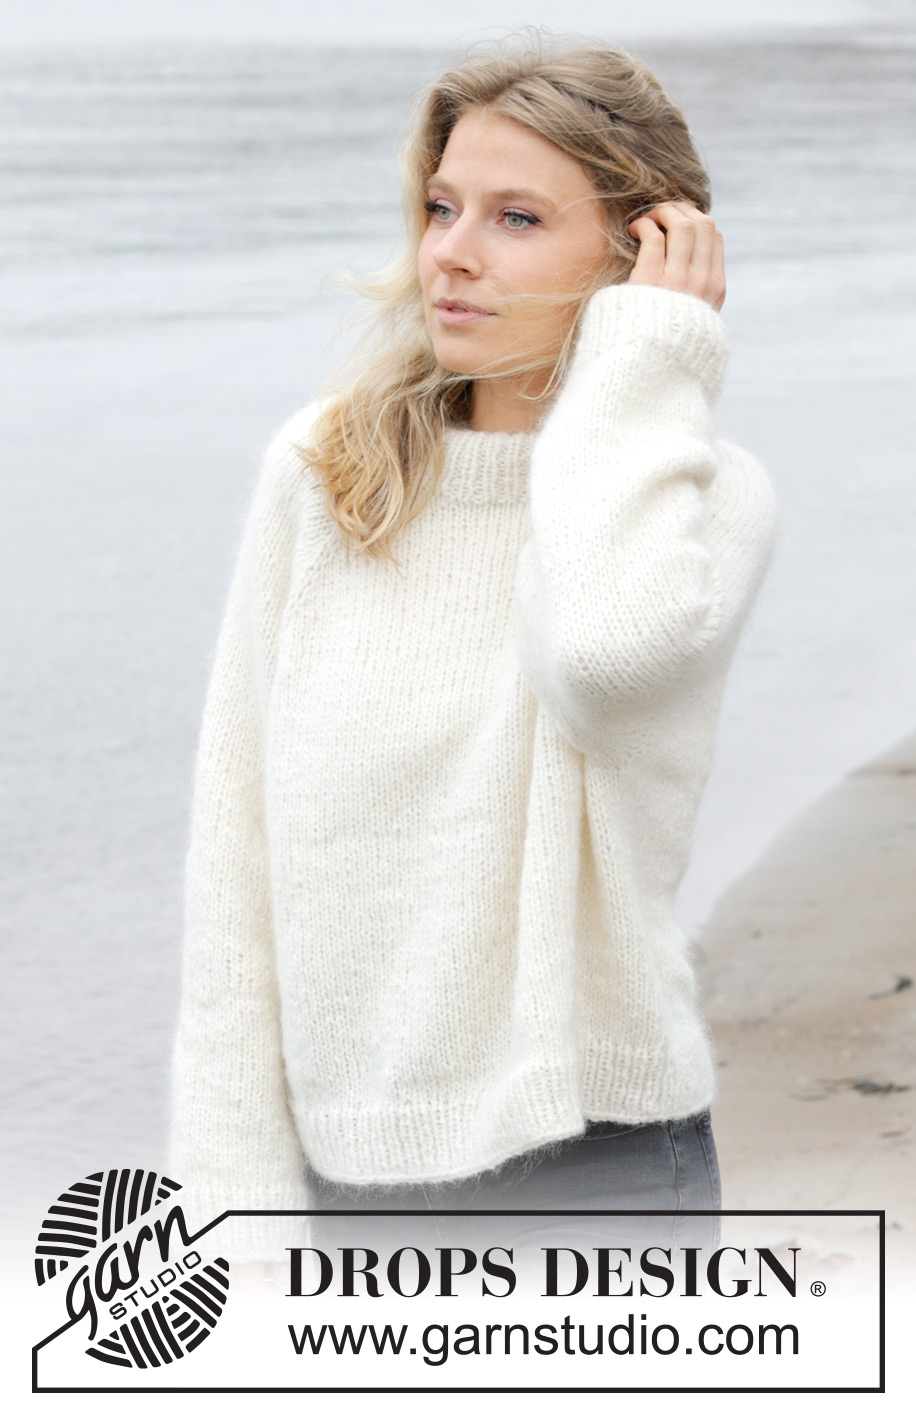
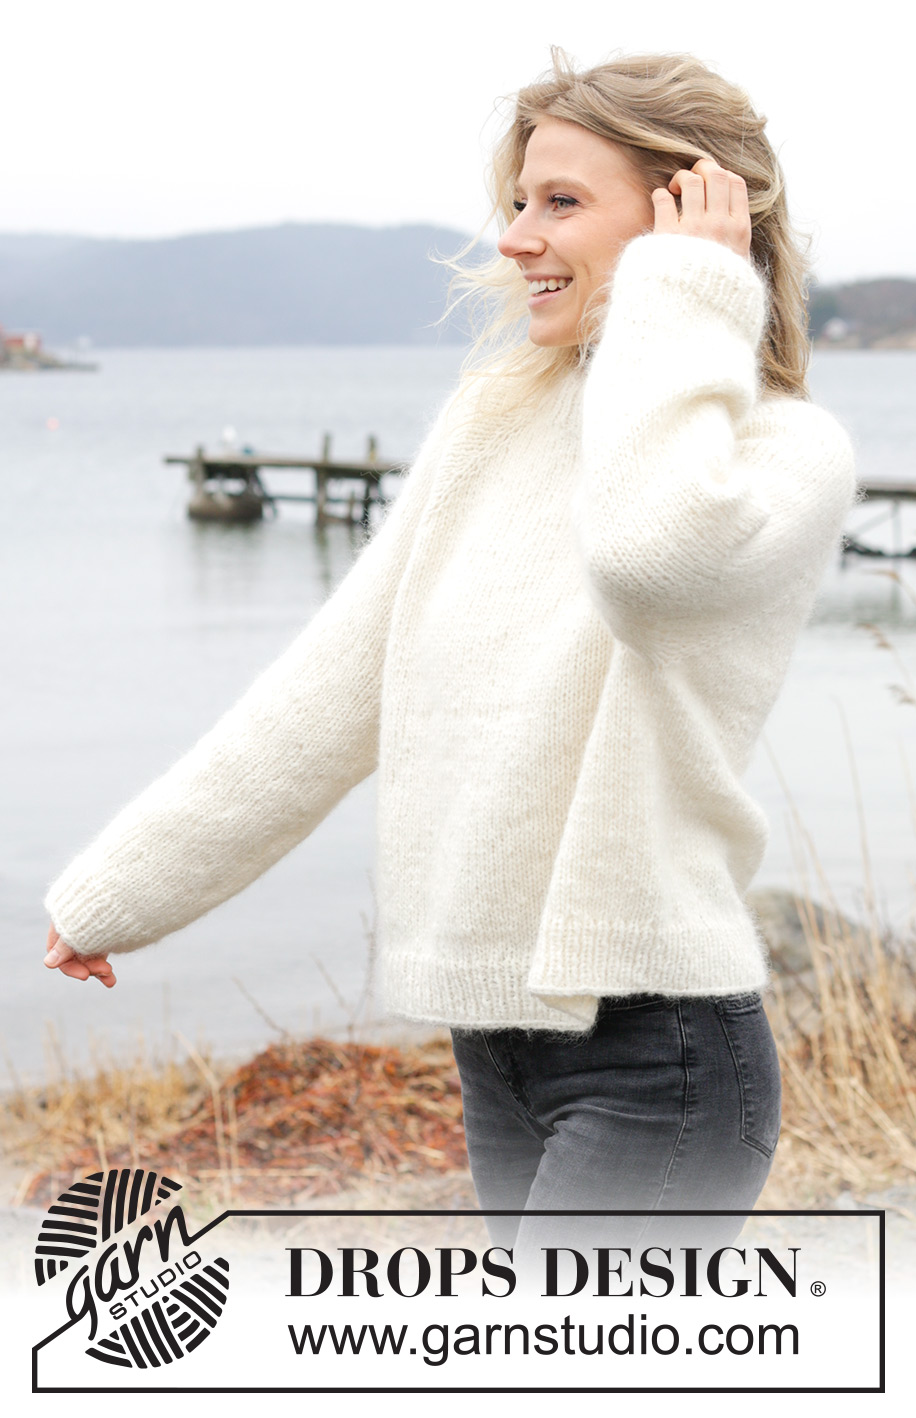
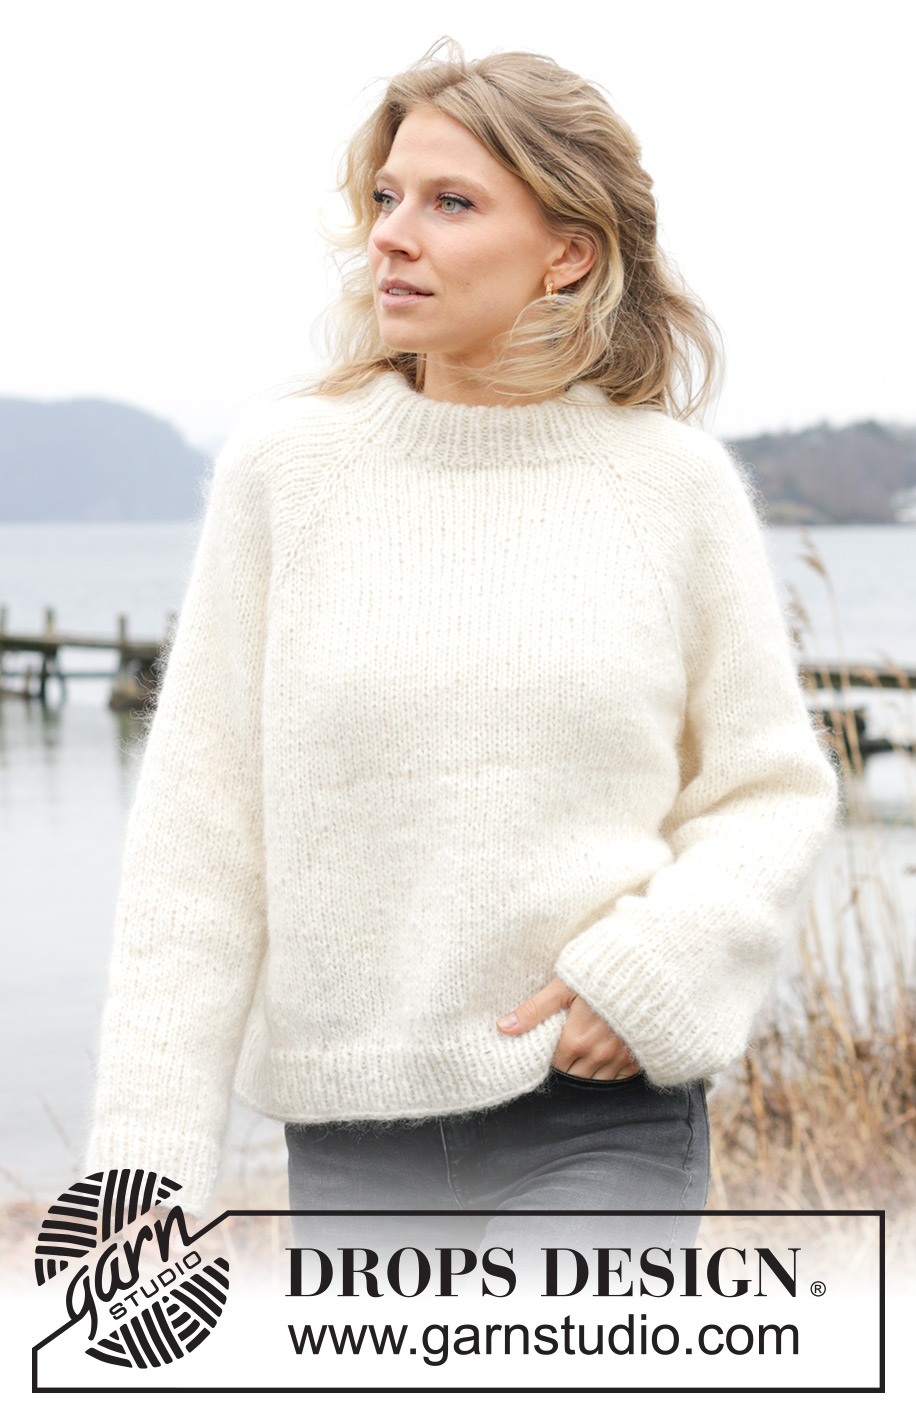
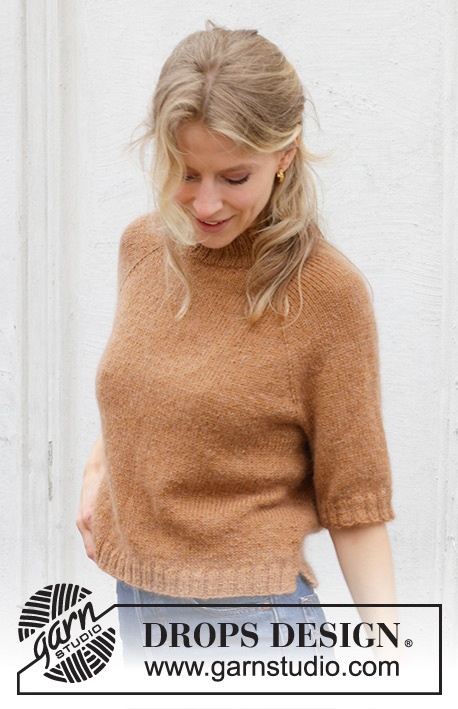
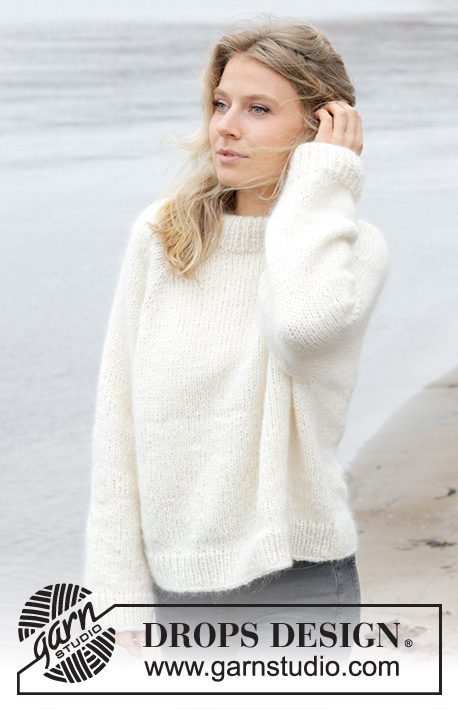
Knitted jumper in DROPS Air and DROPS Kid-Silk. The piece is worked top down with raglan. Sizes XS - XXL.
DROPS 243-13 |
|
|
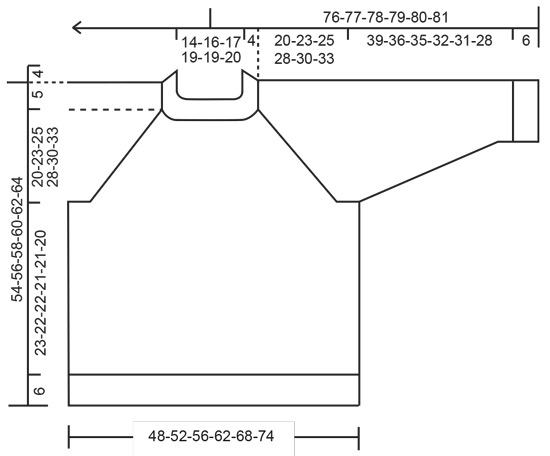
------------------------------------------------------- EXPLANATIONS FOR THE PATTERN: ------------------------------------------------------- RAGLAN: Increase 1 stitch before/after the marker-stitch, in each transition between the body and sleeves, by making 1 yarn over. When working back and forth the yarn overs are worked as follows from the wrong side: BEFORE MARKER: Purl the back loop = no hole. AFTER MARKER: Slip the yarn over and place it back on the left needle the other way round (insert the left needle through the back when replacing it). Purl the front loop = no hole. When working in the round the yarn overs are worked as follows on the next round: BEFORE MARKER: Slip the yarn over and place it back on the left needle the other way round (insert the left needle through the back when replacing it). Knit the front loop (stitch twists to the right) = no hole. AFTER MARKER: Knit the back loop (stitch twists to the left) = no hole. DECREASE TIP (for sleeves): Start 3 stitches before the marker-thread, knit 2 together, knit 2 (marker-thread sits between these 2 stitches), slip 1 stitch knit-wise, knit 1 and pass the slipped stitch over the knitted stitch. ------------------------------------------------------- START THE PIECE HERE: ------------------------------------------------------- JUMPER – SHORT OVERVIEW OF THE PIECE: The neck and yoke are worked in the round with circular needle, top down. The yoke is divided for body and sleeves and the body is continued in the round with circular needle. The sleeves are worked with short circular needle/double pointed needles. DOUBLE NECK: Cast on 68-72-76-80-80-84 stitches with 1 strand DROPS Air and 1 strand DROPS Kid-Silk using short circular needles size 4.5 and 6 mm held together. Remove the needle size 6 mm keeping the stitches on needle size 4.5 mm (this gives you an elastic cast-on edge). Work rib in the round (knit 1, purl 1) for 9 cm. Fold the neck double to the inside and work 1 more round of rib, working every 2nd stitch together with its corresponding stitch on the cast-on edge. You now have a double neck. Insert 4 markers without working the stitches and each marker being inserted in a knitted stitch (not between stitches). The markers are used when increasing for raglan. Insert 1 marker-thread at the beginning of the round = approx. mid-back. Count 10-10-12-12-12-14 stitches (approx. half back piece), insert marker-1 in the next stitch, count 15 stitches (sleeve), insert marker-2 in the next stitch, count 17-19-21-23-23-25 stitches (front piece), insert marker-3 in the next stitch, count 15 stitches (sleeve), insert marker-4 in the next stitch, count 7-9-9-11-11-11 stitches (approx. half back piece) NECKLINE: Change to circular needle size 6 mm and work short rows from mid-back as follows: ROW 1 (right side): Knit and increase for RAGLAN – read description above, on each side of the first 2 marker-stitches (4 stitches increased), turn when you have knitted 3 stitches past marker-stitch 2. ROW 2 (wrong side): Purl and turn when you have worked 3 stitches past the last marker-stitch. ROW 3 (right side): Knit and increase for raglan on each side of the all marker-stitches (8 stitches increased), turn when you have knitted 2 stitches past the previous turn. ROW 4 (wrong side): Purl and turn when you have purled 2 stitches past the previous turn. ROW 5 (right side): Knit and increase for raglan on each side of the first 2 marker-stitches (4 stitches increased), knit to mid-back. The short rows are finished and you have increased 2 times for raglan by each marker-stitch = 84-88-92-96-96-100 stitches. Knit 1 round. YOKE: Start mid-back and continue with stocking stitch in the round over all stitches. AT THE SAME TIME continue increasing for raglan every 2nd round a total of 8-10-12-14-20-22 times (including the increases on the short rows) = 132-152-172-192-240-260 stitches. Then continue increasing for raglan but every 2nd increase is only on the body (4 increased stitches) i.e., increase on the body every 2nd round and on the sleeves every 4th round. Increase like this 8-8-8-8-4-4 times on the body (4-4-4-4-2-2 times on the sleeves). You have increased a total of 16-18-20-22-24-26 times on the body and 12-14-16-18-22-24 times on the sleeves. There are 180-200-220-240-264-284 stitches and the yoke measures approx. 20-23-25-28-30-33 cm from mid-back (after neck edge). Continue working, if necessary, to the correct length. On the next round divide for the body and sleeves as follows: Knit 29-31-35-37-41-45 (approx. half back piece), place the next 35-39-43-47-51-55 stitches on a thread for the sleeve, cast on 12-12-12-14-14-16 stitches (in side under sleeve), knit 55-61-67-73-81-87 (front piece), place the next 35-39-43-47-51-55 stitches on a thread for the sleeve, cast on 12-12-12-14-14-16 stitches (in side under sleeve), knit the last 26-30-32-36-40-42 stitches (approx. half back piece). The body and sleeves are finished separately. The piece is now measured from here! BODY: = 134-146-158-174-190-206 stitches. Continue with stocking stitch in the round for a further 23-22-22-21-21-20 cm. Knit 1 round and increase 30-30-32-36-42-46 stitches evenly spaced = 164-176-190-210-232-252 stitches. Change to circular needle size 4.5 mm. Work rib (knit 1, purl 1) for 6 cm. Cast off. The jumper measures approx. 54-56-58-60-62-64 cm from the shoulder down. SLEEVES: Place the 35-39-43-47-51-55 stitches from the thread on the one side of the piece on short circular needle/double pointed needles size 6 mm and knit up 1 stitch in each of the new stitches cast on under the sleeve = 47-51-55-61-65-71 stitches. Insert a marker-thread in the middle of the 12-12-12-14-14-16 stitches under the sleeve. Allow the thread to follow your work onwards, it is used when decreasing under the sleeve. Start at the marker-thread and work stocking stitch in the round. When the sleeve measures 4 cm from division, decrease 2 stitches mid under sleeve – read DECREASE TIP. Decrease like this every 15-7-5½-3-2½-2 cm a total of 3-5-6-9-10-12 times = 41-41-43-43-45-47 stitches. Continue working until the sleeve measures 39-36-35-32-31-28 cm from the division. Knit 1 round and increase 7-7-7-9-9-9 stitches evenly spaced = 48-48-50-52-54-56 stitches. Change to double pointed needles size 4.5 mm and work rib (knit 1, purl 1) for 6 cm. Cast off. The sleeve measures approx. 45-42-41-38-37-34 cm from the division. Work the other sleeve in the same way. |
|
 |
|
Have you finished this pattern?Tag your pictures with #dropspattern #sweetnovembersweater or submit them to the #dropsfan gallery. Do you need help with this pattern?You'll find 31 tutorial videos, a Comments/Questions area and more by visiting the pattern on garnstudio.com. © 1982-2025 DROPS Design A/S. We reserve all rights. This document, including all its sub-sections, has copyrights. Read more about what you can do with our patterns at the bottom of each pattern on our site. |
|


With over 40 years in knitting and crochet design, DROPS Design offers one of the most extensive collections of free patterns on the internet - translated to 17 languages. As of today we count 320 catalogues and 12094 patterns translated into English (UK/cm). 12094
We work hard to bring you the best knitting and crochet have to offer, inspiration and advice as well as great quality yarns at incredible prices! Would you like to use our patterns for other than personal use? You can read what you are allowed to do in the Copyright text at the bottom of all our patterns. Happy crafting!
Post a comment to pattern DROPS 243-13
We would love to hear what you have to say about this pattern!
If you want to leave a question, please make sure you select the correct category in the form below, to speed up the answering process. Required fields are marked *.