
Beliebte Kategorien
Suchen Sie nach einem Garn?


















Kommentare / Fragen (434)
Lesley Anne hat geschrieben:
There only seems to be one leg opening on this pattern. Can anyone make it more clear, as I am finding the whole thing very confusing.
07.10.2015 - 23:23DROPS Design hat geantwortet:
Dear Lesley Anne, when piece measures 12-16-20 cm, you put the first 10-16-22 sts on a st holder (= stomach), bind off 1 st (1st opening for leg), work the remaining sts on row, turn and bind off 1st st (2nd opening for leg) = 64-94-130 sts for back piece. You then work first on the sts for back piece, knit back the stomach sts from st holder to the same height (= 1 st bound off on each side = opening for legs). Happy knitting!
08.10.2015 - 09:42
 Wendy Helm hat geschrieben:
Ok, another question. When binding off under the stomach there are 22 stitches in the first section but I need to bind off 28, should I bind off 3 stitches either side of those 22 to get to the 28 so it's even? Would I then continue on by not doing the first 3 and last 3 stitches in the pattern? Thanks
05.10.2015 - 15:30DROPS Design hat geantwortet:
Dear Mrs Helm, you can add 3 sts either side of these 22 sts so that they are centered: 3 sts before the 22 sts worked separatelly for stomach + 3 sts after these = 28 sts. Happy knitting!
05.10.2015 - 16:28
Wendy Helm hat geschrieben:
Can you verify that this is correct? bind off 3 sts at the beg of row 1 and 2 (= at the beg of row each side) = 6STS Repeat this section twice for size large {then 2 sts at the beg of the next next 4 rows 8STS (2 sts each side) then 1 st at the beg of the next 4 rows 4STS (2 sts each side) then 2 sts at the beg of next 4 rows 8 STS (=2 sts each side) } all sizes finally 3 sts at the beg of next 2 rows (=3 sts each side) 6STS
03.10.2015 - 23:47DROPS Design hat geantwortet:
Dear Mrs Helm, When you bind off 3 sts each side = 6 sts bound off. When you dec 2 sts a total of 4 times:: you bind off 8 sts on each side = 16 sts in total. When bind off 1 st 4 times, you bind off 4 sts each side = 8 sts in total. When you bind off 3 sts on each side = 6 sts bound off in total - see also description below. Happy knitting!
05.10.2015 - 09:25
Wendy Helm hat geschrieben:
Ok so 3 sts 1 time, if done on both ws and rs that's 6 sts? That will throw off the number of ending sts? As well 1 st 3 times would only allow for ws, rs and ws? So totally confused, if you could give a complete breakdown row by row of how this is bound off I'd appreciate it. Now work the piece back and forth on needle – at the same time bind off each side on every other row: 3 sts 1 time, 2 sts 2-3-4 time, 1 st 2-3-4 times, 2 st 2-3-4 times and 3 sts 1 time = 32-50-74 sts left
03.10.2015 - 23:02DROPS Design hat geantwortet:
Dear Mrs Helm, bind off 3 sts at the next row from RS, then 3 sts at the beg of next row from WS - then *bind off 2 sts at the beg of next row from RS, bind off 2 sts at the beg of next row from WS* repeat from *-* a total of 4 times, then bind off *1 st at beg of row from RS, 1 st at beg of row from WS*, repeat from *-* a total of 4 times, then *bind off 2 sts at beg of row from RS, bind off 1 sts at beg of row from WS*, repeat from *-* a total of 4 times, then bind off 3 sts at beg of row from RS, and 3 sts at the beg of row from WS. Happy knitting!
05.10.2015 - 09:19
Wendy Helm hat geschrieben:
The pattern states at the same time bind off each side on every other row: 3 sts 1 time, 2 sts 2-3-4 time, 1 st 2-3-4 times, 2 st 2-3-4 times and 3 sts 1 time = 32-50-74 sts left Did you leave out something in the post because it doesn't come out to what the pattern states? And it states every other row? So confused? If I follow the pattern I'm left with 75 stitches not 74? Thanks
03.10.2015 - 22:46DROPS Design hat geantwortet:
See below.
05.10.2015 - 09:15
Wendy Helm hat geschrieben:
Ok confused about the end of the pattern I'm doing the largest size, you posted the following you will bind off 3 sts at the beg of row 1 and 2 (= at the beg of row each side), then 2 sts at the beg of the next next 4 rows (2 sts each side, then 1 st at the beg of the next 4 rows (2 sts each side), then 2 sts at the beg of next 4 rows (=2 sts each side) and finally 3 sts at the beg of next 2 rows (=3 sts each side) Question continued in next post
03.10.2015 - 22:45DROPS Design hat geantwortet:
Dear Mrs Helm, in the larger size you will bind off the mid 28 sts (= 154-28= 126sts remain), then on each side: 3 sts 1 time (=126-6=120), 2 sts 4 times (90-16=104), 1 st 4 times(104-8=96), 2 sts 4 times (96-16=80), 3 sts 1 time (80-6=74 sts).
05.10.2015 - 09:15
 Selina hat geschrieben:
Strikker xs, og har kommet til punktet hvor jeg skal sette av maskene til magen. Skal jeg felle 1 vrang, sette av ti masker, strikke 64m, felle 1 vr, og så snu? Og hvordan er det meningen å følge mønsteret etterpå? Skal man strikke alt som står i "mønsteret" (M2, 2vr...). Strikker man en linje for hver gang det står M2, M3 osv - og skal man fortsette på linja over når det står M2 igjen? Hvordan går det opp med kun 64 masker?
02.10.2015 - 00:10DROPS Design hat geantwortet:
Hej Selina, Jo når du har sat m på en tråd under maven, så fortsætter du over rygstykket som du har strikket det tidligere, men nu strikker du så anden hver p fra vrangen. Spørg også gerne hos din lokale DROPS butikk!
06.10.2015 - 14:56
Wendy Helm hat geschrieben:
Thanks for the answers but now I have another question. I'm finished the top of the sweater back and forth for 4" and now I need to knit the 22 stitches on the stitch holder, question I guess is how do I get working yarn from the top section down to these 22 stitches in order to work these 22 stitches for 4"?
22.09.2015 - 02:16DROPS Design hat geantwortet:
Dear Mrs Helm, when you haver reach the desired hight over the back of the sweater, cut the thread, put sts on a st holder or a thread. Put sts from stomach back on the needles join the yarn and work these sts, take care that cable rows will be done from RS. Happy knitting!
22.09.2015 - 10:57
Wendy Helm hat geschrieben:
Ok, to clarify my question above, I'm in the round working on cable row and I put the first 22 stitches on a holder, do I then continue by binding off the next pearl stitch? If so won't that put me back in the round since my yarn is coming off my right needle? Or do I turn the work and then knit back and forth? Confused?
18.09.2015 - 21:21DROPS Design hat geantwortet:
Dear Mrs Helm, on first round when dividing: work the first 22 sts and put them on a st holder, bind off the next P st, continue to the end of row, turn and bind off the first P st (= K st from RS) = 130 sts for back piece. Remember to adjust so that cables will be made from RS. Happy knitting!
19.09.2015 - 10:17
Wendy Helm hat geschrieben:
I'm am working on the pattern and I'm now to where I would separate the piece - question Should I be working a cable row or non cable row before I separate? It seems like it should be a cable row from the right side as once I separate the work I will be starting on the wrong side? Is that correct? Am I turning my work to work the wrong side for the first row? The first four stiches on the needle show knit stitches but yet it says to bind on 1st P stitch?
18.09.2015 - 20:24DROPS Design hat geantwortet:
Dear Mrs Helm, you have to adjust so that the cable rows will be worked from RS. When dividing for leg, you will put on a st holder the firsst 10-22 sts (see size), ie M.2, P2, M.2 (in first size), then bind off next P st and continue as stated. Happy knitting!
19.09.2015 - 10:02
|
|||||||||||||||||||
The Lookout |
|||||||||||||||||||
 |
 |
||||||||||||||||||
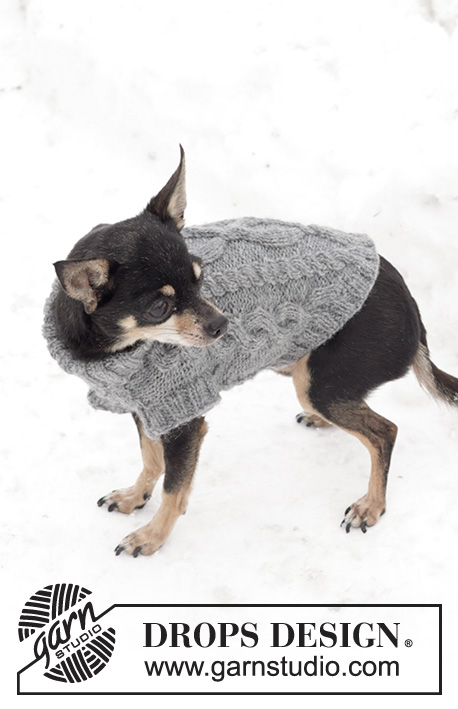
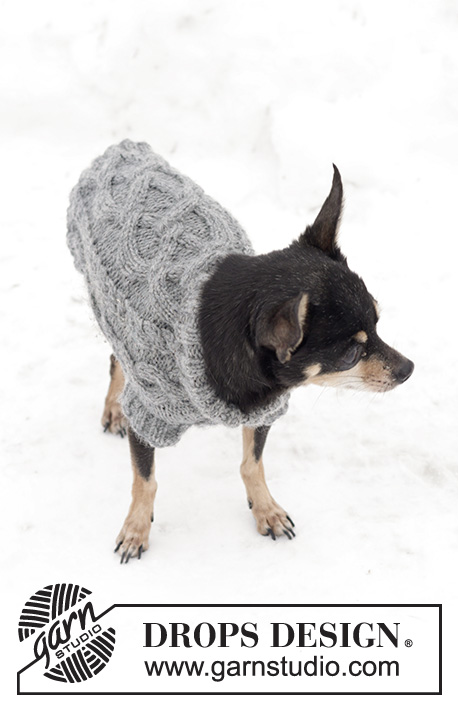
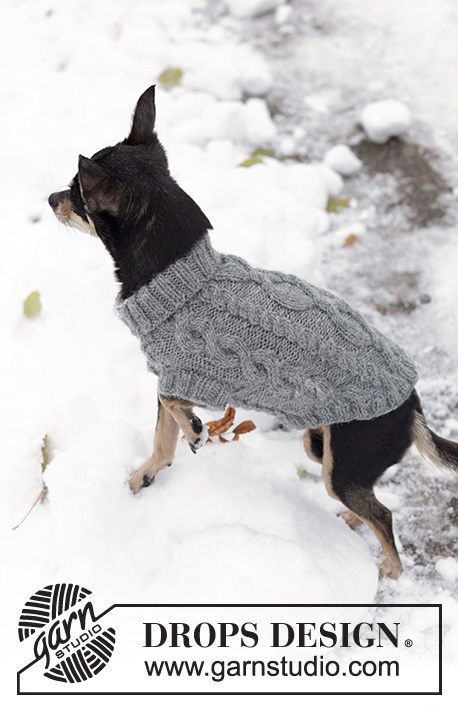
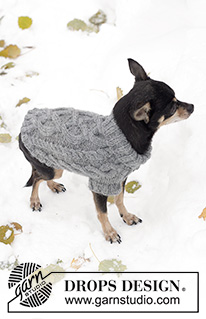
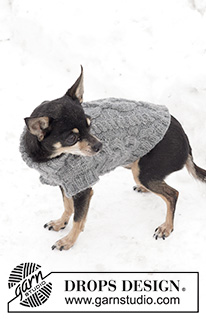
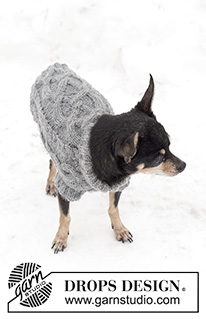
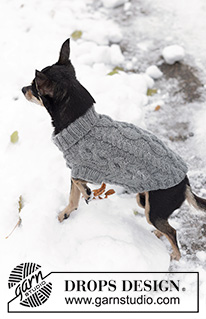
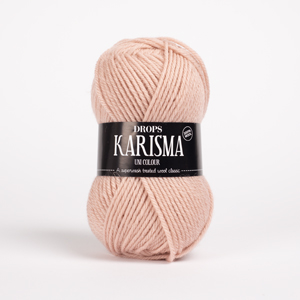
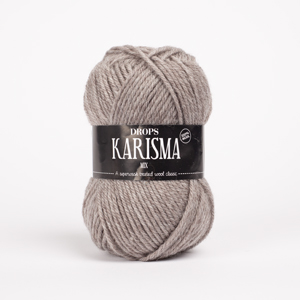
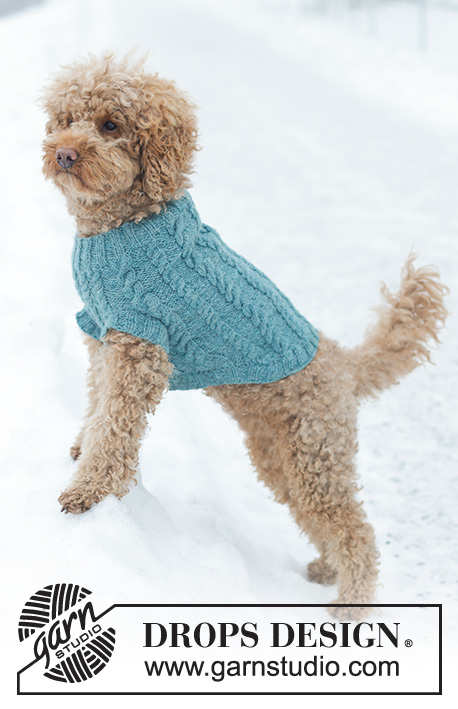
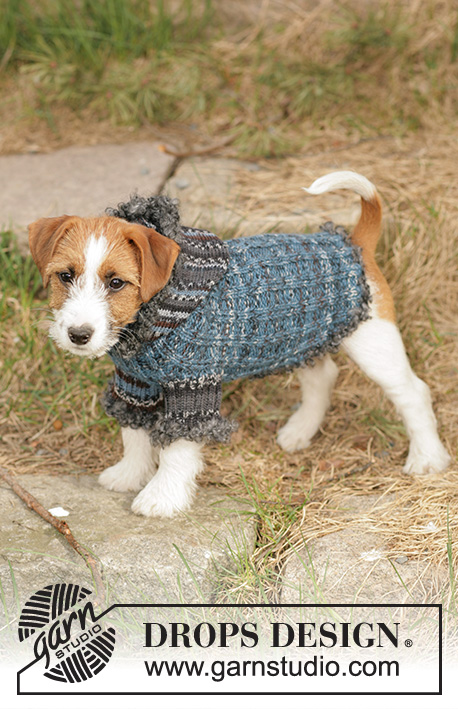
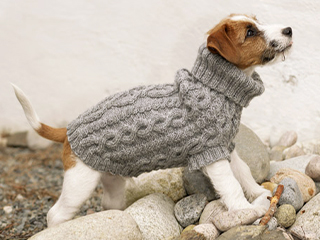
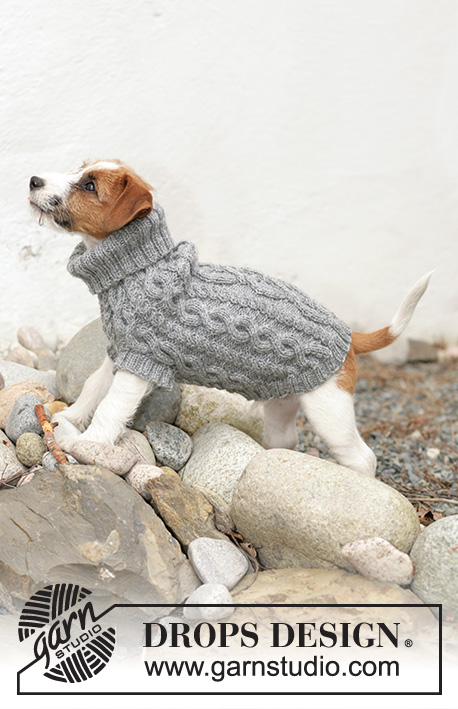
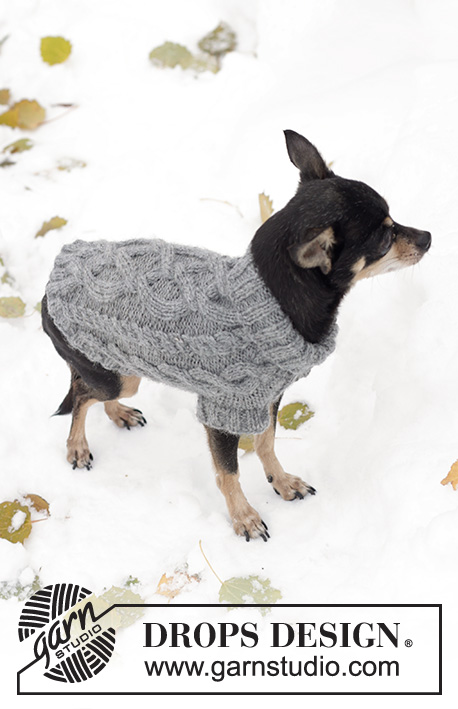
Gestrickter Pullover für Hunde mit Zopfmuster in DROPS Karisma
DROPS 102-43 |
|||||||||||||||||||
|
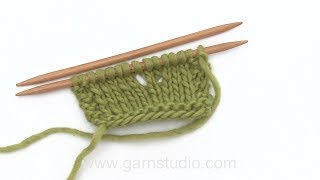
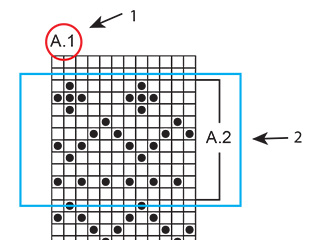
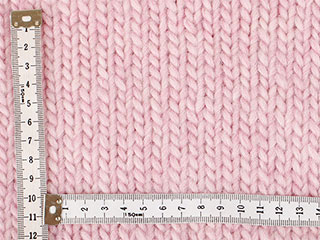
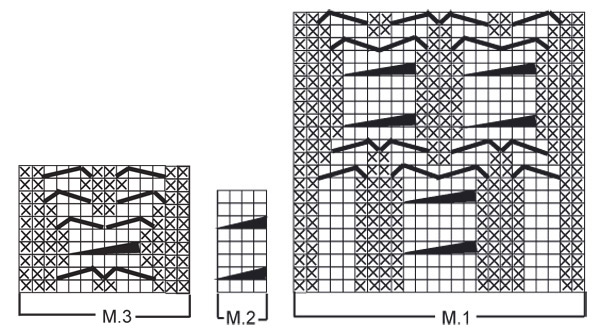
--------------------------- HINWEISE ZUR ANLEITUNG --------------------------- RIPPENMUSTER: * 2 Maschen rechts, 2 Maschen links * , von *-* wiederholen. ZUNAHMETIPP: 1 Masche zunehmen, indem 1 Umschlag gearbeitet wird. In der nächsten Reihe den Umschlag verschränkt stricken, um ein Loch zu vermeiden MUSTER: Siehe Diagramm M.1 bis M.3. Die Diagramme zeigen alle Reihen, wie sie auf der Vorderseite erscheinen, Hin-Reihen werden von rechts nach links, Rück-Reihen von links nach rechts gelesen. ------------------------------------ DIE ARBEIT BEGINNT HIER ------------------------------------ HUNDEPULLOVER - KURZBESCHREIBUNG DER ARBEIT: Der Pullover wird in Runden ab dem Halsausschnitt nach unten gestrickt, dann wird die Arbeit für die Vorderbeine geteilt und es wird in Hin- und Rück-Reihen über einen Teil des Rückens weitergestrickt. Dann wird ein Teil des Bauchs gestrickt, die Teile werden wieder zusammengesetzt und es wird in Runden weitergestrickt. An der unteren Bauchmitte werden Maschen abgekettet und es werden über ein paar Zentimeter Abnahmen gearbeitet. Zuletzt wird ein Rippenmuster um den ganzen Pullover gestrickt und es werden Maschen aus den Beinausschnitten aufgefasst und es werden Bündchen im Rippenmuster um die Beinausschnitte gestrickt. HUNDEPULLOVER Anschlag: 60-80-100 Maschen auf Nadelspiel Nr. 3 mit mittelgrau. 8-10-12 cm im Rippenmuster stricken (= Kragen, der später zur Hälfte umgeschlagen wird). Zur kurzen Rundnadel Nr. 4 wechseln. 1 Runde glatt rechts stricken und dabei gleichzeitig 16-32-54 gleichmäßig verteilt zunehmen - siehe ZUNAHMETIPP = 76-112-154 Maschen. Nun wie folgt im Muster stricken: Größe XS: M.2 (4 Maschen), 2 Maschen links , M.2 (4 Maschen), (= die ersten 10 Maschen unter dem Bauch), 3 Maschen links, M.3 (14 Maschen), M.2 (4 Maschen), M.1 (24 Maschen) (= obere Rückenmitte), M.2 (4 Maschen), M.3 (14 Maschen) und 3 Maschen links Größe S: * M.2, 2 Maschen links *, von *-* 2 x arbeiten, M.2, * M.3, M.2 *, von *-* 2 x arbeiten, M.1 (= obere Rückenmitte), * M.2, M.3 *, von *-* 2 x arbeiten Größe M: * M.2, 2 Maschen links *, von *-* 3 x arbeiten, M.2, * M.3, M.2 *, von *-* 3 x arbeiten, M.1 (= obere Rückenmitte), * M.2, M.3 *, von *-* 3 x arbeiten GLEICHZEITIG bei einer Länge von 12-16-20 cm (ab dem Anschlagrand) die Arbeit für die Vorderbeine wie folgt aufteilen (dabei darauf achten, dass die Arbeit dann aufgeteilt wird, wenn die Verzopfung in einer Hin-Reihe erfolgen kann): Die ersten 10-16-22 Maschen stilllegen (= Bauch), wenden und im Muster hin- und zurück weiterstricken, dabei je 1 Masche am Anfang der nächsten 2 Reihen abnehmen = 64-94-130 Maschen (= Rücken). Im Muster hin und zurück über diese Maschen 6-8-10 cm weiterstricken (die Arbeit hat eine Länge von insgesamt 18-24-30 cm). Darauf achten, dass die nächste Reihe eine Hin-Reihe ist, den Faden abschneiden. Diese Maschen nun stilllegen. Nun werden die Maschen des Bauchs gestrickt, dafür die Bauch-Maschen, die vorher stillgelegt wurden, wieder auf die Nadel nehmen. Je 1 neue Masche beidseitig anschlagen = 12-18-24 Maschen. Weiter im Muster hin- und zurückstricken, mit je 1 Masche links beidseitig. Wenn 6-8-10 cm gestrickt wurden, alle Maschen wieder auf dieselbe Nadel nehmen = 76-112-154 Maschen, dabei darauf achten, dass die nächste Reihe eine Hin-Reihe ist. Bei einer Länge von insgesamt 24-31-38 cm 12-20-28 Maschen an der unteren Bauchmitte abketten. Dann die Arbeit in Hin- und Rück-Reihen weiterstricken – gleichzeitig beidseitig, d.h. am Anfang jeder Reihe, wie folgt abketten: 3 Maschen 1-1-1 x, 2 Maschen 2-3-4 x, 1 Masche 2-3-4 x, 2 Maschen 2-3-4 x und 3 Maschen 1-1-1 x = 32-50-74 Maschen übrig. Die Arbeit hat nun eine Länge von ca. 30-39-48 cm. FERTIGSTELLEN: Rippenmusterrand: Die restlichen Maschen auf die kurzen Rundnadel Nr. 3 legen und zusätzlich Maschen aus der Abkettkante auffassen, sodass insgesamt ca. 84-108-140 Maschen auf der Nadel sind. 2-3-4 cm in Runden im Rippenmuster stricken, dann die Maschen locker abketten, wie sie erscheinen, d.h. rechte Maschen rechts und linke Maschen links abketten. Beinbündchen: Ca. 36-44-52 Maschen auf Nadelspiel Nr. 3 aus der einen Beinöffnung auffassen. 2-3-4 cm in Runden im Rippenmuster stricken, dann die Maschen locker abketten, wie sie erscheinen, d.h. rechte Maschen rechts und linke Maschen links abketten. Um die Öffnung des anderen Beins wiederholen. |
|||||||||||||||||||
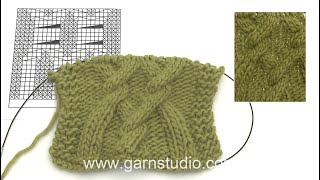
Erklärungen zum Diagramm |
|||||||||||||||||||
|
|||||||||||||||||||
 |
|||||||||||||||||||
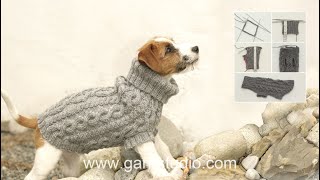
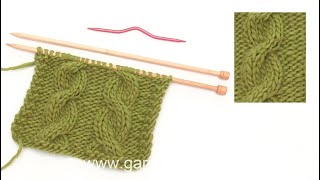
Haben Sie diese Anleitung nachgearbeitet?Dann taggen Sie Ihre Fotos mit #dropspattern oder schicken Sie sie an die #dropsfan Galerie Brauchen Sie Hilfe bei dieser Anleitung?Sie finden 18 Videotutorials, einen Kommentar/Fragen-Bereich und vieles mehr, wenn sie die Anleitung bei garnstudio.com aufrufen. © 1982-2026 DROPS Design A/S. Wir besitzen alle Rechte. Dieses Dokument, einschließlich aller Untersektionen, hat Urheberrechte. Mehr dazu, was Sie mit unseren Anleitungen machen können, finden Sie ganz unten auf der Seite zu jeder Anleitung. |
|||||||||||||||||||

Mit über 40 Jahren Tätigkeit im Entwerfen von Strick- und Häkelmustern bietet Ihnen DROPS Design eine der umfangreichsten Sammlungen von kostenlosen Anleitungen im Internet - in 17 Sprachen übersetzt. Zum jetzigen Zeitpunkt haben wir insgesamt 333 Handarbeitshefte und 12537 Anleitungen auf Deutsch. 12451
Unser Ziel ist es, Ihnen die besten Angebote zum Stricken und Häkeln, Inspirationen und Ratschläge sowie qualitativ hochstehende Garne zu unglaublichen Preisen zu bieten! Möchten Sie unsere Anleitungen nicht nur für den persönlichen Gebrauch nutzen? Unsere Copyright Bedingungen finden Sie bei allen unseren Anleitungen ganz unten auf der jeweiligen Seite. Viel Spaß beim Handarbeiten!
Kommentieren Sie die Anleitung DROPS 102-43
Wir würden gerne Ihre Meinung zu diesem Modell erfahren!
Wenn Sie eine Frage stellen möchten, prüfen Sie bitte, dass Sie die richtige Kategorie im unten stehenden Formular gewählt haben - so bekommen Sie schneller eine Antwort. Die obligatorischen Felder sind mit einem * gekennzeichnet.