
Popular categories
Looking for a yarn?


How to work an elevation mid back

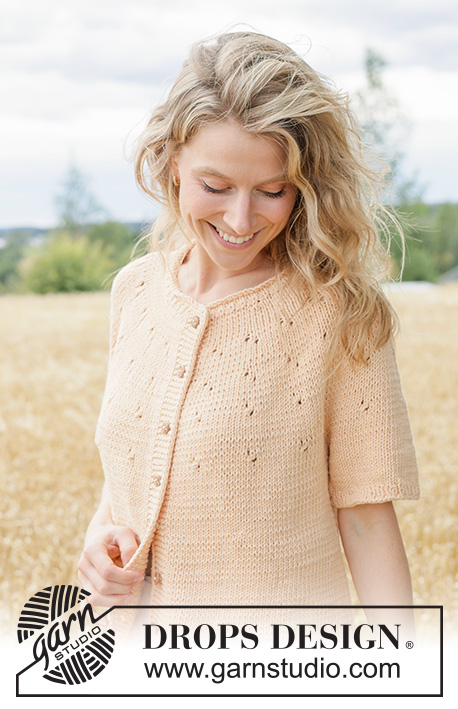
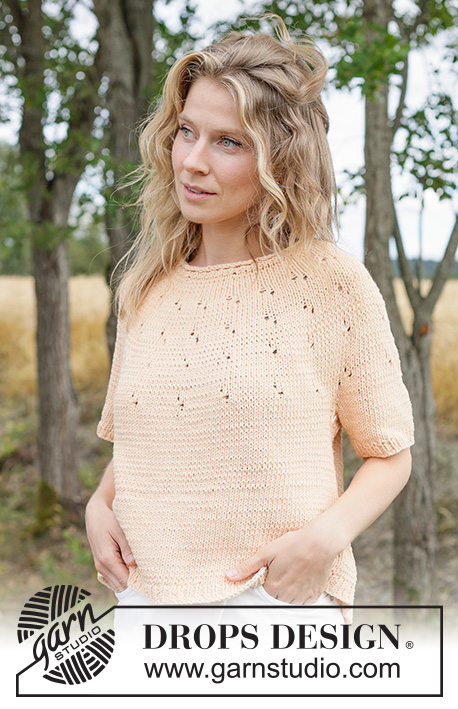
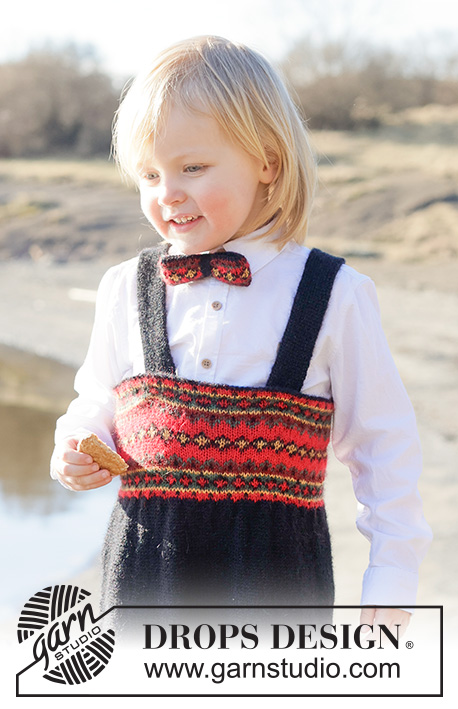
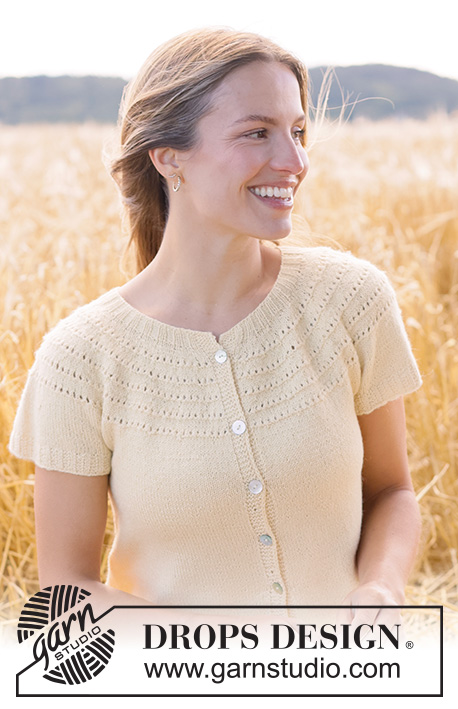
Patterns using this technique
Video #894, listed in: Learn to knit, Short Rows, Necklines, Round yoke
Our videos do not have sound. We are a worldwide company and our videos are watched by people speaking endless of different languages and many do not understand English. So since there is not a given language for us to use, we instead have written instructions to accompany the video, and then there is no sound to disturb while watching.
You can adjust the speed of this video by clicking on the icon, on the play bar.
Leave a comment or question to this video
Your email address will not be published. Required fields are marked *.
You might also like


With over 40 years in knitting and crochet design, DROPS Design offers one of the most extensive collections of free patterns on the internet - translated to 17 languages. As of today we count 325 catalogs and 12298 patterns - 12288 of which are translated into English (US/in).
We work hard to bring you the best knitting and crochet have to offer, inspiration and advice as well as great quality yarns at incredible prices! Would you like to use our patterns for other than personal use? You can read what you are allowed to do in the Copyright text at the bottom of all our patterns. Happy crafting!
Bonjour, Pouvez vous m'expliquez l'intérêt de faire une réhausse? je comprends comment faire mais pas le pourquoi. Merci d'avance de votre réponse
28.12.2023 - 17:12DROPS Design :
Bonjour Agnès, grâce à ces rangs raccourcis, on a plus de hauteur dans le dos, l'encolure devant sera alors un peu plus profonde que l'encolure dos; sans les rangs raccourcis de la rehausse, l'encolure devant et l'encolure dos sont identiques. Bon tricot!
09.01.2024 - 08:15Bitte, wer kann helfen? Verstehe ich das richtig? Wenn ich 80 Maschen habe, dann sind 40 Maschen hinten. Nur diese 40 Maschen werde ich langsam "symetrisch" erhöhen? Die vorderen 40 Maschen rühre ich nicht an. Nur die letzte Runde stricke ich eine ganze Runde. Ist das so richtig? Liebe Grüße 🕊💌🕊
09.12.2023 - 20:05DROPS Design :
Gerne können Sie auch Ihr Wollladen fragen, dort wird man Ihnen auch gerne - auch per Telefon oder per E-Mail weiterhelfen. Viel Spaß beim stricken!
09.01.2024 - 08:24Grüß Gott. 💌 Im Video wird nach 5 Maschen gewendet. In der Anleitung steht nach 10 Maschen wenden. Aus wieviel Maschen teilt sich der zum Rückenteil? Werden Ärmelmaschen mit einbezogen bei kurzen Reihen? Geht die Teilung bis nach vorne zum Kragen? Wie ist es bei120 Maschen? Danke für die Hilfe. Liebe Grüße 💌
09.12.2023 - 02:02DROPS Design :
Liebe Sissi, am besten lassen Sie sich bei einem ähnlichen Modell mit der selben Maschenprobe und eine Erhöhung, so wird es einfacher. Viel Spaß beim stricken!
09.01.2024 - 08:23Meet ik de verhoging mee bij het vervolgen van het patroon. Zonder verhoging moet ik 2 cm breien vanaf de markeerdraad maar met verhoging heb ik dat al. Brei ik die 2 cm er bovenop? Begint de pas vanaf de verhoging?
25.10.2023 - 11:21Bonjour, je suis en train de tricoter les legging 'So Cosy' de votre site. Je ne comprends pas très bien la réhausse demandée . Est- ce le schéma suivant : - 1 aller sur 11 mailles + 1 retour sur 11 mailles - puis 1 aller sur 22m + 1 retour sur 22 mailles etc , jusque 182 mailles. Ou bien : - 1 aller sur 11 mailles - puis un retour sur 22 mailles, - 1 aller sur 32 mailles - 1 retour sur 42 mailles etc. , jusque atteindre 182 mailles. Merci !
21.10.2023 - 12:36DROPS Design :
Bonjour Sandhya, vous devez tricoter des rangs raccourcis en rajoutant toujours plus de mailles de chaque côté du milieu dos, en commençant au milieu dos, tricotez 11 mailles sur l'endroit, tournez et tricotez 22 m sur l'envers (11 m avant le milieu dos, 11 m après), tournez et tricotez 10 m en plus soit 32 mailles sur l'endroit, tournez et tricotez 10 m en plus soit 42 mailles, tournez et continuez ainsi en tricotant toujours 10 m en plus à la fin de chaque rang sur l'endroit et sur l'envers jusqu'à ce que vous ayez tricoté le nombre de mailles indiqué (sur l'envers), tournez et tricotez jusqu'au milieu dos de nouveau, puis continuez en rond. Bon tricot!
23.10.2023 - 10:35Bonjour, Vous commencez par un petit nombre de mailles et vous en rajoutez à chaque fois. Ne faut-il pas commencer par des rangs longs et raccourcir à chaque rang quand on travaille en top down?
24.07.2023 - 20:19DROPS Design :
Bonjour Tricoteuse, il y a plusieurs facons de faire des rangs raccourcis pour former l'encolure. Cela depend du projet, de l'effet qu'on vise a reussir, etc. Bon tricot!
26.07.2023 - 09:37Thank you for the pattern with raised back (sweather), are there any more and perhaps a cardigan? I love the patterns on drops and would like to make more, but get so disappointed by the fitting without the raise shoulders and dont feel like I am able enough yet to find out myself. So please maybe a suggestion for the future, only one basic pattern for a sweather and a cardigan, and maybe a way to look for it on the site?
15.04.2023 - 11:05DROPS Design :
Dear Aniek, thank you for your suggestions! We will pass them on to the design department. In the same catalogue as the previous sweater, you can find this pattern: https://www.garnstudio.com/pattern.php?id=8703&cid=19, which also has an elevation for the neck. Happy knitting!
16.04.2023 - 17:52It would be so nice if you made some basic patterns with this technique, maybe a sweather and a cardigan!
07.04.2023 - 11:24DROPS Design :
Dear Aniek, we have several patterns, both sweaters and cardigans with an elevation mid-back, like the following one: https://www.garnstudio.com/pattern.php?id=8690&cid=19. Since this technique is considered to be higher than a basic level we normally don't do many easy or basic sweaters with an elevation in the mid-back. Happy knitting!
08.04.2023 - 20:14Hoi, Als ik een verhoogde hals van beneden naar boven brei, moet ik dan niet beginnen met de meeste steken (120) en dan bij het keren steeds 17 steken minder breien? Ik heb de verhoogde hals al eens gebruikt toen ik van boven naar beneden breide en dat bevalt me prima. De boord drukt dan niet zo tegen de keel.
29.12.2022 - 11:19DROPS Design :
Dag To,
Dat klopt, van boven naar beneden brei je steeds meer steken in de verkorte toeren en van beneden naar boven doe je het andersom, dus steeds minder steken.
01.01.2023 - 11:59Buonasera, quando lavoro il modello Urban forest immediatamente sotto il bordo del collo,il lavoro non appare piano ma leggermente ondulato, dietro invece è tutto a posto. Può essere opportuno lavorare la parte dietro del collo con qualche giro a ferri accorciati? Se si, quanti ferri e su quante maglie( tg s) Grazie
21.11.2022 - 17:24DROPS Design :
Buonasera Cristina, per un'assistenza così personalizzata può rivolgersi al suo rivenditore DROPS di fiducia. Buon lavoro!
03.12.2022 - 16:32