
Popular categories
Looking for a yarn?


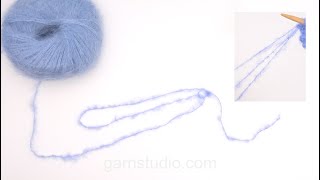
How to cast on stitches – basic

THE VIDEO SHOWS:
STARTING OFF:
Pull the strand from the ball and make a start-loop a certain length along the strand (you need approx. 40-80 cm = 15¾"-31½" of the strand to work 20 stitches, depending on yarn and needle thickness). Place the start-loop on the right needle and tighten it gently around the needle. There are now 2 strands from the loop: A = from the ball, B = from the end.
STRANDS AROUND THE HAND:
Take strands A and B around your left hand as follows:
A: The strand from the ball is taken outside the thumb.
B: The strand from the end is taken over your index finger and down between your index and middle finger.
Your ring finger and little finger hold the 2 strands together in your hand – not too tightly.
NUMBER OF STRANDS:
Lift your left hand approx. 5 cm = 2" higher than your right hand; you can now count 4 strands in your left hand. In the following explanation, the strands have the following numbers:
Strand-1 = strand in front of thumb, strand-2 = strand behind the thumb, strand-3 = strand before your index finger, strand-4 = strand after your index finger.
1 STITCH IS CAST ON AS FOLLOWS:
Take the needle under strand-1, then up between strand-1 and strand-2, take the needle down between strand-3 and strand-4, pull the needle and strand out between strand-1 and strand-2.
Slip the strand from the thumb so the new stitch is fastened around the needle, then lay the strand around the thumb again, ready to cast on the next stitch.
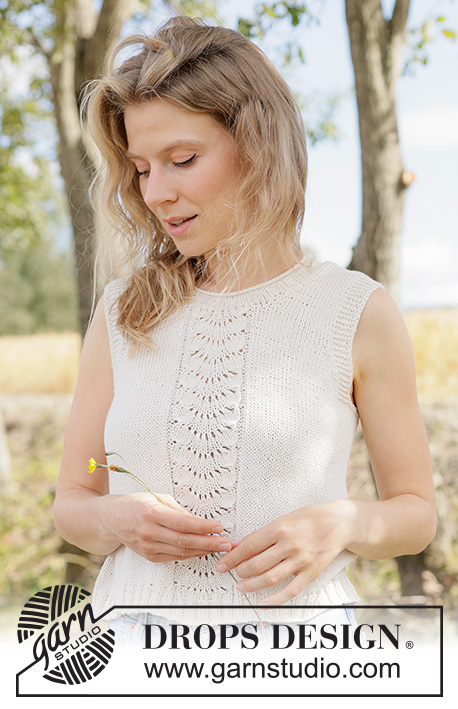
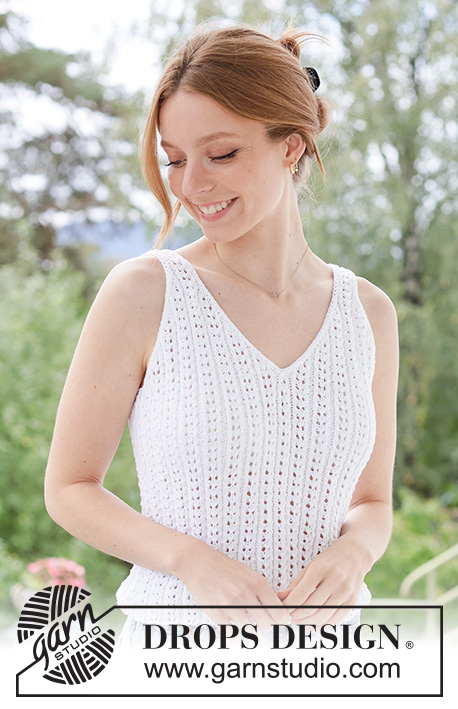
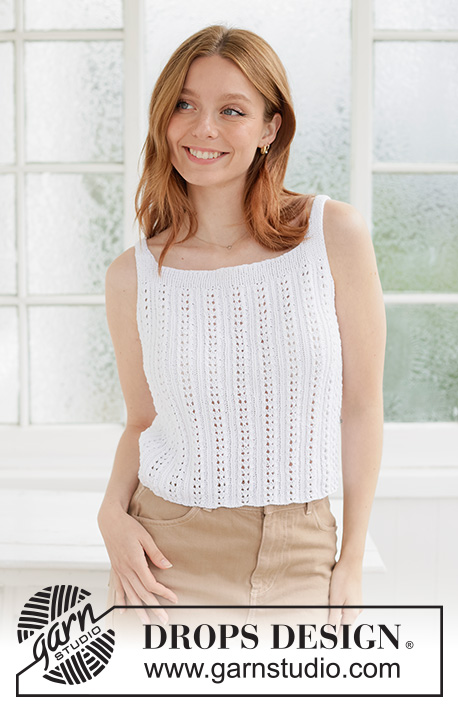
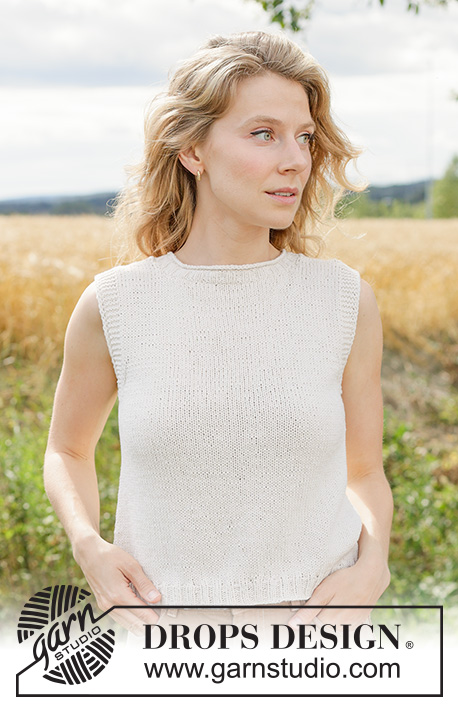
Patterns using this technique
Video #2, listed in: Learn to knit, How to cast on stitches, Basic cast on techniques, Nordic style, Continental style, UK/US style
Our videos do not have sound. We are a worldwide company and our videos are watched by people speaking endless of different languages and many do not understand English. So since there is not a given language for us to use, we instead have written instructions to accompany the video, and then there is no sound to disturb while watching.
You can adjust the speed of this video by clicking on the icon, on the play bar.
Leave a comment or question to this video
Your email address will not be published. Required fields are marked *.


With over 40 years in knitting and crochet design, DROPS Design offers one of the most extensive collections of free patterns on the internet - translated to 17 languages. As of today we count 324 catalogs and 12291 patterns - 12281 of which are translated into English (US/in).
We work hard to bring you the best knitting and crochet have to offer, inspiration and advice as well as great quality yarns at incredible prices! Would you like to use our patterns for other than personal use? You can read what you are allowed to do in the Copyright text at the bottom of all our patterns. Happy crafting!
Bárbara la explicación, pero estoy muy acostumbrada a las agujas tradicionales y me cuesta aprender esta nueva técnica
05.09.2020 - 19:58For people who don't have strong fingers there is an easyer way to make this one. I learned to use my thumb as a "needle", wich means you don't have to stretch your fingers this much. (learned that in school 40 years ago)
13.06.2019 - 21:36Wie weiß ich wie lange der Faden sein soll beim Anschlagen... es ist mir schon oft passiert, das bei vielen Anschlagmaschen der Faden nicht gereicht hat und ich nochmal neu anfangen musste... danke auch im Voraus auch für die vielen tollen Tipps...
02.05.2019 - 18:44DROPS Design :
Liebe Anka, dieses Video zeigt, wie man beim Anschlagen genügend Faden zur Verfügung hat. Viel Spaß beim stricken!
03.05.2019 - 09:05Jeg liker kuk
14.01.2019 - 09:25Jeg dør
14.01.2019 - 09:22Ik heb het op deze manier geleerd vroeger op school. Mijn moeder zette altijd al breiend steken op, maar is later overgestapt op deze methode (moest ik voor haar doen...) omdat ze de opzetrand mooier en steviger vond.:)
03.10.2018 - 17:09Jeg likte videoen din.
06.12.2017 - 09:04Tak for videoen. Er der en tommelfingerregel for hvor startløkken skal sættes på garnet? Jeg skal slå 234 masker op på pind nr. 3,5 og arbejder med 50g /100 meter og oplever hele tiden, at der mangler garn til de sidste masker og det er irriterende at skulle starte forfra med opslagningen, når der er tale om så mange masker. Så, findes der en formel til udregningen af startstedet for den første Løkke?
15.10.2017 - 19:43Jackie Bonfield wrote:
I've completed the pattern but it doesn't seem right the back does is not the same length as front I have read the pattern but cannot work out if I've gone wrong . Please could you help me sort it out thank you J.Bonfield
19.05.2017 - 22:25DROPS Design :
Dear Mrs Bonfield, would you please be so kind and post your question under the pattern you are currently working on? It would be easier to help you further. Happy knitting!
22.05.2017 - 10:01The video is quite good but I would like to access the written answers how do I do that? Thanks your patterns are wonderful and the help you provide is great now I have to start knitting. Thanks for your help.
01.09.2016 - 22:16DROPS Design :
Dear Mrs Pod, to read all comments/to write a new comment click on "Write a comment" at the bottom of the page. Happy knitting!
02.09.2016 - 08:52