
Popular categories
Looking for a yarn?


How to increase to saddle shoulder with yarn over before and after markers

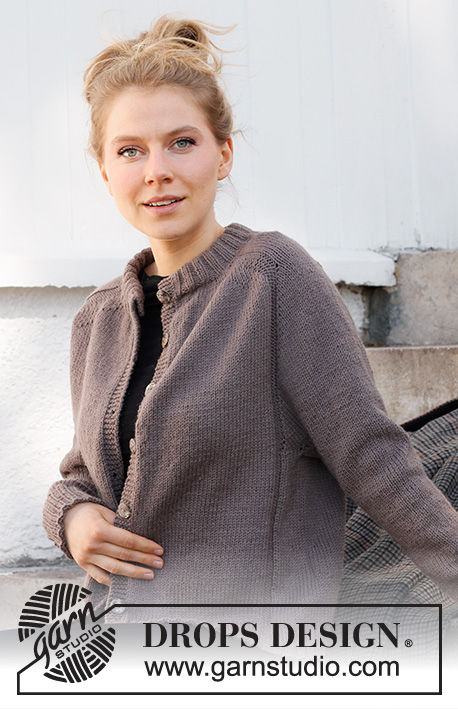
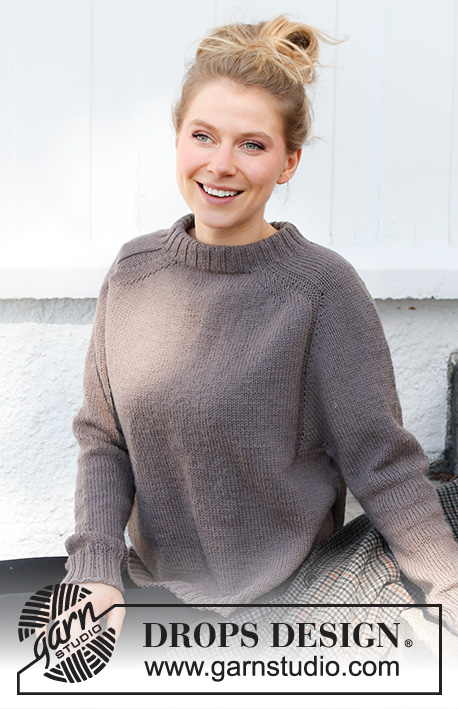
Patterns using this technique
Video #1579, listed in: Learn to knit, Saddle shoulder
Our videos do not have sound. We are a worldwide company and our videos are watched by people speaking endless of different languages and many do not understand English. So since there is not a given language for us to use, we instead have written instructions to accompany the video, and then there is no sound to disturb while watching.
You can adjust the speed of this video by clicking on the icon, on the play bar.
Leave a comment or question to this video
Your email address will not be published. Required fields are marked *.
Continue watching


You might also like


With over 40 years in knitting and crochet design, DROPS Design offers one of the most extensive collections of free patterns on the internet - translated to 17 languages. As of today we count 325 catalogs and 12298 patterns - 12288 of which are translated into English (US/in).
We work hard to bring you the best knitting and crochet have to offer, inspiration and advice as well as great quality yarns at incredible prices! Would you like to use our patterns for other than personal use? You can read what you are allowed to do in the Copyright text at the bottom of all our patterns. Happy crafting!
Ich bekomme bei den Videos keinen Ton. Woran kann das liegen?
16.01.2024 - 21:11DROPS Design :
Liebe Christine, Unsere Videos haben keinen Ton. Wir sind ein weltweites Unternehmen und die Videos werden von Leuten der verschiedensten Muttersprachen angeschaut, von denen viele nicht deutsch sprechen. Wir haben daher schriftliche Erklärungen, die die Videos begleiten und Sie werden beim Anschauen des Videos nicht durch Geräusche gestört. Viel Spass!
17.01.2024 - 09:33Merci pour votre explication. Il faut augmenter avant le marqueur ou avant l augmentation précédente car il faut répéter les augmentations 10 fois.
15.09.2021 - 18:54DROPS Design :
cf réponse précédente -
16.09.2021 - 07:57Merci pour votre explication. Je me suis sans doute mal exprimée. Ces augmentations il faut les répéter 10fois.Il faut les faire à chaque fois avant le marqueur ou avant l augmentation précédente.
15.09.2021 - 17:59DROPS Design :
Bonjour Mme Segalen, vous devez les répéter de la même façon à chaque fois: avant ou après les marqueurs indiqués, ne vous occupez pas de l'augmentation précédente, elle appartient déjà au dos/devant, regardez bien dans la vidéo vous devriez voir ces passages par ex au time code 06:12 quand on tricote 1 jeté, 4 mailles endroit, 1 jeté, marqueur violet. Bon tricot!
16.09.2021 - 07:56Bonjour. je rencontre unproblème pour les augmentations des épaules. Elles se font toujours de chaque côté des 4 m
15.09.2021 - 15:57DROPS Design :
Bonjour Mme Segalen, vous ne devez augmenter que 8 mailles, soit 2 mailles à chaque fois: 2 mailles avant le 1er et le 3ème marqueur et 2 mailles après le 2ème et le 4ème marqueur, autrement dit, vous ne devez pas augmenter sur les manches/les épaules (le nombre de mailles entre les marqueurs 1-2 et 3-4 ne doit pas augmenter, vous devez toujours avoir 26-30 mailles entre ces marqueurs). Bon tricot!
15.09.2021 - 16:03