
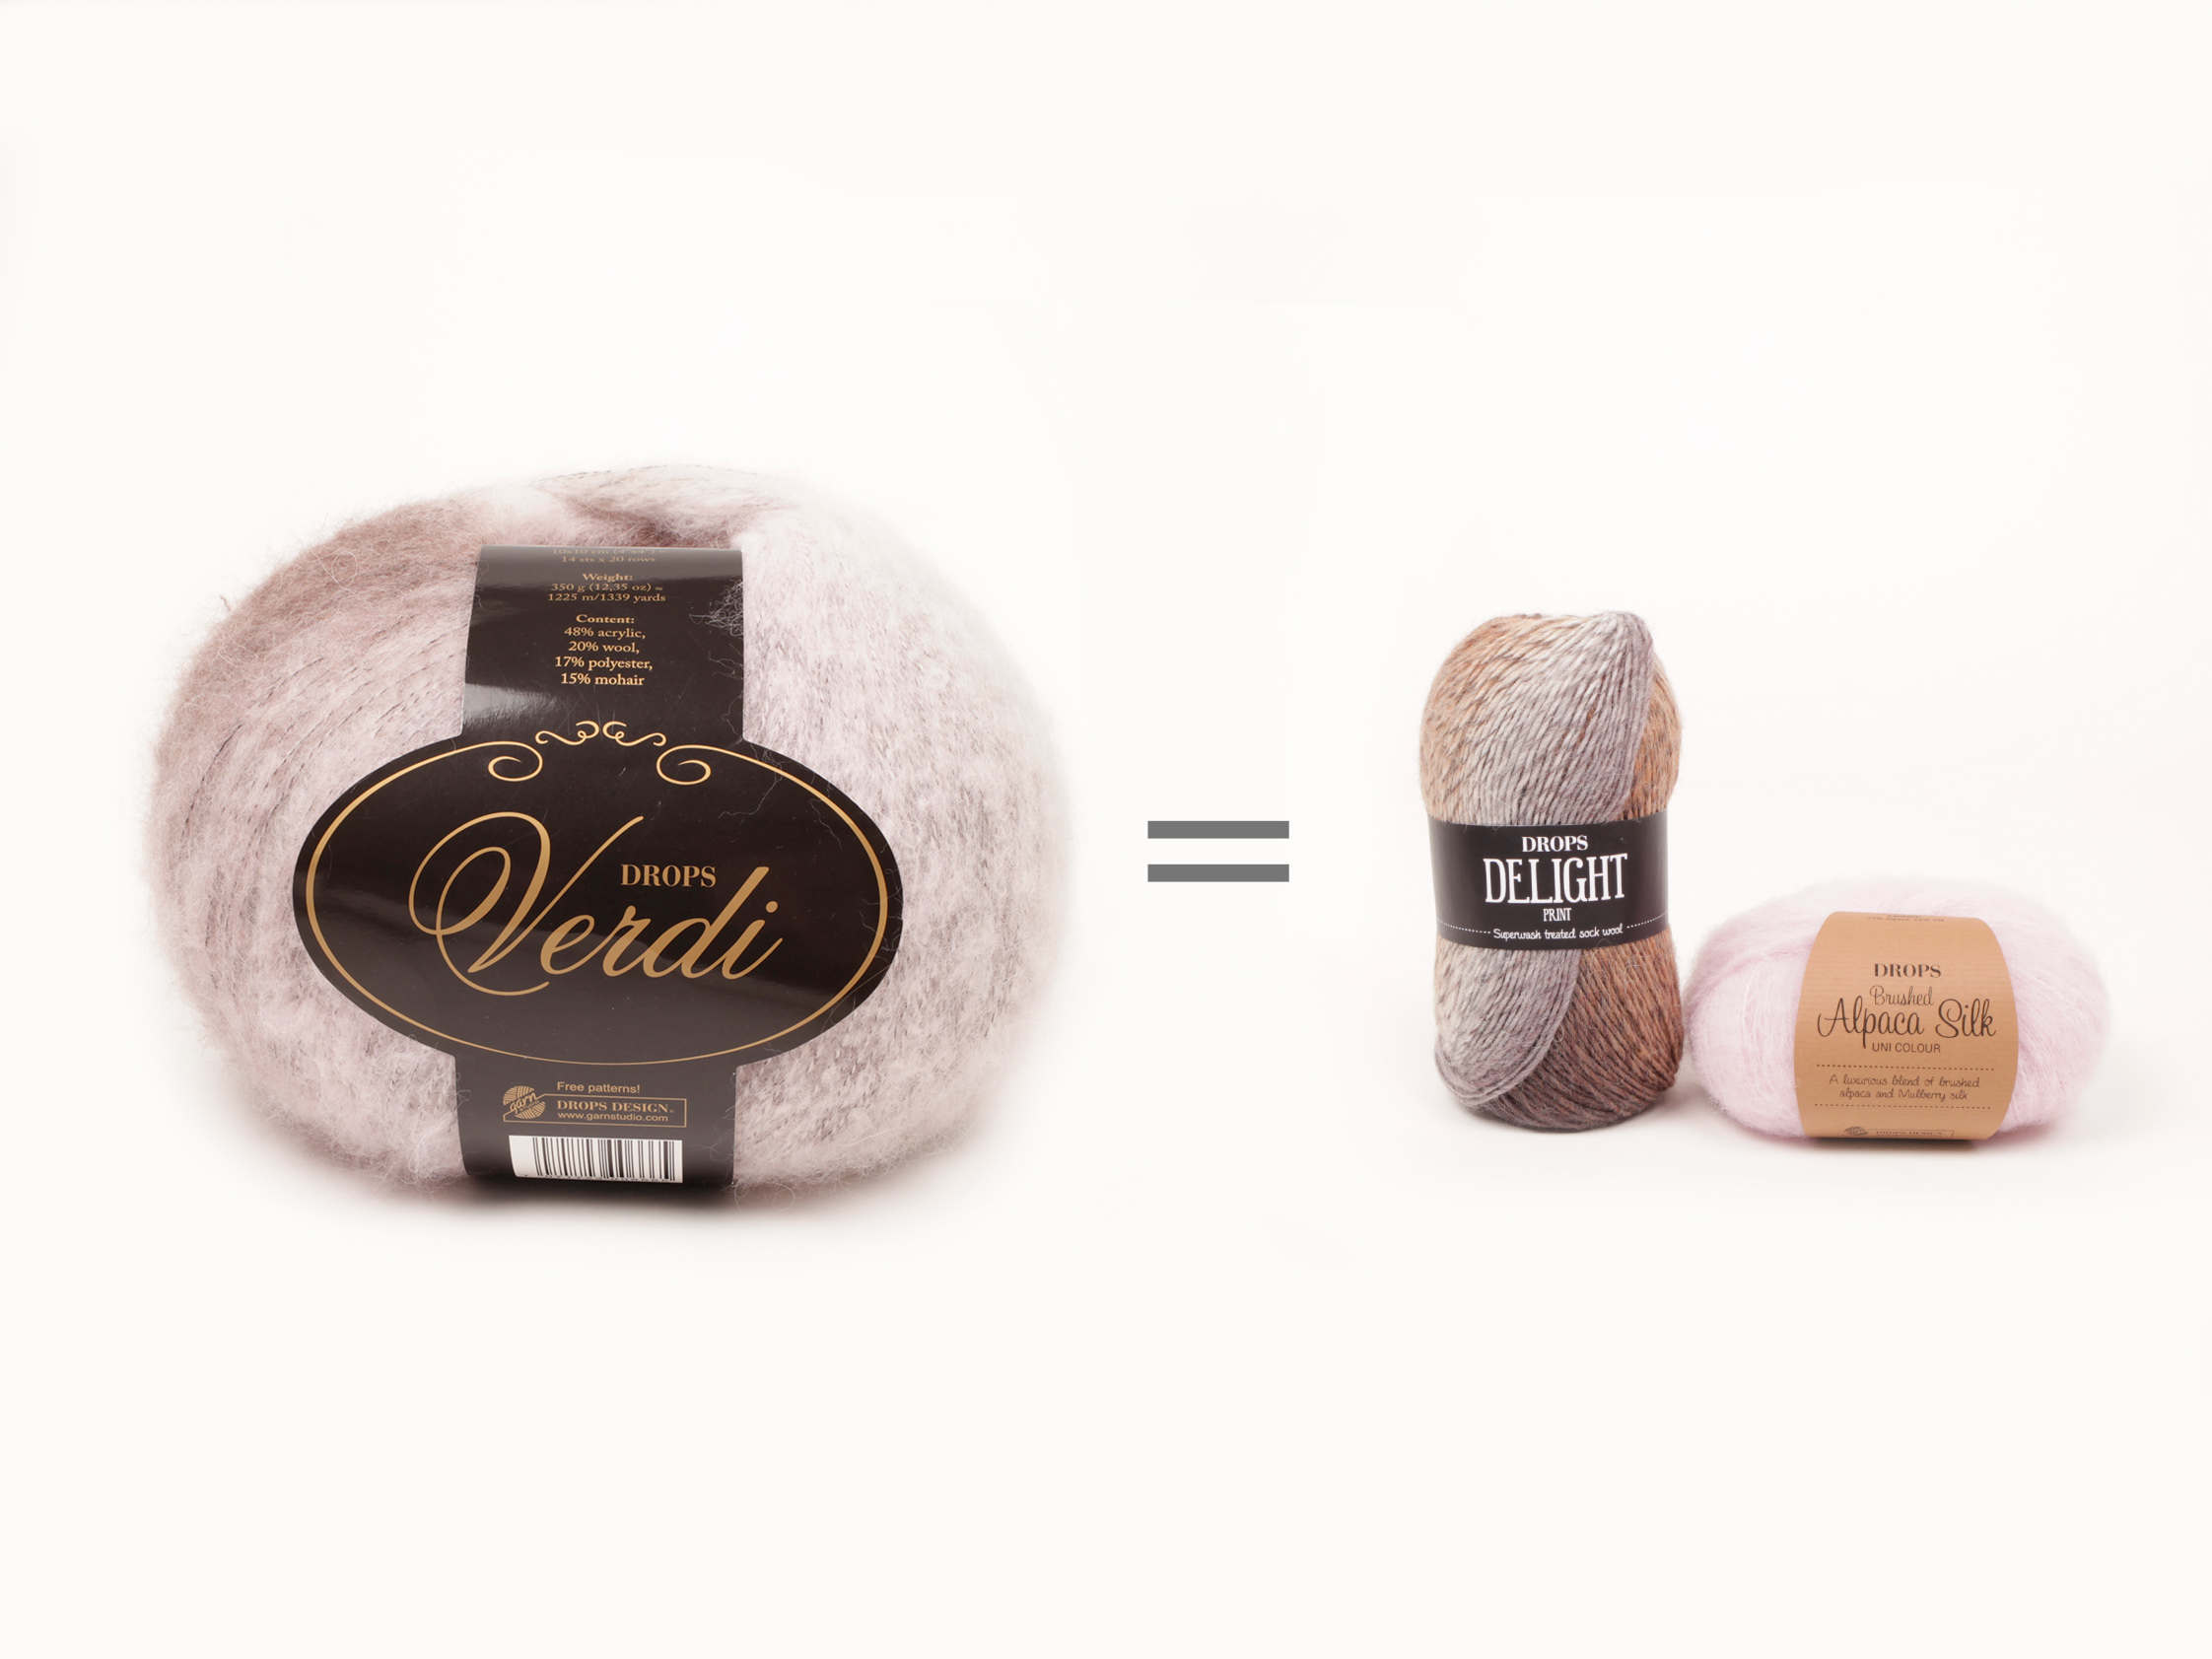
Looking for a yarn?


Comments / Questions (34)
![]() Annette Busch wrote:
Annette Busch wrote:
Hejsa. Når man skal lukke af på kropsdelen til ærmer, står der luk 4 af. På selve ærmerne skal man lukke 6 af. Er det fordi de to ekstra masker er til at sy sammen i?
14.12.2022 - 01:42DROPS Design answered:
Hej Annette, det er lettere at få ærmet ind på rundpinden når du lukker 6 masker af på ærmet :)
15.12.2022 - 09:19
![]() Stephanie Wall wrote:
Stephanie Wall wrote:
I have knitted this pattern 3 times. Every time it takes ALL my strength to knit the rows where the arms meet the body
12.11.2020 - 21:52
![]() Joëlle wrote:
Joëlle wrote:
Pouvez vous me dire si c'est normal que les manches se tricotent en jersey hors le reste se tricote au point mousse. D'avance merci pour votre réponse
15.02.2015 - 18:31DROPS Design answered:
Bonjour Joëlle, le dos et les devants du gilet se tricotent également en jersey, avec 4 m de bordure devant au point mousse (bordures de boutonnage), l'empiècement se tricote ensuite entièrement en jersey, toujours avec les 4 m au point mousse au début et à la fin du rang (= de chaque côté). Bon tricot!
16.02.2015 - 11:05
![]() Constance wrote:
Constance wrote:
Love the neckline and the shaped fit. Would work well without the sleeves given the dropped shoulder design. Well done!
30.07.2013 - 14:48
![]() Noreen wrote:
Noreen wrote:
On Pattern 129-9 there is a 2 purl 2 plain and then button bands are garter and the neck is stocking stitch I would like to ask if there is a reason for the difference regarding rib at start and garter button bands please Thanks Noreen As I am ready to start if anyone can help great
05.07.2013 - 20:32DROPS Design answered:
Dear Noreen, you start at the bottom of the jacket with ribbing K2/P2 and 4 sts in garter st each side for button band - these 4 sts each side are worked in garter st all the way. For the neck, you finish with 1 ridge (2 rows garter st)on all sts. Happy knitting!
06.07.2013 - 11:41
![]() Sabine wrote:
Sabine wrote:
Beim Vorder- und Rückenteil: 4 Marker setzen. dann nach 9 cm auf beiden Seiten und links und rechts der 6 M. je 1 M. abn. ( und das ganze 2x wiederholen bei 11 und 13 cm) man kommt von 120 auf 108 Maschen. also 4 Maschen pro Ausführung. Aber was heißt dann LINKS und RECHTS der 6 M. - bei 4 Markern wären das 8 Maschen pro Reihe, die man abnimmt. das ganze 3x insgesamt kommt man auf 24 Maschen Reduzierung.
21.05.2013 - 22:20DROPS Design answered:
Liebe Sabine, es sind nur an zwei Stellen 6 M zwischen den Markierungen (in der Mitte sind mehr Maschen) also nehmen Sie Sie pro Abnahmereihe 4 M ab. 3 x 4 M = 12 Maschen, dann also 120 M – 12 M = 108 M.
22.05.2013 - 09:47
![]() Marita wrote:
Marita wrote:
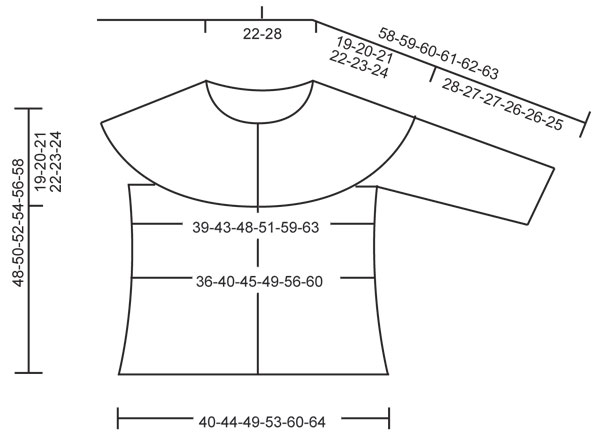
Hej, måtten på diagrammet är det kroppsmått eller mått på färdigt plagg?
04.09.2012 - 15:42DROPS Design answered:
Det är på färdigt plagg.
05.09.2012 - 12:10
![]() Elisabeth wrote:
Elisabeth wrote:
Super
25.02.2012 - 19:00Ewa wrote:
Sehr schick!
28.01.2011 - 16:42
![]() Gunnel wrote:
Gunnel wrote:
När kommer mönstret? Jag vill sticka den nu!!!!!!
25.01.2011 - 15:30
|
|
Mar de Invierno#mardeinviernocardigan |
|
 |
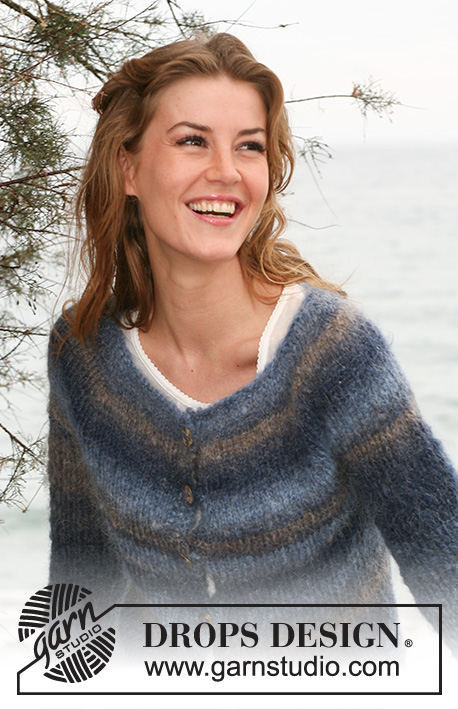 |
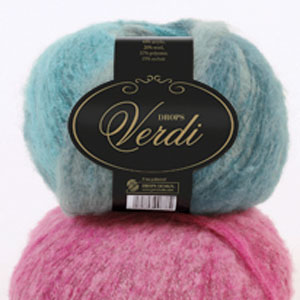
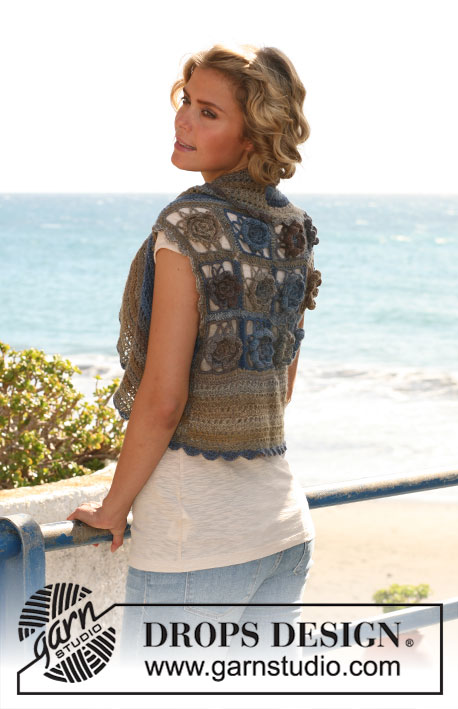
Knitted DROPS jacket in stockinette st with ¾ sleeves and round yoke in "Verdi". Size: S-XXXL.
DROPS 129-9 |
|
|
GARTER ST (back and forth on needle): K all rows. DECREASE TIP 1: All dec are done from RS. Dec as follows before 6 sts in the side: Beg 2 sts before marker, K 2 sts tog. Dec as follows after 6 sts in the side: Slip 1 st as if to K, K 1, psso. DECREASE TIP 2: Dec 1 st on each side of marker. Dec as follows before marker: begin 2 sts before marker, slip 1 st as if to K, K 1, psso. Dec as follows after marker: K 2 tog. INCREASE TIP: Inc 1 st by making 1 YO from RS. On next row P YO twisted (i.e. work in the back loop of YO instead of front) to avoid holes. BUTTON HOLES: Bind off for button holes on right front band. 1 button hole = bind off 2nd band st from edge. On next row cast on 1 new st over the bind off st. Bind off for button holes when piece measures: SIZE S: 2, 11, 20, 29, 38, 47 cm / ¾",4⅜",8",11⅜",15",18½". SIZE M: 3, 11, 18, 26, 34, 41, 49 cm / 1⅛",4⅜",7",10¼",13⅜",16⅛",19¼". SIZE L: 3, 11, 19, 27, 35, 43, 51 cm / 1⅛",4⅜",7½",10⅝",13¾",17",20" SIZE XL: 4, 11, 18, 25, 32, 39, 46, 53 cm / 1½",4⅜",7",9¾",12½",15¼",18",21". SIZE XXL: 4, 12, 19, 26, 33, 40, 47, 55 cm / 1½",4¾",7½",10¼",13",15¾",18½",21⅝". SIZE XXXL: 4, 12, 19, 27, 34, 42, 49, 57 cm/ 1½",4¾",7½",10⅝",13⅜",16½",19¼",22½". -------------------------------------------------------- BODY: Worked back and forth on circular needle from mid front. Cast on 122-134-146-158-178-190 sts (includes 4 band sts in each side towards mid front) on circular needle size 6 mm / US 10 with Verdi. Work as follows (1st row = from RS): 4 band sts in GARTER ST - see explanation above, K 2, * P 2, K 2 *, repeat from *-* and finish with 4 band sts in GARTER ST. When 3-3-3-5-5-5 rows have been worked, work 1 row from WS while AT THE SAME TIME dec 2-2-0-2-2-2 sts evenly (do not dec over band sts) = 120-132-146-156-176-188 sts. Continue in stockinette st with 4 band sts in garter st in each side. NOTE! Remember to bind off for BUTTON HOLES - see explanation above. Insert 4 markers in the piece as follows, from beg of row: 1st marker after 29-32-35-38-43-46 sts, 2nd marker after 35-38-41-44-49-52 sts, 3rd marker after 85-94-105-112-127-136 sts and 4th marker after 91-100-111-118-133-142 sts (= 6 sts between markers in each side). When piece measures 9 cm / 3½" from cast on edge, dec 1 st on each side of 6 sts in each side - Read DECREASE TIP 1! Repeat dec when piece measures 11 cm / 4½" and 13 cm / 5" = 108-120-134-144-164-176 sts. Continue in stockinette st with 4 band sts in each side. When piece measures 23 cm / 9", inc 1 st on each side of 6 sts in the sides - Read INCREASE TIP! Repeat inc when piece measures 25-26-27-28-29-30 cm / 9¾"-10¼"-10⅝"-11"-11⅜"-11¾" = 116-128-142-152-172-184 sts. Continue in stockinette st and 4 band sts in each side until piece measures 29-30-31-32-33-34 cm / 11⅜"-11¾"-12¼"-12½"-13"-13⅜". Now work next row from RS as follows: Work 29-32-35-38-43-46 sts, bind off the next 4 sts, work 50-56-64-68-78-84 sts, bind off the next 4 sts and work the last 29-32-35-38-43-46 sts. Put piece aside = 108-120-134-144-164-176 sts remain on needle. SLEEVE: The sleeve is worked back and forth on circular needle. Cast on 34-34-34-38-38-42 sts (includes 1 edge st in each side) on circular needle size 6 mm / US 10 with Verdi. Work rib as follows (1st row = from RS): 1 edge st, * K 2, P 2 *, repeat from *-* and finish with 1 edge st. Continue like this until rib measures approx. 4 cm / 1½". Now continue working in stockinette st with 1 edge st each side. When piece measures 8 cm / 3", inc 1 st in each side inside 1 edge st. Repeat inc every 2-1½-1½-1½-1-1 cm / ¾"-½"-½"-½"-⅜"-⅜" a total of 9-10-11-11-12-12 times - Read INCREASE TIP! = 52-54-56-60-62-66 sts. When piece measures approx. 28-27-27-26-25-25 cm / 11"-10½"-10½"-10¼"-9¾"-9¾" (NOTE! Shorter measurements in the larger sizes because of broader shoulder width) bind off 3 sts at beg of the next 2 rows = 46-48-50-54-56-60 sts. Put piece aside and knit another sleeve. ASSEMBLY: Sew the sleeves tog inside 1 edge st. YOKE: Slip sleeves on to same circular needle as body where armholes were bound off = 200-216-234-252-276-296 sts. Insert 1 marker after 23-24-26-26-30-31 sts, then insert 7-7-7-8-8-9 markers with 22-24-26-25-27-26 sts between each = 23-24-26-26-30-31 sts remain after last marker (= a total of 8-8-8-9-9-10 markers). Now measure the piece from here! Continue working in stockinette st (4 band sts in each side are worked as before). When piece measures 3 cm / 1", dec 1 st on each side of every marker (= 16-16-16-18-18-20 sts dec) - Read DECREASE TIP 2! Repeat dec every 3 cm / 1" 2 more times and then every 2 cm / ¾" a total of 4-4-5-5-6-6 times = 88-104-106-108-114-116 sts. Continue to work until piece measures 18-19-20-21-22-23 cm / 7"-7½"-8"-8¼"-8¾"-9". On next row from RS, K over all sts while AT THE SAME TIME dec 13-26-26-22-25-25 sts evenly (do not dec over band sts) = 75-78-80-86-89-91 sts. Turn piece. P 1 row from WS but turn piece when 15 sts remain towards mid front. Tighten the yarn and K from RS until 15 sts remain in the other side towards mid front. Turn piece and tighten yarn . P 1 row from WS the entire row. K 1 row from RS and K 1 row from WS over all sts. Then loosely bind off with K from RS. ASSEMBLY: Sew the openings under the sleeves. Sew on buttons. |
|
|
|
Have you finished this pattern?Tag your pictures with #dropspattern #mardeinviernocardigan or submit them to the #dropsfan gallery. Do you need help with this pattern?You'll find 18 tutorial videos, a Comments/Questions area and more by visiting the pattern on garnstudio.com. © 1982-2025 DROPS Design A/S. We reserve all rights. This document, including all its sub-sections, has copyrights. Read more about what you can do with our patterns at the bottom of each pattern on our site. |
|


With over 40 years in knitting and crochet design, DROPS Design offers one of the most extensive collections of free patterns on the internet - translated to 17 languages. As of today we count 314 catalogs and 11822 patterns - 11812 of which are translated into English (US/in).
We work hard to bring you the best knitting and crochet have to offer, inspiration and advice as well as great quality yarns at incredible prices! Would you like to use our patterns for other than personal use? You can read what you are allowed to do in the Copyright text at the bottom of all our patterns. Happy crafting!
Post a comment to pattern DROPS 129-9
We would love to hear what you have to say about this pattern!
If you want to leave a question, please make sure you select the correct category in the form below, to speed up the answering process. Required fields are marked *.