Comments / Questions (15)
![]() Samantha wrote:
Samantha wrote:
For the 1 1/2 cm do i start measuring from the first decrease row i make after the sleeve reaches 4cm or the row after it? Thank you!
12.10.2024 - 14:36DROPS Design answered:
Dear Samantha, please see the answer below. Happy knitting!
13.10.2024 - 23:18
![]() Samantha wrote:
Samantha wrote:
Hello! When the sleeve measures 4cm do I make the decreases on the row that makes the sleeve be 4cm or the next row? For the other decreases, does the 1 1/2 cm need to be between the last and next decrease row or should i make the decrease on the row that makes the sleeve 1 1/2 cm longer? And do i count the decrease i make after it reaches 4cm to the 11 total decreases i need to make or not?
12.10.2024 - 12:47DROPS Design answered:
Dear Samantha, the measurements are approximates; it may be difficult to estimate in which row it measures exactly 4cm. However, start decreasing when you already have 4cm, not less. The same with the decreases; between the first and the second decrease there should be 1 1/2 cm. The 11 total decreases includes the very first one, at 4cm. So, from that one, you count 10 more decreases. Happy knitting!
13.10.2024 - 23:14
![]() Samantha wrote:
Samantha wrote:
Hello! Can you explain to me more thoroughly the part of the yoke where it says that the piece needs to be 6cm with the next RS row? My piece measures 6cm after I've done a WS row & w/ the next RS row it's 6.3cm. In the next sentence it says to do A.1 and knit etc. & if I keep the RS row the next one I need to do is a WS one but A.1 is done at the start of a RS row not a WS one. And do I just knit the sts or do them like the rib? Also does the RS become the WS & vice versa when we do this row?
17.07.2024 - 22:44DROPS Design answered:
Dear Samantha, the piece should measure approx. 6cm and you should be ending on a WS row so that the next one, where you start A.1, A.2 and the increases, is a RS row ("with the next row from the right side"). This means that the charts are started correctly in a RS row. Happy knitting!
21.07.2024 - 19:51
![]() Susana Araujo wrote:
Susana Araujo wrote:
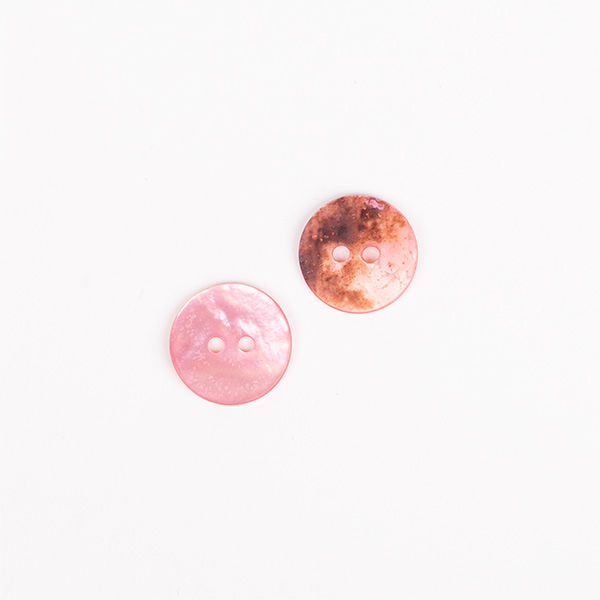
Hi there, do you have any video to learn how to sew buttons? Thank you very much for this amazing pattern. My final product is gorgeous!
09.10.2023 - 22:24DROPS Design answered:
Dear Susana, unfortunately we have no videos on how to sew buttons. Depending on the button type they are sewn differently. With a sewing thread, if you use the same buttons as here, pass the thread through both holes in the button and weave in the tail by twisting the thread several times right under the button, so that the button is slightly separated from the garment and the edge won't wear that easily as time goes by. Happy knitting!
15.10.2023 - 23:38
![]() Susana Araujo wrote:
Susana Araujo wrote:
Hi there. Thanks a lot for your free patterns. On the last part for the yoke it says: "cast on X stitches under the sleeve" but I am confused... If I had just place the stitches for the sleeve on a thread then I won't have a sleeve as yet done at all. Is this just to cast on X number as I would normally cast on any normal stitch but maybe put a mark or remember that that will be the under arm? Thanks for the help!
26.08.2023 - 22:38DROPS Design answered:
Dear Susana, these new cast on stitches are for the armholes in the body and replace the sleeves' position when working the body. You cast on these stitches on the body as normal. When you start the body, you will insert a thread in the middle of these stitches, so you will know that these stitches correspond to the armholes and that you will join the sleeve to the body here. Happy knitting!
28.08.2023 - 00:50
![]() Susana Araujo wrote:
Susana Araujo wrote:
On the "yoke" part when it says to continue the rib until piece measures 4cm is this to keep doing the A1 pattern on the band while we knit 1 and purl 2 on the rib? Or shall i just knit 7 on those 7 stitches from the band at all times?
12.08.2023 - 08:55DROPS Design answered:
Dear Mrs Arauajo, repeat the first 2 rows from RS starting with A.1 and ending with A.2 and from WS starting with A.2 and ending with A.1, ie work diagrams on each side and rib in between. Happy knitting!
14.08.2023 - 09:08
![]() Susana wrote:
Susana wrote:
When doing A1 and A2 pattern for the band, the part where we are meant to knit 2 together and yarn over happens to be on my wrong side. Do I still do this even on the wrong side or do I have to purl instead? The subtitles don't mention to do something different depending on the side but I just want to check before I do something wrong.
08.08.2023 - 23:06DROPS Design answered:
Dear Susanna, that's correct like this, this row will be worked from wrong side, this means you will work diagrams from WS reading from the left towards the right, ex. A.2. from WS - K1, (YO, K2 tog)x3 and A.1: (K2 tog, YO)x3, K1. Happy knitting!
09.08.2023 - 08:20
![]() Susana wrote:
Susana wrote:
Hi there, in the beginning of the yoke it says" increase every 2nd purl-1 to purl-2 - read increase tip= 155-160, etc. What is this purl-1 to purl-2??
08.08.2023 - 21:56DROPS Design answered:
Hi Susana, Half-way through the rib at the top of the yoke, you change the ribbing to knit 1, purl 2 by increasing 1 stitch in each purled stitch. The easiest method is to purl 2 in each purled stitch, or you can make 1 yarn over which is then purled twisted on the next round to avoid a hole. Hope this helps and happy knitting!
09.08.2023 - 07:20
![]() Susana Araujo wrote:
Susana Araujo wrote:
Hi there, for the knitting tension do I need to wet my swatch or shall I measure with a dry swatch? Thank you very much for your help 😊
08.08.2023 - 09:07DROPS Design answered:
Dear Mrs Araujo, you don't need to, except if you think it might be a good idea depending on your tension. Happy knitting!
08.08.2023 - 16:13
![]() Ina wrote:
Ina wrote:
Drops 240-21 , uważam, że schemat A3 nie zgadza się z pokazanym na zdjeciu sweterkiem. Na zdjeciu zaczyna sie schemat A3 od miejsca zaznaczonego strzałką. Robiąc według pokazanego schematu powstaje zupełnie inny wzòr.Bardzo proszę o odpowiedź. Proszę o
24.03.2023 - 19:17DROPS Design answered:
Witaj Ino, proszę o wybieranie kraju zgodnie z używanym językiem, wtedy od razu widzę pytania i mogę szybko odpowiedzieć :) Co do schematu A.3- jest od przerabiany jak zwykle od prawego dolnego rogu do góry (nie od strzałki). W rzędach oznaczonych strzałkami (części schematu przerabiane na prawo, bez ażuru) są dodawane oczka na formowanie okrągłego karczku. Pozdrawiamy!
12.04.2023 - 08:28
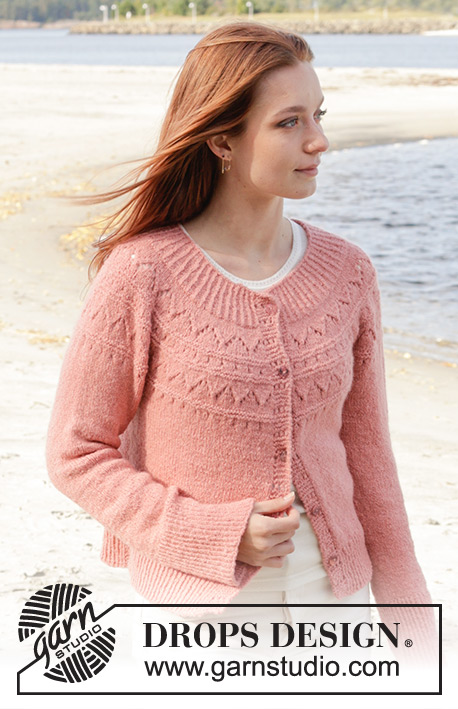
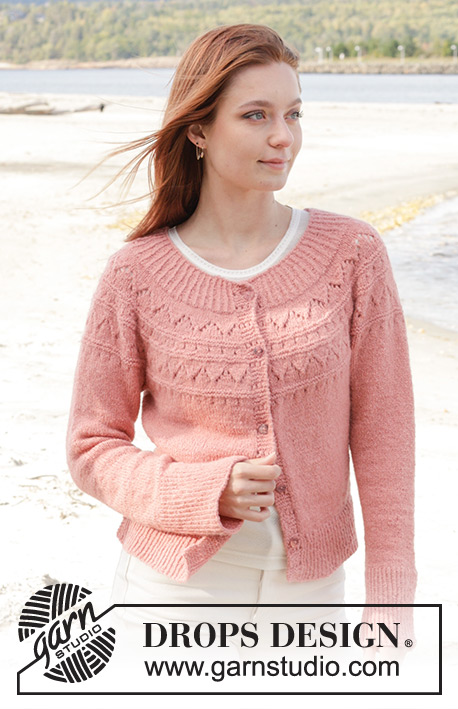
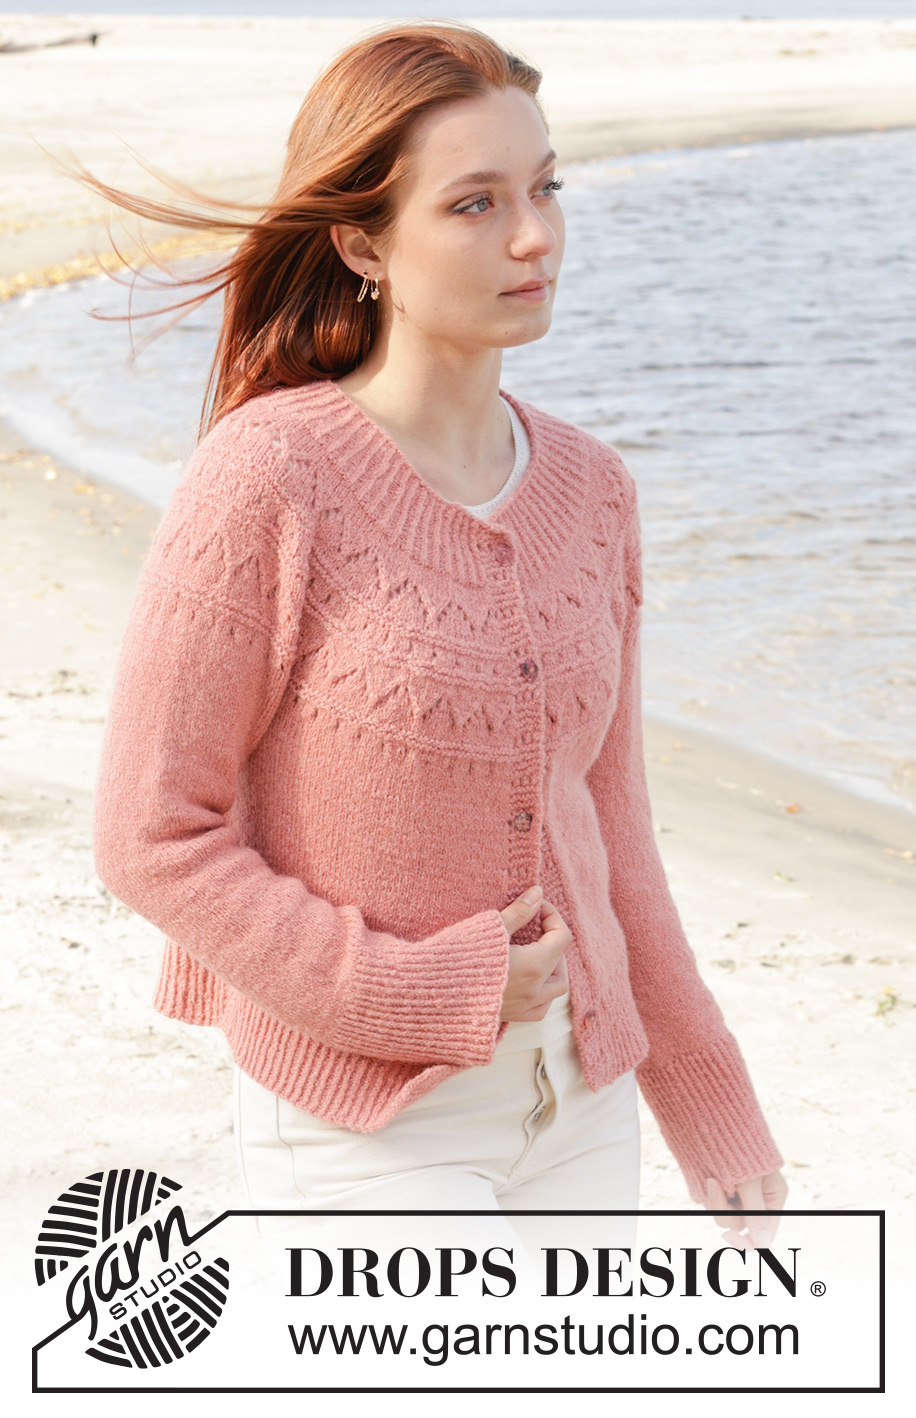
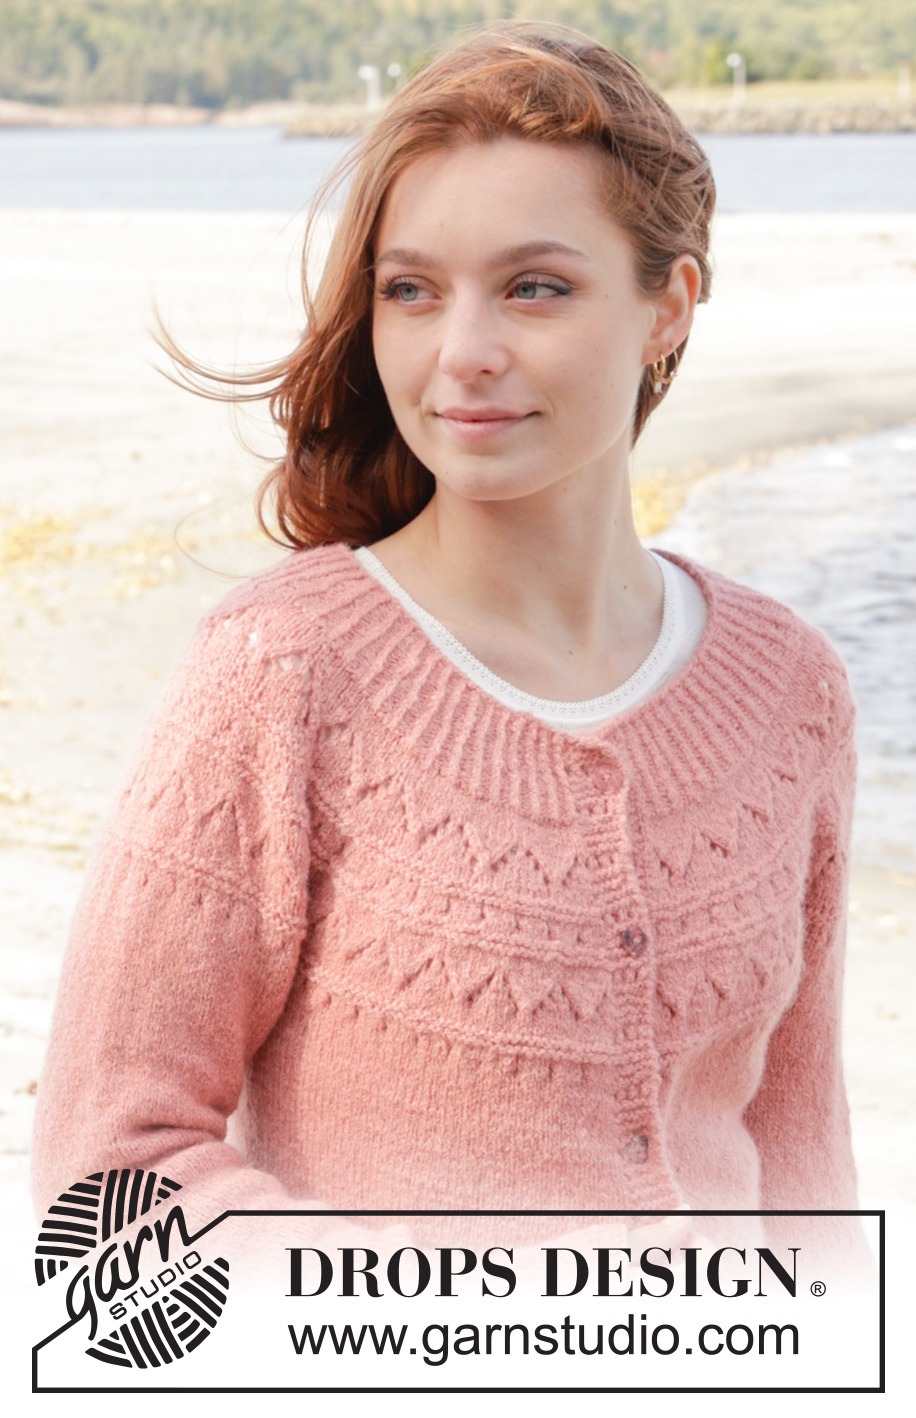
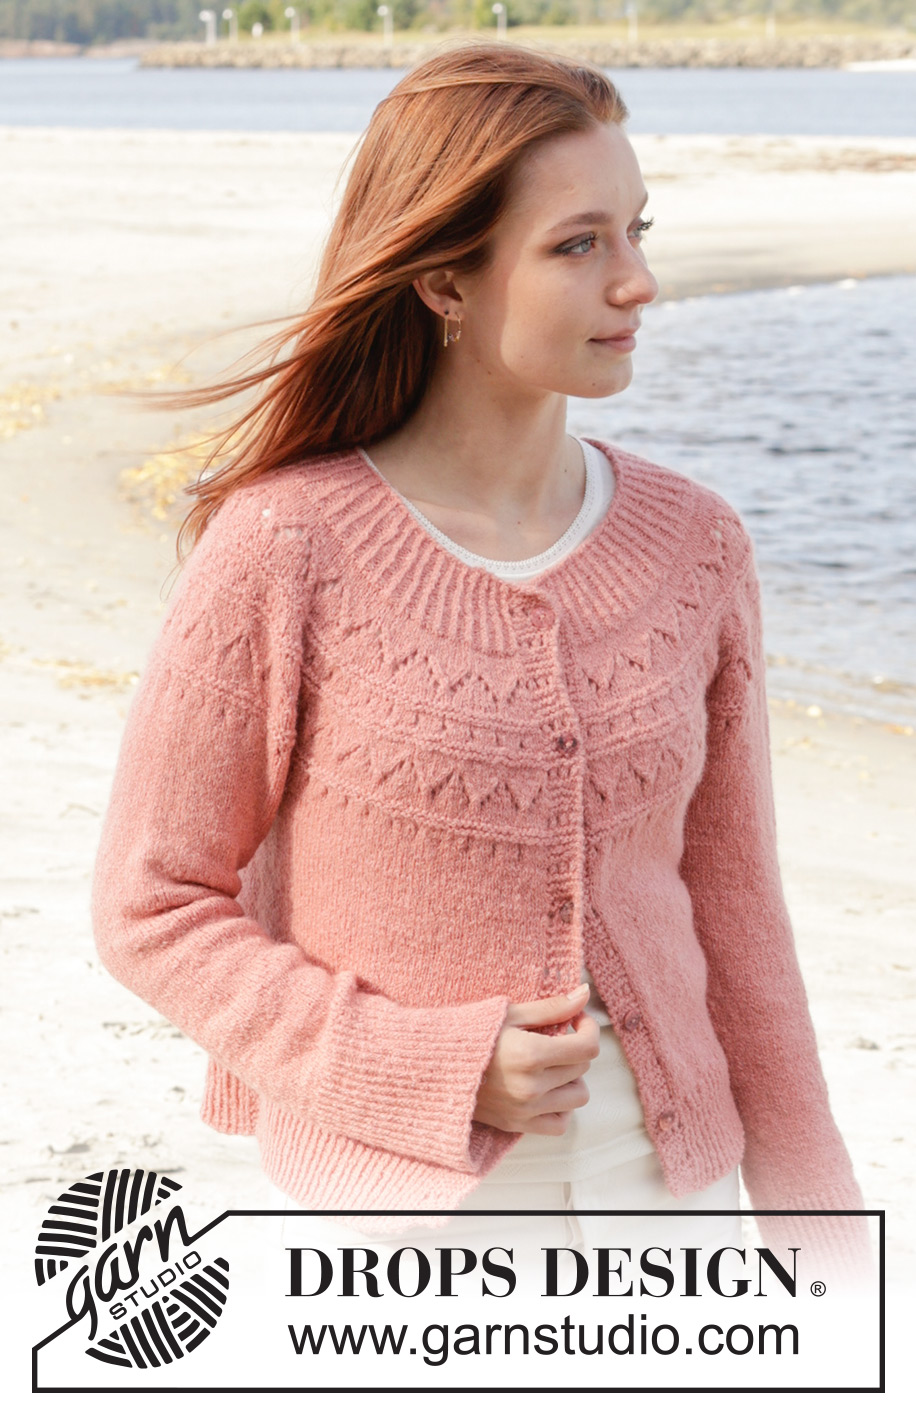
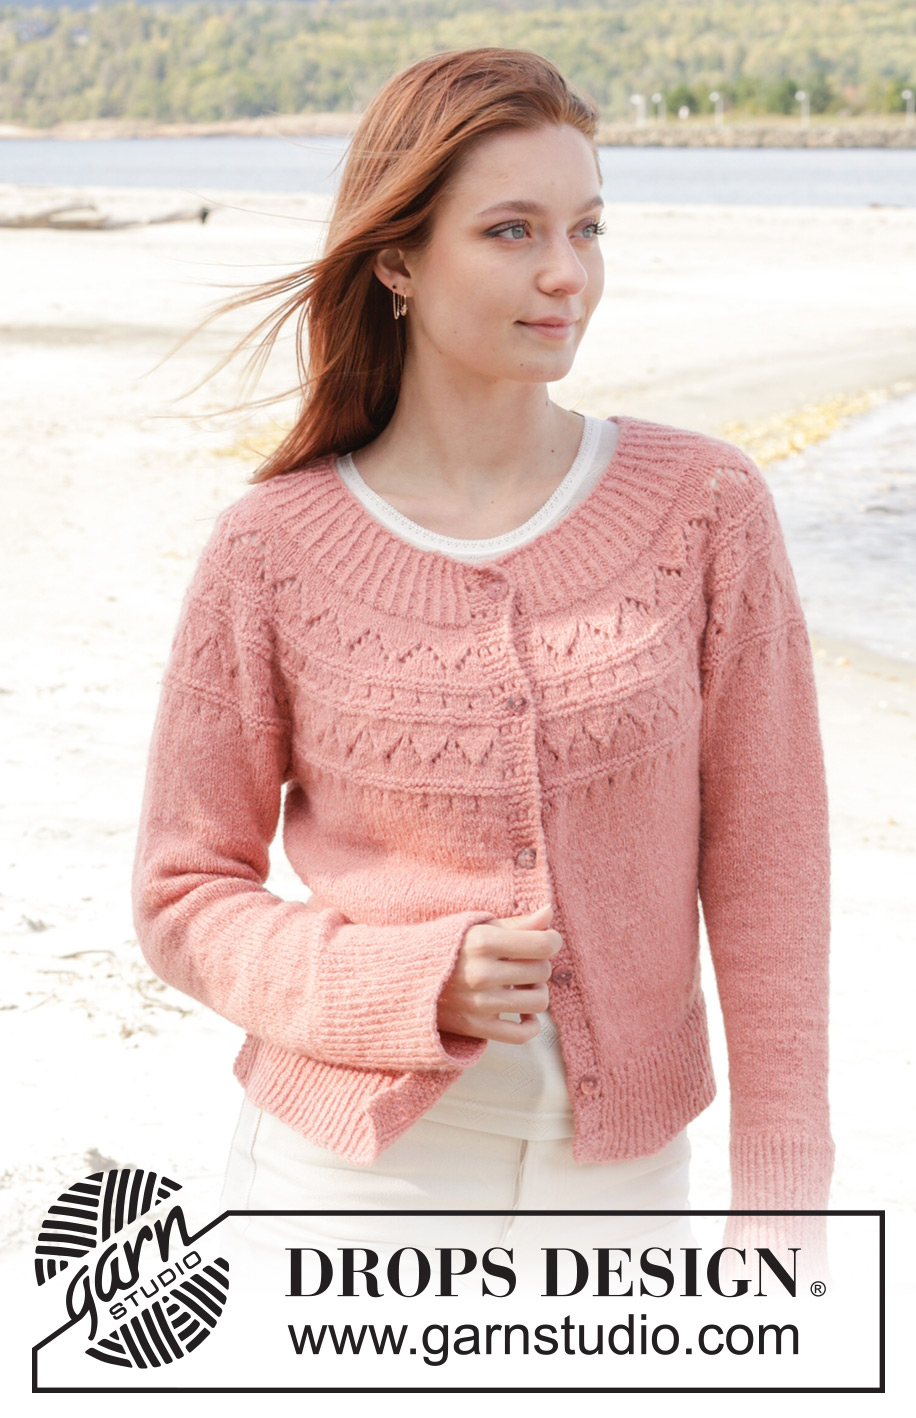
Blushing Rose Cardigan#blushingrosecardigan |
|||||||||||||||||||
 |
 |
||||||||||||||||||
Knitted jacket in DROPS Sky. The piece is worked top down with round yoke, lace pattern and split in the sides. Sizes S - XXXL.
DROPS 240-21 |
|||||||||||||||||||
|
------------------------------------------------------- EXPLANATIONS FOR THE PATTERN: ------------------------------------------------------- RIDGE/GARTER STITCH (worked back and forth): Knit all rows. 1 ridge = knit 2 rows. PATTERN: See diagrams A.1 to A.3. The diagrams show all rows in the pattern from the right side. INCREASE TIP: Increase 1 stitch by making 1 yarn over, which is worked twisted on the next row to avoid a hole. DECREASE TIP (for sleeves): Decrease 1 stitch on either side of the marker-thread as follows: Work until there are 3 stitches left before the marker-thread, knit 2 together, knit 2 (marker-thread sits between these 2 stitches), slip 1 stitch as if to knit, knit 1 and pass the slipped stitch over the knitted stitch. ------------------------------------------------------- START THE PIECE HERE: ------------------------------------------------------- JACKET – SHORT OVERVIEW OF THE PIECE. The neck and yoke are worked back and forth with circular needle, top down, as far as the armholes. The yoke is divided for body and sleeves and the body continued back and forth with circular needle. The sleeves are worked in the round with short circular needle/double pointed needles, top down. There are no buttonholes; the buttons are buttoned through a row of holes on the band. YOKE: Cast on 127-131-135-143-147-151 stitches with circular needle size 3 mm and DROPS Sky. Purl 1 row from the wrong side. Work rib from the right side as follows: Work A.1 over 7 stitches (band), work rib (knit 1 twisted, purl 1) until there are 8 stitches left, knit 1 twisted and work A.2 over the last 7 stitches (band). Work the rib from the wrong side as follows: A.2 over 7 stitches, rib (purl 1 twisted/ knit 1) until there are 8 stitches left, purl 1 twisted and A.1. Work this rib for 2 cm. Increase every 2nd purl-1 to purl-2 – read INCREASE TIP = 155-160-165-175-180-185 stitches. Continue the new rib until the piece measures 4 cm. Now increase the remaining purl-1 to purl-2 – remember INCREASE TIP = 183-189-195-207-213-219 stitches. Continue the bands and rib (knit 1 twisted, purl 2) until the piece measures 6 cm with the next row from the right side. Work A.1, knit 169-175-181-193-199-205 and increase 24-26-28-24-26-28 stitches evenly over these stitches, work A.2 = 207-215-223-231-239-247 stitches. Change to circular needle size 4 mm. Work A.2, purl until there are 7 stitches left, A.1. REMEMBER THE KNITTING TENSION! Work A.1, work A.3 until there are 8 stitches left on the row, work the first stitch in A.3 and work A.2. Continue this pattern. On the row marked with the first arrow in A.3 increase 32-40-48-56-56-72 stitches evenly spaced over the stitches in A.3 = 239-255-271-287-295-319 stitches. On the row marked with the second arrow in A.3 increase 32-48-48-56-56-72 stitches evenly spaced over the stitches in A.3 = 271-303-319-343-351-391 stitches. On the row marked with the third arrow in A.3 increase 40-40-48-48-72-72 stitches evenly spaced over the stitches in A.3 = 311-343-367-391-423-463 stitches. When A.3 is finished, continue with stocking stitch, A.1 and A.2 as before to finished length. When the piece measures 22-23-25-26-28-30 cm from the cast-on edge, divide for the body and sleeves from the right side as follows: Work the first 52-57-60-65-70-78 stitches as before (left front piece), place the next 58-64-70-72-78-82 stitches on a thread without working them (sleeve), cast on 10-10-12-12-14-14 stitches under the sleeve, knit 90-100-106-116-126-142 (back piece), place the next 58-64-70-72-78-82 stitches on a thread without working them (sleeve), cast on 10-10-12-12-14-14 stitches under the sleeve, work the last 53-58-61-66-71-79 stitches as before (right front piece). The piece is now measured from here! BODY: = 215-235-251-271-295-327 stitches. Insert a marker-thread in the middle of the 10-10-12-12-14-14 stitches cast on under each sleeve and allow the threads to follow your work onwards (they are used when dividing for the split). Continue back and forth as before for a further 24-25-25-26-26-26 cm and the next row from the right side. Now divide for the split in each side. Leave the first 57-62-66-71-77-85 stitches on the needle, place the next 100-110-118-128-140-156 stitches on a thread for the back piece and place the last 58-63-67-72-78-86 stitches on another thread for the right front piece. Each piece is finished separately. LEFT FRONT PIECE: = 57-62-66-71-77-85 stitches. Work A.1 as before, knit the remaining stitches and increase 20-23-27-26-26-24 stitches evenly spaced = 77-85-93-97-103-109 stitches. Change to circular needle size 3 mm. Work rib as follows from the wrong side: 3 garter stitches, * purl 1 twisted, knit 1 *, work from *-* until there are 8 stitches left, purl 1 twisted, A.1. Work rib as follows from the right side: A.1 over 7 stitches, * knit 1 twisted, purl 1 *, work from *-* until there are 4 stitches left, knit 1 twisted and 3 garter stitches. Continue this rib for 8 cm. Cast off with knit over knit and purl over purl. The jacket measures approx. 54-56-58-60-62-64 cm from the shoulder. RIGHT FRONT PIECE: Place the 58-63-67-72-78-86 right front piece stitches on circular needle size 4 mm. Start from the right side, knit the first 51-56-60-65-71-79 stitches and increase 19-22-26-25-25-23 evenly spaced, work A.2 as before over the last 7 stitches = 77-85-93-97-103-109 stitches. Change to circular needle size 3 mm. Work rib as follows from the wrong side: A.2 over 7 stitches, * purl 1 twisted, knit 1 *, work from *-* until there are 4 stitches left, purl 1 twisted and 3 garter stitches. Work rib as follows from the right side: 3 garter stitches, * knit 1 twisted, purl 1 *, work from *-* until there are 8 stitches left, purl 1 twisted, A.2. Continue this rib for 8 cm. Cast off with knit over knit and purl over purl. The jacket measures approx. 54-56-58-60-62-64 cm from the shoulder. BACK PIECE: Place the 100-110-118-128-140-156 stitches for the back piece on circular needle size 4 mm. Start from the right side and knit 1 row, increasing 21-21-23-27-29-31 stitches evenly spaced = 121-131-141-155-169-187 stitches. Change to circular needle size 3 mm. Work rib as follows from the wrong side: 3 garter stitches, * purl 1 twisted, knit 1 *, work from *-* until there are 4 stitches left, purl 1 twisted and 3 garter stitches. Work rib as follows from the right side: 3 garter stitches, * knit 1 twisted, purl 1 *, work from *-* until there are 4 stitches left, knit 1 twisted, 3 garter stitches. Continue this rib for 8 cm. Cast off with knit over knit and purl over purl. The jacket measures approx. 54-56-58-60-62-64 cm from the shoulder. SLEEVES: Place the 58-64-70-72-78-82 stitches from the thread on the one side of the piece on short circular needle/double pointed needles size 4 mm and knit up 1 stitch in each of the new stitches cast on under the sleeve = 68-74-82-84-92-96 stitches. Insert a marker-thread in the middle of the new stitches under the sleeve and allow it to follow your work onwards. Work stocking stitch in the round When the sleeve measures 4 cm decrease 1 stitch on each side of the marker-thread – read DECREASE TIP. Decrease like this every 3½-2½-1½-1½-1-1 cm a total of 6-8-11-10-13-14 times = 56-58-60-64-66-68 stitches. Continue working until the sleeve measures 31-31-29-29-28-26 cm from the division. Approx. 12 cm remain before finished measurements, you can try jacket on and work to desired length. Knit 1 round and increase 18-18-20-20-20-20 stitches evenly spaced = 74-76-80-84-86-88 stitches. Change to double pointed needles size 3 mm and work rib (knit 1 twisted, purl 1) for 12 cm. Cast off with knit over knit and purl over purl. Work the other sleeve in the same way. ASSEMBLY: Sew the buttons onto the left band, positioned so they can be buttoned through the row of holes on the right band. |
|||||||||||||||||||
Diagram explanations |
|||||||||||||||||||
|
|||||||||||||||||||

|
|||||||||||||||||||

|
|||||||||||||||||||
Have you finished this pattern?Tag your pictures with #dropspattern #blushingrosecardigan or submit them to the #dropsfan gallery. Do you need help with this pattern?You'll find 34 tutorial videos, a Comments/Questions area and more by visiting the pattern on garnstudio.com. © 1982-2025 DROPS Design A/S. We reserve all rights. This document, including all its sub-sections, has copyrights. Read more about what you can do with our patterns at the bottom of each pattern on our site. |
|||||||||||||||||||








Post a comment to pattern DROPS 240-21
We would love to hear what you have to say about this pattern!
If you want to leave a question, please make sure you select the correct category in the form below, to speed up the answering process. Required fields are marked *.