
Popular categories
Looking for a yarn?






































Comments / Questions (3)
 Daniela wrote:
Ich verstehe die Einteilung der Markierer nicht. Ab wo werden die 37 Machen gezählt? Die vordere Mitte wäre bei exakt 55 M von der hinteren Mitte an gezählt. Beim Stricken der Erhöhung soll von *-* noch 2 x wiederholt werden; erfolgt dies mit einer zusätzlichen Verkürzung der Reihen um jeweils eine weitere M (12, 13, 14, 15) oder bleibt es bei 12, 13, 13, 13? Lieben Dank!
26.10.2026 - 15:41DROPS Design answered:
Liebe Daniela, die Runden beginnen am Anfang der rechten Schulter (nach Rückenteil), so die 37 Maschen sind für die Mitte vorne, diese Maschen stricken Sie aber nicht, setzen Sie nur eine Markierung hier nach ca 37 M (3. Größe), und dann ab hier die Arbeit messen. Viel Spaß beim Stricken!
27.10.2026 - 08:50
Veronika wrote:
Hallo, welcher Markierer ist gemeint, ab der die Erhöhung im Nacken gestrickt werden soll. Ein Markierer kennzeichnet die vordere Mitte und einer den Rundenbeginn. Welcher ist gemeint
28.09.2026 - 22:03DROPS Design answered:
Liebe Veronika, die Reihen der Erhöhung beginnen in der Mitte hinten (beim Rückenteil), Sie stricken die verkürzten Reihen bis 11-14 (usw) vor der Markierung in der Mitte vorne (beim Vorderteil) übrig sind, dann wenden Sie und stricken Sie bis 11-14 (usw) vor der Markierung in der Mitte vorne (beim Vorderteil) an der anderen Seite übrig sind. So weiterstricken bis die 8 Reihen gestrickt sind. Viel Spaß beim Stricken!
29.09.2026 - 09:24
Karola wrote:
DROPS 272-3 #berrycharmsweater Modell li-230 Ich würde gerne den Sweater nacharbeiten. Nur leider kann ich mich mit der Farbe beige nicht anfreunden. Hättet ihr einen Tipp, welche Farbe ich anstelle nehmen könnte, damit die Bordüre gut rauskommt ? Liebe Grüße Karola
13.09.2026 - 10:52DROPS Design answered:
Liebe Karola, gerne können Sie Ihr Händler mach fragen, sie werden Ihnen die besten passenden Farben, je nach Wunsch. Viel Spaß beim Stricken!
14.09.2026 - 08:32
|
|||||||||||||||||||
Berry Charm Sweater#berrycharmsweater |
|||||||||||||||||||
 |
 |
||||||||||||||||||
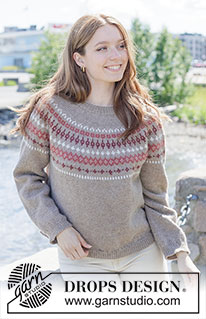
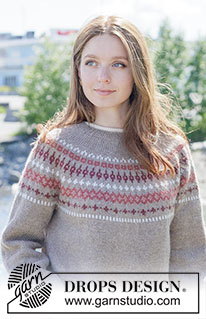
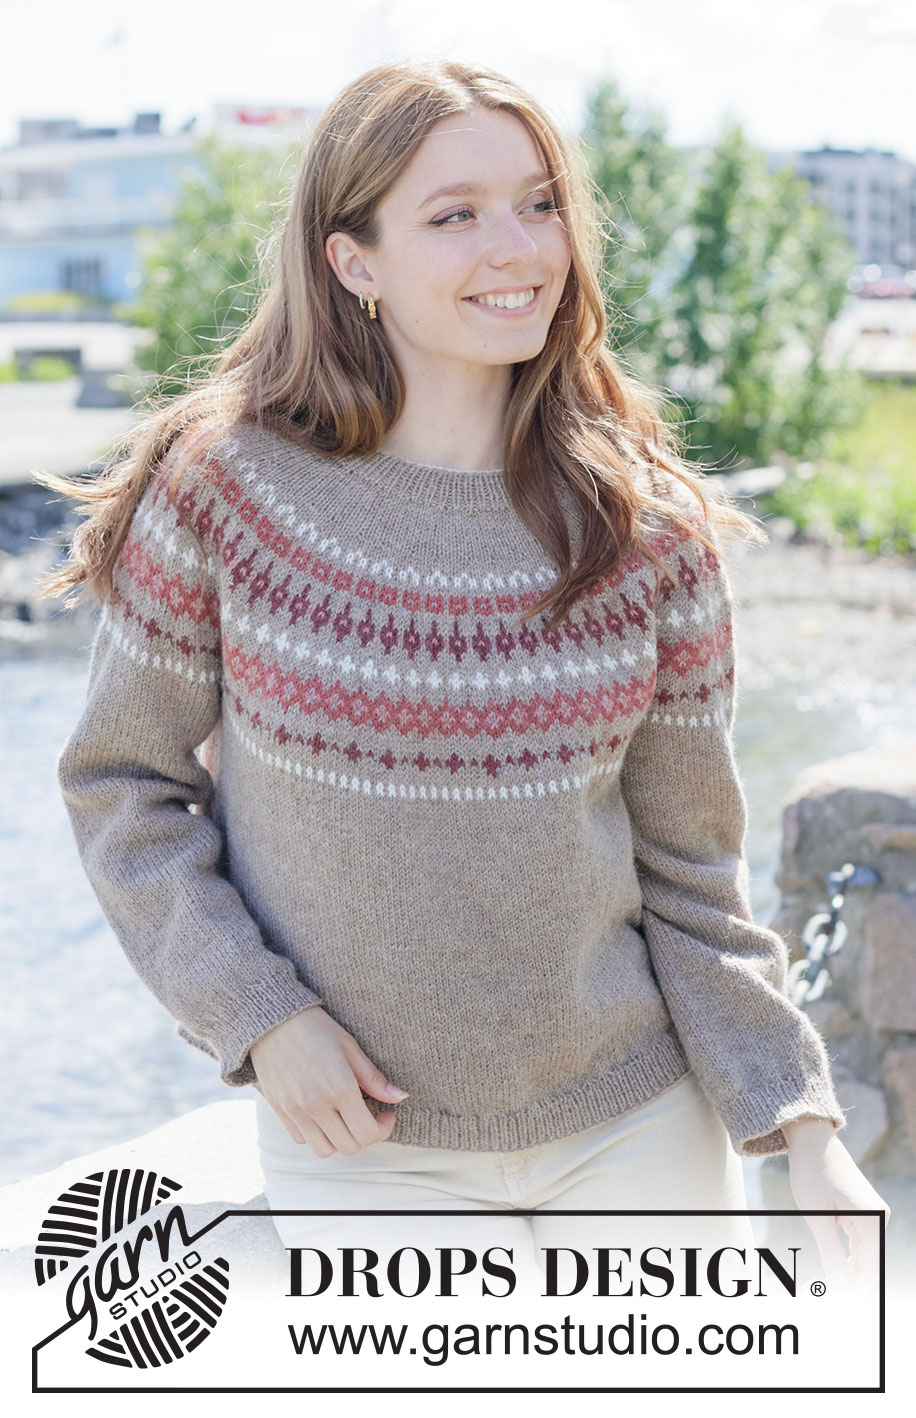
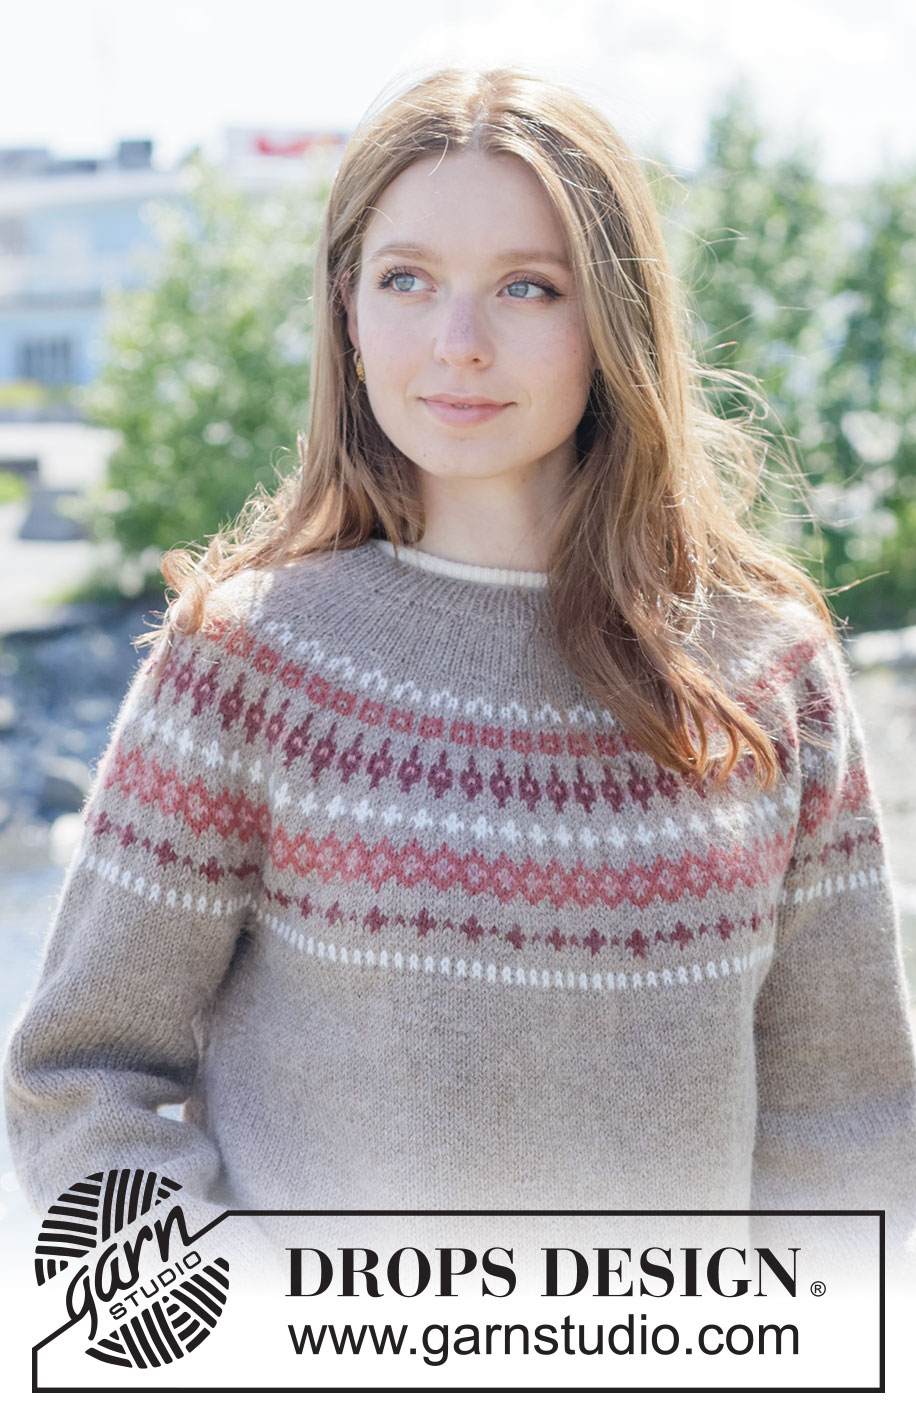
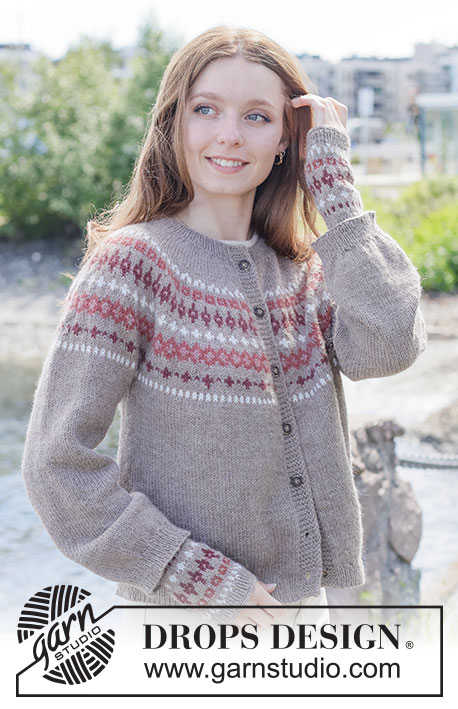
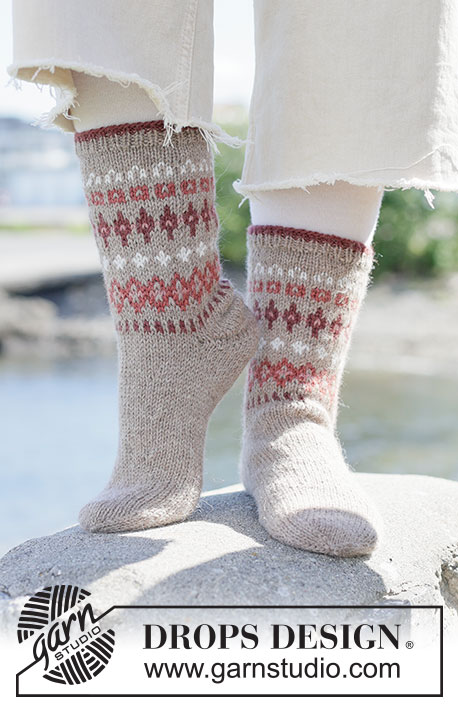
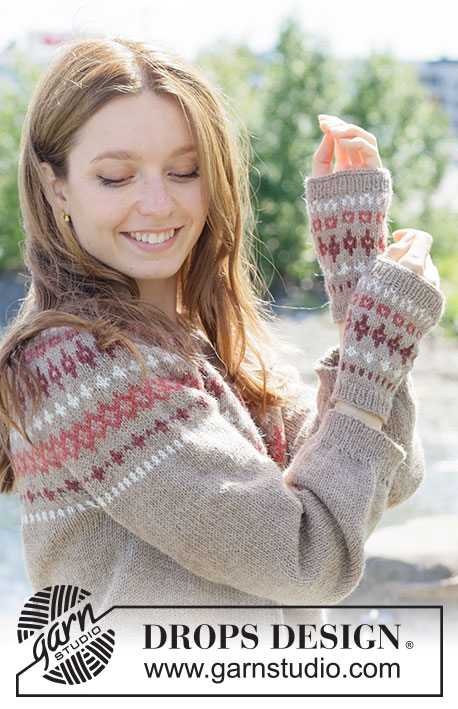
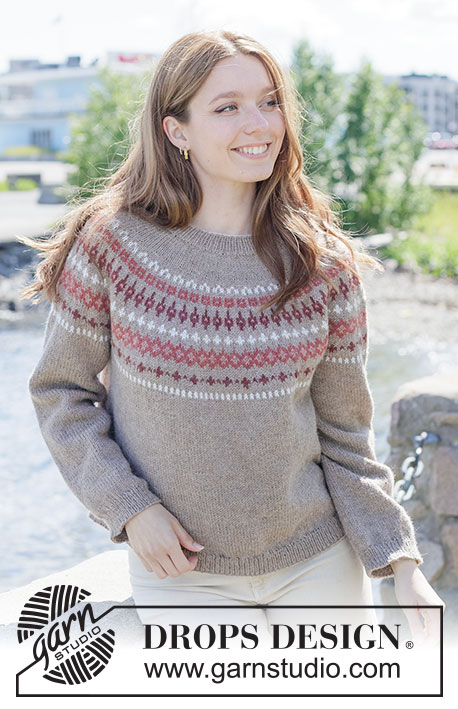
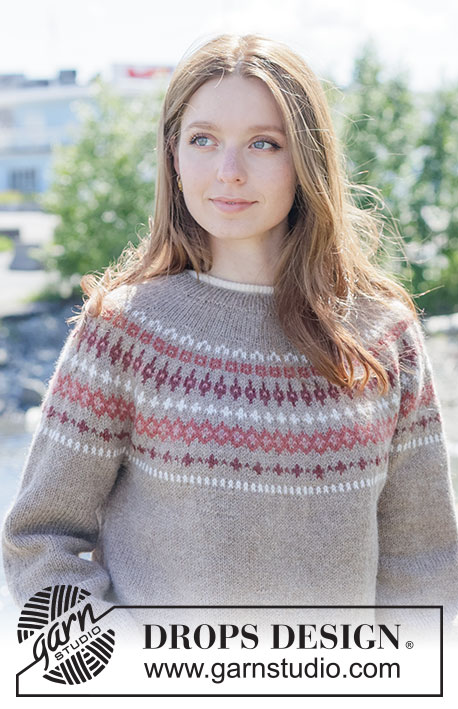
Knitted jumper in DROPS Lima. Piece is knitted top down in stocking stitch with round yoke and Nordic pattern. Size XS – XXXL.
DROPS 272-3 |
|||||||||||||||||||
|
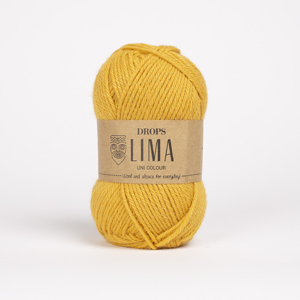
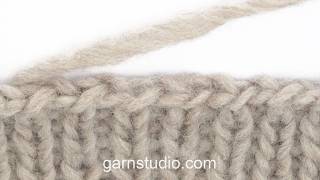
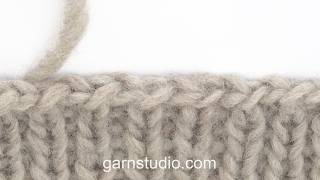
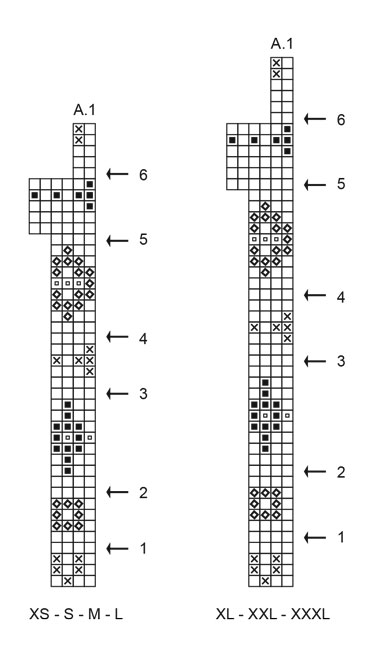
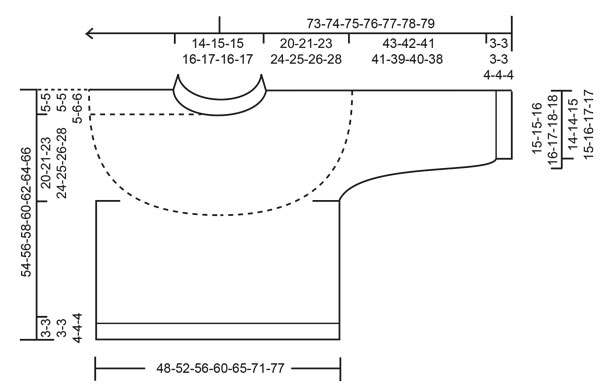
---------------------------------------------------------- EXPLANATION FOR THE PATTERN: ---------------------------------------------------------- ITALIAN CAST-ON (simple method): With this cast-on cast on half of the stitches given in pattern, then increase number of stitches on first row after cast-on. Work 2 rows back and forth before working in the round. Cast on stitches around 2 needles (use the thickest needle size from pattern = needle size 4 mm), cast on 53-54-55-57-59-62-64 stitches. Pull out one needle and work on circular needle size 2.5 mm while increasing number of stitches - work as follows: ROW 1 (turn piece and work back on row = wrong side): * Purl 1, pick up a stitch from the working yarn as follows: Insert right needle in front, under and behind piece, up in front of yarn and pull needle with yarn to the front of piece again (= 1 new stitch on right needle) *, work from *-* until 1 stitch remains, purl 1 = 105-107-109-113-117-123-127 stitches. ROW 2 (turn piece and work back on row = right side): * Knit 1, purl 1 (= yarn that was picked up) *, work from *-* until 1 stitch remains, work 2 stitches in last stitch as follows: Knit 1 in stitch loop in front of needle and purl 1 in stitch loop behind needle = 106-108-110-114-118-124-128 stitches. ROUND 3 (do not turn piece - now work in the round on needle = right side): Knit over knit and purl over purl. Then work neck edge as explained in pattern. INCREASE TIP-1: To calculate how to increase evenly, use the total number of stitches on row (e.g. 106 stitches) and divide stitches by number of increases to be done (e.g. 20) = 5.3. In this example increase by making 1 yarn over after approx. every 5th stitch. On next round work yarn overs twisted to avoid holes. INCREASE TIP-2: When increasing stitches evenly in transition for rib, there will be an even increase if you increase where stitches are going to be purled, the stitches in stocking stitch will then continue nicely over into rib. ELEVATION: To make the jumper higher in the back of neck when working in the round for round yoke, knit an elevation. Skip this paragraph if you do not want an elevation. Begin from right side and knit until 11-11-12-12-13-13-14 stitches remain before marker mid front, turn piece – read KNITTING TIP-1 and purl until 11-11-12-12-13-13-14 stitches remain before marker mid front in the other side. * Turn piece and knit until 13-13-13-14-14-16-16 stitches remain before previous turn, turn piece and purl until 13-13-13-14-14-16-16 stitches remain before previous turn in the other side *, work from *-* 2 more times (= 8 rows worked). Turn piece and knit until beginning of round at right shoulder at the back. Then work yoke in the round as explained in pattern. KNITTING TIP-1: When working short rows there will be a small hole when turning the piece - the hole can be closed by tightening the yarn or using the technique German Short Rows as follows: Slip first stitch purlwise with strand in front of piece. Place strand over right needle and tighten well at the back (should lead to two loops on needle). Work these loops together on next row. KNITTING TIP-2: To avoid the knitting tension to tighten when working pattern, it is important not to tighten the strands on back side of piece. Use a larger needle size when working pattern try needed. PATTERN: See diagram A.1. Choose diagram for correct size. Work the entire pattern in stocking stitch. SLEEVE TIP: When picking up stitches mid under sleeve, there will be a small hole in the transition between stitches on body and sleeves. The holes can be closed by picking up the strand between two stitches - work this strand twisted together with the first stitch between body and sleeve to close the hole. DECREASE TIP: Decrease 1 stitch on each side of marker thread as follows: Work until 4 stitches remain before marker thread and knit 2 together, knit 4 (marker thread is in the middle of these 4 stitches), slip 1 stitch knitwise, knit 1, pass slipped stitch over stitch worked (= 2 stitches decreased). ---------------------------------------------------------- START THE PIECE HERE: ---------------------------------------------------------- JUMPER - SHORT OVERVIEW OF THE PIECE: In this pattern needles of different length have been used, begin with fitting length for number of stitches and switch as needed. Work neck edge and yoke in the round on circular needle from right shoulder at the back, work top down with increases for round yoke. When yoke is done, divide piece for body and sleeves. Work body downwards in the round on circular needle while putting the sleeves aside. Then work sleeves downwards in the round on needle. NECK EDGE: Cast on 106-108-110-114-118-124-128 stitches on circular needle size 2.5 mm with colour Beige in DROPS Lima - use ITALIAN CAST-ON if desired - read explanation above. Work rib in the round (= knit 1 and purl 1) until neck edge measures 3-3-3-3-4-4-4 cm. Beginning of round is at right shoulder at the back. Insert 1 marker after the first 35-36-37-38-39-41-43 stitches on round (= approx. mid front), measure piece from this marker. YOKE: Switch to circular needle size 4 mm, work 1 round in stocking stitch while increasing 20-20-22-24-26-30-30 stitches evenly - read INCREASE TIP -1= 126-128-132-138-144-154-158 stitches. Now work an ELEVATION at the back of neck - read explanation above. When elevation has been worked, continue the yoke as explained below. If you do not want an elevation, continue as explained below. Then work in stocking stitch. Remember to follow the knitting tension! When yoke measures 3-3-3-3½-4-4½-4½ cm from marker, increase 26-32-32-34-36-38-38 stitches evenly – remember INCREASE TIP-1= 152-160-164-172-180-192-196 stitches. Work in stocking stitch until yoke measures 4-5-5-6-7-8-8 cm from marker mid front. Now work PATTERN– read explanation above, read KNITTING TIP-2 and work A.1 in the round on yoke - AT THE SAME TIME on every round marked with arrow in A.1 increase stitches evenly as explained below - read INCREASE TIP-1: Arrow-1: Increase 32-32-36-36-40-44-44 stitches evenly = 184-192-200-208-220-236-240 stitches. Arrow-2: Increase 28-28-32-32-36-36-40 stitches evenly = 212-220-232-240-256-272-280 stitches. Arrow-3: Increase 36-40-44-44-48-48-52 stitches evenly = 248-260-276-284-304-320-332 stitches. Arrow-4: Increase 20-24-28-32-36-40-40 stitches evenly = 268-284-304-316-340-360-372 stitches. Arrow-5: Increase 14-22-20-26-26-30-30 stitches evenly = 282-306-324-342-366-390-402 stitches. Arrow-6: Increase 14-14-16-18-18-22-26 stitches evenly = 296-320-340-360-384-412-428 stitches. When A.1 has been worked, piece measures approx. 19-20-20-21-24-25-25 cm from marker mid front. Then work in colour Beige until finished measurements. Work stocking stitch until yoke measures 20-21-23-24-25-26-28 cm from marker mid front. Now divide piece for body and sleeves. DIVIDING FOR BODY AND SLEEVES: AT THE SAME TIME as next round is worked divide yoke for body and sleeves as follows: Slip the first 58-62-66-70-74-76-76 stitches on a thread for sleeve, cast on 10-12-14-16-18-20-24 new stitches on needle (= in the side mid under sleeve), work 90-98-104-110-118-130-138 stitches (= front piece), slip the next 58-62-66-70-74-76-76 stitches on a thread for sleeve, cast on 10-12-14-16-18-20-24 new stitches on needle (= in the side mid under sleeve), and work in stocking stitch over the last 90-98-104-110-118-130-138 stitches (= back piece). Finish body and sleeves separately. BODY: = 200-220-236-252-272-300-324 stitches. Insert 1 marker in one side of piece (= in the middle of the 10-12-14-16-18-20-24 stitches that were cast on under sleeve). Work until marker, round begins here and work in the round. Work stocking stitch until piece measures approx. 46-48-50-52-53-54-56 cm from marker mid front. Switch to circular needles size 2.5 mm, work rib (= knit 1 and purl 1) while AT THE SAME TIME increasing 54-54-60-64-72-74-82 stitches evenly on 1st round - read INCREASE TIP-2= 254-274-296-316-344-374-406 stitches. When rib measures 3-3-3-3-4-4-4 cm, cast off with knit over knit and purl over purl or use Italian cast-off. Jumper measures 49-51-53-55-57-58-60 cm from marker mid front and approx. 54-56-58-60-62-64-66 cm from the top of shoulder. SLEEVES: Slip 58-62-66-70-74-76-76 sleeve stitches from one thread on to circular needle size 4 mm and pick in addition up 1 stitch in each of the 10-12-14-16-18-20-24 stitches cast on under sleeve - read SLEEVE TIP = 68-74-80-86-92-96-100 stitches. Insert 1 marker in the middle of the 10-12-14-16-18-20-24 new stitches under sleeve - round begins at the marker thread. Work in stocking stitch in the round. AT THE SAME TIME when 1 round has been worked after division, decrease mid under sleeve – read DECREASE TIP and decrease as follows: Decrease 2 stitches every other round 2-2-2-2-3-3-3 times, then decrease 2 stitches every 2-2-2-2-1½-1½-1½ cm 1-3-5-7-7-8-9 times = 62-64-66-68-72-74-76 stitches. Work until sleeve measures 43-43-41-41-39-40-38 cm from division. Switch to double pointed needles size 2.5 mm and work rib (= knit 1 and purl 1) while AT THE SAME TIME increasing 12-12-12-12-12-14-14 stitches evenly on 1st round - remember INCREASE TIP-2= 74-76-78-80-84-88-90 stitches. When rib measures 3-3-3-3-4-4-4 cm, cast off with knit over knit and purl or use Italian cast-off. Sleeve measures approx. 46-45-44-44-43-44-42 cm from division. |
|||||||||||||||||||
Diagram explanations |
|||||||||||||||||||
|
|||||||||||||||||||
 |
|||||||||||||||||||
 |
|||||||||||||||||||
Have you finished this pattern?Tag your pictures with #dropspattern #berrycharmsweater or submit them to the #dropsfan gallery. Do you need help with this pattern?You'll find 25 tutorial videos, a Comments/Questions area and more by visiting the pattern on garnstudio.com. © 1982-2026 DROPS Design A/S. We reserve all rights. This document, including all its sub-sections, has copyrights. Read more about what you can do with our patterns at the bottom of each pattern on our site. |
|||||||||||||||||||






With over 40 years in knitting and crochet design, DROPS Design offers one of the most extensive collections of free patterns on the internet - translated to 17 languages. As of today we count 333 catalogues and 12525 patterns translated into English (UK/cm). 12525
We work hard to bring you the best knitting and crochet have to offer, inspiration and advice as well as great quality yarns at incredible prices! Would you like to use our patterns for other than personal use? You can read what you are allowed to do in the Copyright text at the bottom of all our patterns. Happy crafting!
Post a comment to pattern DROPS 272-3
We would love to hear what you have to say about this pattern!
If you want to leave a question, please make sure you select the correct category in the form below, to speed up the answering process. Required fields are marked *.