Comments / Questions (27)
![]() Angela Abbot wrote:
Angela Abbot wrote:
I'm just a little confused. At the top of the yoke, the last row has a decrease the number of stitches then one is told to cut the yarn. Then for the hood ones works on the same stitches and the first row of the hood has a increase. There is no indication on should start at a different point to where one stopped knitting so why the need to cut the yarn and join it again
19.01.2024 - 22:03DROPS Design answered:
Dear Mrs Abbot, it looks you are right, our design team will check this one more time, thanks for noticing. I wouldn't cut the yarn just continue working hood just as explained. Happy knitting!
22.01.2024 - 08:12
![]() Marilyn J Denlinger wrote:
Marilyn J Denlinger wrote:
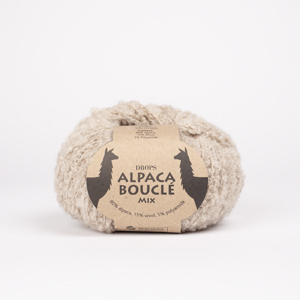
I downloaded and printed your Drops 230-5 knittted sweater pattern entitled"Mist Cover". I'm looking for an alternative yarn from what the pattern calls for-Drops Alpaca Boucle and Drops Kid-Silk because I'm a little concerned about knitting with a boucle yarn-too many loops, but I want a yarn that you can't see through. Can you please make some recommendations for an alternative yarn to replace the Alpaca Boucle with something else, yet textured enough not to be see through? Thank you.
05.01.2024 - 22:54DROPS Design answered:
Dear Marilyn, you could change it for other Group C yarns, such as Air. You can also work with 2 threads of a Group A yarn, like Alpaca. You will need to check the amount of yarn required, since it will depend on the yardage of the yarn; follow the steps indicated in the following lesson: https://www.garnstudio.com/lesson.php?id=14&cid=19. Happy knitting!
07.01.2024 - 23:42
![]() Josée Laberge wrote:
Josée Laberge wrote:
Bonjour, je suis rendue à tricoter en rond les mailles du devant et du dos. On me dit de tricoter au point mousse les 6 mailles de chaque côté. Les indications du début pour le point mousse sont pour quand on tricoter en aller retour et non en rond. Est-ce que je dois tricoter ces 6 mailles en jersey sur tous les rangs comme les autres ou les tricoter un rang sur l'endroit et l'autre sur l'envers pour réaliser 2 côtes mousse? Merci!
24.11.2023 - 16:56DROPS Design answered:
Bonjour Mme Laberge, effectivement, pour tricoter au point mousse, on doit alterner 1 tour endroit, 1 tour envers, autrement dit tricotez 1 tour tout à l'endroit, puis 1 tour avec ces 6 mailles de chaque côté à l'envers, et tricoter ces 2 tours encore 1 fois pour les 2 côtes mousse sous les manches. Bon tricot!
27.11.2023 - 07:42
![]() Justyna wrote:
Justyna wrote:
Prosze o informację na jakich drutach (4,5 czy 6) została zrobiona próbka. Zgodnie z nią dla rozmiaru M 50 cm szerokość wychodzi 70 oczek, a podanych jest 88
30.09.2023 - 17:15DROPS Design answered:
Witaj Justyno, próbka dżersejem jest wykonywana na drutach nr 6. Jeżeli próbka będzie zgodna, szerokość swetra w rozmiarze M wyniesie 50 cm (jest 70 oczek na przód). Co do 88 oczek na początku to ściągacz ściąga lekko robótkę, poza tym jest wykonywany na mniejszych drutach. Tak więc szerokość swetra będzie podobna na ściągaczu i na dalszej części przodu/tyłu. Pozdrawiamy!
02.10.2023 - 09:29
![]() Lovisa wrote:
Lovisa wrote:
Hur ska luvan stickas på? Ska man lägga upp nya maskor till den eller plocka upp från bakstycket?
24.09.2023 - 21:49
![]() Melody wrote:
Melody wrote:
Totally Casual
19.01.2022 - 12:05
![]() Kiki wrote:
Kiki wrote:
Cuddly Comfort
18.01.2022 - 20:21
![]() Heini wrote:
Heini wrote:
Outlander
17.01.2022 - 21:34
![]() Au Fil De Lau wrote:
Au Fil De Lau wrote:
"Chaperon blanc"
17.01.2022 - 13:19
![]() Silje wrote:
Silje wrote:
Hodie woodi
16.01.2022 - 00:27
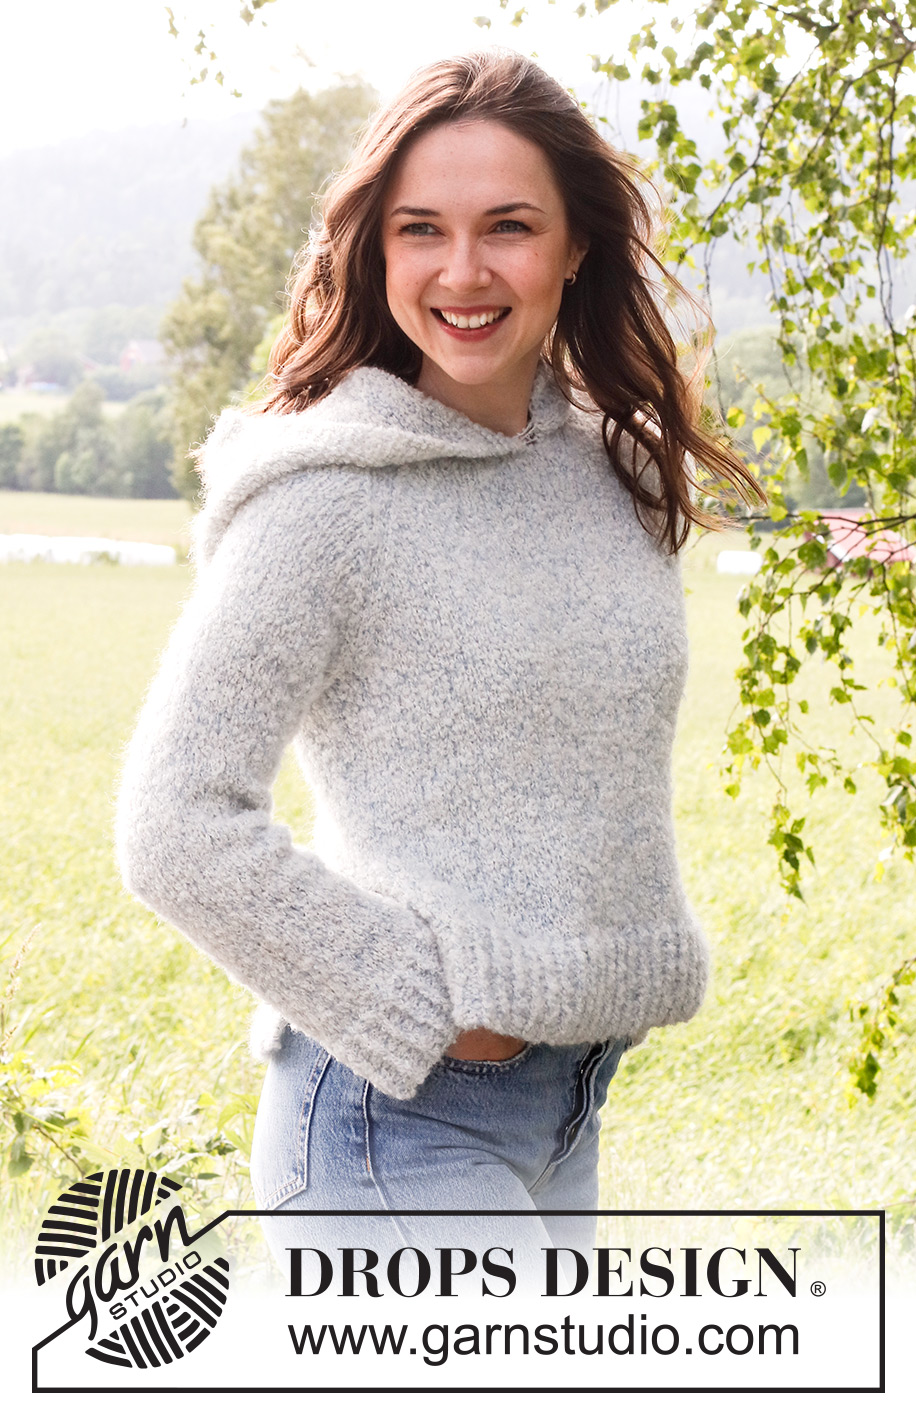
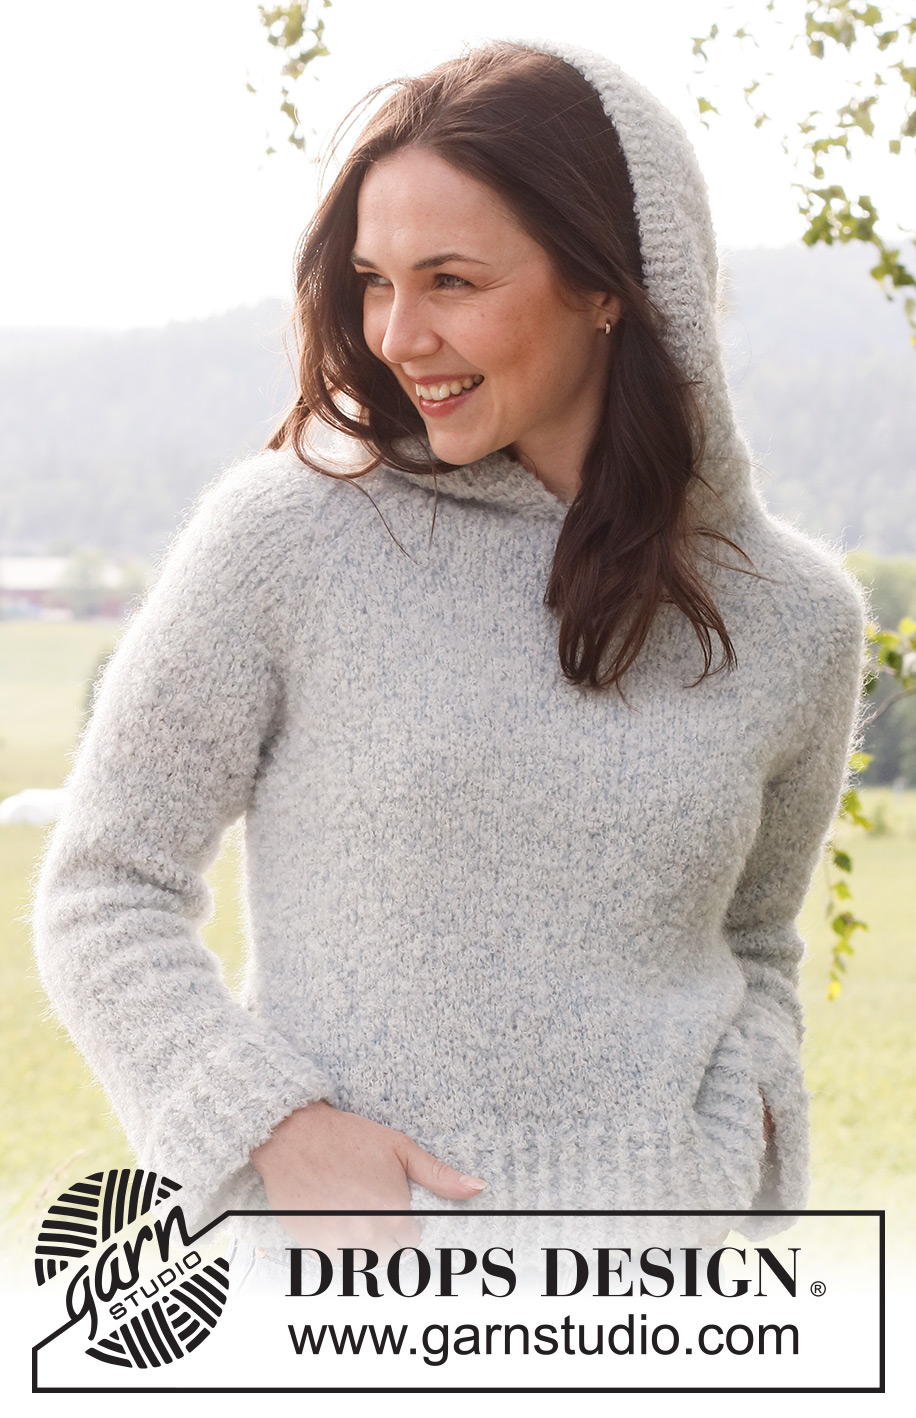
Mist Cover#mistcoverhoodie |
|||||||
 |
 |
||||||
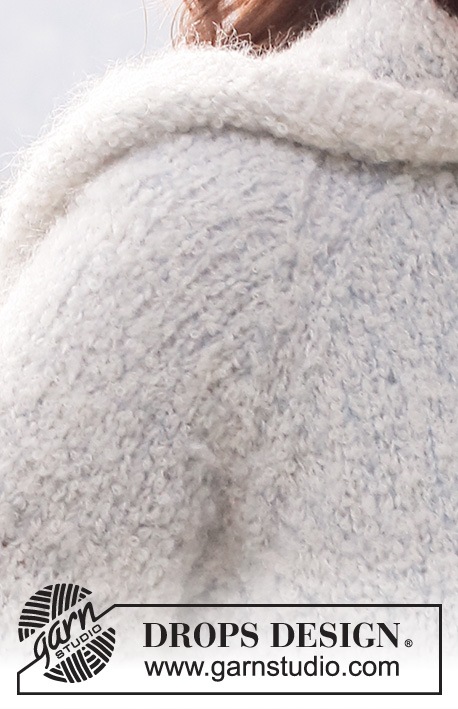
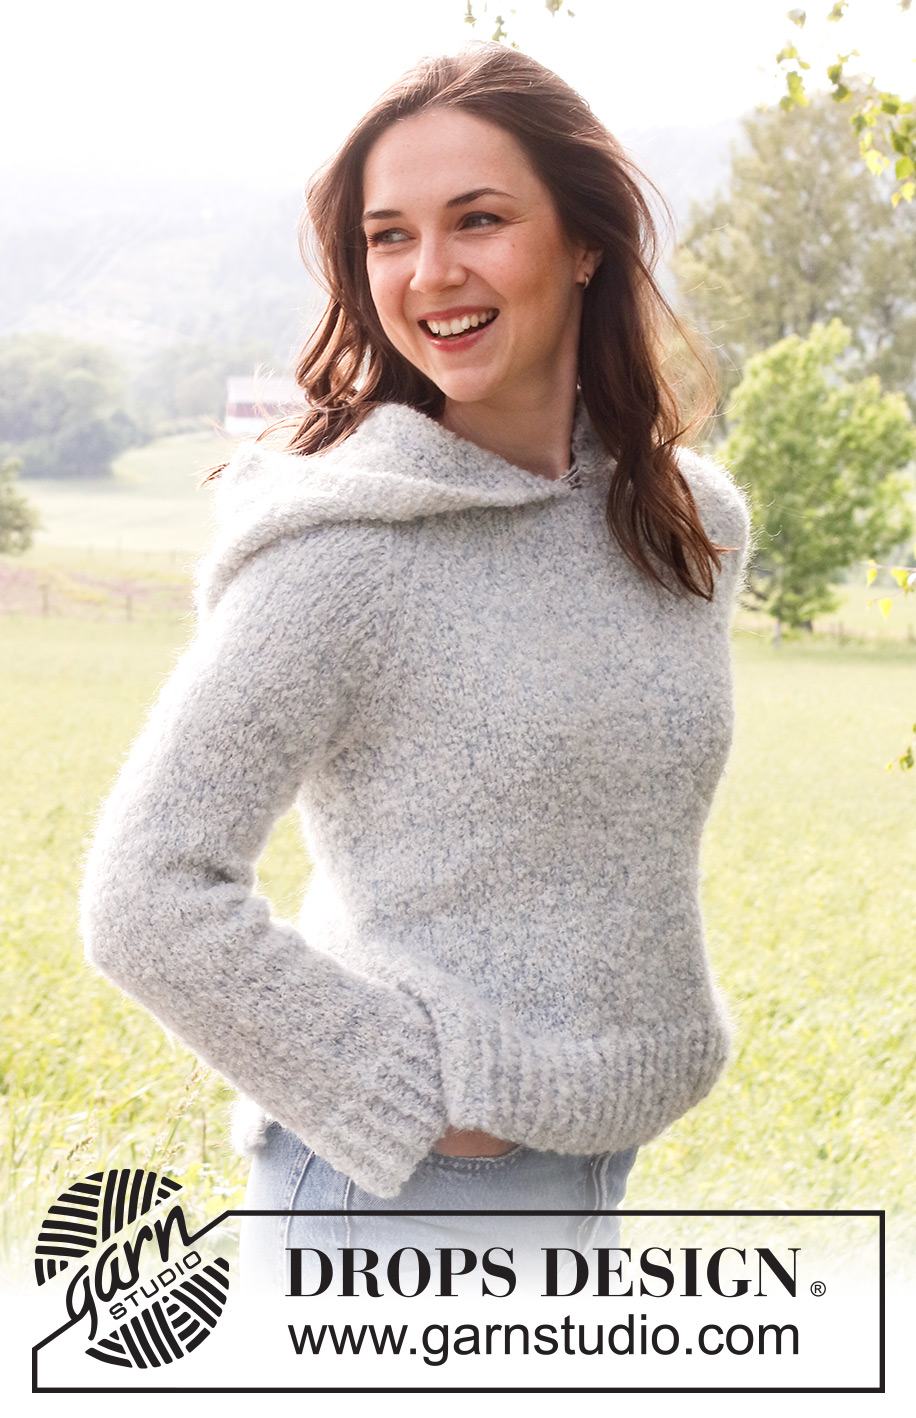
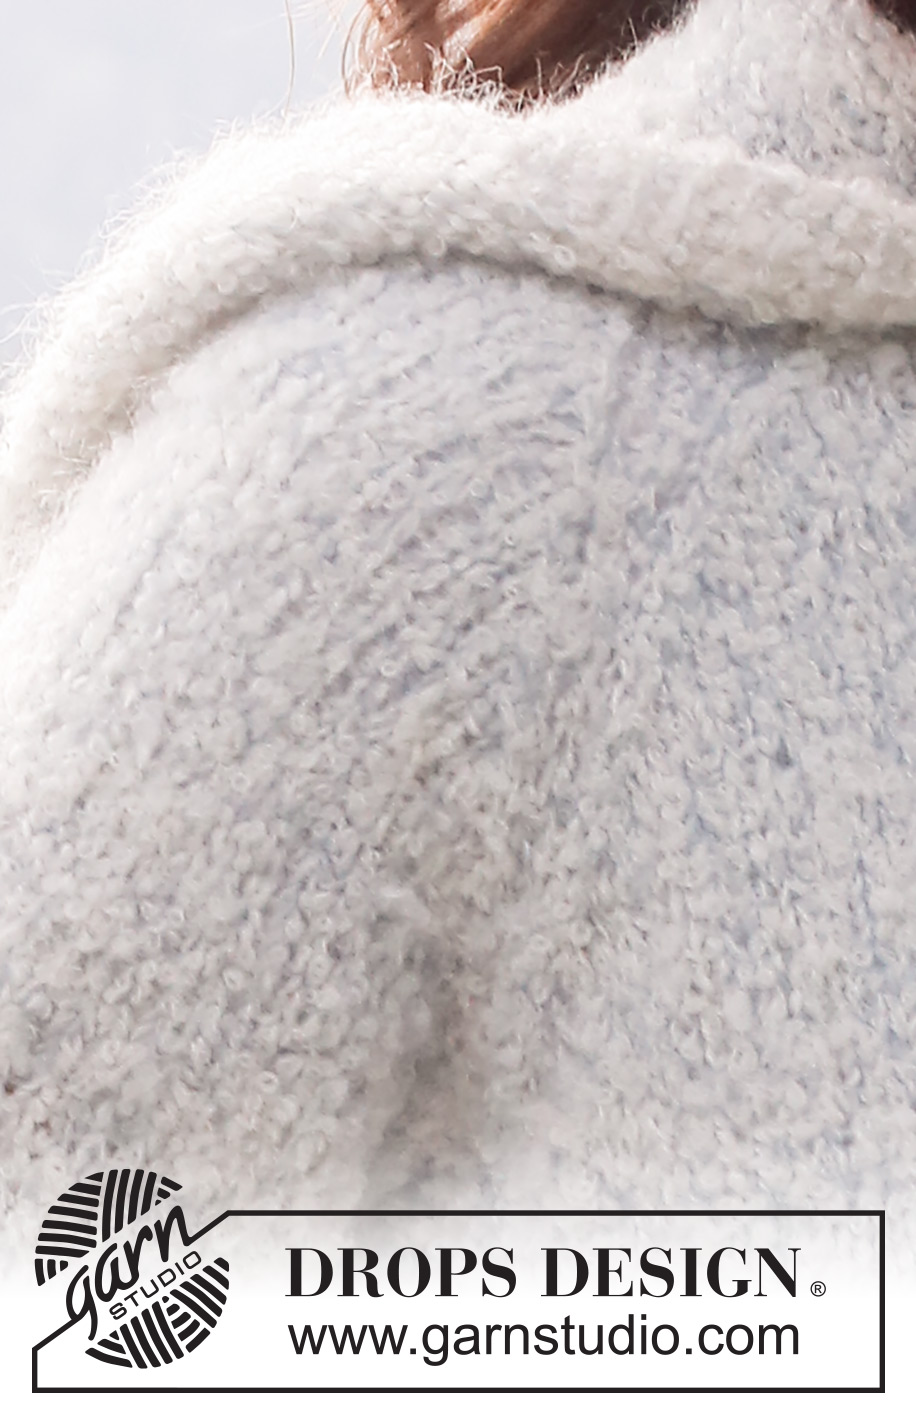
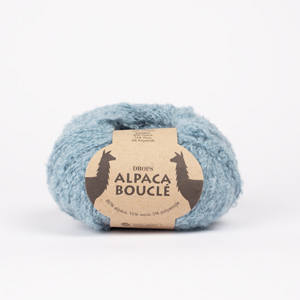
Knitted jumper in DROPS Alpaca Bouclé and DROPS Kid-Silk. Piece is knitted bottom up, in stocking stitch with raglan, hood and vents in the sides. Size: S - XXXL
DROPS 230-5 |
|||||||
|
---------------------------------------------------------- EXPLANATION FOR THE PATTERN: ---------------------------------------------------------- GARTER STITCH (back and forth): Knit all rows. 1 ridge vertically = knit 2 rows. GARTER STITCH (in the round): 1 ridge in height = 2 rounds, i.e. Knit 1 round and purl 1 round. PATTERN: See diagram A.1. Diagrams show all rows in pattern seen from the right side. DECREASE TIP (evenly): To calculate how to decrease evenly, use the total number of stitches on row (e.g. 79 stitches) minus stitches in garter stitch (6 stitches), and divide the remaining 73 stitches by number of decreases to be done (e.g. 15) = 4.8. In this example decrease by knitting approx. every 4th and 5th stitch together and do not decrease over stitches in garter stitch. INCREASE TIP-1 (applies to sleeves): Work until 2 stitches remain before marker thread, make 1 yarn over, knit 4 (marker thread is in the middle of these 4 stitches), make 1 yarn over. On next round knit yarns over twisted to avoid holes. Then work the new stitches in stocking stitch. INCREASE TIP-2 (applies to hood): Work until 2 stitches remain before marker thread, make 1 yarn over, knit 4 (marker thread is in the middle of these 4 stitches), make 1 yarn over. On next row work yarn overs twisted to avoid holes. Then work the new stitches in stocking stitch. RAGLAN: Decrease 1 stitch on each side of each marker thread as follows: Work until 3 stitches remain before marker thread, knit 2 together (= 1 stitch decreased), knit 2 stitches (marker thread is in the middle of these 2 stitches), slip 1 stitch knitwise, knit 1, pass slipped stitch over stitch worked (= 1 stitch decreased). ---------------------------------------------------------- START THE PIECE HERE: ---------------------------------------------------------- JUMPER - SHORT OVERVIEW OF THE PIECE: Work front and back piece back and forth separately until vent is done. Then work body in the round on circular needle up to armholes. Sleeves are worked in the round on double pointed needles/a short circular needle up to armhole. Then slip sleeves on to same circular needle as body and work the yoke in the round. Then work hood back and forth on circular needle. FRONT PIECE: Cast on 79-88-94-103-112-124 stitches on circular needle size 4.5 mm with 1 strand of each quality (= 2 strands). Work rib as follows: 3 stitches in GARTER STITCH - read explanation above, A.1 until 4 stitches remain, work first stitch in A.1 so that pattern begins and ends the same, work 3 stitches in garter stitch. Continue back and forth like this until piece measures 8 cm. Work next row from right side as follows: 3 stitches in garter stitch, knit the next 73-82-88-97-106-118 stitches and decrease at the same time 15-18-18-21-22-26 stitches evenly – read DECREASE TIP, work 3 stitches in garter stitch = 64-70-76-82-90-98 stitches. Switch to circular needle size 6 mm. Work next row from wrong side as follows: 3 edge stitches in garter stitch, purl until 3 stitches remain, 3 edge stitches in garter stitch. Continue back and forth with stocking stitch with 3 stitches in garter stitch in each side. When piece measures 15 cm – adjust so that next row is worked from right side, put piece aside. BACK PIECE: Work as on front piece. BODY: Slip stitches on front piece and back piece on to same circular needle size = 128-140-152-164-180-196 stitches. Insert a marker thread in transition between front and back piece (= sides). Work in stocking stitch in the round with 6 stitches in garter stitch in each side (i.e. over the 3 stitches in garter stitch in each side of front and back piece). When 2 ridges have been worked over these 6 stitches in each side, work in stocking stitch over all stitches. When piece measures 31 cm from cast-on edge, cast off 6-6-8-8-10-10 stitches for armhole in each side (= 3-3-4-4-5-5 stitches on each side of marker threads) = 58-64-68-74-80-88 stitches on front piece and 58-64-68-74-80-88 stitches on back piece. Put piece aside and work the sleeves. SLEEVES: Cast on 48-48-48-51-51-54 stitches on double pointed needles size 4.5 mm with 1 strand of each quality (= 2 strands). Work A.1 in the round for 6 cm. Knit 1 round while decreasing 10-8-8-9-9-10 stitches evenly = 38-40-40-42-42-44 stitches. Switch to double pointed needles size 6 mm. Insert a marker thread at beginning of round (= mid under sleeve). Work in stocking stitch in the round. When piece measures 10-10-8-8-8-8 cm, increase 1 stitch on each side of marker thread - read INCREASE TIP-1. Increase like this every 6½-4½-3½-3-3-2½ cm 6-8-10-10-11-12 times in total = 50-56-60-62-64-68 stitches. Continue until sleeve measures 47-46-44-43-41-40 cm (shorter measurements in the larger sizes because of wider neck and longer yoke). Now cast off the middle 6-6-8-8-10-10 stitches mid under sleeve, i.e. 3-3-4-4-5-5 stitches on each side of marker thread = 44-50-52-54-54-58 stitches. Put piece aside. Work another sleeve the same way. YOKE: Slip sleeves on to same circular needle size 6 mm as body, where armholes were cast off = 204-228-240-256-268-292 stitches. Now insert 4 marker threads in the piece. In size S, M, L and XL insert marker threads 1-2-2-1 stitch in on each sleeve, and in XXL and XXXL insert marker threads in transition between body and sleeves. I.e. there are 60-68-72-76-80-88 stitches between marker threads on front and back piece and there are 42-46-48-52-54-58 stitches between marker threads on each sleeve. Begin round mid back and work in stocking stitch in the round, AT THE SAME TIME on 1st-1st-1st-1st-2nd-1st round begin decrease for RAGLAN – read explanation above. Decrease like this every other round 15-17-18-20-21-23 times in total = 84-92-96-96-100-108 stitches. Piece should now measure 19-21-23-25-27-29 cm from where body and sleeves were put together. Knit 1 round while decreasing 20-24-26-24-24-30 stitches evenly = 64-68-70-72-76-78 stitches. HOOD: Work with 1 strand of each quality (= 2 strands) and circular needle size 6 mm. Knit 1 round while increasing 10-6-6-4-4-2 stitches evenly = 74-74-76-76-80-80 stitches. Insert a marker thread mid front and 1 marker thread mid back to have the same number of stitches between marker threads. Work until 3 stitches remain before marker thread mid front (this is now the beginning of row) - work back and forth. ROW 1 (= right side): Knit over de 74-74-76-76-80-82, cast on 5 stitches at end of row = 79-79-81-81-85-85 stitches. The 5 new stitches should later be fastened on the inside of piece, to get an overlap mid front. ROW 2 (= wrong side): Work 5 stitches in garter stitch, purl until 5 stitches remain, work 5 stitches in garter stitch. Now work back and forth in stocking stitch with 5 stitches in garter stitch in each side, AT THE SAME TIME increase 1 stitch on each side of marker thread mid back - read INCREASE TIP-2. Increase like this on every row from right side 5 times in total = 89-89-91-91-95-95. Work until hood measures approx. 37-37-38-38-39-39 cm or desired length. Cast off. Fold the hood double mid back and sew together at the top of hood. Place the 5 stitches cast on at the beginning of hood on the inside of piece to make an overlap of 5 stitches mid front. Fasten with neat little stitches. ASSEMBLY: Sew the openings under sleeves. |
|||||||
Diagram explanations |
|||||||
|
|||||||
 |
|||||||
Have you finished this pattern?Tag your pictures with #dropspattern #mistcoverhoodie or submit them to the #dropsfan gallery. Do you need help with this pattern?You'll find 31 tutorial videos, a Comments/Questions area and more by visiting the pattern on garnstudio.com. © 1982-2026 DROPS Design A/S. We reserve all rights. This document, including all its sub-sections, has copyrights. Read more about what you can do with our patterns at the bottom of each pattern on our site. |
|||||||









Post a comment to pattern DROPS 230-5
We would love to hear what you have to say about this pattern!
If you want to leave a question, please make sure you select the correct category in the form below, to speed up the answering process. Required fields are marked *.