
Popular categories
Looking for a yarn?


Comments / Questions (99)
![]() Anna Søgaard wrote:
Anna Søgaard wrote:
Jeg er ved at strikke Model ni 057. Jeg kan ikke få maskeantallet til at passe når jeg skal begynde på bærestykket. Jeg strikker en str. xl
15.06.2025 - 20:15DROPS Design answered:
Hei Anna. Du legger opp 141 masker til HALSKANT, og det er dette maskeantallet du skal ha når du begynner på bærestykket. Hvor mange masker har du? mvh DROPS Design
16.06.2025 - 14:11
![]() Solveig Talle wrote:
Solveig Talle wrote:
Jeg prøver å finne hvilke mål i cm det er på på jakken jeg skal strikke ( drops 232-15 . ) . Det står bare S-XXXL mål . Og på diagrammet står det bare tall uten endelse . Er det cm det menes ? I tilfelle bør det stå cm etter tallene . Centimeter mål er så mye mere nøyaktig . Med hilsen Solveig som fikk pakken med drops garn og oppskrift tilsendt i dag .
14.06.2025 - 20:27DROPS Design answered:
Hei Solveig, Ja, alle tall i målskissen er i cm. Hilsen Drops Team.
16.06.2025 - 06:34
![]() Gytha Nissen wrote:
Gytha Nissen wrote:
Kan ikke finde ud af hvor mange masker der er til ærmet det står der ikke håber at høre dér fra
09.06.2025 - 19:39DROPS Design answered:
Hej Gytha, jo det er det antal du sætter på en tråd. Skriv hvilken størrelse du strikker hvis du har yderligere spørgsmål :)
12.06.2025 - 09:40
![]() Angi wrote:
Angi wrote:
Estoy totalmente perdida con los A1,A2 y A3, no entiendo nada, no hay algún vídeo? No podría hacer con las medidas un ranglan normal, me gusta como queda, pero no quiero estar deshaciendo por no enterarme. Gracias
07.06.2025 - 21:44DROPS Design answered:
Hola Angi, los diagramas solo son un punto fantasía, donde las filas por el lado derecho se trabajan de derecho y las filas por el lado revés se trabajan en punto elástico. A.1 y A.3 son patrones de 2 pts y A.2 un patrón de 7 pts y se combinan de diferentes maneras para asegurarse que no se interrumpa el elástico (es decir, que por el lado revés tengas siempre 1d, 1r). Los aumentos del raglán se trabajan a cada lado del diagrama A.2, de 7 pts y esos pts se trabajan según el diagrama A.3 o A.1.
08.06.2025 - 15:57
![]() Mary & Gunnar Scherrebeck wrote:
Mary & Gunnar Scherrebeck wrote:
Hvordan strikkes vrangpinden, der stå i diagrammet at det er ret pindene der vises?
22.04.2025 - 21:29DROPS Design answered:
Hej Mary, hver 2.pind i diagrammet strikkes fra vrangen, så da strikker du 1 r, 1 vrang :)
30.04.2025 - 13:20
![]() Beverley Bell wrote:
Beverley Bell wrote:
I am an experienced knitter, but I am very confused about the yoke instructions. I am trying to knit this pattern for size XL (cast on 149 stitches). A2. and A3 together are 9 stitches so how do I do A2 and A3 over 22 stitches? When I'm starting out on the yoke, where are the transitions between the body and the sleeves (where do I do the increases)? Thanks for your help!
06.04.2025 - 19:35DROPS Design answered:
Dear Beverley, the sections to be repeated are usually separed by commas. For size XXL (cast on 149 sts; for size XL you cast on 141), it should be So work: 7 band stitches in garter stitch, A.1 over 22 stitches, A.2 once, A.3 over the next 9 stitches, A.2 once, A.3 over the next 45 stitches, A.2 once, A.3 over the next 9 stitches, A.2 once, A.3 over the next 22 stitches, and finish with 7 band stitches in garter stitch. The raglan increases are explained in the RAGLAN section at the top; A.2 are the transition stitches and the raglan increases are on each side of A.2. Happy knitting!
06.04.2025 - 23:51
![]() Gunnel Persson wrote:
Gunnel Persson wrote:
Jag ska börja på oket men får inte det att stämma det är något jag inte förstår eller fattar!? Jag har 133 m och det står 7m kantmaska, 18m, 9m, 37m,9m,18m, och 7kantm. Då har jag 28 m kvar vad gör jag med dem???? Kan inte fråga i butiken hellre för detta garnet har legat länge i min "atelje". Tacksam för hjälp!!!! då har jag 28 m kvar. Vad gör jag för fel???
17.03.2025 - 19:47DROPS Design answered:
Hej Gunnel. Du missar maskorna i A.2. Du stickar såhär: 7 m framkant, A.1 över 18 m, A.2 (=7 m), A.3 över 9 maskor osv. Det blir alltså: 7+18+7+9+7+37+7+9+7+18+7= 133 m. Mvh DROPS Design
18.03.2025 - 07:21
![]() Gabriela wrote:
Gabriela wrote:
Hola buenas tardes. Mi nombre es Gabriela Quiero hacer el patrón Desért Mirage Cárdigan 232-15- Acabo de tejer la tira del cuello, quiero hacer el canesú pero no entiendo bien la distribución de los puntos cómo se hace. Podrían explicármela o decirme algún vídeo que la explique ?? Muchas gracias
15.03.2025 - 17:03DROPS Design answered:
Hola Gabriela, después de la cenefa del escote comienzas a trabajar los diagramas para el canesú: 7 puntos de la cenefa en punto musgo, el diagrama A.1 sobre 18-18-20-20-22-22 puntos, A.2 (= 7 pts) 1 vez, A.3 sobre 9 puntos, A.2 (= 7 pts) 1 vez , A.3 sobre 37-37-41-41-45-45 puntos, A.2 (= 7 pts) 1 vez, A.3 sobre 9 puntos, A.2 (= 7 pts) 1 vez, A.3 sobre 18-18-20-20-22-22 puntos, y finalizar con 7 puntos de la cenefa en punto musgo. Los aumentos para el raglán se trabajan a cada lado del diagrama A.2.
16.03.2025 - 20:43
![]() Ruth Moore wrote:
Ruth Moore wrote:
Hi ,I need help with the diagram Drops 232-15 The yoke the stitches doesn't add back to 149
12.03.2025 - 17:09
![]() Chantal wrote:
Chantal wrote:
Est-ce que ce modèle peut se tricoter en jersey en changeant seulement le point tricot
11.03.2025 - 16:24DROPS Design answered:
Bonjour Chantal, il peut être plus sage de choisir un modèle tricoté en jersey, avec la tension que vous souhaitez - retrouvez ici nos gilets & vestes tricotées de haut en bas; en jersey. Affinez les résultats en sélectionnant la tension souhaitée (sous "Échantillon", colonne de gauche). Bon tricot!
12.03.2025 - 09:27
|
|||||||
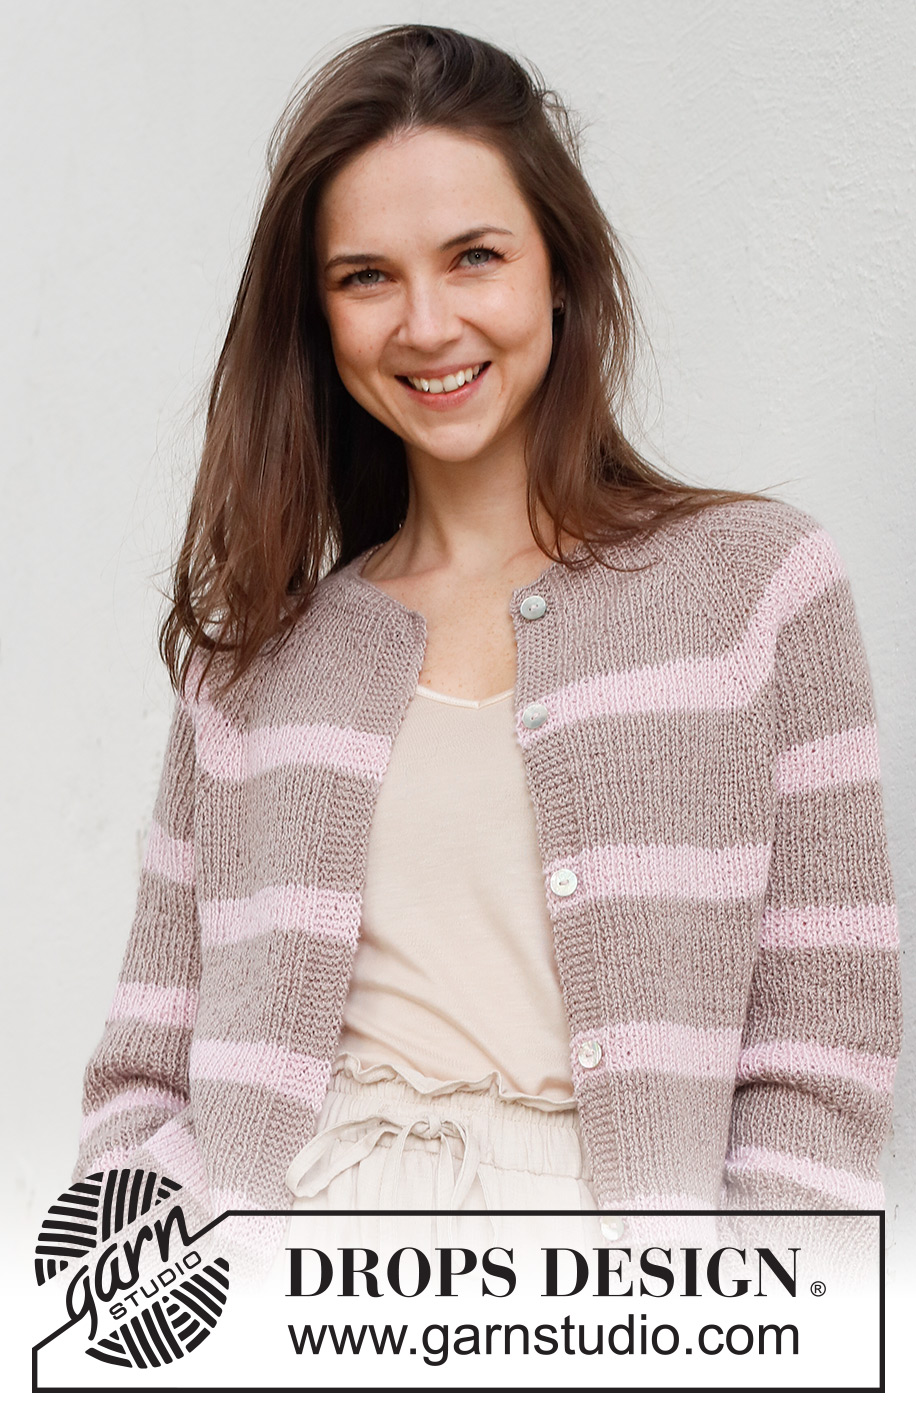
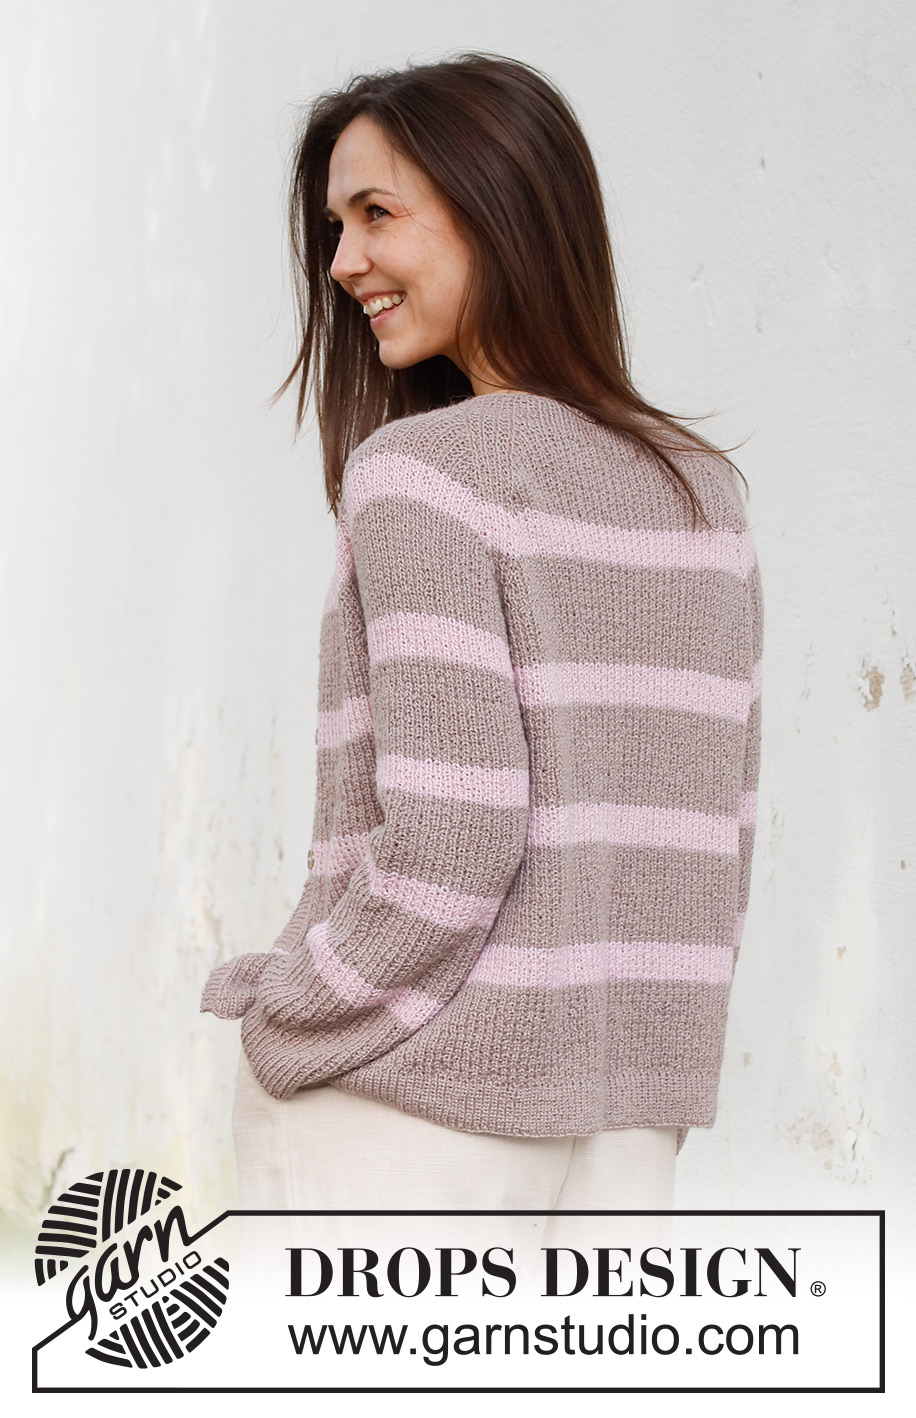
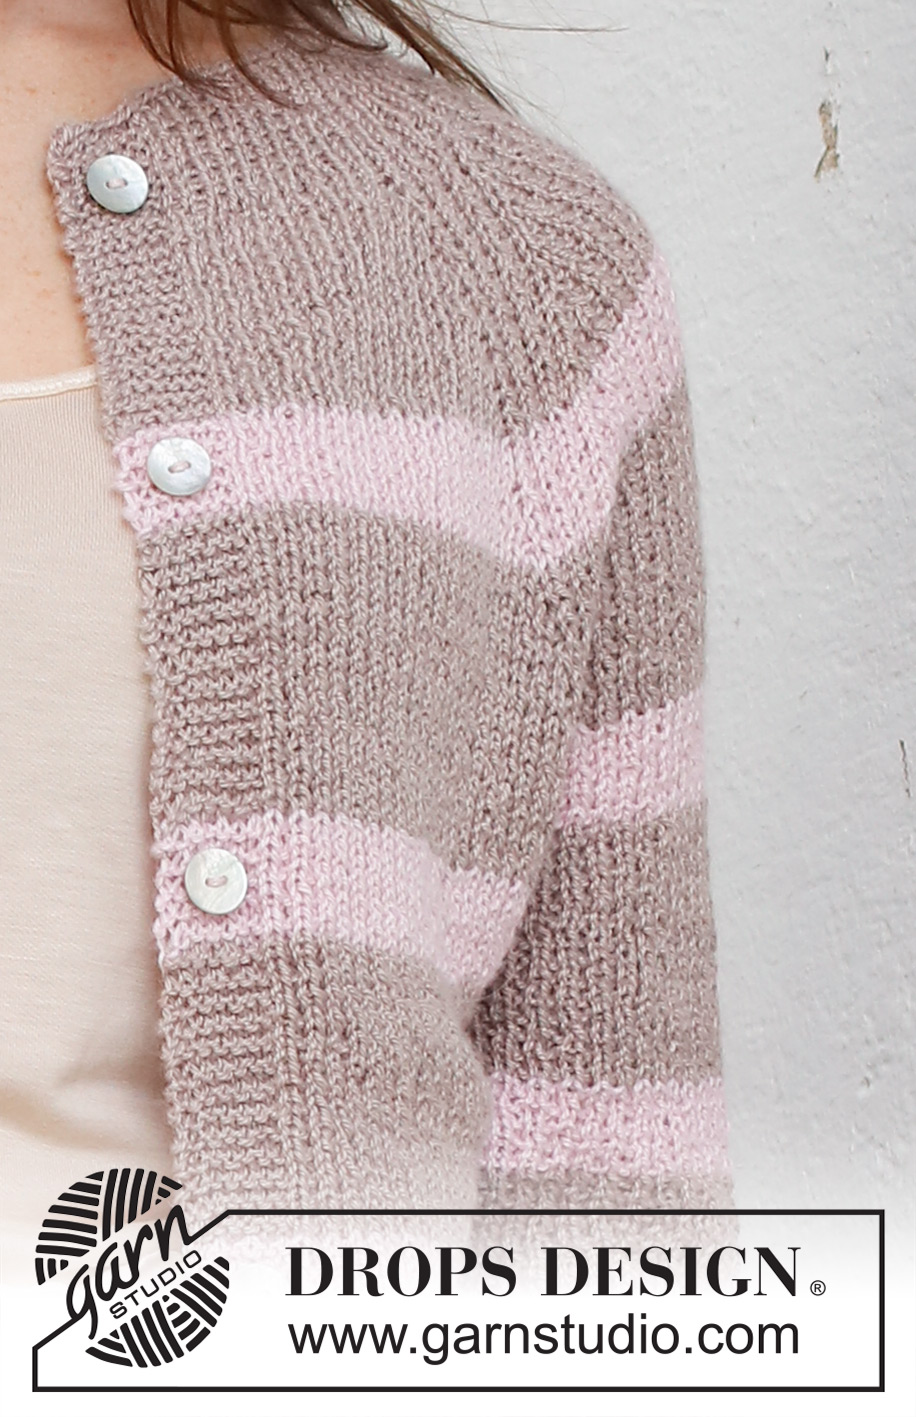
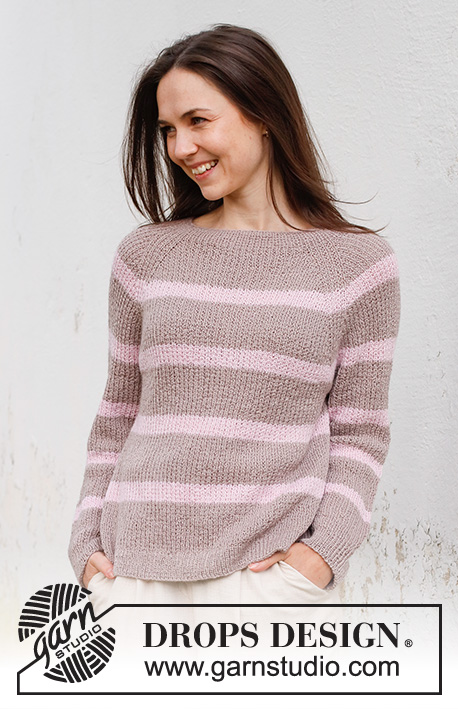
Desert Mirage Cardigan#desertmiragecardigan |
|||||||
 |
 |
||||||
Knitted jacket in DROPS Nord. Piece is knitted top down with raglan, broken rib and stripes. Size: S - XXXL
DROPS 232-15 |
|||||||
|
---------------------------------------------------------- EXPLANATION FOR THE PATTERN: ---------------------------------------------------------- PATTERN: See diagrams A.1, A.2 and A.3. Diagrams show all rows in pattern seen from the right side. GARTER STITCH (back and forth): Knit all rows. 1 ridge vertically = knit 2 rows. STRIPES: * Work 7-7-7-8-8-8 cm with colour light beige, work 3 cm with colour powder pink *, work from *-*. BUTTONHOLES: Decrease for buttonholes on right band (when garment is worn). Decrease from right side when 4 stitches remain on row as follows: Make 1 yarn over, knit the next 2 stitches together, knit the last 2 stitches. On next row knit yarn over to make holes. Decrease first buttonhole when rib in the neck measures 3 cm. Then decrease the next 4-4-4-5-5-5 approx. 10-10-10-9½-9½-10 cm between each buttonhole. RAGLAN: Increase 1 stitch in each side of 7 stitches (= A.2) in every transition between body and sleeves (= 8 stitches increased on round). Increase 1 stitch by making 1 yarn over. On next row work yarn overs twisted to avoid holes. Then work the new stitches in pattern A.3/A.1. DECREASE TIP (applies to sleeves): Decrease 1 stitch on each side of marker thread as follows: Work until 3 stitches remain before marker thread and knit 2 together, knit 2 (marker thread is between these 2 stitches), slip 1 stitch knitwise, knit 1, pass slipped stitch over stitch worked. ---------------------------------------------------------- START THE PIECE HERE: ---------------------------------------------------------- JACKET - SHORT OVERVIEW OF THE PIECE: Work neck edge and yoke back and forth on circular needle from mid front, work top down. Now divide yoke for body and sleeves. Work body back and forth on circular needle. Work sleeves in the round on double pointed needles/a short circular needle. NECK EDGE: Cast on 133-133-141-141-149-149 stitches on circular needle size 2.5 mm with colour light beige in DROPS Nord. Purl 1 row from wrong side. Work next row as follows - from right side and mid front as follows: Work 7 band stitches in garter stitch, * knit 1, purl 1 *, work from *-* until 8 stitches remain, knit 1 and finish with 7 band stitches in garter stitch. Work like this until rib measures 4 cm. Insert 1 marker after band, at the beginning of row mid front. Measure yoke from this marker. Work STRIPES - see explanation above. The 4 cm in the neck edge are not counted with the stripes (i.e. work 11-11-11-12-12-12 cm in total with colour light beige before first stripe with colour powder pink). YOKE: Switch to circular needle size 3 mm and work as follows - from right side: 7 band stitches in garter stitch, A.1 over the next 18-18-20-20-22-22 stitches, A.2, A.3 over the next 9 stitches, A.2, A.3 over the next 37-37-41-41-45-45 stitches, A.2, A.3 over the next 9 stitches, A.2, A.3 over the next 18-18-20-20-22-22 stitches, and finish with 7 band stitches in garter stitch. Continue this pattern, on next row from right side begin increase for RAGLAN – read explanation above (= 8 stitches increased). Increase like this on every other row (= every row from right side) 26-32-34-40-44-50 times in total = 341-389-413-461-501-549 stitches. REMEMBER THE KNITTING TENSION! Work without increase until piece measures 21-23-25-27-29-31 cm from marker thread. Now divide yoke for body and sleeves: Work the first 55-61-65-71-77-83 stitches as before (left front piece), slip the next 67-79-83-95-103-115 stitches on a thread for sleeve, cast on 9-9-11-11-13-13 new stitches on row (in the side under sleeve), work the next 97-109-117-129-141-153 stitches as before (back piece), slip the next 67-79-83-95-103-115 stitches on a thread for sleeve, cast on 9-9-11-11-13-13 new stitches on row (in the side under sleeve) and work the remaining 55-61-65-71-77-83 stitches as before (right front piece). BODY: = 225-249-269-293-321-345 stitches. Work in A.1 and back and forth with 7 band stitches in garter stitch in each side towards mid front. Continue with stripes but when 4 stripes have been worked in total with colour powder pink, finish the piece with colour light beige. Work until piece measures 24 cm from division - finish with a row from wrong side. 4 cm remain until finished measurements. Try the jacket and work to desired length. Knit 1 row from right side while increasing 46-50-54-58-64-70 stitches evenly, do not increase over band stitches = 271-299-323-351-385-415 stitches. Switch to circular needle size 2.5 mm. Work next row as follows from wrong side: 7 band stitches in garter stitch, * purl 1, knit 1 *, repeat from *-* until 8 stitches remain on needle, purl 1, and finish with 7 band stitches in garter stitch. Continue rib like this for 4 cm. Cast off. Jacket measures approx. 52-54-56-58-60-62 cm from shoulder and down. SLEEVE: Slip the 67-79-83-95-103-115 stitches from thread in one side of piece back on a short circular needle/double pointed needles size 3 mm, and pick in addition up 1 stitch in each of the 9-9-11-11-13-13 stitches cast on under sleeve = 76-88-94-106-116-128 stitches. Insert a marker thread in the middle of the new stitches. Work pattern as before and continue with stripes. When 5 stripes have been worked in total with colour powder pink, finish the piece with colour light beige. AT THE SAME TIME when piece measures 3-3-3-2-2-3 cm, decrease 2 stitches under sleeve - READ DECREASE TIP. Decrease like this approx. every 6-3-2½-2-1½-1 cm 6-10-10-14-18-22 times in total = 64-68-74-78-80-84 stitches. Continue until piece measures 35-34-31-31-29-28 cm from division. Switch to double pointed needles size 2.5 mm. Work rib (knit 1/purl 1) for 4 cm. Cast off. Sleeve measures approx. 39-38-35-35-33-32 cm from division. Work the other sleeve the same way. ASSEMBLY: Sew the buttons on to left band. |
|||||||
Diagram explanations |
|||||||
|
|||||||
 |
|||||||
Have you finished this pattern?Tag your pictures with #dropspattern #desertmiragecardigan or submit them to the #dropsfan gallery. Do you need help with this pattern?You'll find 28 tutorial videos, a Comments/Questions area and more by visiting the pattern on garnstudio.com. © 1982-2026 DROPS Design A/S. We reserve all rights. This document, including all its sub-sections, has copyrights. Read more about what you can do with our patterns at the bottom of each pattern on our site. |
|||||||


With over 40 years in knitting and crochet design, DROPS Design offers one of the most extensive collections of free patterns on the internet - translated to 17 languages. As of today we count 324 catalogues and 12290 patterns translated into English (UK/cm). 12290
We work hard to bring you the best knitting and crochet have to offer, inspiration and advice as well as great quality yarns at incredible prices! Would you like to use our patterns for other than personal use? You can read what you are allowed to do in the Copyright text at the bottom of all our patterns. Happy crafting!
Post a comment to pattern DROPS 232-15
We would love to hear what you have to say about this pattern!
If you want to leave a question, please make sure you select the correct category in the form below, to speed up the answering process. Required fields are marked *.