
Popular categories
Looking for a yarn?


Comments / Questions (166)
![]() Jenny Worthy wrote:
Jenny Worthy wrote:
Hi I am having trouble with the pattern for the romantic twist DROPS design. I have casted on 240 stitches. I am doing the L size and i have done the two rows garter st. Then Ii followed the pattern and number of stitches for the design on the next row but it just does not work out. I have done this twice now and still cannot get it out. What am i doing wrong or is it the pattern. Please help. Thanks Jenny
12.06.2021 - 08:02DROPS Design answered:
Dear Mrs Worthy, work these 240 sts as follows: 5 sts in garter st, (P8,K8)x2 (= 32 sts), P8, 39 sts stocking st, (P8,K8)x4 (= 64sts), P8, 39 sts in stocking st, (P8,K8)x2 (= 32sts), P8, 5 sts in garter st = 5+32+8+39+64+8+39+32+8+5 =240. Happy knitting!
14.06.2021 - 08:34
![]() Cristina wrote:
Cristina wrote:
O que significa aumentos de 2 ½?
03.05.2021 - 11:03DROPS Design answered:
Hola Cristina, debes repetir los aum cada 2.5 cm en altura. Buen trabajo!
03.05.2021 - 16:04
![]() Maudetmonique wrote:
Maudetmonique wrote:
Comment transformer une veste cintre en taille S fille 6ans
30.08.2020 - 15:47DROPS Design answered:
Bonjour Mme Maudet, nous ne sommes malheureusement pas en mesure de pouvoir adapter chacun de nos modèles à chaque demande, merci de bien vouloir contacter votre magasin ou un forum spécialisé pour toute assistance. Merci pour votre compréhension, bon tricot!
31.08.2020 - 09:52
![]() Lisbeth Hornbøll wrote:
Lisbeth Hornbøll wrote:
I str XXXL slår man op 306 m efter indtagninge (12 m) i alt 5 gange står der i opskriften man har 234 m, men 12 x5 er 60 m når man trækker detfra 306 m har man 246 m ??????????
08.07.2020 - 13:38DROPS Design answered:
Hej Lisbeth. Du ska gentage på hver 3. cm 5 gange til, dvs 6 ganger totalt. 306-(6x12) = 234 m. Mvh DROPS Design
09.07.2020 - 07:45
![]() JOLYfrancoise wrote:
JOLYfrancoise wrote:
Je me comprend pas ses diminutions manche devant dos dur dur merci de de aide je vous remercie
27.06.2020 - 14:00DROPS Design answered:
Bonjour Mme Joly, les diminutions du raglan vont se faire à un rythme différemment sur le dos/les devants et sur les manches, par ex en S vous diminuez pour les manches 16 x tous les 2 rangs puis 4 x tous les rangs, et, en même temps, vous diminuerez pour le devant/le dos: 4x tous les 4 rangs et 11 fois tous les 2 rangs. Vous diminuerez donc soit 4 mailles (manches seulement), soit 8 mailles (manches, dos et devants) en fonction des rangs. Bon tricot!
29.06.2020 - 08:02
![]() Katarina wrote:
Katarina wrote:
Sorry, now I don't understand at all. I start with A1 when piece measures 21cm and at the same time I inc when the piece measures 23cm. When do I start to increase for the first time? at 21 cm OR when the piece measures 23 cm? The video shows to inc 1st at each side of marker, you are writing to inc 1 st fo each front piece and 2sts fot back piece. How?
07.05.2020 - 09:56DROPS Design answered:
Dear Katarina, you start to increase on each side when piece measures 23 cm. You inserted 2 markers that were to mark front and back pieces, increasing each side of each marker will make you increase 1 stitch on front piece (before 1st marker) + 1 st at the beg of back piece (after 1st marker) + 1 stitch at the end of back piece (before 2nd marker) + 1 stitch at the beg of front piece (after 2nd marker). Happy knitting!
07.05.2020 - 10:20
![]() Katarina wrote:
Katarina wrote:
Hi. My piece measures 21cm. I now start knitting with A1. But when do I inc markers - at the same row as I start with A1? If it is so, why is it written to include 1 st on each side of marker when piece measures 23 cm?
06.05.2020 - 20:05DROPS Design answered:
Dear Katarina, you start working A.1 when piece measures 21 cm, and at the same time you will increase on each side of both markers on the sides when piece measures 23 cm and repeat these increases 5 more times (continue working A.1 as before, you increase only on the sides of jacket: 1 st for each front piece + 2 sts for back piece). Hope this helps, happy knitting!
07.05.2020 - 09:30
![]() Katarina wrote:
Katarina wrote:
I don't understand the decreasing. At the "decrease tip" you write: "Dec 1st by P2 tog. Dec alternately at beg and end of P section". What does it mean? Do I knit together 1st an 2nd st or 7th and 8t st?
02.05.2020 - 15:09DROPS Design answered:
Dear Katarina, on first decrease row purl together the first and the 2nd purl stitch in the purl-sections - on next decrease row, purl together the next to last + the last purl stitch in the purl-sections and repeat these 2 decreases, so that you will once decrease at the beg then at the end of the P-section but always 1 stitch will be decreased at a time in each section. Happy knitting!
04.05.2020 - 11:56
![]() Beverley wrote:
Beverley wrote:
I am quite new to knitting a but attempted to do this. I have casted on my stitches and knitted 2 rows of Knit stitches (1 garter st), my next row is the pattern stitch for the RIGHT SIDE, please tell me what the next row is for WRONG SIDE ?
19.02.2020 - 17:03DROPS Design answered:
Hi Beverley, You work back in reverse; i.e. 5 garter stitches, knit 8, (purl 8, knit 8) x 2, 27-33-39-44-54-64 stitches in stocking stitch, knit 8, (purl 8, knit 8) x 4-4-4-5-5-5,27-33-39-44-54-64 stitches in stocking stitch, (purl 8, knit 8) x 2 and 5 stitches in garter stitch. Happy knitting!
20.02.2020 - 07:28
![]() Suzanne Cullen wrote:
Suzanne Cullen wrote:
What are the UK measurements for the jacket? eg xl and xxl
15.02.2020 - 23:10DROPS Design answered:
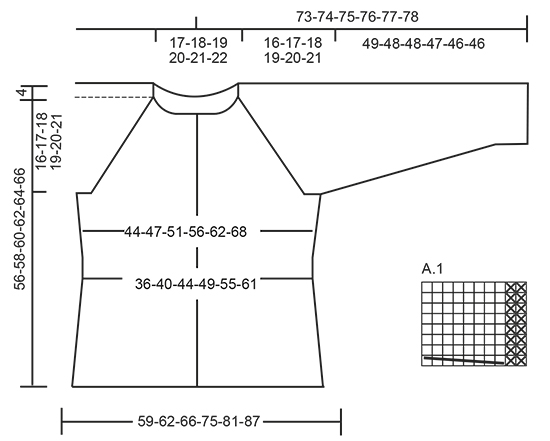
Dear Suzanne, for the measurements of the jacket please refer to th eschematics drawing at the bottom of the page. It gives you the major measurements that will help you decide which size would be the best to knit. Happy Crafting!
16.02.2020 - 01:58
|
||||||||||
Romantic Twist#romantictwistcardigan |
||||||||||
 |
 |
|||||||||
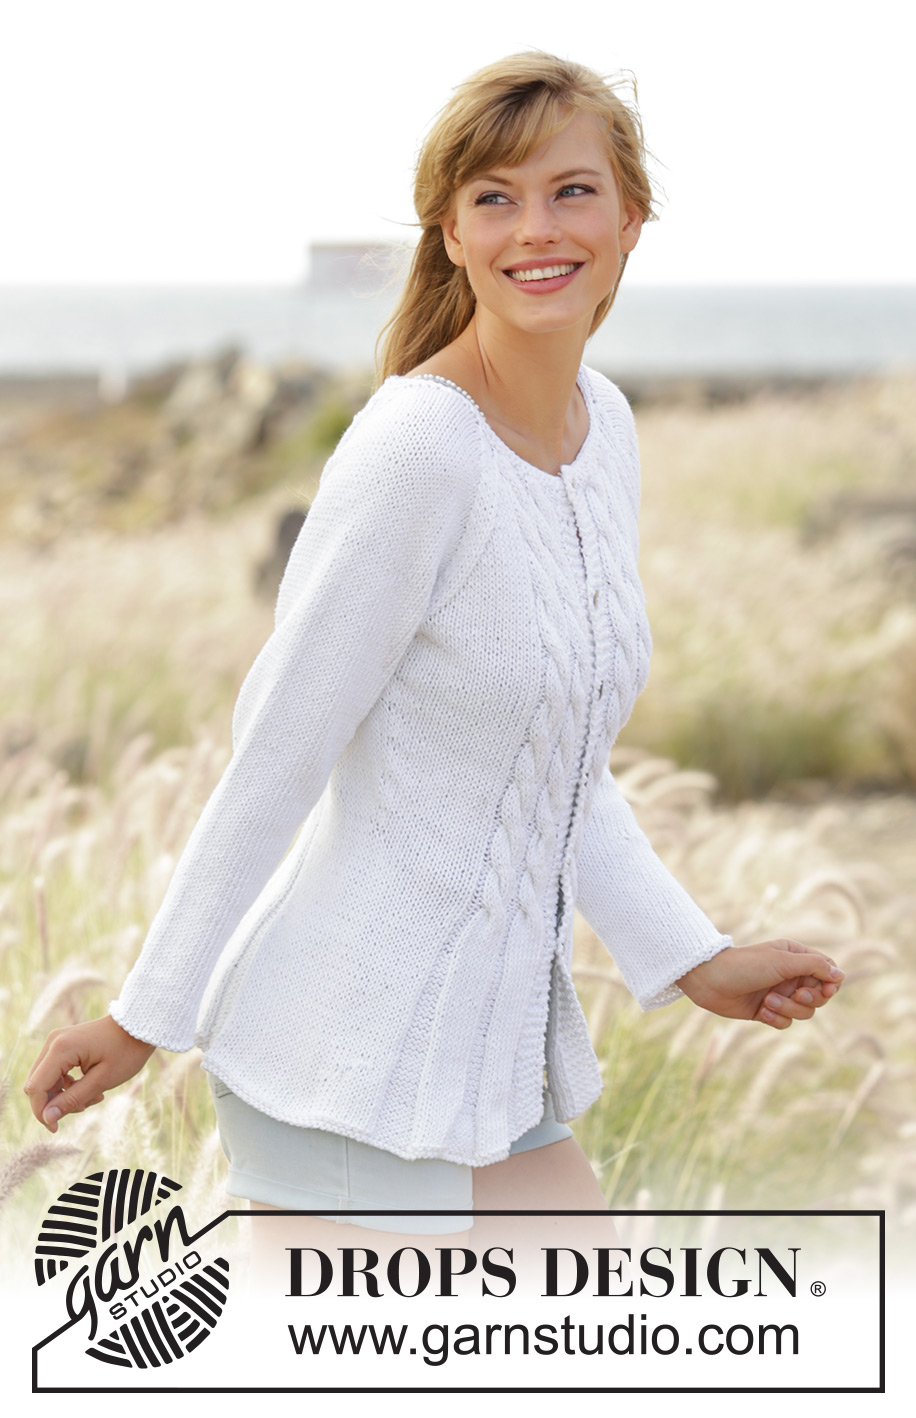
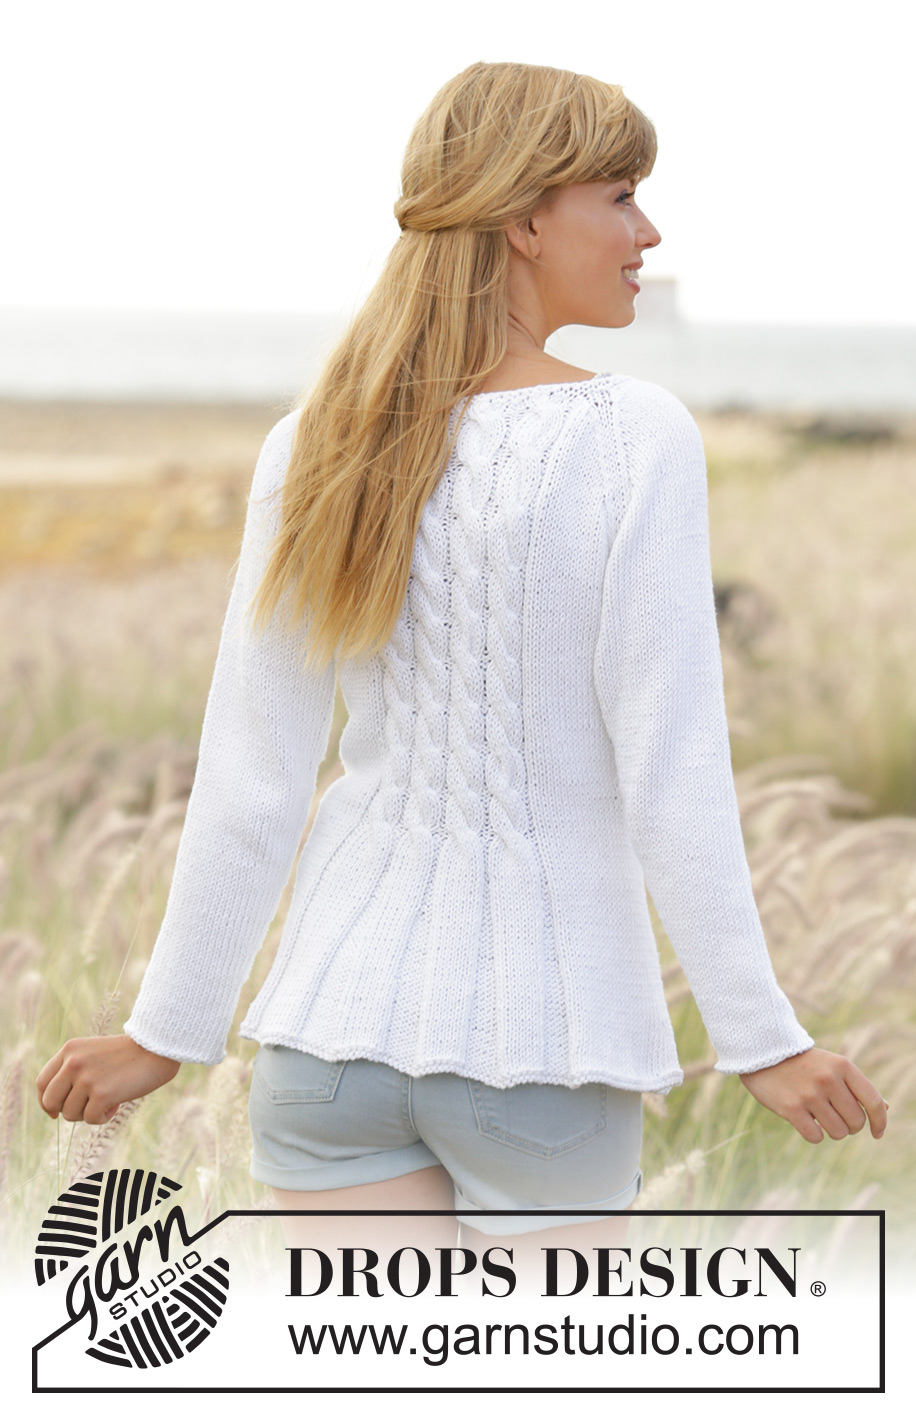
Knitted DROPS fitted jacket with cables and raglan in ”Paris”. Size: S - XXXL.
DROPS 169-1 |
||||||||||
|
GARTER ST (back and forth): K all rows. 1 ridge = 2 rows K. GARTER ST (worked in the round): 1 ridge = 2 rounds. * K 1 round and P 1 round *, repeat from *-*. DECREASE TIP: Dec 1 st by P 2 tog. Dec alternately at beg and end of P section. PATTERN: See diagram A.1. The diagram show all rows in pattern seen from RS. RAGLAN: Dec 2 sts in every transition between body and sleeves. Dec as follows from RS: K 2 tog, K 2 (marker is between these sts), slip 1 st as if to K, K 1, psso. Dec as follows from WS: P 2 twisted tog, P 2 (marker is between these sts), P 2 tog. KNITTING TIP: If knitting tension is incorrect in height and the knitting is too tight, the raglan dec will be too short and the armholes too small. This can be adjusted by working 1 extra row without dec evenly spaced between dec. BUTTONHOLES: Dec for buttonholes on right band. 1 buttonhole = K tog 2nd and 3rd st from mid front, then make 1 YO. Dec for buttonholes when piece measures: SIZE S: 19, 26, 33, 40, 47 and 54 cm. SIZE M: 19, 26, 33, 40, 48 and 56 cm. SIZE L: 19, 26, 34, 42, 50 and 58 cm. SIZE XL: 19, 28, 36, 44, 52 and 60 cm. SIZE XXL: 19, 26, 33, 40, 47, 54 and 62 cm SIZE XXXL: 19, 26, 33, 40, 48, 56 and 64 cm ---------------------------------------------------------- BODY: Worked back and forth on circular needle from mid front. Cast on 216-228-240-266-286-306 sts (incl 5 band sts in each side towards mid front) on circular needle size 5 mm with Paris. Work 1 ridge in GARTER ST - see explanation above, then work as follows - from RS: 5 sts in garter st, * P 8, K 8 *, repeat from *-* 2 times in total, P 8, 27-33-39-44-54-64 sts in stocking st, * P 8, K 8 *, repeat from *-* 4-4-4-5-5-5 times in total, P 8, 27-33-39-44-54-64 sts in stocking st, * P 8, K 8 *, repeat from *-* 2 times in total, P 8, 5 sts in garter st. Repeat this pattern upwards. REMEMBER THE KNITTING TENSION When piece measures 5 cm, dec 1 sts in all P-sections (= 11-11-11-12-12-12 dec per dec round) - READ DECREASE TIP. Repeat dec every 3 cm 5 more times = 150-162-174-194-214-234 sts. Dec for BUTTONHOLES on right band - see explanation above. When piece measures 21 cm, work as follows: 5 sts in garter st, A.1 2 times, P 2, stocking st over the next 27-33-39-44-54-64 sts, A.1 4-4-4-5-5-5 times, P 2, stocking st over the next 27-33-39-44-54-64 sts, A.1 2 times, P 2, 5 sts in garter st. Insert 2 markers in the piece; 40-43-46-51-56-61 sts in from each side (back piece = 70-76-82-92-102-112 sts). When piece measures 23 cm, inc 1 st on each side of each marker (= 4 sts inc), repeat inc every 2½-3-3-3½-3½-4 cm 5 more times = 174-186-198-218-238-258 sts. When piece measures 40-41-42-43-44-45 cm, work next row (from RS) as follows: Work 43-46-49-54-59-64 sts, cast off the next 6 sts, work 76-82-88-98-108-118 sts, cast off the next 6 sts and work the remaining 43-46-49-54-59-64 sts. Put piece aside and knit the sleeves. SLEEVE: Worked in the round on double pointed needles. Cast on 32-34-36-38-40-42 sts on double pointed needles size 5 mm with Paris. Work 1 ridge, then work in stocking st. Insert 1 marker at beg of round (= mid under sleeve). When piece measures 8 cm, inc 2 sts mid under sleeve. Inc every 3-2½-2½-2½-2-2 cm 13-13-14-15-16-16 more times = 60-62-66-70-74-76 sts. When piece measures 49-48-48-47-46-46 cm (shorter measurements in the larger sizes because of longer sleeve cap), cast off 6 sts mid under sleeve = 54-56-60-64-68-70 sts. Put piece aside and knit another sleeve. YOKE: Slip sleeves on to same circular needle as body where armholes were cast off = 270-286-306-334-362-386 sts. Insert a marker in all transitions between sleeves and body piece. Continue pattern as before AT THE SAME TIME dec for RAGLAN – see explanation above. Dec differently on body and sleeve. RAGLAN SLEEVE: Dec every other row 16-17-17-18-18-19 times, then every row 4-4-6-7-9-9 times (= 20-21-23-25-27-28 times in total). RAGLAN BODY: Dec every 4th row 4-2-0-0-0-0 times, every other row 11-16-19-21-19-16 times, then every row 0-0-2-0-7-15 times (= 15-18-21-21-26-31 times in total). After all dec are done, 130-130-130-150-150-150 sts remain on needle. On next row dec 2 sts over every cable in A.1 = 114-114-114-132-132-132 sts. Work 2 ridges over all sts, on first row dec 20-16-12-26-22-18 sts evenly = 94-98-102-106-110-114 sts. Cast off. ASSEMBLY: Sew the opening mid under the sleeves. Sew the buttons on to the left band. |
||||||||||
Diagram explanations |
||||||||||
|
||||||||||
 |
||||||||||
Have you finished this pattern?Tag your pictures with #dropspattern #romantictwistcardigan or submit them to the #dropsfan gallery. Do you need help with this pattern?You'll find 26 tutorial videos, a Comments/Questions area and more by visiting the pattern on garnstudio.com. © 1982-2026 DROPS Design A/S. We reserve all rights. This document, including all its sub-sections, has copyrights. Read more about what you can do with our patterns at the bottom of each pattern on our site. |
||||||||||


With over 40 years in knitting and crochet design, DROPS Design offers one of the most extensive collections of free patterns on the internet - translated to 17 languages. As of today we count 324 catalogues and 12290 patterns translated into English (UK/cm). 12290
We work hard to bring you the best knitting and crochet have to offer, inspiration and advice as well as great quality yarns at incredible prices! Would you like to use our patterns for other than personal use? You can read what you are allowed to do in the Copyright text at the bottom of all our patterns. Happy crafting!
Post a comment to pattern DROPS 169-1
We would love to hear what you have to say about this pattern!
If you want to leave a question, please make sure you select the correct category in the form below, to speed up the answering process. Required fields are marked *.