
Popular categories
Looking for a yarn?


Comments / Questions (16)
![]() Taylor wrote:
Taylor wrote:
I have previously made you cowl and am now working on your headband. I have just finished the middle section and it looks absolutely nothing like the picture. How am I intended to k1 1yo k2 in next stitch without getting these gaping holes that are not in the picture shown. PLEASE HELP!!
20.02.2017 - 04:42DROPS Design answered:
Dear Taylor, it would probably help, if you knit the increased stitches alternaly to the front and the bank of the stitch, and also knit the yarnover in the following row twisted. I hope this helps! Happy knitting!
08.10.2017 - 22:59
![]() Hélène wrote:
Hélène wrote:
Vous indiquez à la fin de faire le grafting pour terminer. D'après moi, selon le vidéo que vous montrez pour tricoter le bandeau, nous devons terminer par une couture invisible puisqu'il y a un côté du bandeau les mailles sont rabattues. Pouvez- vous m'aider? Merci Hélène
30.11.2016 - 19:31DROPS Design answered:
Bonjour Hélène, vous allez assembler les mailles non rabattues en grafting à celle du montage (comme une couture d'épaules), c'est un mélange des 2 techniques. Bon tricot!
01.12.2016 - 09:16
![]() Claire Mackenzie wrote:
Claire Mackenzie wrote:
The second row says k edge st. Then p k p then k edge st I do not end with p st before the edge st What am I doing wrong. Thank you
24.09.2016 - 23:07DROPS Design answered:
Dear Mrs Mackenzie, on row 2 in head band, work: K1 (edge st), (P1, K1, P1) repeat from (to) a total of 4 times (= over next 12 sts) and finish with K1 (= edge st) = 14 sts. Happy knitting!
26.09.2016 - 10:23
![]() Winnie Hjermind wrote:
Winnie Hjermind wrote:
Til slut i opskriften ved pandebånd, står at du skal strikke pind 6 og 7 indtil arbejdet måler ca. 48 cm. Der må menes pind 1 og 2,??
24.01.2016 - 08:57
![]() Svea wrote:
Svea wrote:
Juhend on segamini ja peapaela otsad kokku silmamise teel ei näidatud
03.10.2015 - 11:59DROPS Design answered:
Kas võiksite täpsustada, milline osa mustrist Teile segaseks jääb?
27.10.2015 - 14:42
![]() Svanhild wrote:
Svanhild wrote:
Enkel og fin
22.06.2015 - 05:17
|
|
What A Sight!#whatasightset |
|
|
|
|
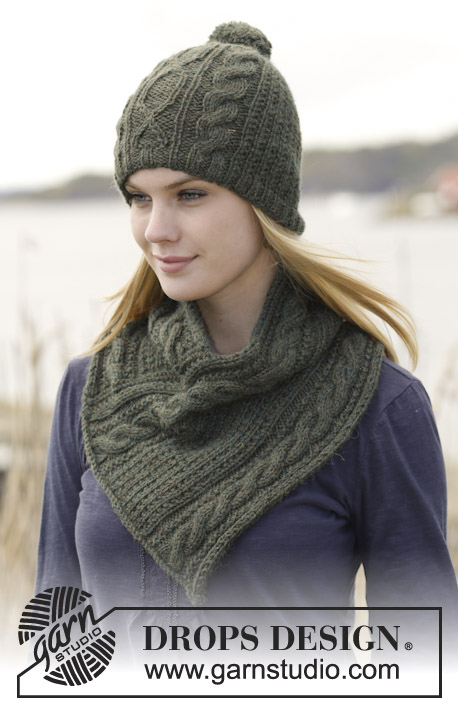
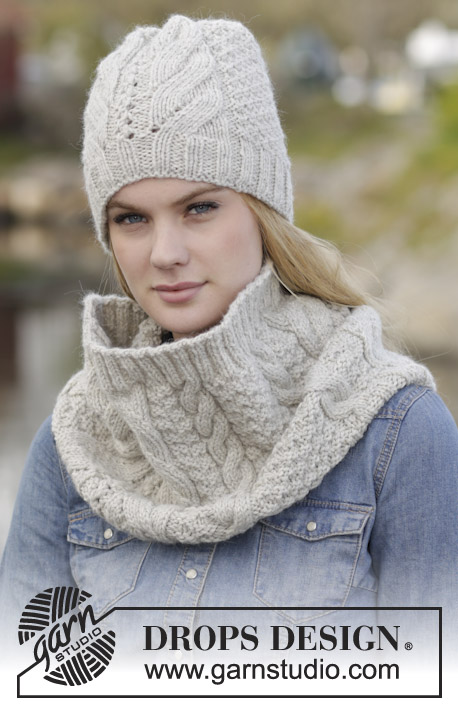
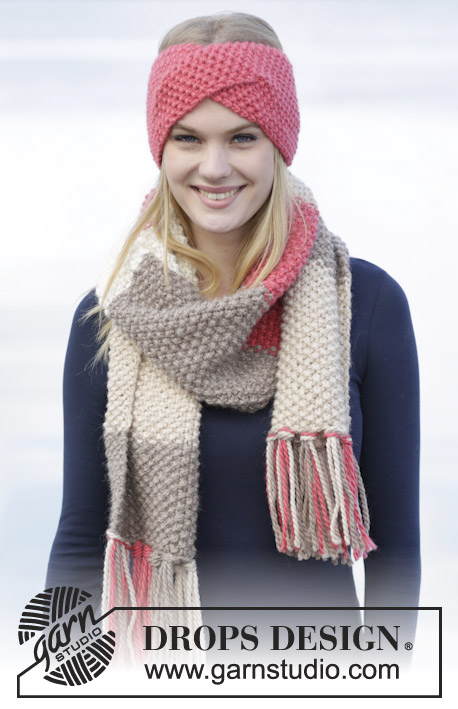
Set consists of: Knitted DROPS head band and neck warmer with rib in ”Polaris”.
DROPS 164-27 |
|
|
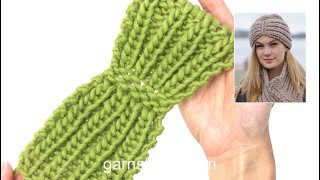
HEAD BAND: Cast on 14 sts on needle size 7 mm with Polaris and work as follows: ROW 1 (= WS): K 1 edge st, * K 1, P 1, K 1 *, repeat from *-* 4 times in total and finish with K 1 edge st. ROW 2 (= RS): K 1 edge st, * P 1, K 1, P 1 *, repeat from *-* 4 times in total and finish with K 1 edge st. Repeat 1st and 2nd row until piece measures approx. 23 cm, adjust so that next row is from RS. REMEMBER THE KNITTING TENSION Then work as follows: ROW 1 (= RS): K 1 edge st, * slip 2 sts as if to K tog, K 1 pass the 2 sts over *, repeat from *-* 4 times in total and finish with K 1 edge st = 6 sts remain on needle. ROW 2 (= WS): K all sts. ROW 3: K all sts. ROW 4: K all sts. ROW 5: K 1 edge st, * 1 YO, K 2 in next st *, repeat from *-* 4 times in total and finish with K 1 edge st = 14 sts on needle. ROW 6: K 1 edge st, * K 1, P 1, K 1 *, repeat from *-* 4 times in total and finish with K 1 edge st - NOTE: Work YOs twisted on next row to avoid holes. ROW 7: K 1 edge st, * P 1, K 1, P 1 *, repeat from *-* 4 times in total and finish with K 1 edge st. Repeat 6th and 7th row until piece measures approx. 48 cm (or desired length) and cast off with K over K and P over P. Sew head band tog mid back with Kitchener stitches to make the seam invisible. ---------------------------------------------------------- NECK WARMER: GARTER ST (back and forth): K all rows. 1 ridge = 2 rows K. TIP FOR CHANGING YARN: When switching ball with Polaris, split the old strand in two on the last 15 cm – cut off one part, do the same on the new strand. Place the first and last 15 cm on top of each other so that the yarn is the normal thickness and continue to work – this is done to make the strand switch invisible in the yarn. ---------------------------------------------------------- NECK WARMER: Worked back and forth and sewn tog when finished. Cast on 18-21 sts on needle size 10 mm with Polaris. Work 2 ridges in GARTER ST - see explanation above. Then work rib as follows: ROW 1 (= RS): K 2, * P 2, K 1 *, repeat from *-* until 1 st remains on row and finish with K 1. ROW 2 (= WS): 1 edge st K, * P 1, K 2 *, repeat from *-* until 2 sts remain, finish with P 1 and 1 edge st K. Repeat 1st and 2nd row. REMEMBER KNITTING TENSION AND READ TIP FOR CHANGNING YARN. When piece measures 23-26 cm, insert 1 marker in first st on needle (seen from RS). Work until piece measures 86-88 cm, work 2 ridges and cast off with K from RS. ASSEMBLY: Fold neck warmer so that cast-off edge is against cast-on edge and marker. Sew tog edge to edge with one stitch in every st. |
|
Have you finished this pattern?Tag your pictures with #dropspattern #whatasightset or submit them to the #dropsfan gallery. Do you need help with this pattern?You'll find 19 tutorial videos, a Comments/Questions area and more by visiting the pattern on garnstudio.com. © 1982-2026 DROPS Design A/S. We reserve all rights. This document, including all its sub-sections, has copyrights. Read more about what you can do with our patterns at the bottom of each pattern on our site. |


With over 40 years in knitting and crochet design, DROPS Design offers one of the most extensive collections of free patterns on the internet - translated to 17 languages. As of today we count 324 catalogues and 12239 patterns translated into English (UK/cm). 12239
We work hard to bring you the best knitting and crochet have to offer, inspiration and advice as well as great quality yarns at incredible prices! Would you like to use our patterns for other than personal use? You can read what you are allowed to do in the Copyright text at the bottom of all our patterns. Happy crafting!
Post a comment to pattern DROPS 164-27
We would love to hear what you have to say about this pattern!
If you want to leave a question, please make sure you select the correct category in the form below, to speed up the answering process. Required fields are marked *.