
Popular categories
Looking for a yarn?



















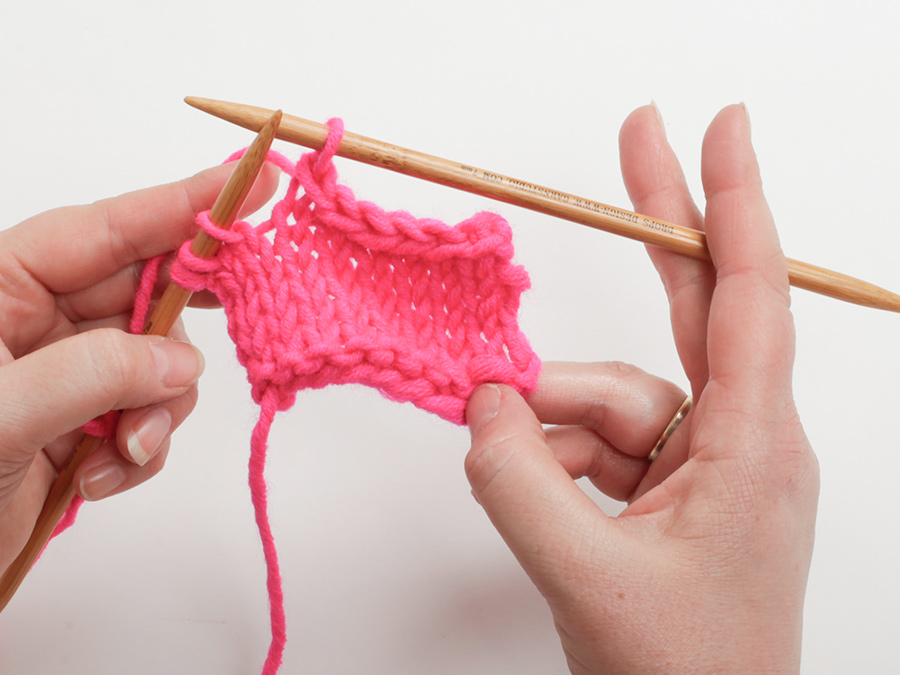
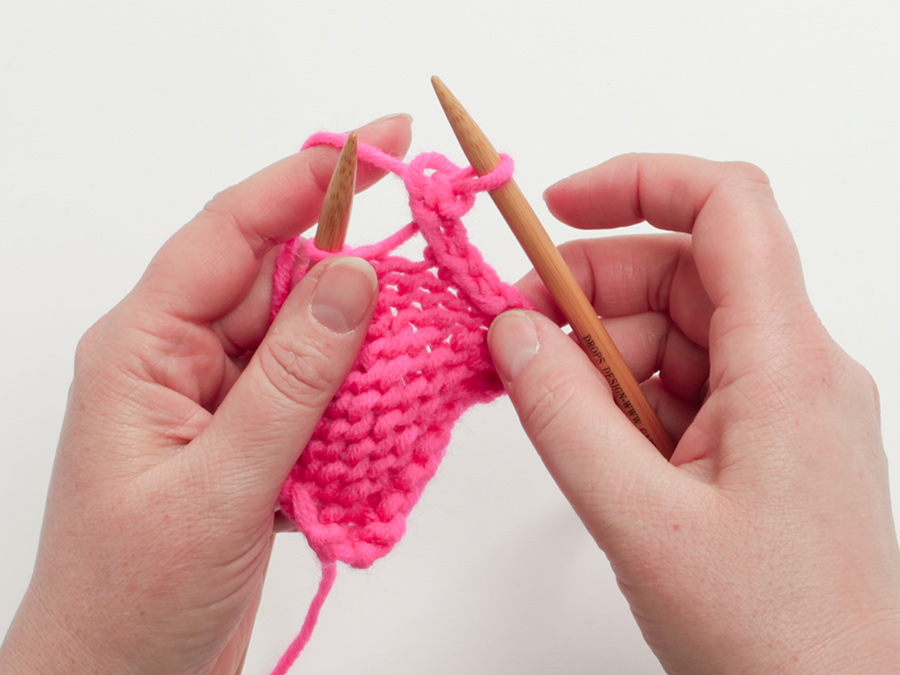
Comments / Questions (9)
 Patrizia wrote:
Capito grazie. Leggevo il secondo passaggio non il primo.
14.10.2026 - 16:59DROPS Design answered:
Buongiorno Patrizia, abbiamo risposto alla domanda precedente. Buon lavoro!
17.10.2026 - 14:42
Patrizia wrote:
Dopo il primo aumento nel diagramma A1 ci sono 6 maglie, la prima e l'ultima si lavorano a rovescio le altre 4 servono per il disegno. Nel testo è scritto "mettere 2 maglie sul ferro ausiliario sul dietro del lavoro, 1 maglia diritto, 2 maglie diritto dal ferro ausiliario. mettere 1 maglia sul ferro ausiliario sul davanti del lavoro, 2 maglie diritto, 1 maglia diritto dal ferro ausiliario" per fare ciò ci vogliono 6 maglie ma ci sono solo 4 maglie. Non comprendo come si faccia.
14.10.2026 - 16:50DROPS Design answered:
Buongiorno Patrizia, deve leggere la spiegazione del simbolo con 2 quadratini, non 3. Buon lavoro!
17.10.2026 - 14:41
 Manon wrote:
Bonjour. - besoin d'aide svp - model 272-11 (L) En utilisant la methode aug symétrique pour aug de 28m (136 a 164), il me manque des m pour compléter le tour en utilisant la methode suivante: tric 2, aug 1 , tric 5m , aug 1 *12 ... tric 4m, aug 1 * 3... tric 5m, aug 1 * 12 .... tric 2 ....etc Merci de préciser svp, je ne parviens pas a trouver ou je fais erreur. :(
07.10.2026 - 04:05DROPS Design answered:
Bonjour Manon, si vous utilisez le calculateur, les augmentations sont calculées après les mailles, mais ici vous devez augmenter dans une maille, autrement dit, sur la base du calculateur, procédez ainsi: tricotez 1 m, augmentez dans la m suivante, puis *tricotez 3 m et augmentez dans la m suivante* x 8 et ainsi de suite, autrement dit, au lieu d'augmenter après le nombre de mailles indiqué, augmentez dans la dernière de ces mailles (tricotez 1 m en moins et augmentez dans la m suivante). Bon tricot!
07.10.2026 - 07:55
 Nina Andersen wrote:
Hej. jeg er ved at strikke Maple Cream Sweater 272-11. jeg mener der er en fejl i diagram forklaringen, det drejer sig om række 11 den er magen til række 10 så snoningen kommer til at pege samme vej. Mvh. Nina.
23.09.2026 - 19:16DROPS Design answered:
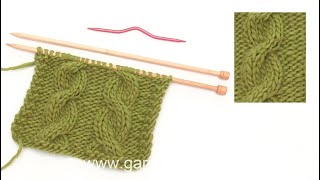
Hei Nina. Husk å hake av for Spørsmål om du ønsker svar når du sender inn. Ikke alltid Kommentarer blir besvart/ tar tid. Usikker på hva du mener. Det er ingen snoning i rad 10, men i rad 11. og strikker man slik over 2 masker: sæt 1 maske på snoningspind BAG arbejdet, strik 1 ret, strik 1 ret fra snoningspinden , deretter slik: sæt 1 maske på snoningspind FORAN arbejdet, strik 1 ret, strik 1 ret fra snoningspinden. Da får man den snoningen man ser på genseren. mvh DROPS Design
28.09.2026 - 14:32
 Ewa wrote:
Proszę o wyjaśnienie "W TYM SAMYM CZASIE gdy zostanie przerobione 1 po podziale robótki, zacząć zamykać oczka na środku pod rękawem" Czy chodzi o 1 rząd czy o 1 cm?
18.09.2026 - 20:58DROPS Design answered:
Witaj Ewo, chodzi o okrążenie. Już to dodaję we wzorze. Pozdrawiam!
19.09.2026 - 18:19
Ewa wrote:
"Dalej przerabiać dżersejem, W TYM SAMYM CZASIE w 1-szym okrążeniu równomiernie dodając 83-81-79-69-62-60-58 oczek = 368-392-416-448-488-512-536 oczek." Powinno chyba być "równomiernie odjąć 83-81-79-69-62-60-58 oczek " . Mało zrozumiałe zdanie: "Długość swetra od markera na środku tyłu wynosi 45-47-49-51-53-54-56 cm i ok. 50-52-54-56-58-60-62 cm."
15.09.2026 - 21:17DROPS Design answered:
Witaj Ewo, zgadza się, wprowadzimy korektę. W 1-szym punkcie powinniśmy zamknąć oczka. A w 2-gim długość swetra wynosi 50-52-54-56-58-60-62 cm od ramienia. Pozdrawiamy i dziękujemy!
17.09.2026 - 14:52
Mette wrote:
Der er fejl i forklaringen til udtagelsen hvor retmaskerne i mønsteret bliver til 8, Fejl i anden disgram da texten fra første gentages. Da jeg igså bruger italiensk opskrift fandt jeg løsningen der. Men ret den danske! Mvh Mette
12.09.2026 - 21:56
Caroline wrote:
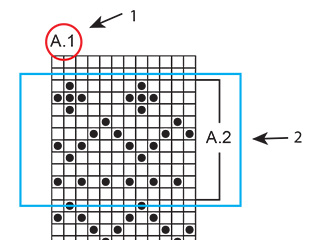
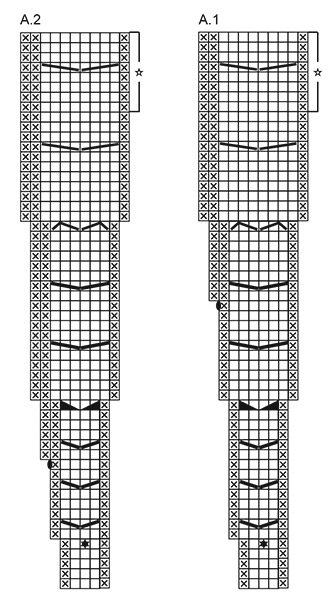
Bonjour, pour la partie du début du point fantaisie : * Tricoter A.1, tricoter A.2 *, tricoter 20-21-22-23-25-26-27 fois de *-* au total tout le tour, et tricoter encore 1-1-1-1-0-0-0 fois A.1, faut il tricoter tout le diagramme? Car j’ai l’impression que les points ne se suivent pas entre la première rangée du diagramme a.1 et sa deuxième rangée.
09.09.2026 - 00:18DROPS Design answered:
Bonjour Caroline, vous allez tricoter les diagrammes alternativement, autrement dit (A.1 = 1 m env, 3 m end, 1 m env puis A.2 = 1 m env, 3 m end, 1 m env) et vous tricotez ainsi tout le tour en terminant si besoin par A.1. Vous aurez les augmentations aux mêmes tours dans A.1 et A.2 et les torsades se feront aux mêmes tours dans A.1 et A.2 également. Bon tricot!
09.09.2026 - 08:06
 Anne Stewart wrote:
Love it will let you know more when I have done it.
03.09.2026 - 03:42
|
||||||||||||||||||||||||||||||||||||||||||||||
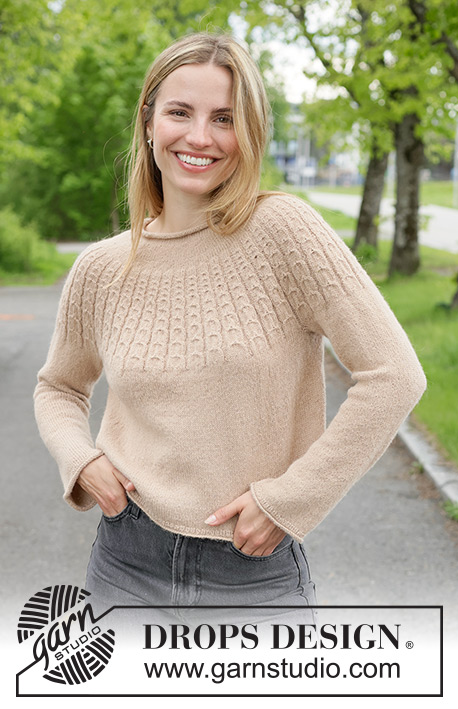
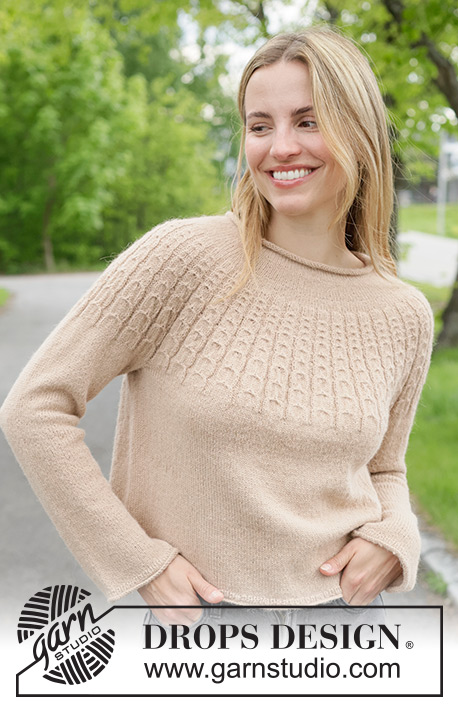
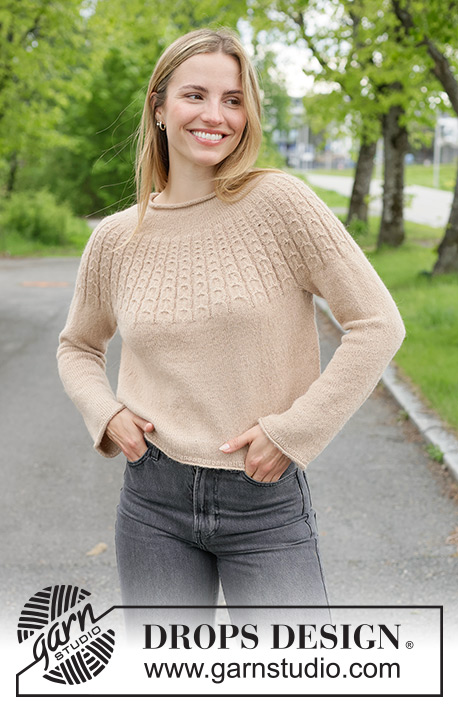
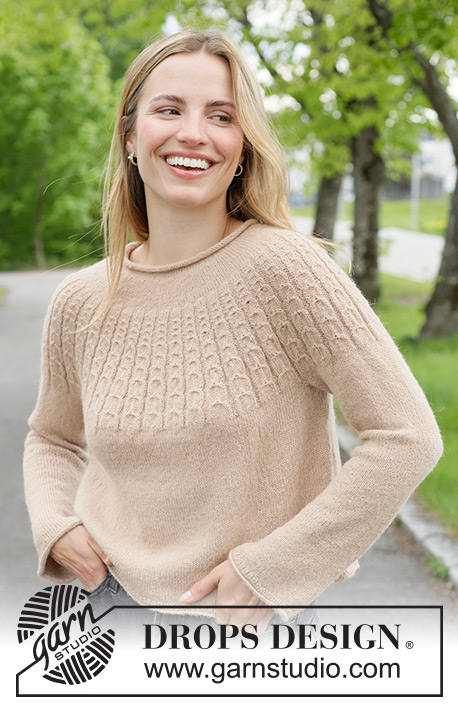
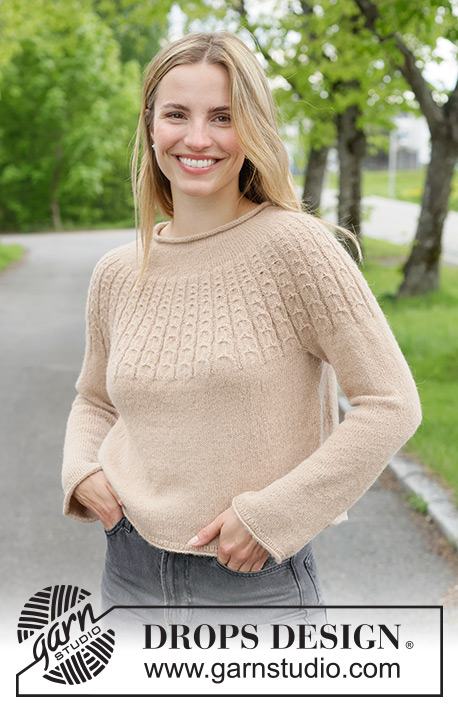
Maple Cream Sweater#maplecreamsweater |
||||||||||||||||||||||||||||||||||||||||||||||
 |
 |
|||||||||||||||||||||||||||||||||||||||||||||
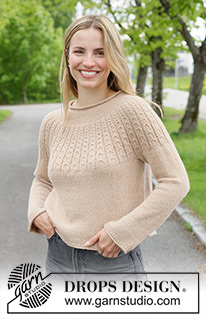
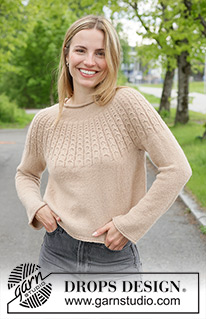
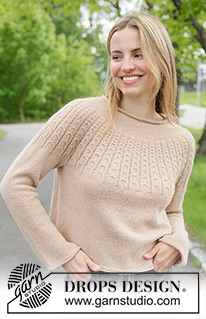
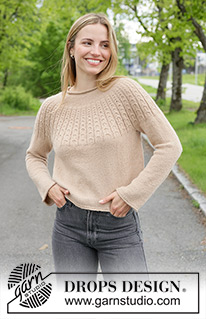
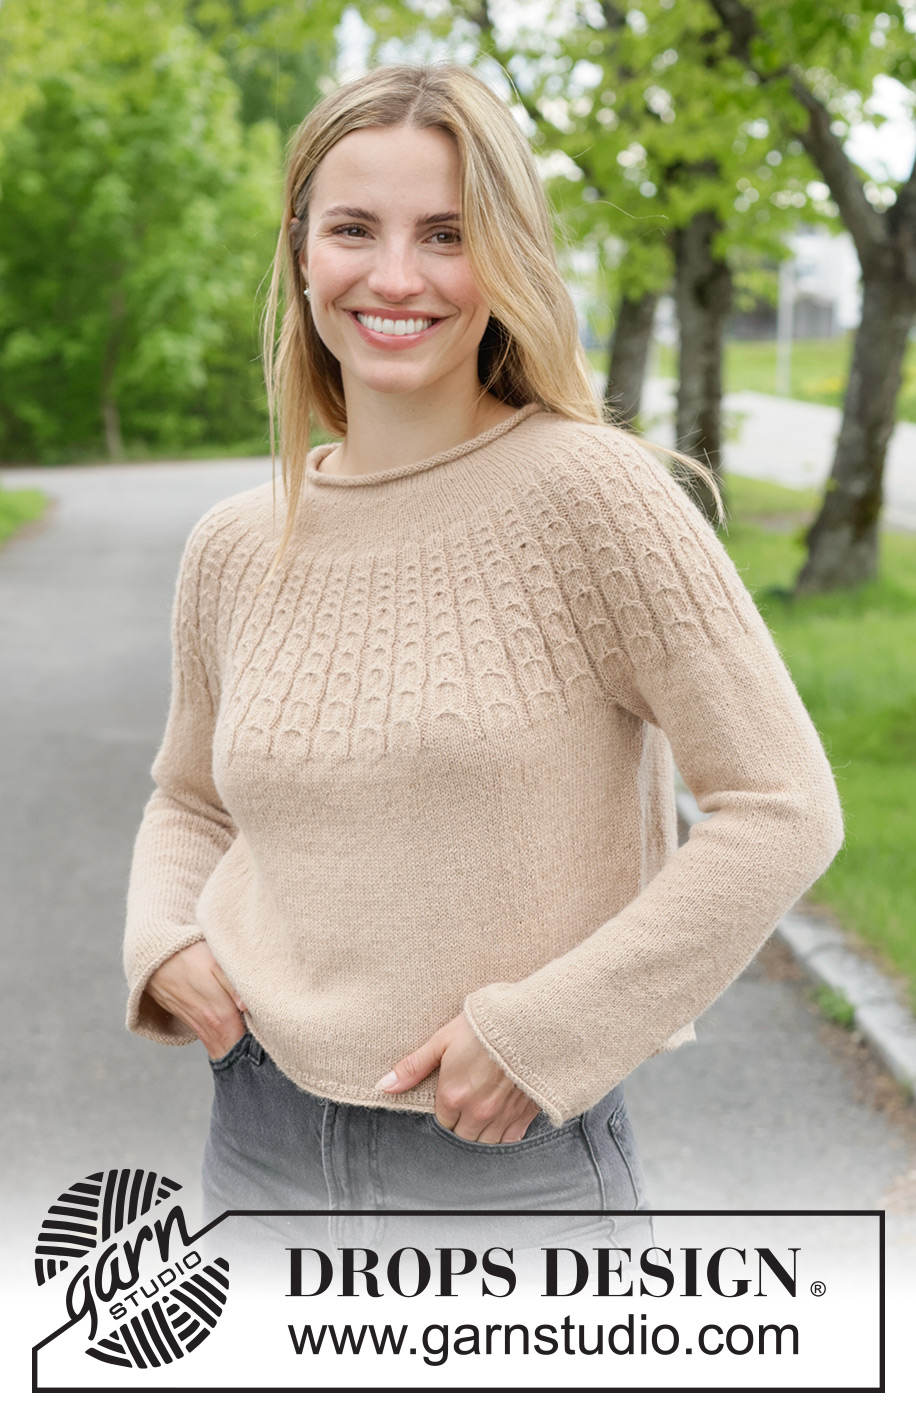
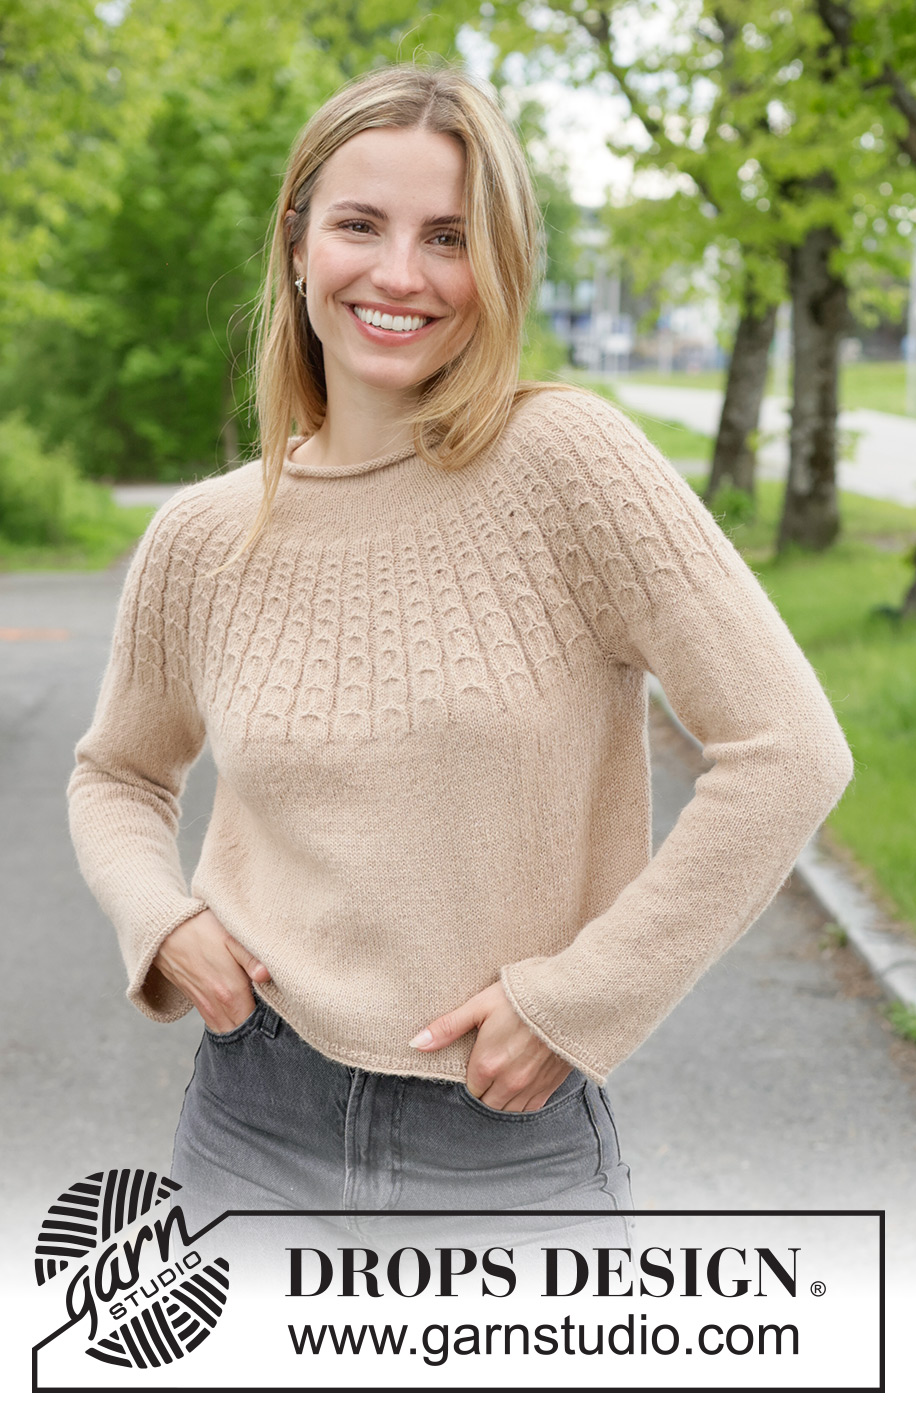
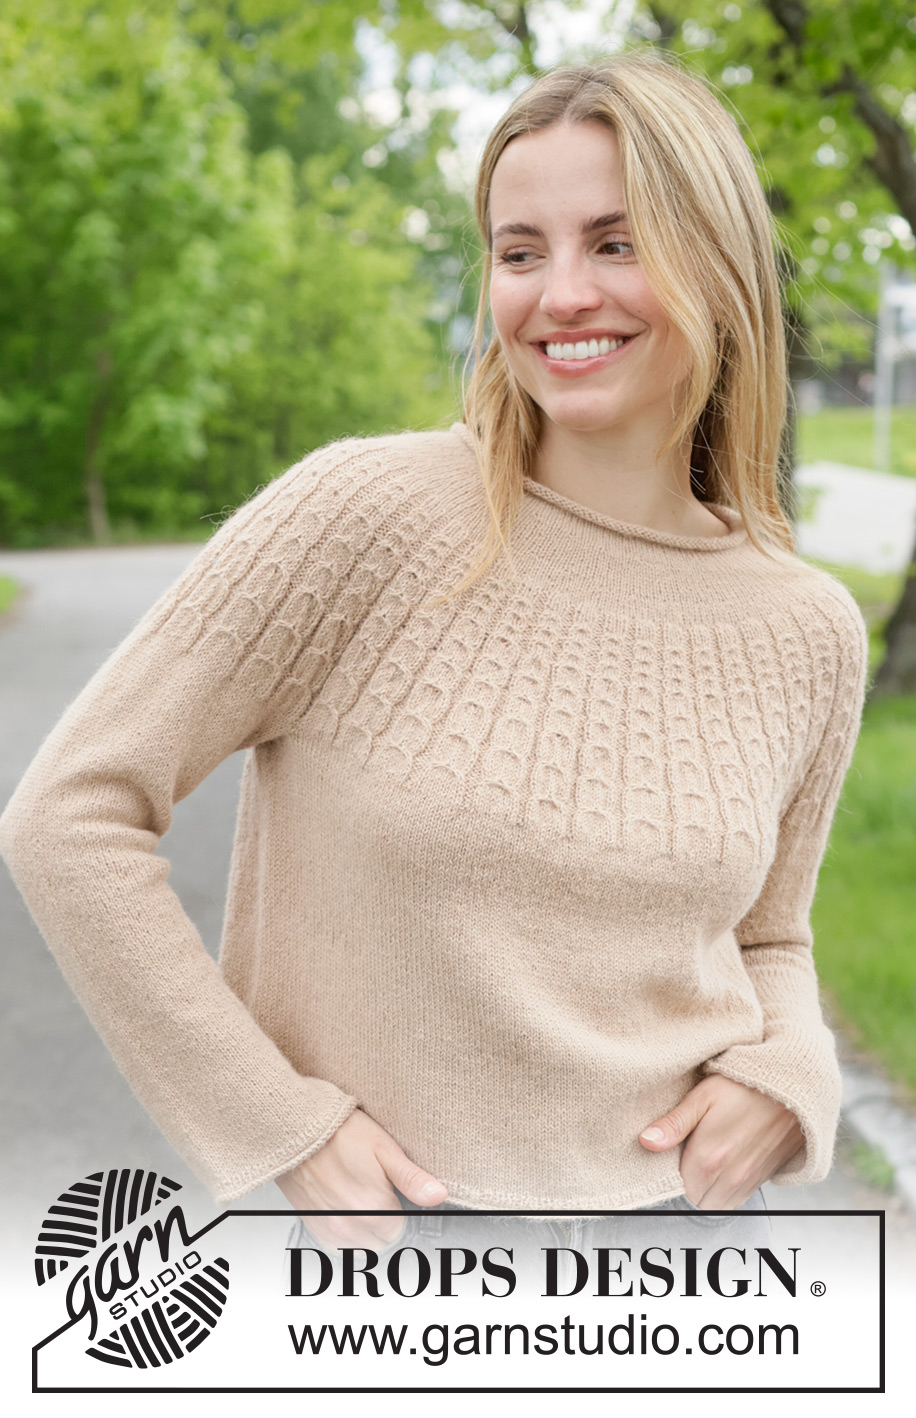
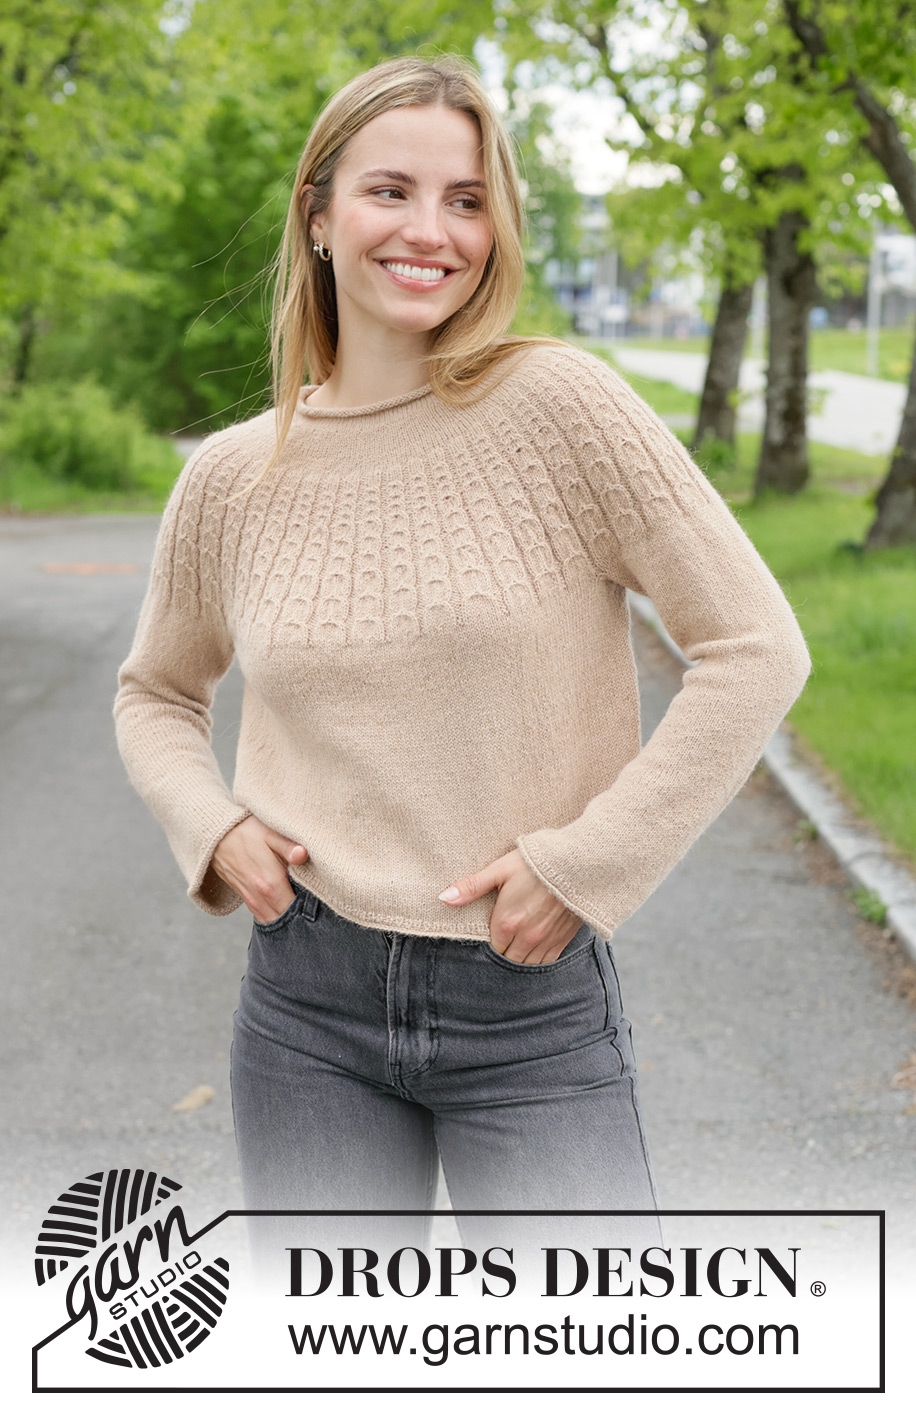
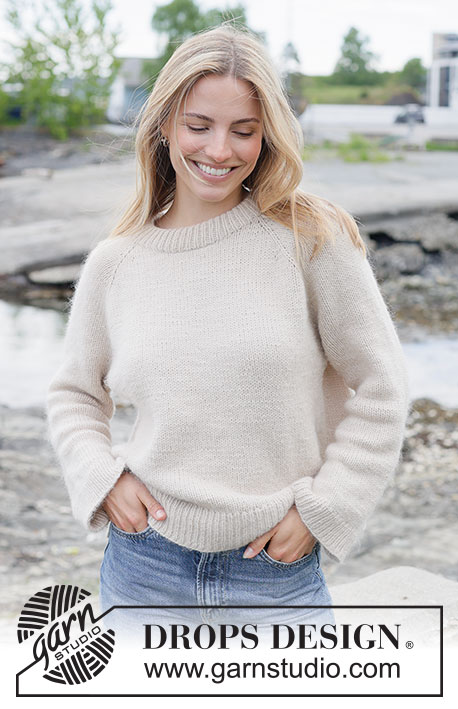
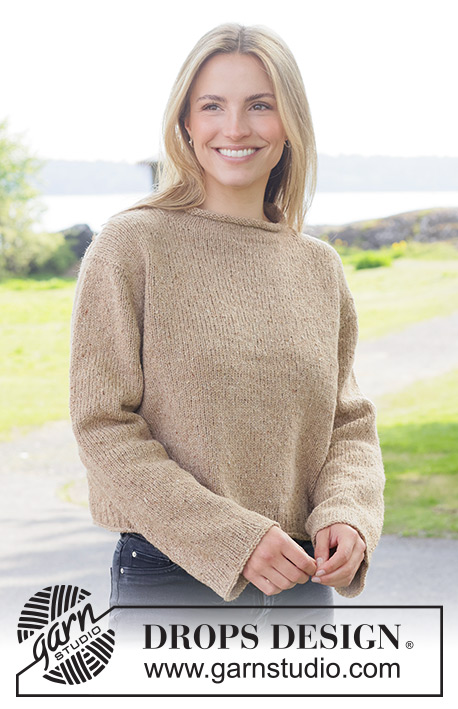
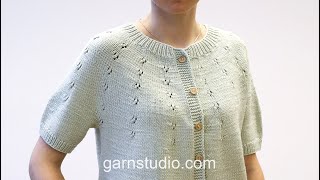
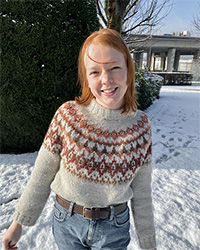
Knitted jumper in DROPS Alpaca or DROPS Fabel. Piece is knitted top down with rolling edge, round yoke and cables. Size XS – XXXL.
DROPS 272-11 |
||||||||||||||||||||||||||||||||||||||||||||||
|
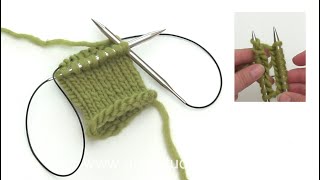
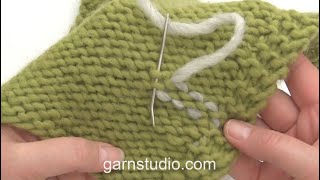
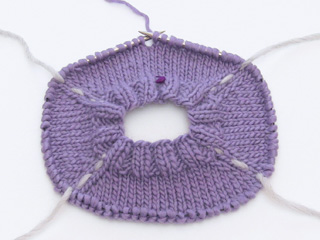
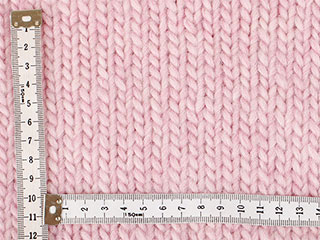
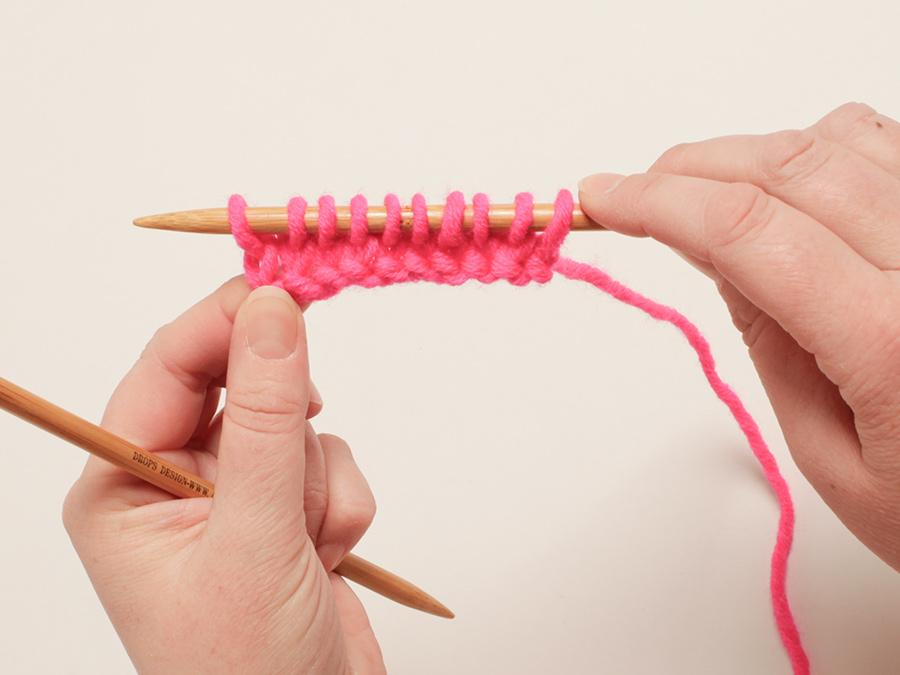
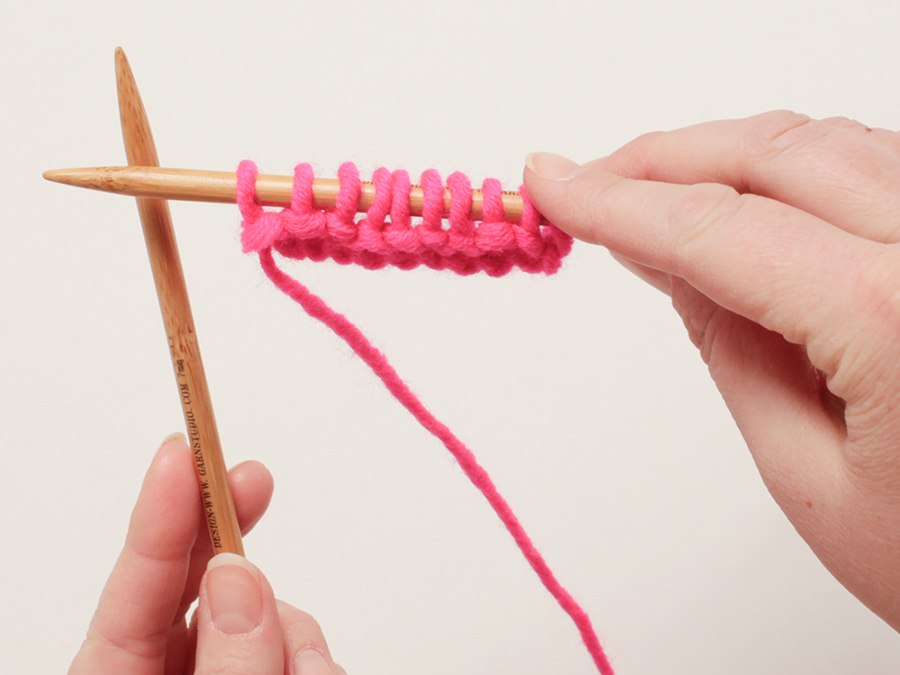
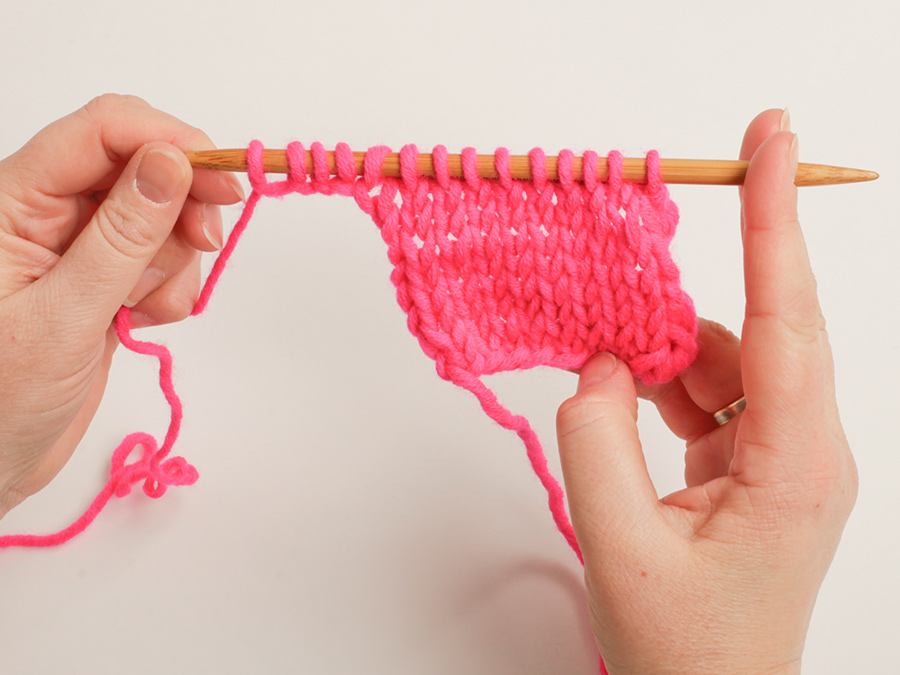
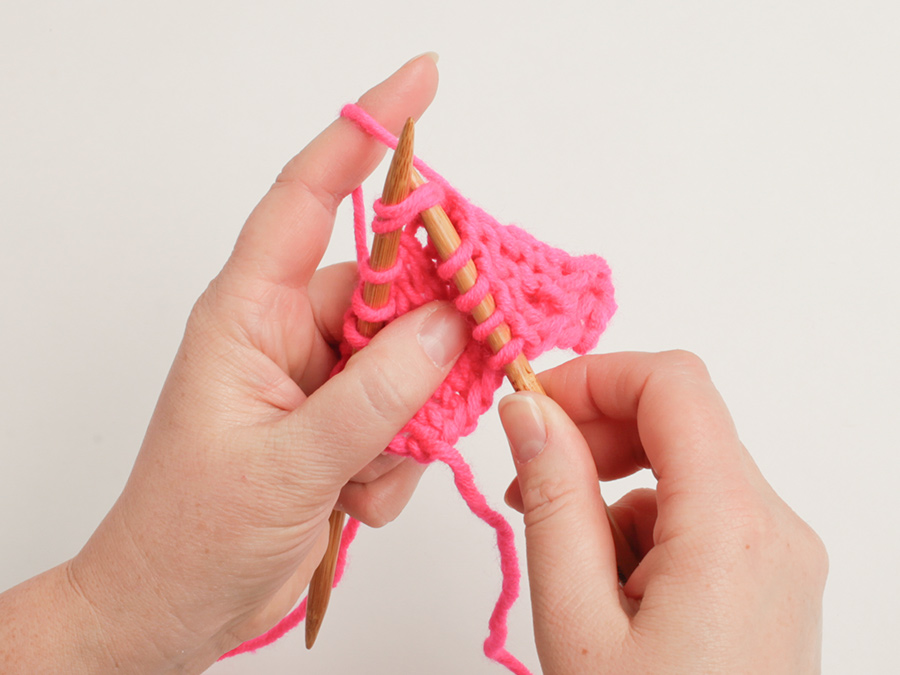
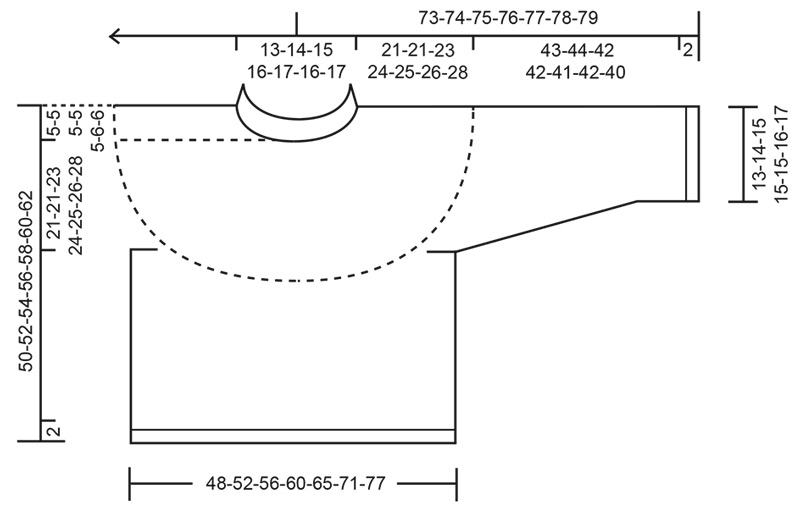
---------------------------------------------------------- EXPLANATION FOR THE PATTERN: ---------------------------------------------------------- PATTERN: See diagrams A.1 and A.2. INCREASE TIP: To calculate how to increase evenly, use the total number of stitches on row (e.g. 124 stitches) and divide stitches by number of increases to be done (e.g. 22) = 5.6. In this example increase in alternately approx. every 5th and 6th stitch - increase as follows: This symmetrical increase gives 1 new stitch. Follow point 1 - 4 below: 1. Hold the yarn behind the piece. Pass the first stitch on left needle loosely on to right needle purlwise. 2. Insert left needle behind the slipped stitch and in between the slipped stitch and the next stitch on right needle. 3. Make a yarn over with yarn around right needle and pull yarn over through stitch to get 1 new stitch on right needle. 4. Drop front loop of stitch off left needle and then knit 1 in front part of the other loop of stitch. 1 stitch has been increased. SLEEVE TIP: When picking up stitches mid under sleeve, there will be a small hole in the transition between stitches on body and sleeves. The holes can be closed by picking up the strand between two stitches - work this strand twisted together with the first stitch between body and sleeve to close the hole. DECREASE TIP: Decrease 1 stitch on each side of marker thread as follows: Work until 3 stitches remain before marker thread, knit 2 together, knit 2 (marker thread is between these 2 stitches), slip 1 stitch knitwise, knit 1, pass slipped stitch over stitch worked (= 2 stitches decreased). ---------------------------------------------------------- START THE PIECE HERE: ---------------------------------------------------------- JUMPER - SHORT OVERVIEW OF THE PIECE: In this pattern needles of different length have been used, begin with fitting length for number of stitches and switch as needed. Work neck edge and yoke in the round on circular needle from mid back, work top down with increases for round yoke. When yoke is done, divide piece for body and sleeves. Work body downwards in the round on circular needle while putting the sleeves aside. If 0 stitches are given for the chosen size, it means that you skip the information and jump to next information. NECK EDGE: Cast on 120-124-130-136-140-146-150 stitches on circular needle size 3 mm with DROPS Alpaca or DROPS Fabel. Switch to circular needle size 2.5 mm and work stocking stitch until neck edge measures 3-3-3-4-4-4-4 cm. Insert 1 marker at beginning of round (= mid back), measure piece from this marker. YOKE: Switch to circular needle size 3 mm, work 1 round in stocking stitch while increasing 20-22-24-28-30-30-32 stitches evenly - read INCREASE TIP = 140-146-154-164-170-176-182 stitches. Then work in stocking stitch. Remember to follow the knitting tension! When yoke measures 2-2-3-3-3-3-3 cm from marker, increase 28-28-30-30-34-36-38 stitches evenly – remember INCREASE TIP = 168-174-184-194-204-212-220 stitches. Continue in stocking stitch. When yoke measures 4-4-5-5-5-6-6 cm from marker, increase 37-41-41-41-46-48-50 stitches evenly – remember INCREASE TIP = 205-215-225-235-250-260-270 stitches. Now work PATTERN – see explanation above, work first round as follows: * Work A.1, work A.2 *, work from *-* 20-21-22-23-25-26-27 times in total in the round on yoke, work A.1 1-1-1-1-0-0-0 more times. Continue pattern like this and increase as shown in diagrams. When increases are done there are 451-473-495-517-550-572-594 stitches on needle. When A.1 and A.2 have been worked vertically, work the 8 rounds marked with start in diagrams 0-0-0-0-1-1-1 more time, then repeat the last 2 rounds in diagrams until piece measures 20-20-22-23-24-25-26 cm from marker. Then work in stocking stitch while AT THE SAME TIME decreasing 83-81-79-69-62-60-58 stitches evenly on 1st round= 368-392-416-448-488-512-536 stitches. Work until piece measures 21-21-23-24-25-26-28 cm from marker mid back. Now divide piece for body and sleeves. DIVIDING FOR BODY AND SLEEVES: AT THE SAME TIME as next round is worked divide yoke for body and sleeves as follows: Work 56-61-65-69-75-80-86 stitches in stocking stitch (= half back piece), slip the next 72-74-78-86-94-96-96 stitches on a thread for sleeve, cast on 12-14-16-18-20-24-28 new stitches on the needle (= in the side mid under sleeve), work 112-122-130-138-150-160-172 stitches in stocking stitch (= front piece), slip the next 72-74-78-86-94-96-96 stitches on a thread for sleeve, 12-14-16-18-20-24-28 new stitches on the needle (= in the side mid under sleeve) and work the last 56-61-65-69-75-80-86 stitches in stocking stitch (= half back piece). Finish body and sleeves separately. BODY: = 248-272-292-312-340-368-400 stitches. Insert 1 marker in one side of piece (= in the middle of the 12-14-16-18-20-24-28 stitches that were cast on under sleeve). Work until marker, round begins here and work in the round. Work stocking stitch until piece measures 43-45-47-49-51-52-54 cm from marker mid front. Switch to circular needle size 2.5 mm, work rib (= knit 1 and purl 1) while AT THE SAME TIME increasing 20-20-22-24-24-30-32 stitches evenly on 1st round = 268-292-314-336-364-398-432 stitches. When 3 rounds rib have been worked, work 2 rounds in stocking stitch. Use circular needle size 3 mm and cast off by knitting somewhat loosely. Jumper measures 45-47-49-51-53-54-56 cm from marker mid back and approx. 50-52-54-56-58-60-62 cm from the top of shoulder. SLEEVES: Slip 72-74-78-86-94-96-96 sleeve stitches from one thread on to needle size 3 mm and pick in addition up 1 stitch in each of the 12-14-16-18-20-24-28 stitches cast on under sleeve - read SLEEVE TIP = 84-88-94-104-114-120-124 stitches. Insert 1 marker in the middle of the 12-14-16-18-20-24-28 new stitches under sleeve - round begins at the marker thread. Work in stocking stitch in the round on needle - AT THE SAME TIME when 1 round has been worked after division, decrease mid under sleeve – read DECREASE TIP and decrease as follows: Decrease 2 stitches 3-3-3-4-4-4-4 times on every other round, then decrease 2 stitches 4-5-6-9-13-14-15 times every 2-2-2-1½-1½-1½-1½ cm = 70-72-76-78-80-84-86 stitches on needle. Work until sleeve measures 43-44-42-42-41-42-40 cm from division. Switch to double pointed needles size 2.5 mm and work 3 rounds rib (= knit 1 and purl 1) while AT THE SAME TIME increasing 6 stitches evenly on 1st round = 76-78-82-84-86-90-92 stitches. Work 3 rounds in stocking stitch (= rolling edge). Use double pointed needles size 3 mm and cast off by knitting somewhat loosely. Sleeve measures approx. 45-46-44-44-43-44-42 cm from division. |
||||||||||||||||||||||||||||||||||||||||||||||
Diagram explanations |
||||||||||||||||||||||||||||||||||||||||||||||
|
||||||||||||||||||||||||||||||||||||||||||||||
 |
||||||||||||||||||||||||||||||||||||||||||||||
 |
||||||||||||||||||||||||||||||||||||||||||||||
Have you finished this pattern?Tag your pictures with #dropspattern #maplecreamsweater or submit them to the #dropsfan gallery. Do you need help with this pattern?You'll find 20 tutorial videos, a Comments/Questions area and more by visiting the pattern on garnstudio.com. © 1982-2026 DROPS Design A/S. We reserve all rights. This document, including all its sub-sections, has copyrights. Read more about what you can do with our patterns at the bottom of each pattern on our site. |
||||||||||||||||||||||||||||||||||||||||||||||

With over 40 years in knitting and crochet design, DROPS Design offers one of the most extensive collections of free patterns on the internet - translated to 17 languages. As of today we count 333 catalogues and 12536 patterns translated into English (UK/cm). 12536
We work hard to bring you the best knitting and crochet have to offer, inspiration and advice as well as great quality yarns at incredible prices! Would you like to use our patterns for other than personal use? You can read what you are allowed to do in the Copyright text at the bottom of all our patterns. Happy crafting!
Post a comment to pattern DROPS 272-11
We would love to hear what you have to say about this pattern!
If you want to leave a question, please make sure you select the correct category in the form below, to speed up the answering process. Required fields are marked *.