
Popular categories
Looking for a yarn?


Comments / Questions (17)
![]() Kaja Jensen wrote:
Kaja Jensen wrote:
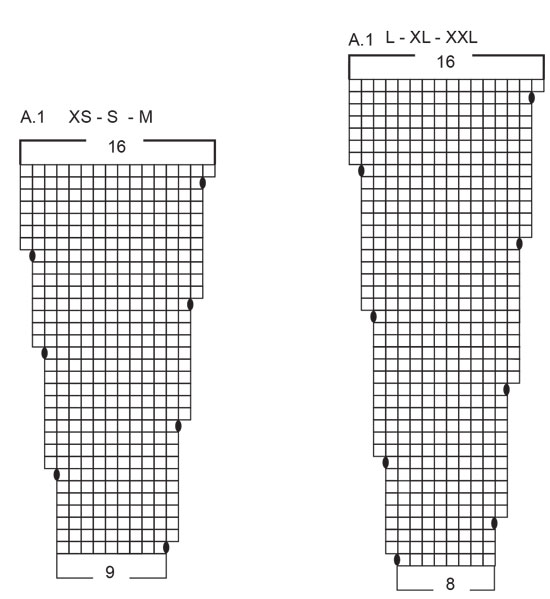
Jeg forstår ikke strik diagram A og så 20 rapporter a 8 masker- skal manstrok diagram op og 20 gange??? Hej Kaja
30.10.2024 - 15:10DROPS Design answered:
Hej Kaja, ja du starter nederst i diagrammet, strikker fra højre mod venstre og ifølge første pind i diagrammet laver du 1 omslag efter hver 8.maske. Sæt gerne et mærke imellem hver rapport, så det bliver tydeligt for dig hvor du skal slå om :)
31.10.2024 - 08:47
![]() Aletta wrote:
Aletta wrote:
Bij het verdelen van de pas voor het lijf en de mouwen staat: Zet 52 steken op een hulpdraad voor de mouw, zet 6 nieuwe steken op de naald (=in de zijkant onder de mouw) Hoe doe ik dat? Horen die 6 steken bij het lijf of bij de mouw? Ook dat is me niet duidelijk.
16.05.2024 - 09:22DROPS Design answered:
Dag Aletta,
Die steken horen bij het lijf. Nadat je de steken op een hulpdraad hebt gezet, zet je 6 nieuwe steken op de naald waar je de steken van het lijf op hebt staan, daarna ga je verder met het breien van de bestaande steken van het lijf.
20.05.2024 - 18:42
![]() Mathilde wrote:
Mathilde wrote:
Hej!(: Hvordan giver følgende mening: "Ribben måler 9-9-9-10-10-10 cm fra opslåningskanten.", når man har strikket: 1. "Strik til ribben måler 4 cm" 2. "Når arbejdet måler 3 cm fra mærket, tages der 1 maske ud i alle vrangpartier" 3. " Fortsæt til arbejdet måler 5-5-5-6-6-6 cm fra mærket." Det giver da ikke 9-10 cm fra opslåningskanten, men for M: 4+3+5 = 12 cm? Hvilket mål er det rigtige?
23.02.2024 - 10:29DROPS Design answered:
Hej Mathilde. 3 cm och 5 cm är målt fra mærket och 9 cm är målt fra opslåningskanten. Mvh DROPS Design
27.02.2024 - 14:31
![]() Nancy wrote:
Nancy wrote:
Hello, was wondering which needles to make the gauge swatch with. the only instructions are 17sts wide and 22rows
09.10.2023 - 03:24DROPS Design answered:
Hi Nancy, The guage is worked with needle size 5 mm. Happy knitting!
09.10.2023 - 06:38
![]() Anna wrote:
Anna wrote:
Hallo, der ist wunderschön. Allerdings möchte ich den Kragen anders machen, nicht "so lange nach unren" diese Bündchen, sondern das Bündchenmuster am Hals nur 2cm etwa. Wie kann ich das machen bzw "funktioniert es", wenn ich das Bündchenmuster am Hals nur 2cm stricke und dann einfach rechts? Danke
11.03.2023 - 09:04DROPS Design answered:
Liebe Anna, leider können wir nicht jede Anleitung nach jeder Anfrage anpassen. Vielleicht kann Ihnen ein anderes Modell (auch von oben nach unten mit Rundpasse und ähnliche Maschenprobe gestrickt) inspirieren. Viel Spaß beim stricken!
13.03.2023 - 09:15
![]() Jennifer wrote:
Jennifer wrote:
Got stuck working on the yoke. I need to go from 153 st to 272 before dividing body and sleeves. I don't know how many to increase each row. In the pattern, it said 17 repetitions of 9 stitches. What does that mean? Does it mean increasing 9 st each row for 17 rows?
04.08.2022 - 01:39DROPS Design answered:
Dear Jennifer, you have now to work following the diagram A.1 for your size = size M, diagram starts with 9 sts (on first row you will increase 1 stitch at the beg. of each repeat) repeated a total of 17 times = 9*17= 153 sts - after 1st row you have 10 sts x 17 repeats = 170 sts. When A.1 will be worked, you will have 16 sts in each A.1 x 17 repeats = 272 sts on needle. Read more about diagrams here. Happy knitting!
04.08.2022 - 08:23
![]() Manon M wrote:
Manon M wrote:
Bonjour, A quel moment utilisé les aiguilles en 40 ou 60 cm ? Quand faut-il utiliser les 40 cm et quand faut-il utiliser les 60 cm ? Cordialement
04.07.2022 - 17:08DROPS Design answered:
Bonjour Manon M, vous utilisez une aiguille circulaire de la longueur inférieure à celle de votre ouvrage, ainsi, vous commencez le col avec la petite aiguille circulaire et vous continuerez avec la 60 cm lorsque vous n'aurez plus assez de place sur la 40. De même pour les aiguilles doubles pointes, commencez les manches avec l'aiguille circulaire de 40 cm et continuez avec les aiguilles doubles pointes lorsque vous n'avez plus assez de mailles pour la circulaire. Bon tricot!
05.07.2022 - 08:57
![]() Louise Godet wrote:
Louise Godet wrote:
Merci pour votre réponse. Où vais-je trouver ces explications et un modèle proposant ce type de particularités parmi tous ceux que vous proposez ? Je suis perdue. Merci.
13.06.2022 - 13:40DROPS Design answered:
Bonjour Mme Godet, il vous faut consulter les modèles de tension identique et lire les explications pour vérifier s'il y a une réhausse. Vous trouverez aussi comment faire en vidéo ici. N'hésitez pas à demander conseil à votre magasin ou à un forum tricot. Bon tricot!
13.06.2022 - 16:33
![]() Louise Godet wrote:
Louise Godet wrote:
Bonjour, J'aime énormément vos modèles mais suis à la recherche du mouton à 5 pattes. Effectivement, je désire tricoter un modèle top down MAIS avec une encolure comme celle du modèle me-177, c'est-à-dire je souhaite que le devant soit plus creusé car je trouve que les encolures proposées sont trop larges et le devant monte trop. Est-ce possible et comment m'y prendre ? Un IMMENSE MERCI pour vos conseils. Cordialement.
13.06.2022 - 11:04DROPS Design answered:
Bonjour Mme Godet, vous pouvez tricoter une réhausse (= rangs raccourcis) pour l'encolure dos pour ainsi "creuser" la différence d'encolure dos et devant. Vous pouvez vous aider d'un modèle proposant ce type de particularités. Bon tricot!
13.06.2022 - 11:48
![]() GRENIER Annie wrote:
GRENIER Annie wrote:
Impossible d'imprimer les modèles et les explications??
26.05.2022 - 16:01DROPS Design answered:
Bonjour Annie, en utilisant une imprimante virtuelle, vous pourrez les télécharger au format .pdf.
26.05.2022 - 22:51
|
|||||||
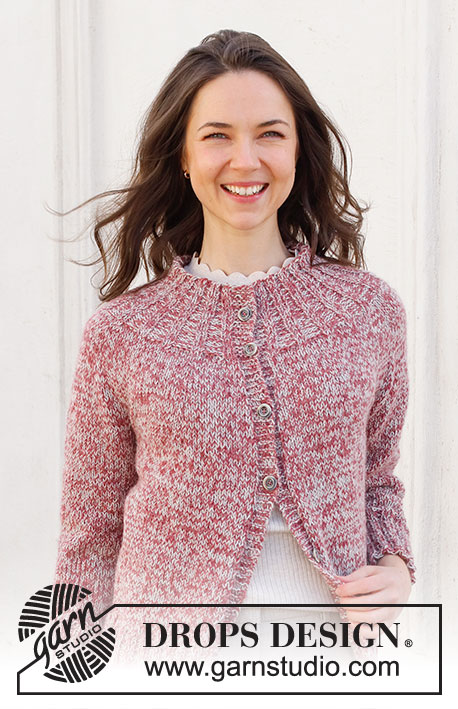
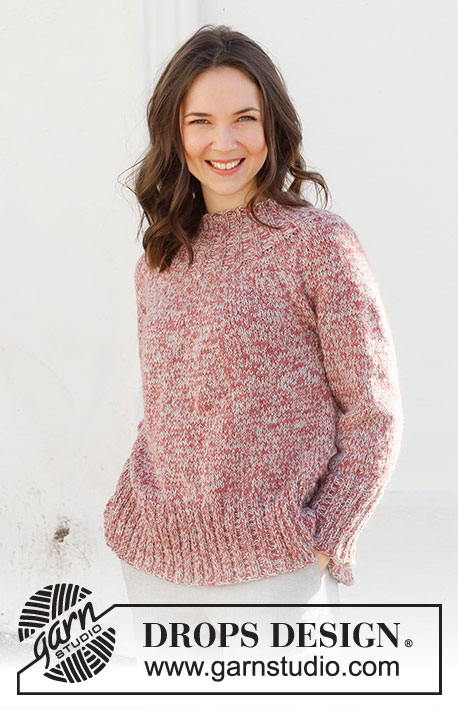
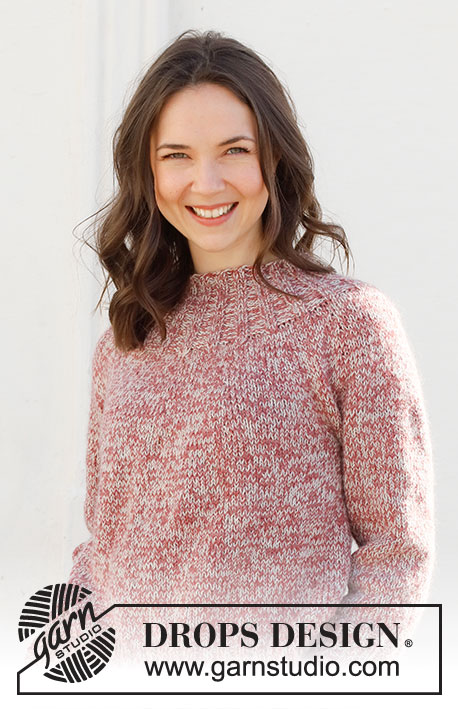
Frosted Cranberries Sweater#frostedcranberriessweater |
|||||||
 |
 |
||||||
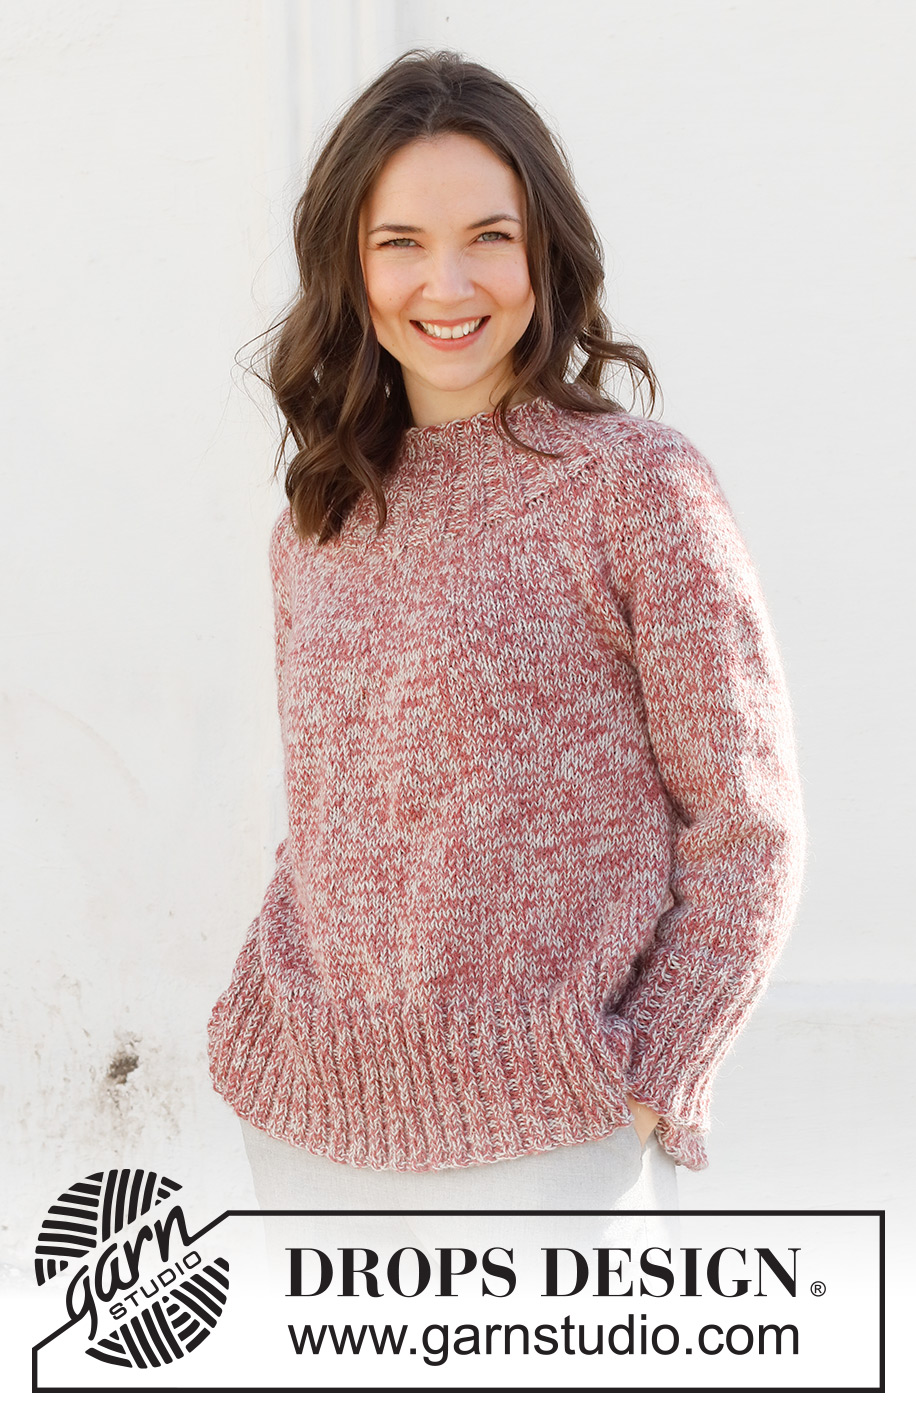
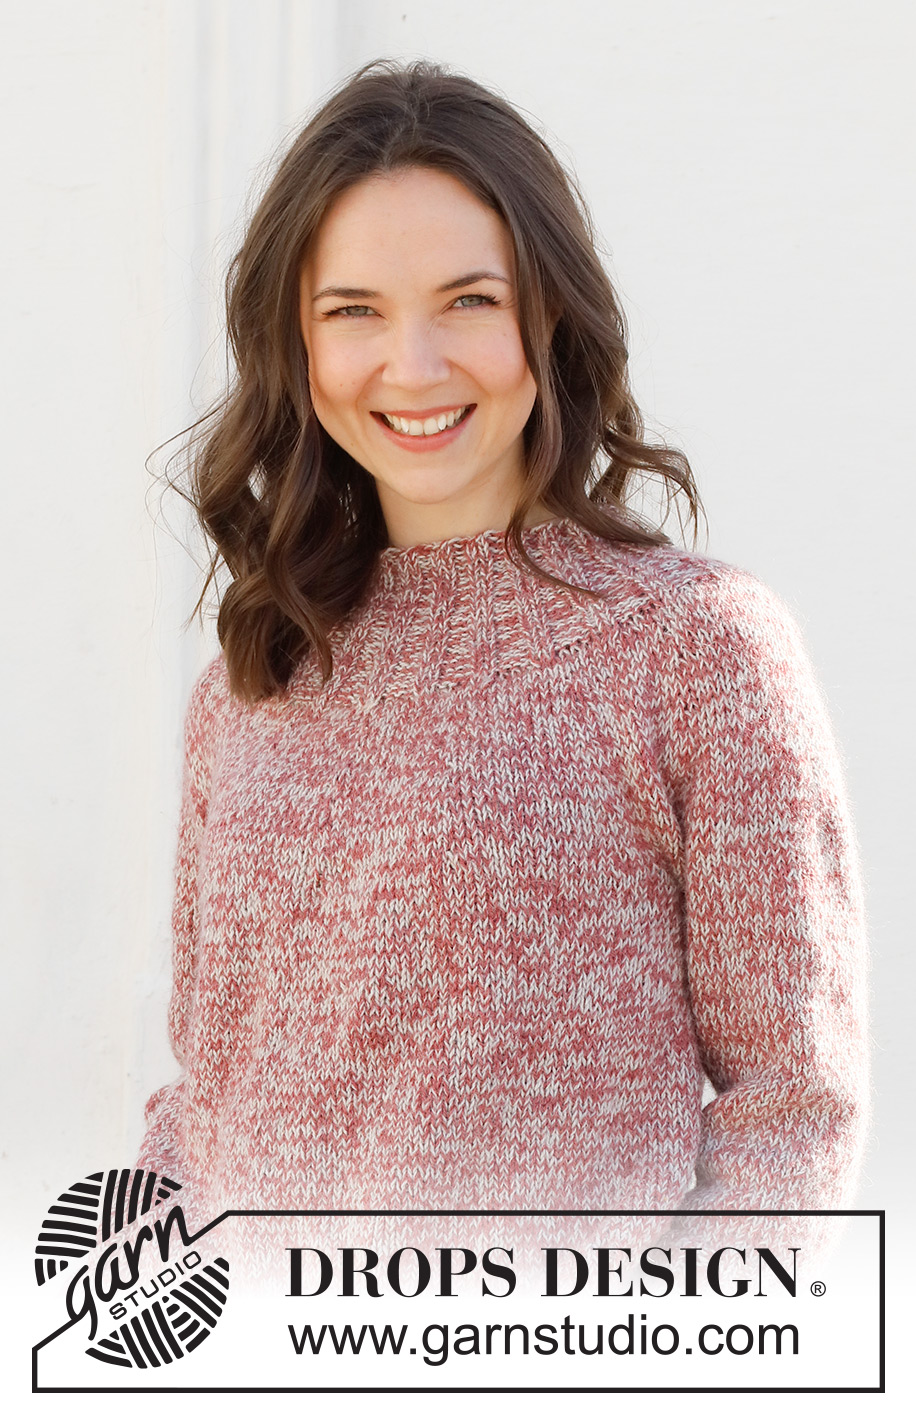
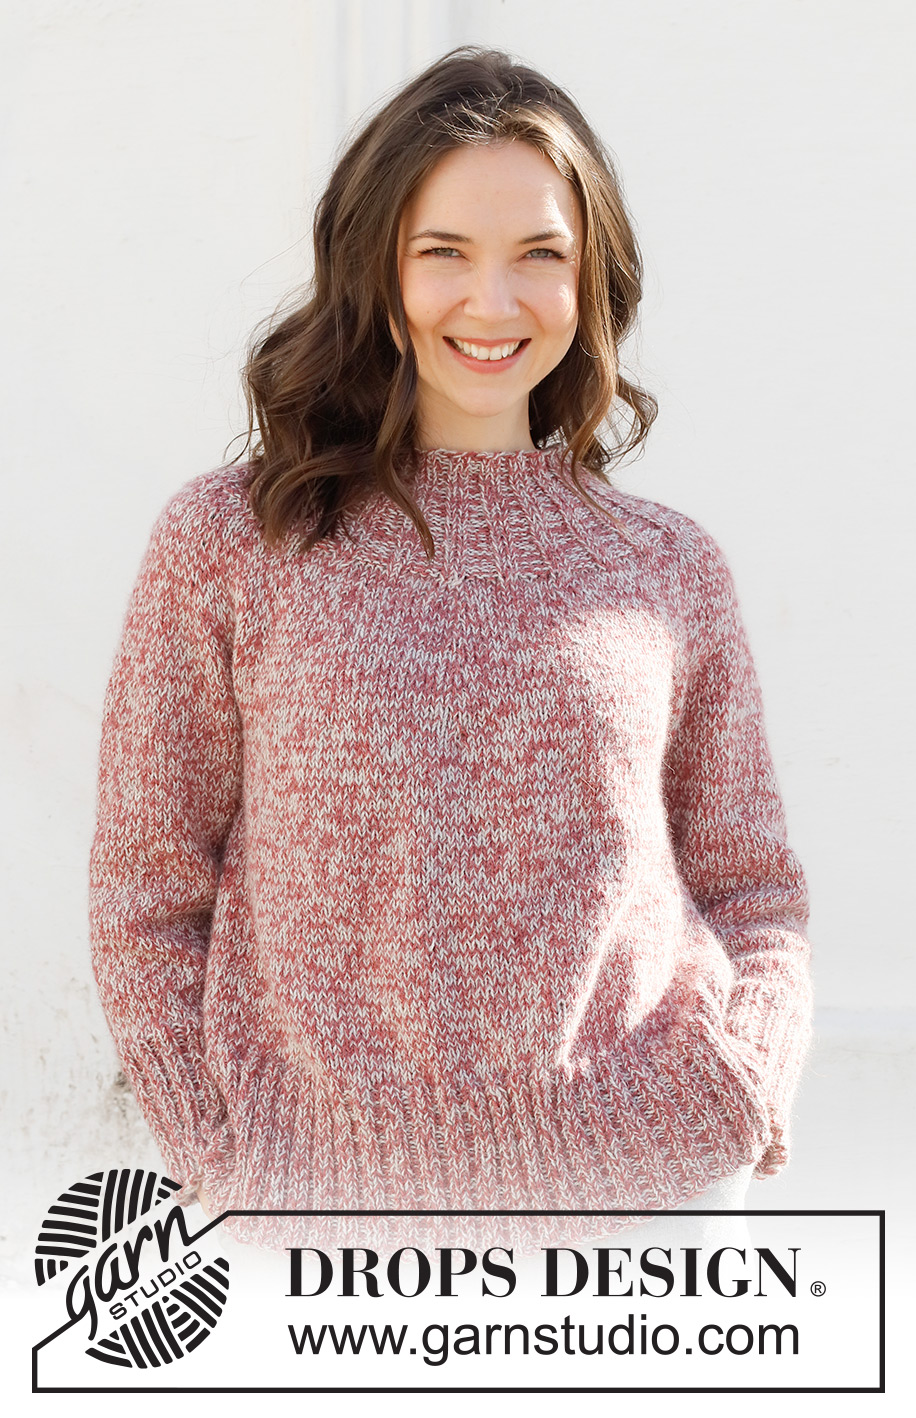
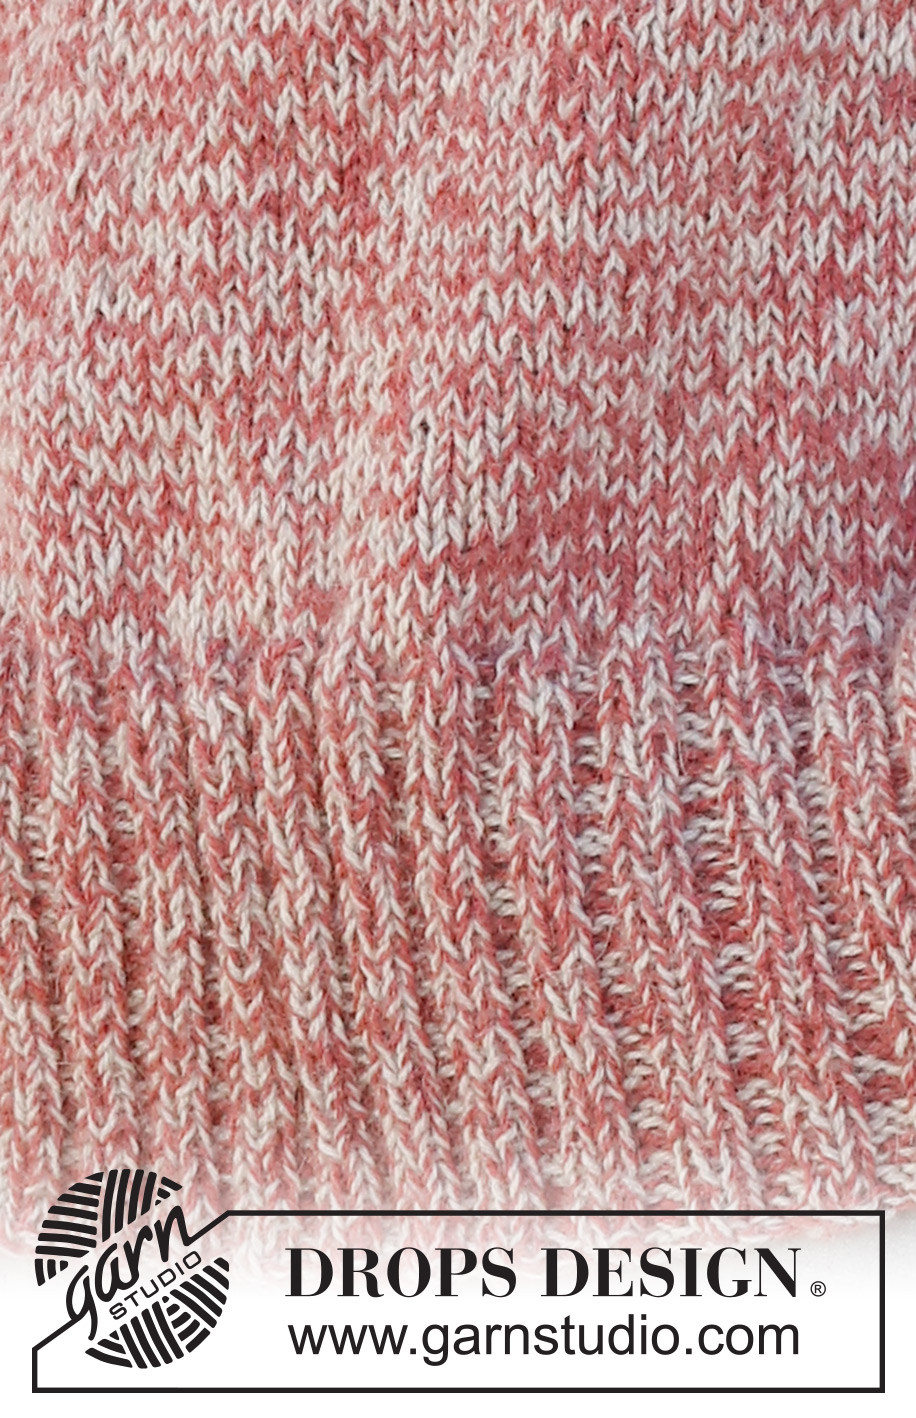
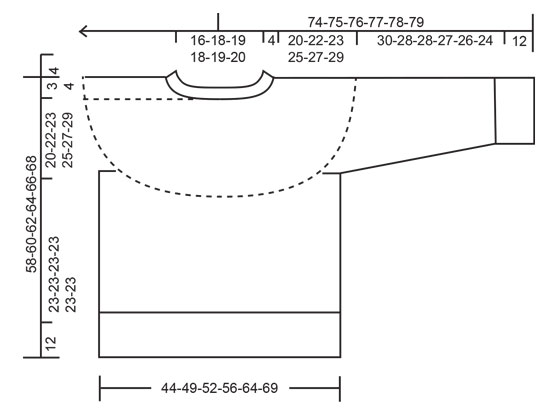
Knitted jumper in 2 strands DROPS Alpaca. Piece is knitted top down with round yoke and edges in rib. Size XS – XXL.
DROPS 228-27 |
|||||||
|
---------------------------------------------------------- EXPLANATION FOR THE PATTERN: ---------------------------------------------------------- INCREASE TIP (evenly): To calculate how to increase evenly, use the total number of stitches on row (e.g. 120 stitches) and divide stitches by number of increases to be done (e.g. 6) = 20. In this example increase by making 1 yarn over after every 20th stitch. On next round knit yarns over twisted to avoid holes. PATTERN: See diagram A.1. Work the entire pattern in stocking stitch. Choose diagram for your size. DECREASE TIP (applies to sleeves): Decrease 1 stitch on each side of marker thread as follows: Work until 3 stitches remain before marker thread and knit 2 together, knit 2 (marker thread is between these stitches), slip 1 stitch knitwise, knit 1, pass slipped stitch over stitch worked. CAST-OFF TIP: To avoid a tight cast-off edge when casting off, you may use a larger needle. If this still is too tight make 1 yarn over after approx. every 4th stitch while casting off (cast off yarn overs as stitches). ---------------------------------------------------------- START THE PIECE HERE: ---------------------------------------------------------- JUMPER - SHORT OVERVIEW OF THE PIECE: Work neck edge and yoke in the round on circular needle from mid back, top down. Now divide yoke for body and sleeves. Work body in the round on circular needle, top down. Work sleeves in the round on double pointed needles/a short circular needle, top down. NECK EDGE: Cast on 80-92-100-100-104-108 stitches on circular needle size 4 mm with a strand in each colour in DROPS Alpaca (= 2 strands). Knit 1 round, then work rib = knit 2/purl 2. Work until rib measures 4 cm. Insert 1 marker at beginning of round (= mid back), measure yoke from this marker! Increase 1 stitch in all purl sections, increase by making a yarn over at the beginning of all purl sections = 100-115-125-125-130-135 stitches. Continue with rib (= knit 2/purl 3), purl yarn overs twisted on first round. When piece measures 3 cm from marker, increase 1 stitch in all purl sections, increase by making a yarn over at the end of all purl sections = 120-138-150-150-156-162 stitches. Continue with rib (= knit 2/purl 4), purl yarn overs twisted on first round. Work until piece measures 5-5-5-6-6-6 cm from marker. Rib measures 9-9-9-10-10-10 cm from cast-on edge. YOKE: Switch to circular needle size 5 mm. Knit round while increasing 6-6-3-2-4-6 stitches evenly - read INCREASE TIP = 126-144-153-152-160-168 stitches. Work diagram A.1 over all stitches (= 14-16-17-19-20-21 repetitions of 9-9-9-8-8-8 stitches). NOTE: Choose diagram for your size! REMEMBER THE KNITTING TENSION! When A.1 has been worked vertically, there are 224-256-272-304-320-336 stitches on round. Knit 1 round while increasing 8-4-0-0-4-8 stitches evenly = 232-260-272-304-324-344 stitches. Continue in stocking stitch until piece measures approx. 20-22-23-25-27-29 cm from marker. Now divide yoke for body and sleeves as follows: Knit 34-39-40-44-49-53 (= half back piece), slip the next 48-52-56-64-64-66 stitches on a thread for sleeve, cast on 6-6-8-8-10-12 new stitches on row (= in the side under sleeve), knit 68-78-80-88-98-106 (= front piece), slip the next 48-52-56-64-64-66 stitches on a thread for sleeve, cast on 6-6-8-8-10-12 new stitches on row (= in the side under sleeve) and knit the remaining 34-39-40-44-49-53 stitches as before (= half back piece). Finish body and sleeves separately. NOW MEASURE THE PIECE FROM HERE! BODY: There are now 148-168-176-192-216-236 stitches on round. Continue in stocking stitch with 1 strand in each colour. Work until piece measures 23 cm in all sizes. 12 cm remain until finished measurements. Try the jumper and work to desired length. Now increase stitches to stop the rib from contracting. Knit 1 round while increasing 32-32-36-40-44-48 stitches evenly = 180-200-212-232-260-284 stitches. Switch to circular needle size 4 mm and work rib = knit 2/purl 2 in the round. Work rib for 12 cm. Cast off loosely with knit over knit and purl over purl - read CAST-OFF TIP. Jumper measures approx. 58-60-62-64-66-68 cm from shoulder and down. SLEEVE: Slip the 48-52-56-64-64-66 stitches from thread in one side of piece on double pointed needles size 5 mm and pick up 1 stitch in each of the 6-6-8-8-10-12 new stitches cast on under sleeve = 54-58-64-72-74-78 stitches. Insert 1 marker thread mid under sleeve, i.e. in the middle of the 6-6-8-8-10-12 stitches that were cast on under sleeves. Move the marker thread upwards when working; it should be used for decrease mid under sleeve. Begin round at the marker thread and work in stocking stitch with 1 strand of each colour in the round. When sleeve measures 3 cm from division, decrease 2 stitches mid under sleeve - read DECREASE TIP. Decrease like this every 8-5-3-2½-2-2 cm 4-5-7-10-10-11 times in total = 46-48-50-52-54-56 stitches. Continue without decreases until sleeve measures 30-28-28-27-26-24 cm from division (shorter measurements in the larger sizes because of wider neck and longer yoke). 12 cm remain until finished measurements. Try the jumper and work to desired length. Knit 1 round while increasing 6-4-6-4-6-4 stitches evenly = 52-52-56-56-60-60 stitches. Switch to double pointed needles size 4 mm. Work rib in the round = knit 2/purl 2 for 12 cm. Cast off with knit over knit and purl over purl - remember CAST-OFF TIP. Sleeve measures approx. 42-40-40-39-38-36 cm from division. Work the other sleeve the same way. |
|||||||
Diagram explanations |
|||||||
|
|||||||
 |
|||||||
 |
|||||||
Have you finished this pattern?Tag your pictures with #dropspattern #frostedcranberriessweater or submit them to the #dropsfan gallery. Do you need help with this pattern?You'll find 26 tutorial videos, a Comments/Questions area and more by visiting the pattern on garnstudio.com. © 1982-2026 DROPS Design A/S. We reserve all rights. This document, including all its sub-sections, has copyrights. Read more about what you can do with our patterns at the bottom of each pattern on our site. |
|||||||


With over 40 years in knitting and crochet design, DROPS Design offers one of the most extensive collections of free patterns on the internet - translated to 17 languages. As of today we count 324 catalogues and 12290 patterns translated into English (UK/cm). 12290
We work hard to bring you the best knitting and crochet have to offer, inspiration and advice as well as great quality yarns at incredible prices! Would you like to use our patterns for other than personal use? You can read what you are allowed to do in the Copyright text at the bottom of all our patterns. Happy crafting!
Post a comment to pattern DROPS 228-27
We would love to hear what you have to say about this pattern!
If you want to leave a question, please make sure you select the correct category in the form below, to speed up the answering process. Required fields are marked *.