
Popular categories
Looking for a yarn?
















Comments / Questions (8)
 Anne Solfrid Van Walsum wrote:
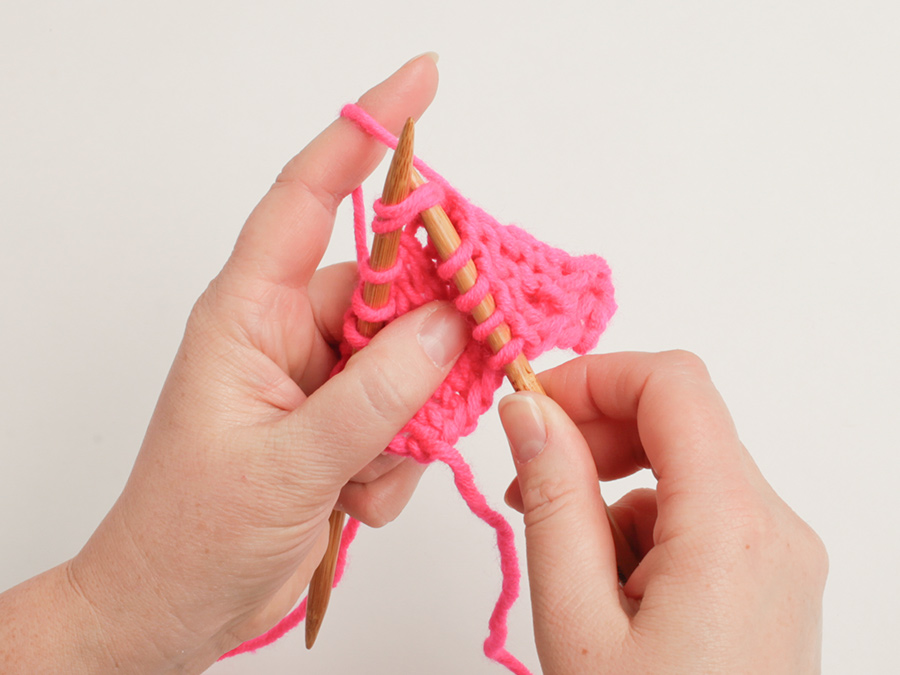
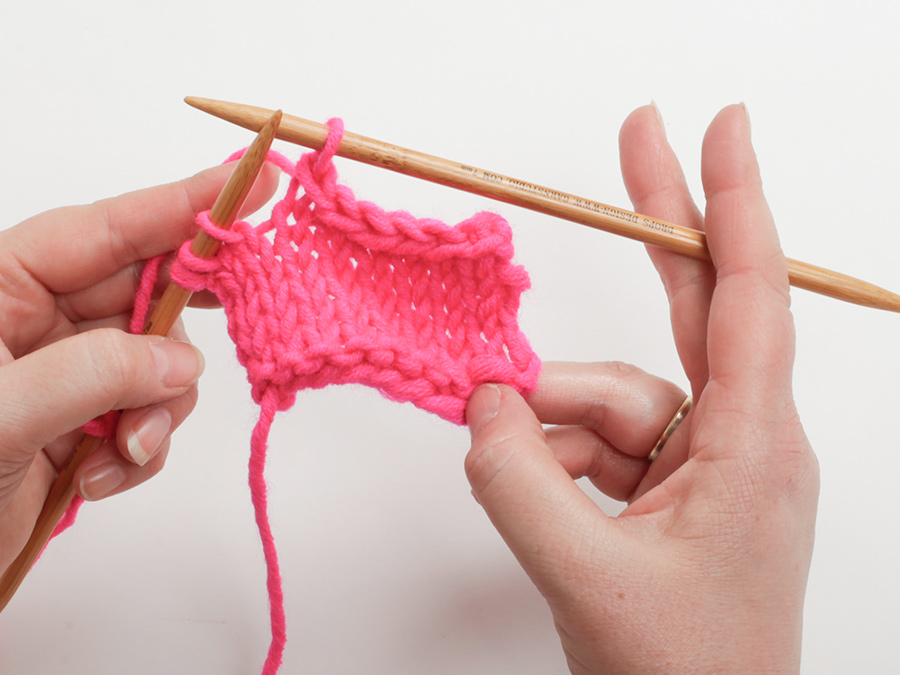
Jeg har nettopp strikket ferdig denne. Prøvde virkelig å felle av "litt løst" nederst på bolen, som det står i oppskriften, men rillekanten ruller seg oppover. Lurer på om det er et tegn på at jeg har felt av for løst, eller for stramt..?? Hvordan kan jeg unngå at den ruller seg opp?
03.08.2026 - 14:35DROPS Design answered:
Hei Anne Solfrid, Det er et tegn på at du har felt av for stramt. Du kan prøve å lage kast mens du feller av (etter hver 4. maske for eksempel) og felle av kastene som vanlige masker. Hilsen Drops Team.
04.08.2026 - 06:20
 Anna wrote:
Die Anleitung für die Zunahmen ist in der deutschen Anleitung korrekt. Die Zunahmevariante ohne Löcher (Zunahmetipp) bezieht sich auf die Zunahmen am Rumpf für die A-Linie. Die Zunahmen mit Loch für den Raglan stehen weiter oben unter "Raglanzunahmen". Viele Grüße!
18.07.2026 - 18:52
 Nicole wrote:
Abbildung des Tops und Anleitung stimmen nicht zusammen. Die Anleitung bzgl Raglanzunahmen sind leider falsch. Wenn eine Masche als Mittelmasche zu markieren ist kann nicht gleichzeitig eine Raglanzunahme über einen Markierungsfaden hinweg funktionieren. Aber diesen Umstand hat die Strickerin Sharon schon kundgetan und Ihre Antwort darauf ist leider falsch, Sharon liegt richtig. Die Anleitung ist asap zu korrigieren. MfG
18.07.2026 - 16:26
 Sharon Teo wrote:
Is this the right pattern for the top in the photo? the instructions for the raglan increase does not seem to reflect the photo in that that photo shows holes right next to the raglan stitch on each side, but the increase instructions is to do YO 4 stitches before and after the raglan stitches, plus twist the YO to avoid a hole. So it seems the pattern does not reflect the piece that is photographed.
28.05.2026 - 02:48DROPS Design answered:
Hi Sharon, The instructions for raglan are to make 1 yarn over which is then knitted on the next round to leave a hole (the increase tip for the sides of the body are as you describe above). Regards, Drops Team.
28.05.2026 - 06:21
 Vibe Andersen wrote:
Jeg skal slå 136 masker op . Så skal jeg sætte 4 mærker i . 1 mærke efter 24masker, 2 mærke efter 17, 3 mærke efter 49, 4 mærke efter 17 og så skulle der være 25 masker tilbage , men jeg har 3 tilbage hvad gør jeg forkert
20.05.2026 - 12:52DROPS Design answered:
Hej Vibe, 24 + 1 + 17 + 1 + 49 + 1 + 17 + 1 + 25 = 136
21.05.2026 - 07:40
Ranveig Karlsen wrote:
1234
15.04.2026 - 19:22
 Alma wrote:
Buonasera non riesco a comprendere se dove leggo per il raglan lavorate i gettati a dritto per creare i buchi successivamente sotto dice dopo i segnapunti lavorate a dritto ritorto per evitare i buchi non capisco grazie
06.04.2026 - 18:27DROPS Design answered:
Buonasera Alma, i due suggerimenti si applicano in punti diversi del lavoro. Buon lavoro!
15.04.2026 - 22:38
 Ana wrote:
Czy jest to wzor dobry dla poczatkujacych ?
03.04.2026 - 10:44DROPS Design answered:
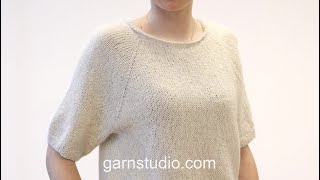
Witaj Ano, jak najbardziej. Konstrukcja jest wyjaśniona na filmie TUTAJ. Różnice tkwią w szczegółach, dlatego trzymaj się wzoru podczas przerabiania topu. W razie jakichkolwiek pytań pisz śmiało. Pozdrawiamy!
03.04.2026 - 12:36
|
|
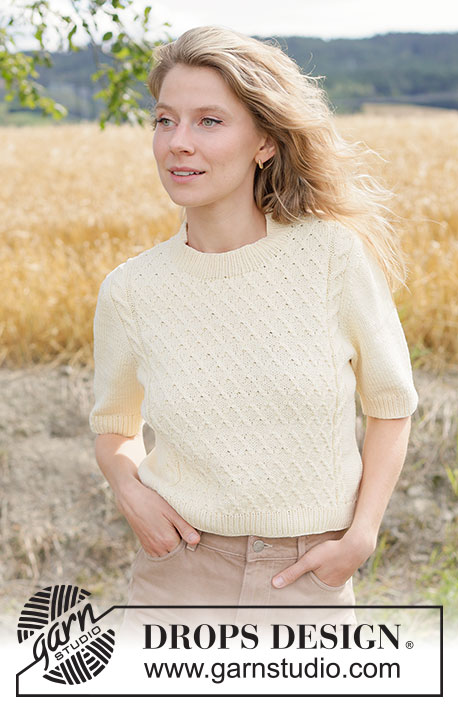
Grey Orchid Top#greyorchidtop |
|
 |
 |
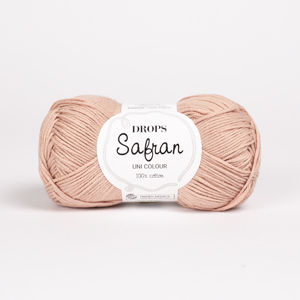
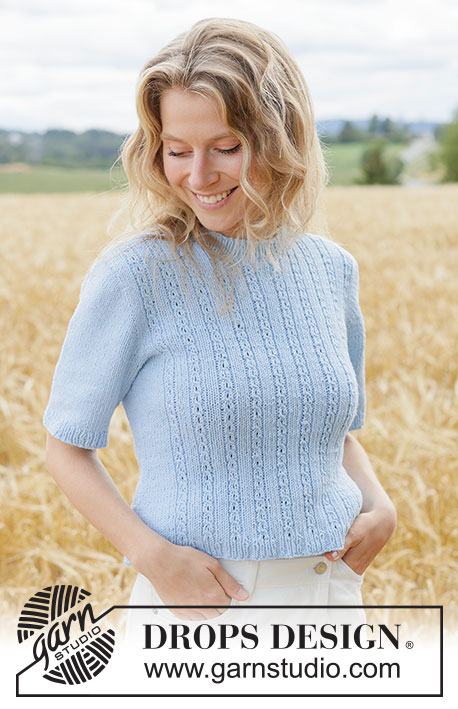
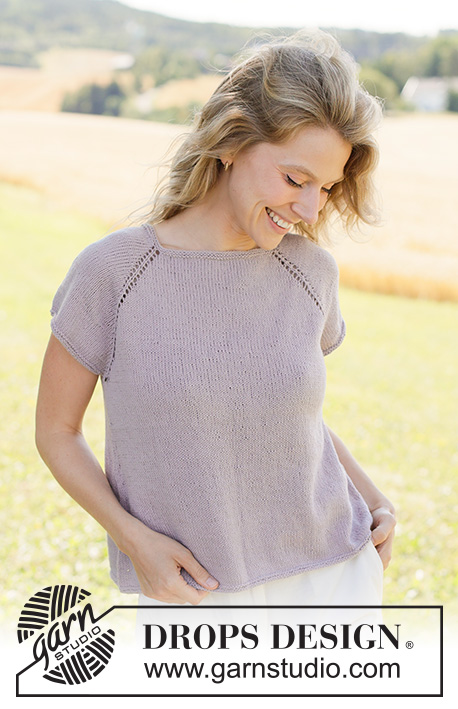
Knitted top in DROPS Safran or DROPS Magic. The piece is worked top down in stocking stitch with raglan, short sleeves and ridges. Sizes XS - XXXL.
DROPS 267-24 |
|
|
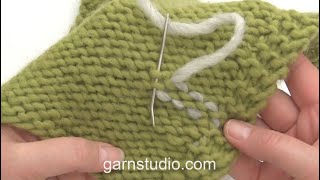
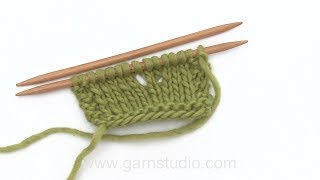
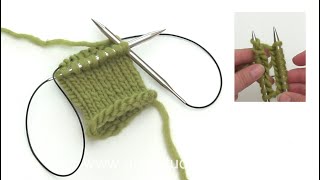
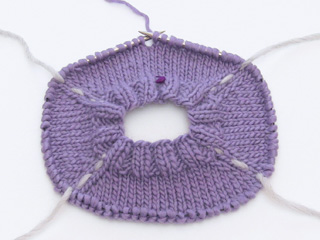
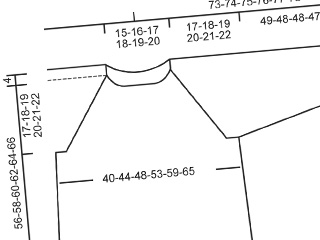
------------------------------------------------------- EXPLANATIONS FOR THE PATTERN: ------------------------------------------------------- GARTER STITCH (worked in the round): Alternately knit 1 round and purl 1 round. 1 ridge in height = 2 rounds. RAGLAN: Increase 1 stitch by making 1 yarn over. On the next round, knit the yarn over to leave a hole. INCREASE TIP: On the body, increase on each side of marker-threads under the sleeves: Work until there are 4 stitches left before the marker-thread, make 1 yarn over, work 8 stitches (marker-thread sits in the middle of these 8 stitches), make 1 yarn over. On the next round, work the yarn overs as follows: BEFORE MARKER-THREAD (yarn over twists to the right): Slip the yarn over from the left needle to the right needle purl-wise, then replace it by inserting the left needle through the back (the yarn over is the other way round). Knit through the stitch loop that is on the front of the needle (avoids a hole). AFTER MARKER-THREAD (yarn over twists to the left): Knit through the stitch loop that is on the back of the needle (avoids a hole). SLEEVE TIP: When knitting up stitches under the sleeve, you can get a small hole in the transition between stitches on the body and sleeve. This hole can be closed by picking up the strand between 2 stitches and working this strand twisted together with the first stitch between body and sleeve. DECREASE TIP: Decrease 1 stitch on each side of the marker-thread as follows: Work until there are 3 stitches left before the marker-thread, knit 2 together, knit 2 (marker-thread sits between these 2 stitches), slip 1 stitch knit-wise, knit 1 and pass the slipped stitch over the knitted stitch (2 stitches decreased). ------------------------------------------------------- START THE PIECE HERE: ------------------------------------------------------- TOP – SHORT OVERVIEW OF THE PIECE: The pattern uses both long and short needles; start with the length which fits the number of stitches and change when necessary. The neck and yoke are worked in the round with circular needle, top down and from mid-back. When the yoke is finished, it is divided for the body and sleeves and the body continued in the round, while the sleeves wait. The sleeves are worked top down, in the round. If there is a «0» in your chosen size, skip the information and go straight to the next instruction. NECK: Cast on 110-116-120-124-132-136-144 stitches with circular needle size 3.5 mm and DROPS Safran or Magic. Work 2 ridges in the round - see GARTER STITCH in explanations above (4 rounds). The round begins mid-back. Insert 1 marker at the beginning of the round, the piece is measured from here. YOKE: Insert 4 markers without working the stitches, each marker inserted into a stitch (raglan-stitches) and increase for raglan on each side of these raglan-stitches as follows. Count 17-18-19-20-22-24-26 stitches (= half the back piece), insert marker-1 in the next stitch, count 19-19-19-19-19-17-17 stitches (= sleeve), insert marker-2 in the next stitch, count 34-37-39-41-45-49-53 stitches (= front piece), insert marker-3 in the next stitch, count 19-19-19-19-19-17-17 stitches (= sleeve), insert marker-4 in the next stitch. There are 17-19-20-21-23-25-27 stitches after marker-4 (= half the back piece). Work stocking stitch in the round and increase for RAGLAN on each side of all raglan-stitches – read explanation above. Increase for raglan every 2nd round 27-28-31-34-37-40-43 times = 326-340-368-396-428-456-488 stitches. Remember to maintain the knitting tension. Continue with stocking stitch without further increases until the piece measures 18-19-20-22-24-25-27 cm from the marker mid-back. Now divide for the body and sleeves. DIVIDE FOR BODY AND SLEEVES: Knit the first 45-47-51-55-60-66-72 stitches (= half the back piece), place the next 73-75-81-87-93-95-99 stitches on a stitch holder for the sleeve, cast on 8-10-12-14-16-18-20 stitches (= mid-under the sleeve), knit 90-95-103-111-121-133-145 (= front piece), place the next 73-75-81-87-93-95-99 stitches on a stitch holder for the sleeve, cast on 8-10-12-14-16-18-20 stitches (= mid-under the sleeve), knit the last 45-48-52-56-61-67-73 stitches (= half the back piece). The body and sleeves are finished separately. BODY: = 196-210-230-250-274-302-330 stitches. Insert 1 marker-thread in the middle of the 8-10-12-14-16-18-20 cast-on stitches under each sleeve. Allow these threads to follow your work onwards, they are used when increasing each side of the body. Knit to the first marker-thread. The round starts here. Continue stocking stitch in the round for 3 cm. Now increase 1 stitch on each side of both marker-threads – read INCREASE TIP for how to work the yarn overs on the next round (4 increased stitches). Increase like this every 3 cm a total of 6-7-7-7-7-7-7 times = 220-238-258-278-302-330-358 stitches. When the piece measures 42-44-46-48-50-52-54 cm from the marker mid-back, work 2 ridges (4 rounds). Cast off slightly loosely with knit. The jumper measures approx. 43-45-47-49-51-53-55 cm from the marker mid-back and 47-49-51-53-55-57-59 cm from the shoulder. SLEEVES: Place the 73-75-81-87-93-95-99 sleeve-stitches from one stitch holder onto circular needle size 3.5 mm and knit up 1 stitch in each of the 8-10-12-14-16-18-20 stitches cast on under the sleeve – read SLEEVE TIP = 81-85-93-101-109-113-119 stitches. Insert a marker-thread in the middle of the 8-10-12-14-16-18-20 stitches under the sleeve. The round starts by the marker-thread. Work stocking stitch in the round and decrease 2 stitches mid-under the sleeve on the next round – read DECREASE TIP = 79-83-91-99-107-111-117 stitches. Work 1 cm of stocking stitch, then 2 ridges (4 rounds). Cast off slightly loosely with knit. |
|
 |
|
Have you finished this pattern?Tag your pictures with #dropspattern #greyorchidtop or submit them to the #dropsfan gallery. Do you need help with this pattern?You'll find 20 tutorial videos, a Comments/Questions area and more by visiting the pattern on garnstudio.com. © 1982-2026 DROPS Design A/S. We reserve all rights. This document, including all its sub-sections, has copyrights. Read more about what you can do with our patterns at the bottom of each pattern on our site. |
|

With over 40 years in knitting and crochet design, DROPS Design offers one of the most extensive collections of free patterns on the internet - translated to 17 languages. As of today we count 333 catalogues and 12548 patterns translated into English (UK/cm). 12548
We work hard to bring you the best knitting and crochet have to offer, inspiration and advice as well as great quality yarns at incredible prices! Would you like to use our patterns for other than personal use? You can read what you are allowed to do in the Copyright text at the bottom of all our patterns. Happy crafting!
Post a comment to pattern DROPS 267-24
We would love to hear what you have to say about this pattern!
If you want to leave a question, please make sure you select the correct category in the form below, to speed up the answering process. Required fields are marked *.