
Categorías populares
¿Buscas un hilo?


Comentarios / Preguntas (85)
![]() Marcia Gilliam escribió:
Marcia Gilliam escribió:
Is there a way to import this pattern into Knit Companion? Your web interface informs me I'm using a forbidden word and I can't post the complete question.
30.11.2018 - 17:09DROPS Design respondió:
Dear Mrs Gilliam, our pattern can only be printed or saved as a .pdf with a virtual printer, this maybe the reason why you cannot import them into Knit Companion. Happy knitting!
03.12.2018 - 10:56
![]() Linda Medvic escribió:
Linda Medvic escribió:
Wondering if there’s a printable version somewhere?
25.10.2018 - 15:28DROPS Design respondió:
Dear Mrs Medvic, you just have to click on the icon with the printer to launch printing. Happy knitting!
25.10.2018 - 15:44
![]() MEAGHAN MORIARTY escribió:
MEAGHAN MORIARTY escribió:
Thank you for the clarification! The instructions "Now work A.2, but continue with K and P as in A.1 in the orange section." confused me - I read that as knit A2 but using the A1 pattern when working in the orange.
10.10.2018 - 02:33DROPS Design respondió:
Dear Mrs Moriary, you are right, I missed that part from the pattern, work A.2 as explained previously but continue working the st in garter st from A.1 as before (alternately K and P every other round). Happy knitting!
10.10.2018 - 09:54
![]() MEAGHAN MORIARTY escribió:
MEAGHAN MORIARTY escribió:
I\'m struggling with the A2 pattern. Is the green stitch in addition to the orange or take the place of one it? In other words, in the first line, for example, does it start green K, then orange KKKPKK, OR is it green K, then orange KKPKK with the green taking the place of the first orange K? Thanks!
09.10.2018 - 02:50DROPS Design respondió:
Dear Mrs Moriarty, A.2 is a stranded chart, ie you will alternately work with orange and green, on first row for example work: (K1 with green, K8 with orange) and repeat from (to) the whole round. On round 2, work (K2 with greeen, K5 with orange, K1 with green) and repeat from (to) the whole round. Happy knitting!
09.10.2018 - 09:55
![]() Cindy escribió:
Cindy escribió:
So when starting A1 is it knitt three then purl one then knitting 5 purl one knit 5 and continue that until you finish all the way around. Then next round is straight knit all the way around?
18.09.2018 - 02:50DROPS Design respondió:
Dear Cindy, when repeating A.1 in the round you will work: (K3, P1, K2), ie it will look at: K3 at the beg of round, repeat (P1, K5) and finish with K2. On round 2, knit all sts. Happy knitting!
18.09.2018 - 09:22
![]() Lorelei Schnabler escribió:
Lorelei Schnabler escribió:
Are the instructions for both A1 and A2 per row, or are they to be repeated over and over within one row? This pattern is beautiful, but I'm unclear on this point. Thank you for your quick response.
25.08.2018 - 20:44DROPS Design respondió:
Hi Lorelei, You repeat A.1 both within the round and in height to the reqired length, then you work A.2, repeated within the round, but only once in height. Happy knitting!
26.08.2018 - 07:58
![]() Giulia escribió:
Giulia escribió:
Grazie per l’immediata risposta, sempre nel diagramma ogni riga corrisponde a 1 ferro interamente lavorato vero? Esempio per il primo ferro farò 3 dritti, 1 rovescio e 2 dritti a ripetizione per tutto il ferro mentre nel secondo ferro lavorerò tutto a diritto?
09.02.2018 - 14:43DROPS Design respondió:
Buongiorno Giulia, esattamente così, una riga un ferro/giro. I diagrammi mostrano semprd tutti i ferri/giri. Buon lavoro!
09.02.2018 - 16:11
![]() Giulia escribió:
Giulia escribió:
Buongiorno, Chiedo scusa ma sono alle prime armi e non so come si legge lo schema A1 della cuffia sweet pumpkin. So che di solito si parte dall’angolo in basso a dx e sotto vedo un 6 che non so che significa, significano ripetizioni da 6? Ogni riga va ripetuta per tutto il ferro? Chiedo consiglio su come leggerlo grazie.
08.02.2018 - 16:12DROPS Design respondió:
Buongiorno Giulia, 6 è il numero delle maglie del motivo, e il motivo va ripetuto per tutto il giro. Buon lavoro!
08.02.2018 - 16:34
![]() Giulia escribió:
Giulia escribió:
Buongiorno, Chiedo scusa ma sono alle prime armi e non so come si legge lo schema A1 della cuffia sweet pumpkin. So che di solito si parte dall’angolo in basso a dx e sotto vedo un 6 che non so che significa, significano ripetizioni da 6? Ogni riga va ripetuta per tutto il ferro? Chiedo consiglio su come leggerlo grazie.
08.02.2018 - 08:21DROPS Design respondió:
Buongiorno Giulia. I diagrammi si leggono dal basso verso l'alto e da destra verso sinistra. Il numero indicato, in questo caso 6, indica che ogni ripetizione del motivo è di 6 maglie. Ripete queste sei maglie su tutte le maglie presenti sui ferri. Ci riscriva se ancora in difficltà. Buon lavoro!
08.02.2018 - 08:48
![]() Edie McRoberts escribió:
Edie McRoberts escribió:
Dear Jeanette; I have to let you know how much I enjoyed making this delightful Pumpkin cap. We haven't had a baby in the family for quite some time, so it was a treat to be able to get back into the baby knitting. The instructions were very clear and easy to follow. I found the trick was to use the markers rather than just to try counting! Thank you so much for making this available over the internet. It is very much appreciated. Sincerely, Edie McRoberts.
07.10.2017 - 17:50
|
||||||||||
Sweet Pumpkin#sweetpumpkinhat |
||||||||||
 |
 |
|||||||||
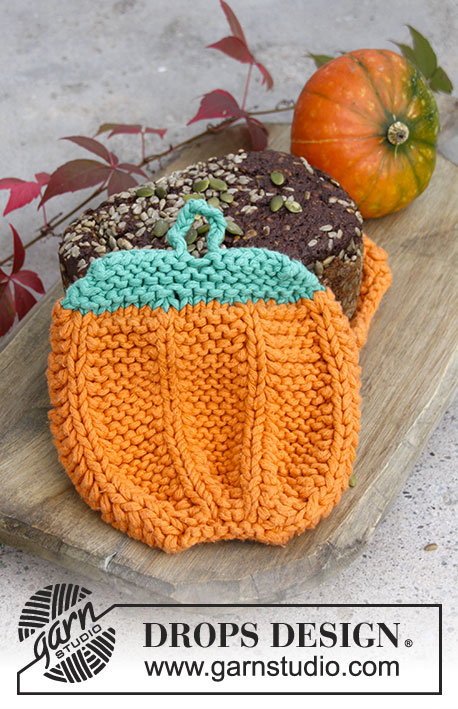
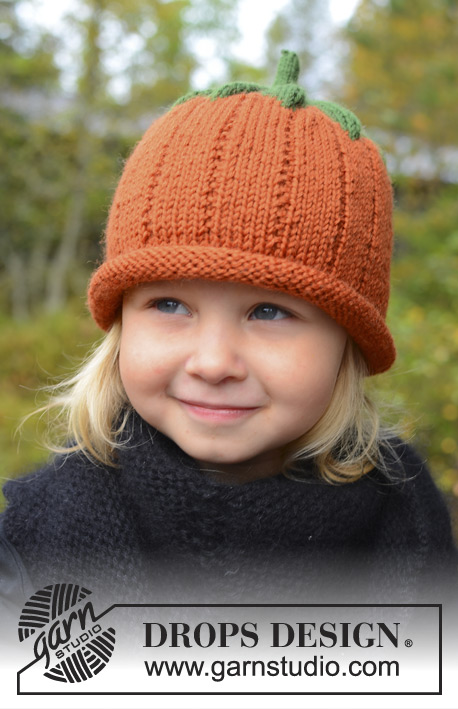
Gorro de punto en forma de calabaza para bebé y niños en DROPS Karisma. Tallas 0 – 8 años. Tema: Halloween.
DROPS Extra 0-966 |
||||||||||
|
PATRÓN: Ver diagramas A.1 y A.2. Los diagramas son vistos por el LD. ------------------------------------------------------ GORRO: Mon 84-90-96-102-108 pts con naranja en ag de doble punta o aguja circular tamaño 3.5 mm. Tejer 1 vta de revés, después tejer en pt jersey. ¡Recordar mantener la misma tensión de tejido de la muestra! Cuando la pieza mida 6 cm, insertar 1 marcapuntos (= orilla que se enrolla), ahora medir la pieza a partir de aquí y tejer de acuerdo al diagrama A.1. Cuando la pieza mida 7-8-9-10-12 cm, dism 3-0-6-3-0 pts distribuidos equitativamente = 81-90-90-99-108 pts. Después insertar 9-10-10-11-12 marcapuntos en la pieza con 9 pts de separación entre uno y otro marcapuntos. El primer pt después del primer marcapuntos = primer pt de A.2. Ahora tejer A.2, pero continuar con derechos y reveses como en A.1 en la sección en color naranja. Después de A.2, tejer con verde bosque hasta el fin – AL MISMO TIEMPO, dism a cada 2 vtas: 1 pt en el lado derecho de todos los marcapuntos hasta que resten 9-10-10-11-12 pts en la ag. Cambiar a las ag de doble punta tamaño 2 mm y tejer 3 cm sobre estos pts para el tallo. Pasar el hilo a través de los pts restantes y rem. |
||||||||||
Explicaciones del diagrama |
||||||||||
|
||||||||||
 |
||||||||||
¿Terminaste este patrón?Entonces, etiqueta tus fotos con #dropspattern #sweetpumpkinhat o envíalas a la galería #dropsfan. ¿Necesitas ayuda con este patrón?Encontrarás 11 videos tutoriales, un espacio para comentarios/preguntas y más visitando la página del patrón en garnstudio.com © 1982-2026 DROPS Design A/S. Todos los derechos reservados. Este documento, incluyendo todas sus sub-secciones, está protegido por los derechos de autor (copyright). Lee más acerca de lo que puedes hacer con nuestros patrones en la parte de abajo de cada patrón de nuestro sitio. |
||||||||||


Con más de 40 años en el diseño de modelos de punto y de ganchillo, DROPS Design ofrece una de las más vastas colecciones de patrones gratuitos en el internet - traducidos en 17 idiomas. Al día de hoy, contamos con 324 catálogos y 12278 patrones - de los cuales 11658 están traducidos en español.
Nosotros trabajamos con mucho esmero para brindarte lo mejor que las labores de punto y ganchillo tienen para ofrecer,inspiración y consejos, así como hilos de magnífica calidad a precios increíbles! Te gustaría usar nuestros patrones para otro fin además del uso personal? Puedes leer acerca de lo que estás permitida a hacer en el texto de Copyright en la parte de abajo de todos nuestros patrones. Felices labores!
Escribe un comentario sobre DROPS Extra 0-966
¡Nos encantaría saber qué piensas acerca de este patrón!
Si quieres escribir una pregunta referente al patrón, por favor asegúrate de elegir la categoría correcta en el formulario debajo, para acelerar el proceso de respuesta. Los campos obligatorios están marcados con un *.