Comentarios / Preguntas (429)
![]() Gwen escribió:
Gwen escribió:
Considering all the confusion and errors in this pattern by numerous knitters, could garn studio redo this patternwith accurate instructions please? Many knitters love the pattern, but it has so many errors in it - thanks!
21.02.2015 - 20:55DROPS Design respondió:
Dear Gwen, the pattern is correct and has already been knitted several times succesfully. Should you have any question, please feel free to ask here or contact your DROPS store for any help/assistance. Happy knitting!
23.02.2015 - 09:53
![]() Johanna escribió:
Johanna escribió:
Hej, tycker beskrivningen varit enkel ända fram tills jag kommit till att avmaska på slutet. I besrkivningen står det följande: Nu stickas arb färdigt fram och tillbaka på st – samtidigt avm i varje sida på vartannat v: 3 m 1 gång, 2 m 2-3-4 ggr, 1 m 2-3-4 ggr, 2 m 2-3-4 ggr och 3 m 1 gång = 32-50-74 m kvar på st. Arb mäter nu ca 30-39-48 cm. Jag förstår inte hur jag maskar av, och jag stickar enligt storlek M. Tack för återkoppling. //Johanna
21.02.2015 - 00:16DROPS Design respondió:
Hej Du ska avmaska i varje sida på vartannat varv så här; Första avmaskningen 3 maskor per sida (=3 m 1 gång), de nästa 3 avmaskningarna avmaskar du 2 m per gång och sida (=2 m 3 ggr), de nästa 3 avmaskningarna avmaskar du 1 m per gång och sida (= 1 m 3 ggr) osv. Lycka till!
15.05.2015 - 11:09
![]() Crystal escribió:
Crystal escribió:
Please disregard previous message. What I said didn't make sense.
20.02.2015 - 22:40
![]() Crystal escribió:
Crystal escribió:
Dear Drops, howdy I work the WS sts to ensure that the cable pattern comes out correctly? I tried working the pattern from left to right, but in reverse to accommodate for the WS, but it doesn't appear to be coming out right. What am I doing wrong? How can I fix this, what should I be doing?
20.02.2015 - 19:52DROPS Design respondió:
Dear Crystal, every row with a cable (= every even row in diagram) should be worked from RS (read from right towards the left every round + every row from RS) - from WS, read diagram from the left towards the right. Happy knitting!
21.02.2015 - 09:28
![]() Crystal escribió:
Crystal escribió:
Please disregard previous message. What I said didn't make sense.
20.02.2015 - 17:35
![]() Crystal escribió:
Crystal escribió:
Let me know if I have this right. When the pattern states work back and forth when working in the round, the pattern (M2, M3, etc.) Is worked from left to right until the required length is reached. Is this right?
20.02.2015 - 17:27
![]() Crystal escribió:
Crystal escribió:
I'm still working in the round, should I have switched to dpns?
20.02.2015 - 16:30DROPS Design respondió:
Dear Crystal, when you continue on back piece only, you work in rows (turn at the end of each row, ie alternately from RS and from WS), work underneath the stomach the same way (= in rows), you will continue in the round only after the 8 cm on each piece (= opening for legs). Happy knitting!
20.02.2015 - 17:46
![]() Crystal escribió:
Crystal escribió:
I've worked out how to get started for the leg openings, so I'm okay for now, but if I get stuck along the way, I'll be back for help. Thanks, Crystal
20.02.2015 - 16:22
![]() Crystal escribió:
Crystal escribió:
Hi Drops, I'm at the point where I'm about to attempt the leg opening. I am working on the small size (bichon). I have read the instructions, but they're not very clear. Can you possibly break them down to where they're more understandable? Any help you can provide will be greatly appreciated.
20.02.2015 - 14:51DROPS Design respondió:
Dear Crystal, when piece measures 16 cm, work next round as follows (make sure cable row will be on RS): knit the first 16 sts and slip them onto a st holder for underneath the stomach, bind off next st, work all remaining sts as before, turn, bind off first st from WS and continue back and forth as before for 8 cm and put aside. Slip the 16 sts back onto needle and work as before for 8 cm, then on next row from RS work the 16 sts, cast on 1 st, work the sts for back piece, cast on 1 st and join; continue in the round as before. Happy knitting!
20.02.2015 - 16:02
![]() Schatz A. escribió:
Schatz A. escribió:
Hallo, bin begeistert von diesem Pulli. Leider komme ich nicht weiter. Ich habe die Maschen geteilt u. jetzt möchte ich in Hin u. Rückreihen weiter stricken. Wenn ich in der RÜCKREIHE ein Zopfmuster stricke, muss ich den Zopf so stricken wie beschrieben, z.B. 2 M. hinter die Arbeit legen o. weil es die Rückreihe ist, genau umgekehrt, also 2 M. vor die Arbeit legen? Heisst li. abn., 2 Maschen li. zusammenstricken? Danke für ihre Hilfe
15.02.2015 - 12:37DROPS Design respondió:
Sie sollten die Arbeit am besten so teilen, dass Sie in Hin-R die Verzopfungen arbeiten und in Rück-R die Zwischenreihen stricken, ansonsten wird das kompliziert. Teilen Sie die Arbeit also einfach eine Runde eher oder später. 1 li abnehmen heißt, dass Sie 1 Linksmasche abnehmen, am rechten und am linken Rand haben Sie ja jeweils Linksmaschen, die erste und die letzte davon können Sie abnehmen, indem Sie jeweils 2 M li zusammenstricken.
15.02.2015 - 21:56
The Lookout |
|||||||||||||||||||
 |
 |
||||||||||||||||||
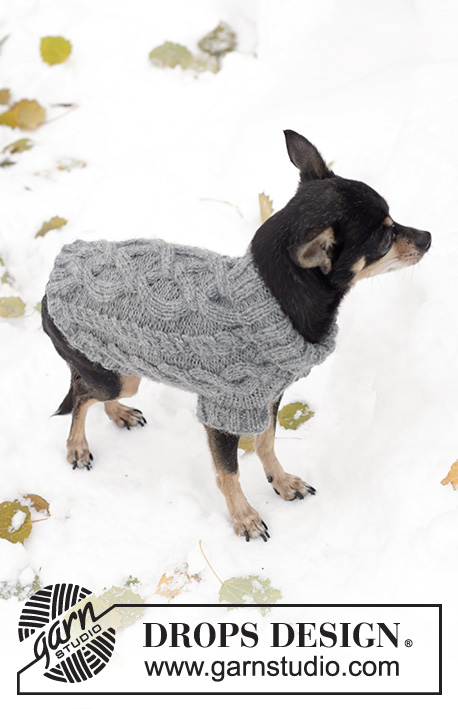
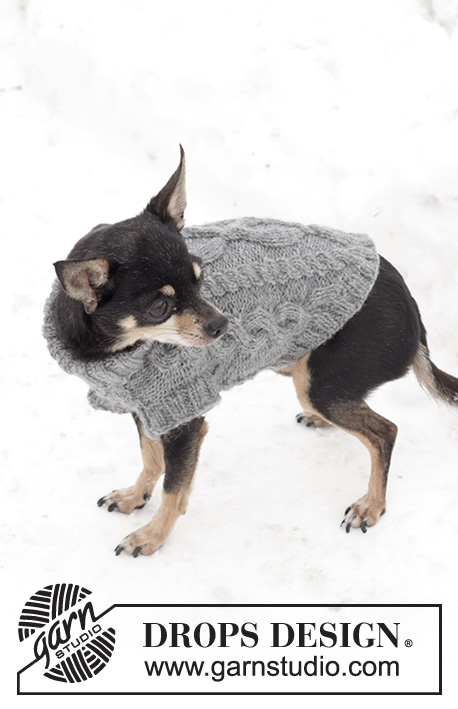
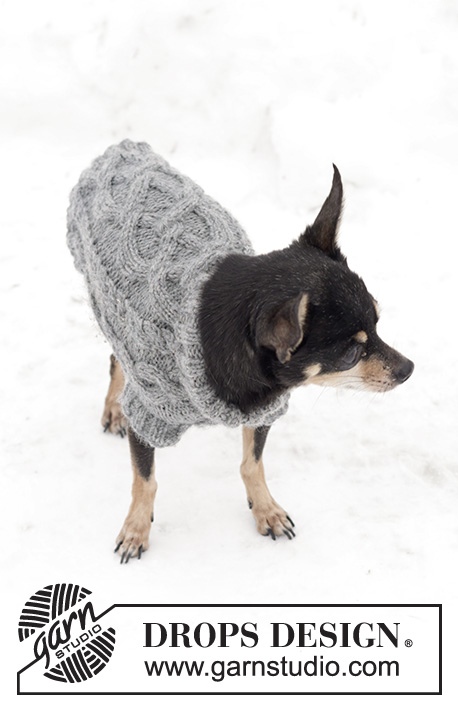
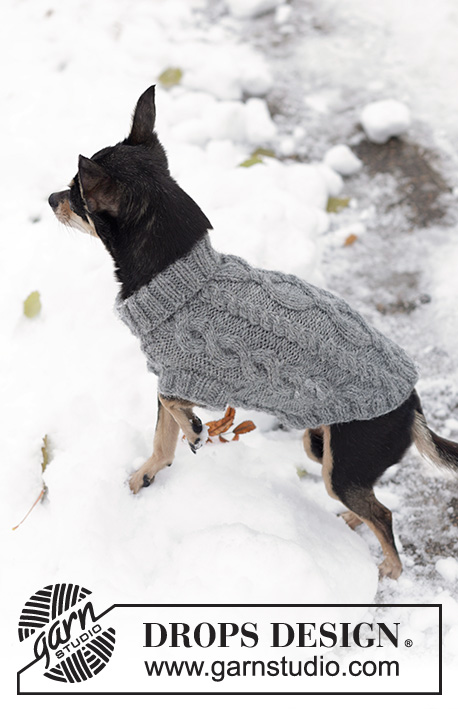
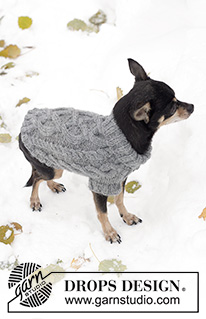
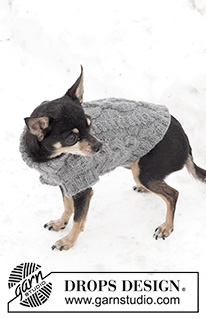
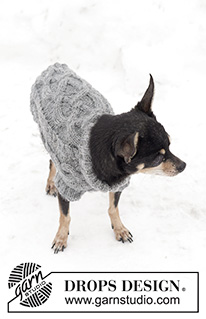
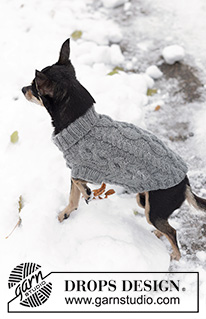
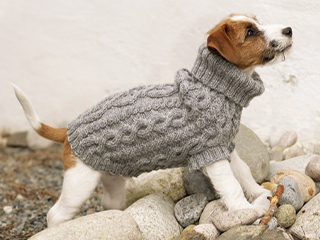
Pulóver DROPS para perro tejido con patrón de torsadas en “Karisma”.
DROPS 102-43 |
|||||||||||||||||||
|
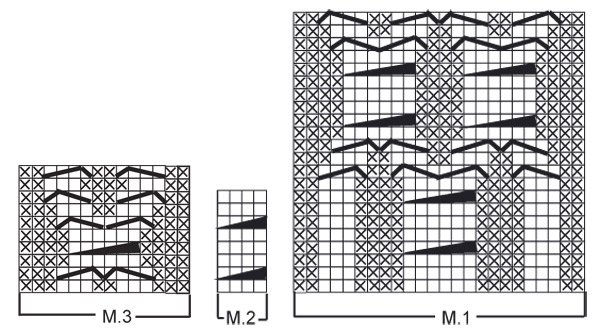
Muestra: 21 pts x 28 vtas en pt jersey = 10 x 10 cm. Patrón: Ver diagramas M.1 a M.3. Los diagramas son vistos por el LD. Resorte: * 2d, 2r *, repetir de *a*. ------------------------------------------------------ PULÓVER: Tejido en redondo del escote para abajo. Mon 60-80-100 pts con ag de doble punta tamaño 3 mm y gris medio. Tejer en resorte por 8-10-12 cm (= cuello, que más adelante es doblado en dos). Cambiar a la ag circular tamaño 4 mm (agujas de doble punta para el tamaño XS). Tejer 1 vta de derecho y, al mismo tiempo, aum 16-32-54 pts distribuidos equitativamente = 76-112-154 pts. Continuar el patrón de la manera sig: Tamaño XS: M.2, 2r, M.2, 3r, M.3, M.2, M.1 (= centro de la espalda), M.2, M3 y 3r. Talla S: * M.2, 2r *, repetir de *a* 2 veces, M.2, * M.3, M.2 *, repetir de *a* 2 veces, M.1 (= centro de la espalda), * M.2, M.3 *, repetir de *a* 2 veces. Talla M: * M.2, 2r *, repetir de *a* 3 veces, M.2, * M.3, M.2 *, repetir de *a* 3 veces, M.1 (= centro de la espalda), * M.2, M.3 *, repetir de *a* 3 veces. Al mismo tiempo, cuando la pieza mida 12-16-20 cm, dividir la pieza para las patas delanteras de la manera sig: Colocar 10-16-22 pts en un hilo o en un gancho o seguro aux (= vientre), rem 1 pt revés, continuar tejiendo sobre la pieza de la espalda y rem el último pt del otro lado = 64-94-130 pts (= pieza de la espalda). Tejer de ida y vuelta sobre estos pts por 6-8-10 cm (la pieza mide 18-24-30 cm en total). Colocar los pts en un hilo o en un gancho o seguro aux y colocar los pts del hilo o del gancho o seguro aux del vientre de regreso en la ag. Mon 1 pt nuevo de cada lado de estos pts = 12-18-24 pts. Continuar tejiendo el patrón de ida y vuelta con 1 pt revés de cada lado. Cuando haya tejido 6-8-10 cm, colocar todos los pts en la ag = 76-112-154 pts. Cuando la pieza mida 24-31-38 cm, rem 12-20-28 pts del centro del vientre. Ahora tejer la pieza de ida y vuelta en la ag – al mismo tiempo, rem de cada lado en vtas alternas: 3 pts 1 vez, 2 pts 2-3-4 veces, 1 pt 2-3-4 veces, 2 pts 2-3-4 veces y 3 pts 1 vez = 32-50-74 pts restantes. La pieza mide aprox 30-39-48 cm. Terminación: Colocar los pts restantes en la ag circular tamaño 3 mm y levantar pts alrededor de la orilla de rem para un total de aprox 84-108-140 pts. Tejer resorte por 2-3-4 cm, rem flojamente. Pata: Levantar aprox 36-44-52 pts en las ag de doble punta tamaño 3 mm alrededor de 1 de las aberturas. Tejer resorte por 2-3-4 cm, rem flojamente con derecho sobre derecho y revés sobre revés. Repetir en la otra abertura. |
|||||||||||||||||||
Explicaciones del diagrama |
|||||||||||||||||||
|
|||||||||||||||||||
 |
|||||||||||||||||||
¿Terminaste este patrón?Entonces, etiqueta tus fotos con #dropspattern o envíalas a la galería #dropsfan. ¿Necesitas ayuda con este patrón?Encontrarás 24 videos tutoriales, un espacio para comentarios/preguntas y más visitando la página del patrón en garnstudio.com © 1982-2026 DROPS Design A/S. Todos los derechos reservados. Este documento, incluyendo todas sus sub-secciones, está protegido por los derechos de autor (copyright). Lee más acerca de lo que puedes hacer con nuestros patrones en la parte de abajo de cada patrón de nuestro sitio. |
|||||||||||||||||||







Escribe un comentario sobre DROPS 102-43
¡Nos encantaría saber qué piensas acerca de este patrón!
Si quieres escribir una pregunta referente al patrón, por favor asegúrate de elegir la categoría correcta en el formulario debajo, para acelerar el proceso de respuesta. Los campos obligatorios están marcados con un *.