Comments / Questions (2)
![]() Danielle GUIOD wrote:
Danielle GUIOD wrote:
Bonjour, à quand les explications en français de ce modèle? Merci.
01.09.2024 - 14:31DROPS Design answered:
Bonjour Mme Guiod, vous pouvez basculer les explications en français en cliquant sur le menu déroulant à côté de l'imprimante (sélectionnez ensuite français dans la liste), - ou bien cliquez ici pour ce modèle. Bon tricot!
02.09.2024 - 08:45
![]() Anne-Christine Fält wrote:
Anne-Christine Fält wrote:
Mycket vacker kofta! Den vill jag sticka!
08.08.2024 - 13:57
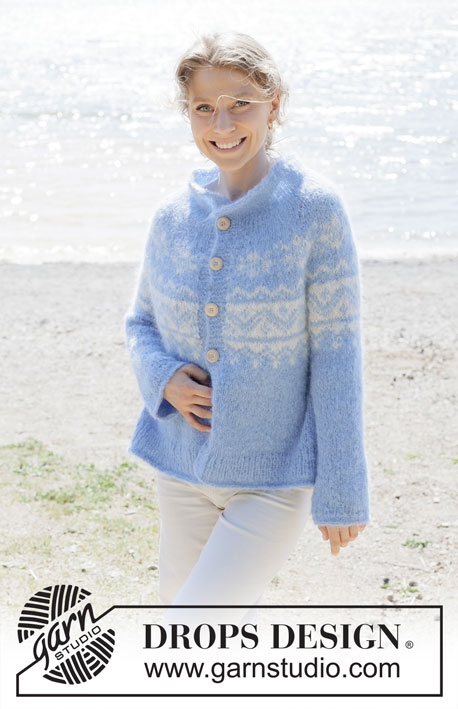
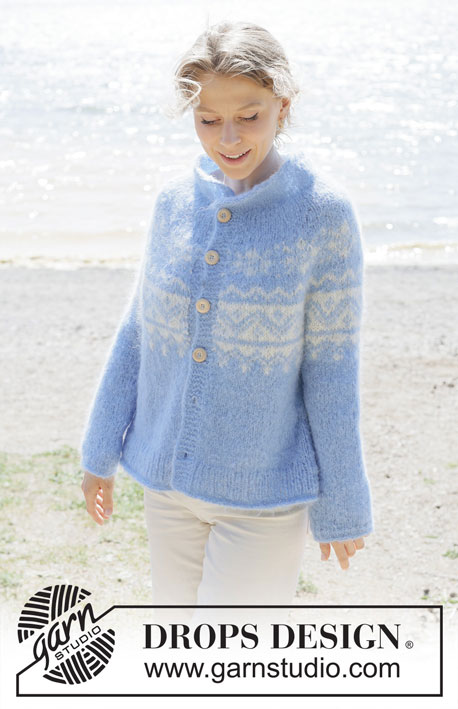
One Fine Day Jacket#onefinedayjacket |
|||||||||||||
 |
 |
||||||||||||
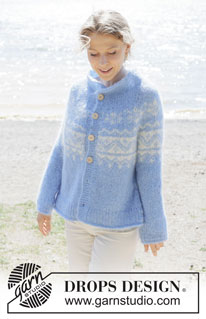
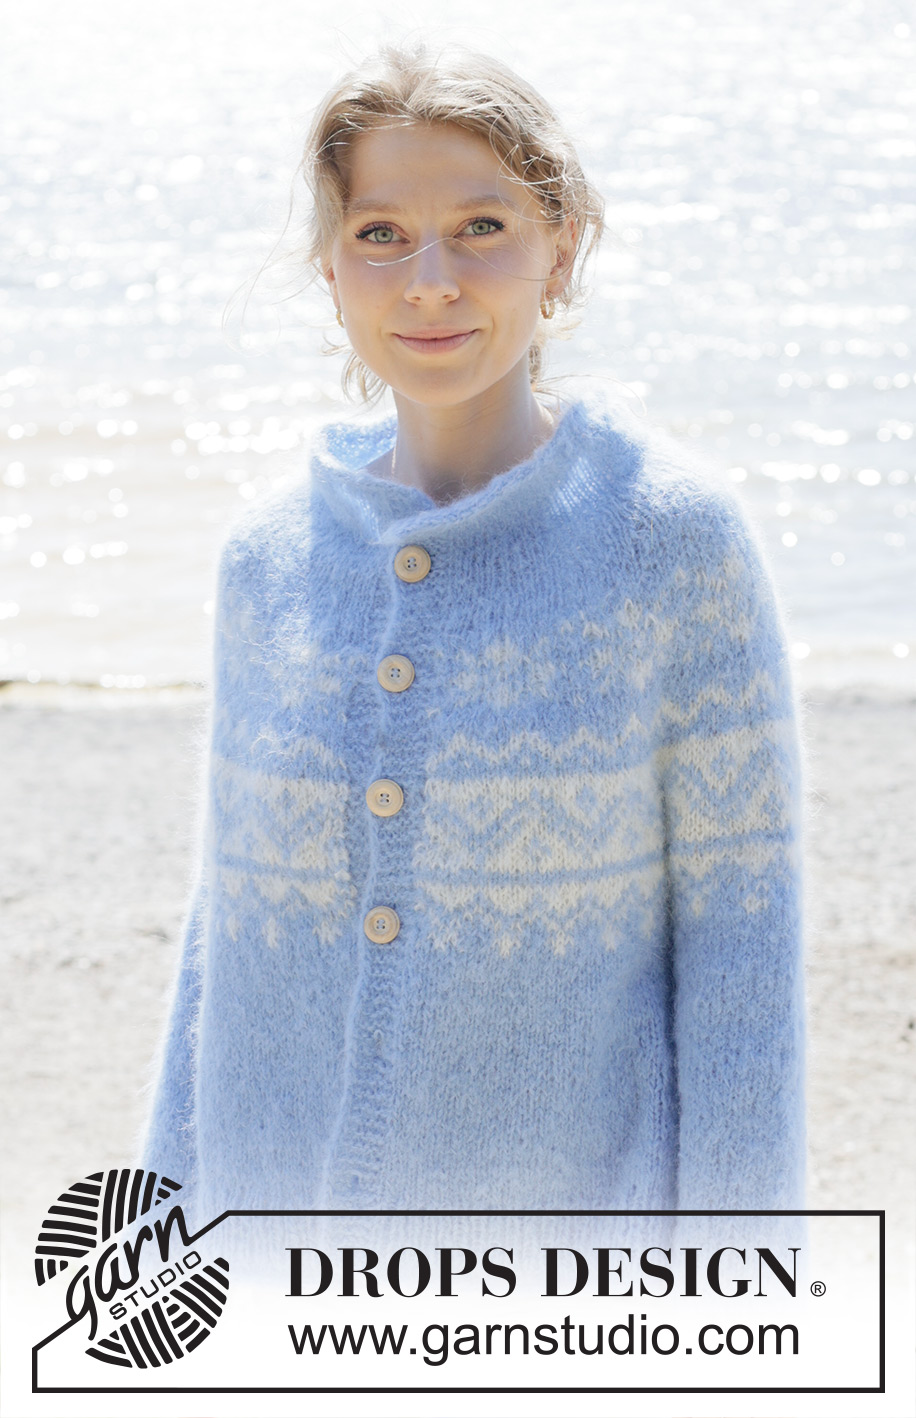
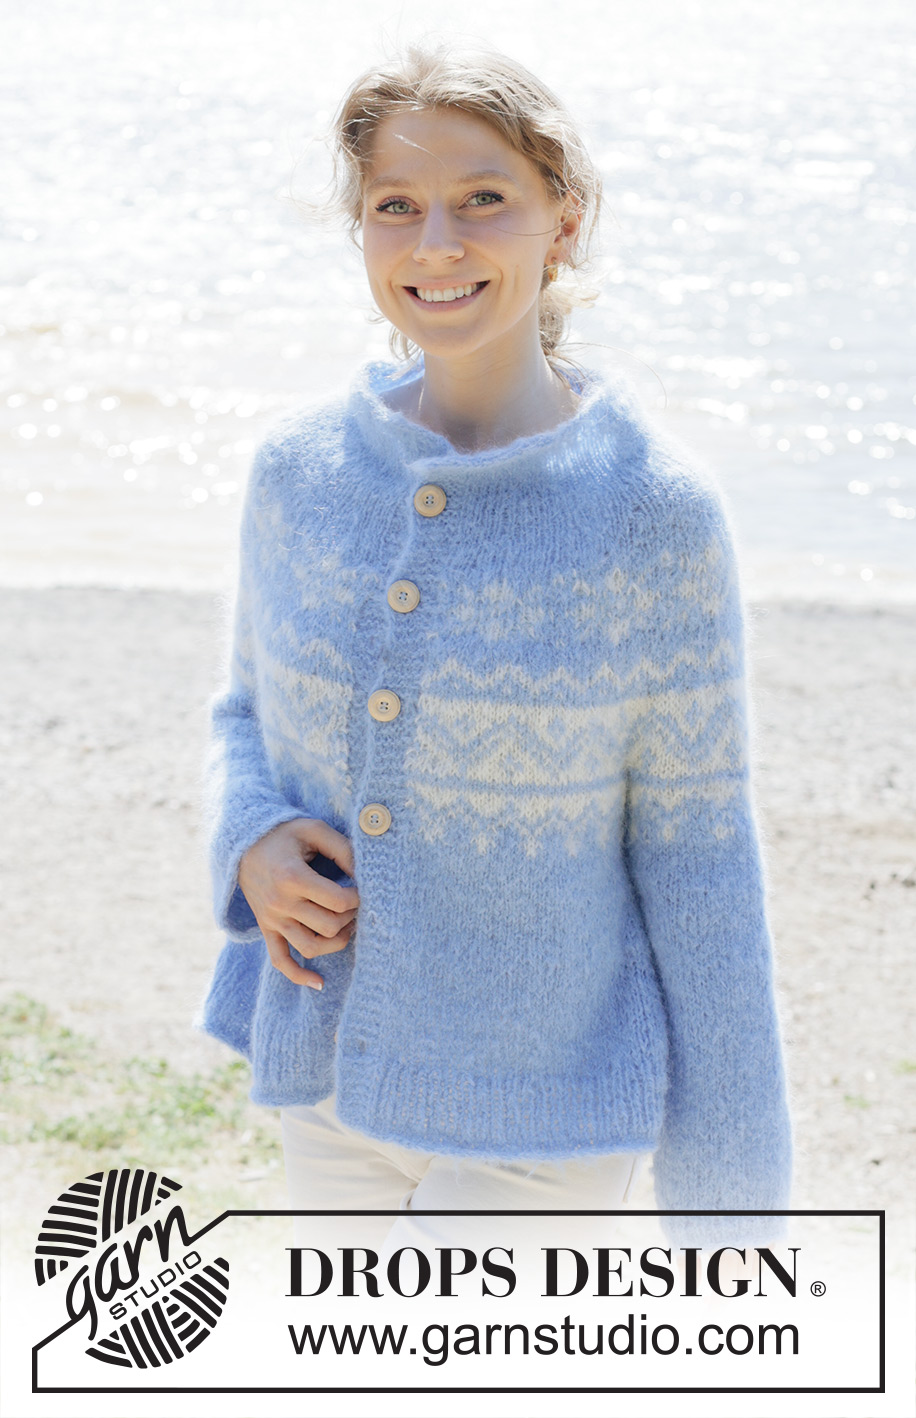
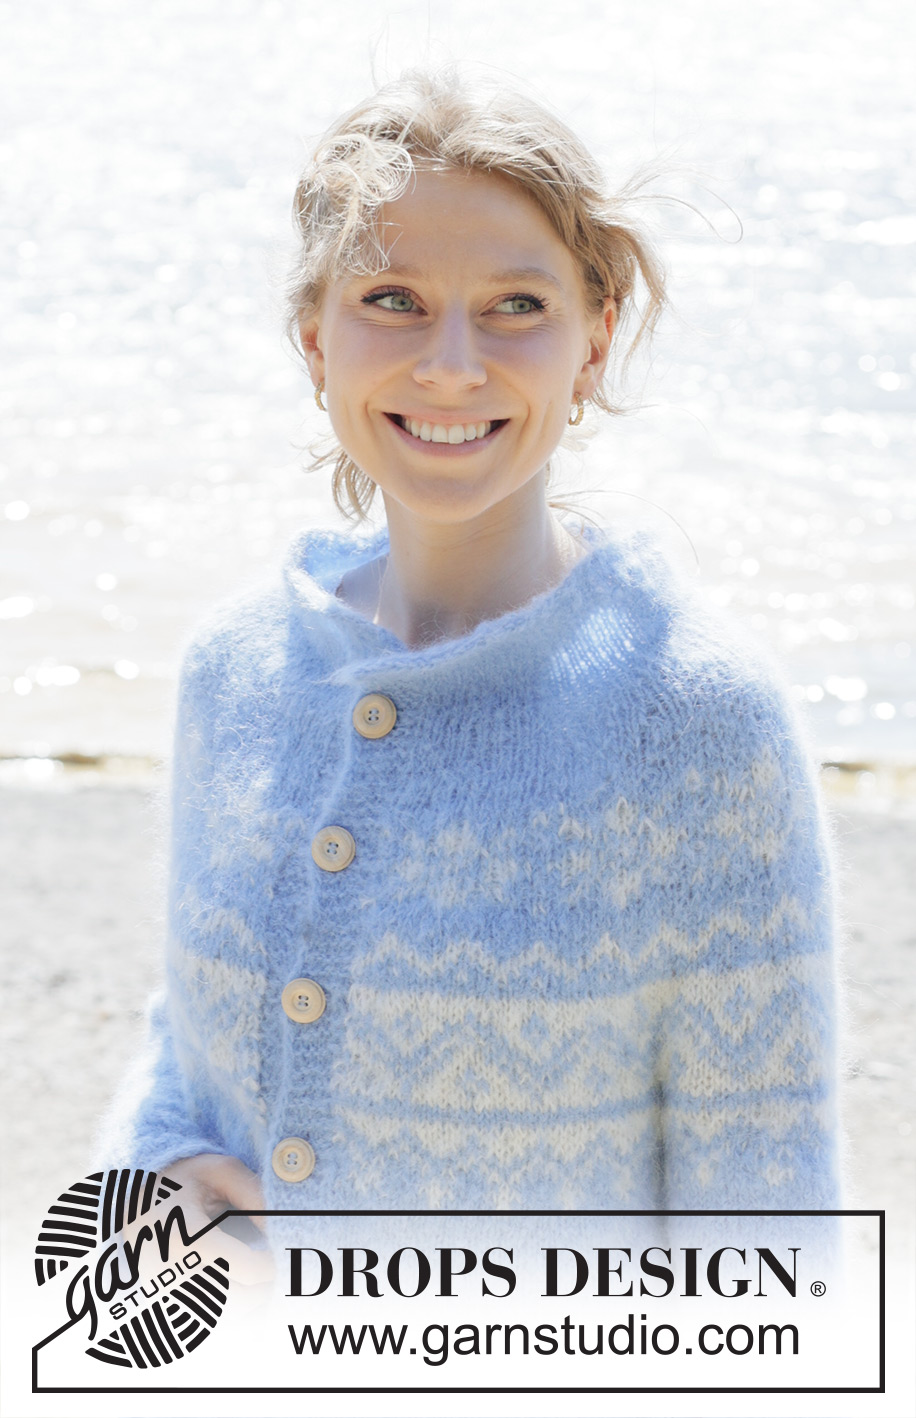
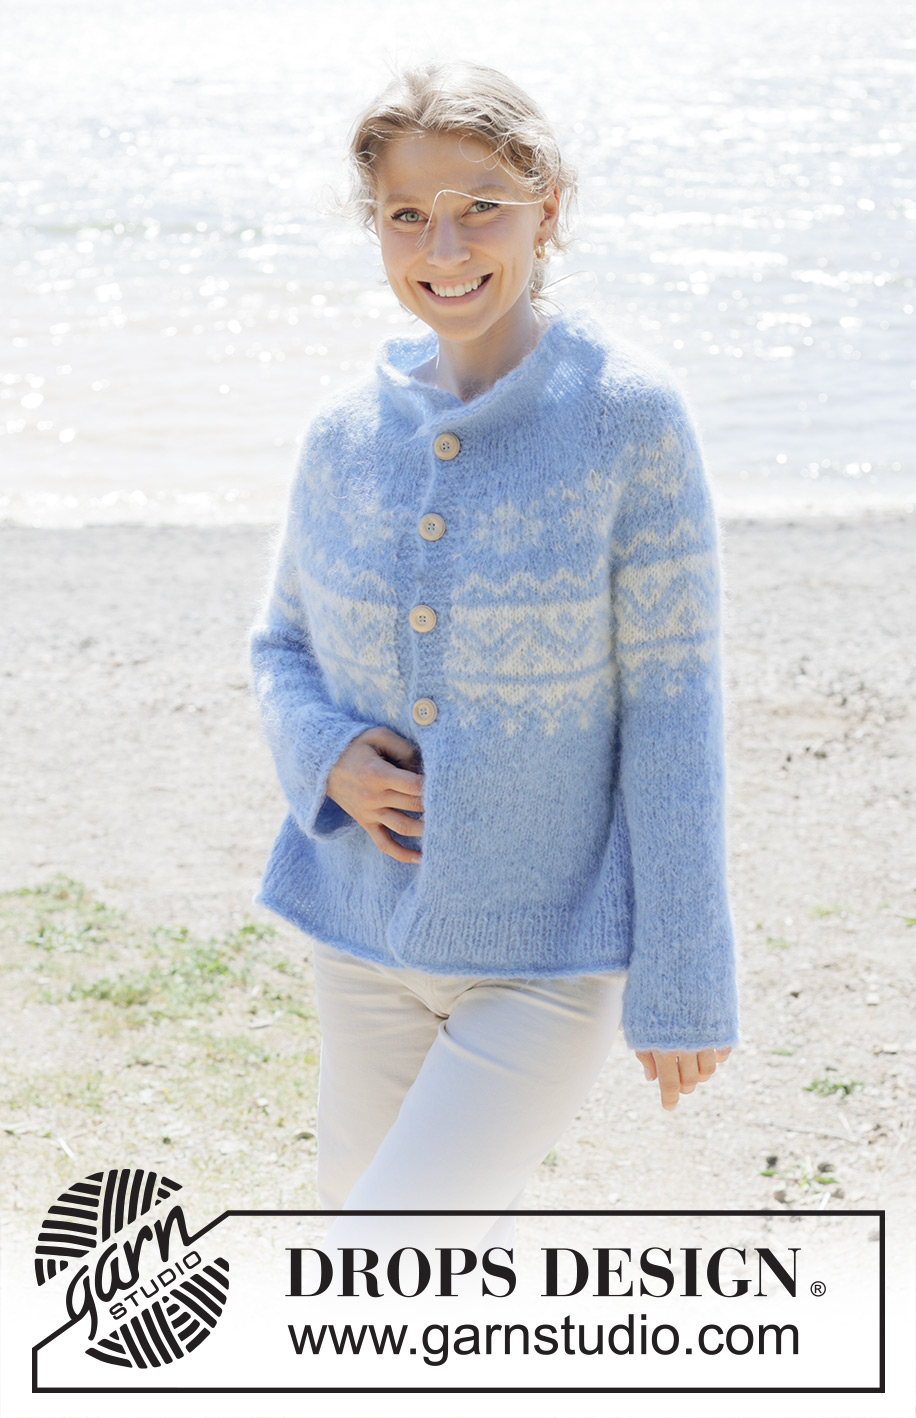
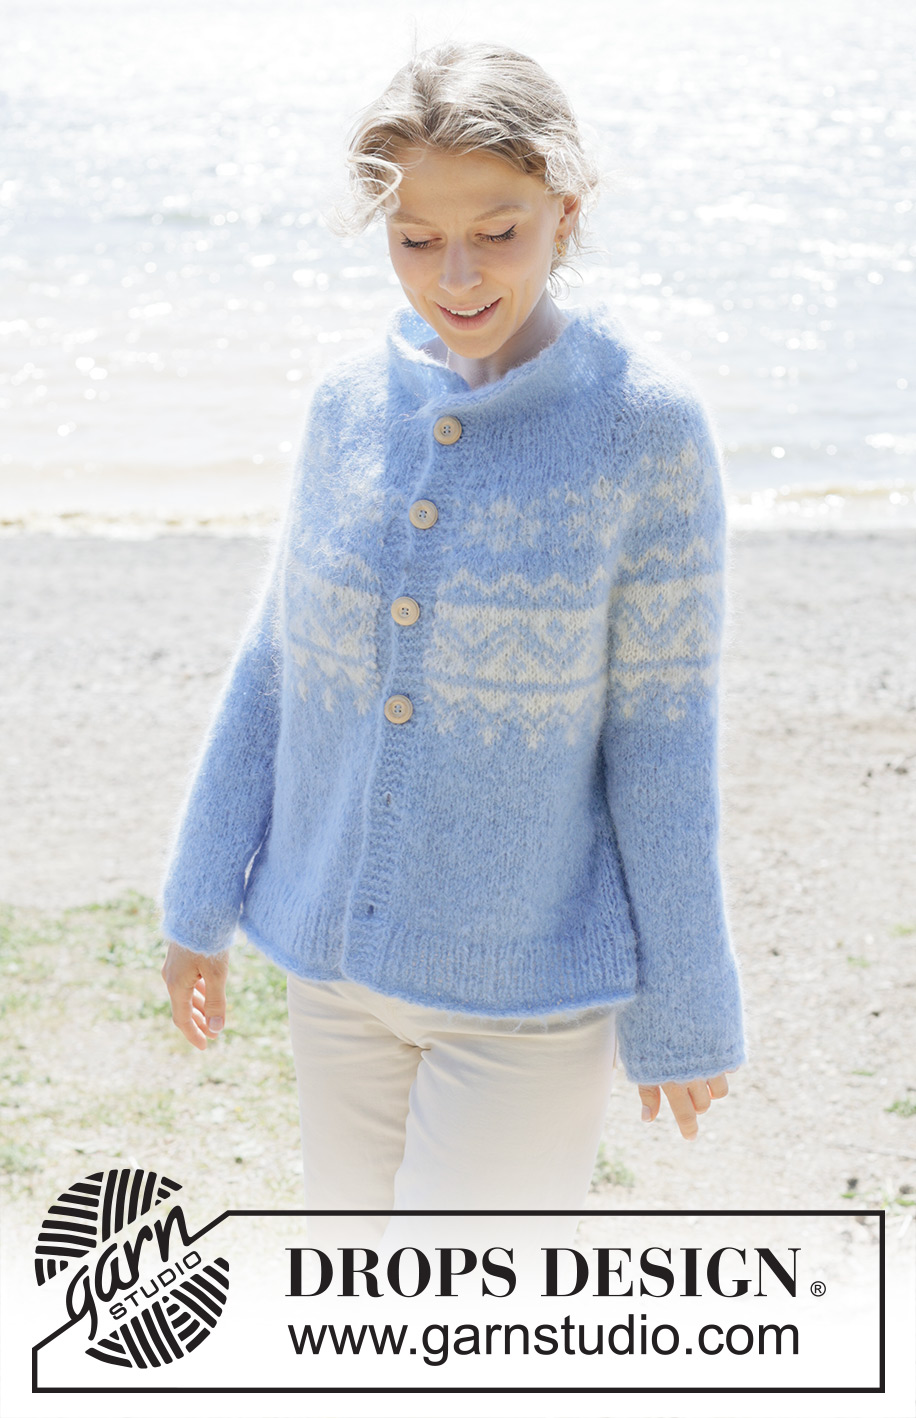
Knitted jacket in DROPS Melody. The piece is worked top down with round yoke, Nordic pattern, rolled edges and I-cord. Sizes S - XXXL.
DROPS 254-36 |
|||||||||||||
|
------------------------------------------------------- EXPLANATIONS FOR THE PATTERN: ------------------------------------------------------- GARTER STITCH (worked back and forth): Knit all rows, from both the right and wrong side. 1 ridge in height = knit 2 rows. PATTERN: See diagrams A.1 and A.2. The diagrams show the pattern from the right side and are all worked in stocking stitch. Choose diagram for your size. DECREASE TIP: Decrease 1 stitch on each side of the marker-thread as follows: Work until there are 3 stitches left before the marker-thread, knit 2 together, knit 2 (marker-thread sits between these 2 stitches), slip 1 stitch knit-wise, knit 1 and pass the slipped stitch over the knitted stitch (2 stitches decreased). INCREASE TIP (evenly spaced): To work out how to increase evenly, count the total number of stitches on the needle (e.g., 101 stitches) minus the bands (e.g., 14 stitches) and divide the remaining stitches by the number of increases to be made (e.g., 19) = 4.6. In this example, increase by making 1 yarn over after alternately each 4th and 5th stitch. Do not increase over the bands. On the next row work the yarn overs twisted to avoid holes. BANDS WITH I-CORD: START OF ROW: Work the band as follows: Slip 1 stitch purl-wise, with yarn in front, knit 1, work 5 garter stitches. END OF ROW: Work the band as follows: Work until there are 7 stitches left on the row, work 5 garter stitches, slip 1 stitch purl-wise with yarn in front, knit 1. Work in the same way from both the right and wrong side. BUTTONHOLES: Work the buttonholes on the right front band (when garment is worn) from the right side, when there are 5 stitches left on the row, as follows: ROW 1 (right side): Make 1 yarn over, knit 2 together, knit 1, slip 1 purl-wise with strand in front, knit 1. ROW 2 (wrong side): Work the band as before, knit the yarn over to leave a hole. The first buttonhole is worked on the first row from the right side after the neck is finished. Then work the other 5-5-6-6-6-6 buttonholes with 9-9½-8-8-8½-9 cm between each one. The bottom buttonhole is worked in the transition between the stocking stitch and rib. ------------------------------------------------------- START THE PIECE HERE: ------------------------------------------------------- JACKET – SHORT OVERVIEW OF THE PIECE. The pattern uses both long and short needles; start with the length which fits the number of stitches and change when necessary. The neck and yoke are worked back and forth with circular needle, from mid front and top down. When the yoke is finished, it is divided for body and sleeves and the body continued back and forth with circular needle, while the sleeves wait. The sleeves are worked in the round, top down. If there is a «0» in your chosen size, skip the information and go straight to the next instruction. NECK: Cast on 101-105-109-113-117-123 stitches with circular needle size 5.5 mm and colour light blue DROPS Melody. Change to circular needle size 4 mm (casting on with a larger needle size makes the cast-on edge elastic). Work as follows: ROW 1 (wrong side): Work 7 stitches according to BANDS WITH I-CORD – read description above, purl until there are 7 stitches left, work 7 stitches according to bands with I-cord – remember description above. ROW 2 (right side): Work band as before, knit until there are 7 stitches left, work band as before. ROW 3 (wrong side): Work band as before, purl until there are 7 stitches left, work band as before. ROW 4 (right side): Work band as before, work rib (knit 1, purl 1) until there are 8 stitches left, knit 1 and work band as before. ROW 5 (wrong side): Work band as before, work rib (purl 1, knit 1) until there are 8 stitches left, purl 1, work band as before. AFTER ROW 5: Continue with stocking stitch and bands until the piece measures 9-9-10-10-11-11 cm from the cast-on edge. Insert 1 marker inside one band (= mid-front), the piece is now measured from here. YOKE: Change to circular needle size 5.5 mm. Work from the right side, starting mid-front as follows: Work band as before, work 87-91-95-99-103-109 stocking stitches, AT THE SAME TIME increase 19-21-25-29-33-37 stitches evenly over these stitches – read INCREASE TIP, work band as before – remember the BUTTONHOLE – read description above = 120-126-134-142-150-160 stitches. Continue with stocking stitch and bands. Remember to maintain the knitting tension. When the yoke measures 4-5-5-5-5-6 cm from the marker, increase 27-33-37-41-45-47 stitches evenly spaced – remember INCREASE TIP (do not increase across the bands) = 147-159-171-183-195-207 stitches. On the next row from the right side, work PATTERN – read description above, as follows: Work band as before, work A.1, 11-12-13-14-15-16 times around the yoke, work the first stitch in A.1 so the pattern is symmetrical on both sides, work band as before. Continue this pattern – AT THE SAME TIME, on each row marked with an arrow in A.1 increase stitches as follows (do not increase across the bands): Arrow-1: Increase 36-36-48-48-52-56 stitches evenly spaced = 183-195-219-231-247-263 stitches. Arrow-2: Increase 36-36-36-48-48-48 stitches evenly spaced = 219-231-255-279-295-311 stitches. Arrow-3: Increase 12-12-12-12-8-12 stitches evenly spaced = 231-243-267-291-303-323 stitches. Arrow-4: Increase 0-8-0-2-6-6 stitches evenly spaced = 231-251-267-293-309-329 stitches. When A.1 is finished in height, the yoke measures approx. 21-22-24-24-26-27 cm from the marker. Now divide for the body and sleeves. DIVIDE FOR BODY AND SLEEVES: Work the next row from the wrong side with colour light blue as follows: Work 41-44-46-50-53-57 stitches as before (= front piece), place the next 41-45-49-53-55-57 stitches on a thread for the sleeve, cast on 8-8-10-10-12-12 stitches (in side mid-under sleeve), work 67-73-77-87-93-101 stocking stitches (= back piece), place the next 41-45-49-53-55-57 stitches on a thread for the sleeve, cast on 8-8-10-10-12-12 stitches (in side mid-under sleeve), work the last 41-44-46-50-53-57 stitches as before (= front piece). The body and sleeves are finished separately. BODY: = 165-177-189-207-223-239 stitches. Work the first row from the right side as follows: Work band as before, work A.2, 25-27-29-32-26-28 times around the body, work the first stitch in A.2 so the pattern is symmetrical on both sides, work band as before. Continue this pattern. When A.2 is finished in height, continue with stocking stitch and bands, with colour light blue, until the piece measures 45-47-49-49-51-53 cm from the marker mid-front. On the next row from the right side begin the rib, AT THE SAME TIME increase 28-30-32-36-42-44 stitches evenly on the row (do not increase across the bands) = 193-207-221-243-265-283 stitches as follows: Change to circular needle size 4 mm. Work band as before, rib (knit 1, purl 1 – remember to increase) until there are 8 stitches left, knit 1 and work band as before. When the rib measures 5-5-5-6-6-6 cm and the next row is from the right side, work 3 rows of stocking stitch, with the bands as before (= rolled edge). Change to circular needle size 5.5 mm. Cast off with purl from the wrong side. The jacket measures approx. 51-53-55-56-58-60 cm from the marker mid-front and 56-58-60-62-64-66 cm from top of shoulder. SLEEVES: Place the 41-45-49-53-55-57 sleeve-stitches from the thread on one side of the piece on circular needle size 5.5 mm and knit up 1 stitch in each of the 8-8-10-10-12-12 stitches cast on under the sleeve = 49-53-59-63-67-69 stitches. Insert a marker-thread in the middle of the 8-8-10-10-12-12 stitches under the sleeve. In addition, insert 1 marker in the middle stitch on the round (= mid-top of sleeve). The marker-thread under the sleeve is used when decreasing under the sleeve, the marker on top of the sleeve is used to determine where the pattern starts. Knit 1 round with colour light blue. Then work A.2 round the sleeve – the stitch with an arrow in A.2 should match the marker-stitch on top of the sleeve – count out from the marker to determine where to start the pattern under the sleeve (the pattern will not fit here). When A.2 is finished in height, continue with stocking stitch and colour light blue. AT THE SAME TIME decrease 1-3-3-3-5-5 stitches evenly spaced on the first round = 48-50-56-60-62-64 stitches. After working 1 cm in all sizes after A.2, decrease 2 stitches under the sleeve – read DECREASE TIP, decreasing every 1½-1½-1½-1-1-1 cm 3-3-6-7-7-7 times = 42-44-44-46-48-50 stitches. Work until the sleeve measures 44-43-41-43-41-40 cm from the division. Change to double pointed needles size 4 mm and work 2 rounds of rib (knit 1, purl 1). Knit 3 rounds (= rolled edge). Change to double pointed needles size 5.5 mm and cast off with knit. The sleeve measures approx. 46-45-43-45-43-43 cm from the division. ASSEMBLY: Sew the buttons onto the left band. |
|||||||||||||
Diagram explanations |
|||||||||||||
|
|||||||||||||
 |
|||||||||||||
 |
|||||||||||||
Have you finished this pattern?Tag your pictures with #dropspattern #onefinedayjacket or submit them to the #dropsfan gallery. Do you need help with this pattern?You'll find 36 tutorial videos, a Comments/Questions area and more by visiting the pattern on garnstudio.com. © 1982-2026 DROPS Design A/S. We reserve all rights. This document, including all its sub-sections, has copyrights. Read more about what you can do with our patterns at the bottom of each pattern on our site. |
|||||||||||||







Post a comment to pattern DROPS 254-36
We would love to hear what you have to say about this pattern!
If you want to leave a question, please make sure you select the correct category in the form below, to speed up the answering process. Required fields are marked *.