
Popular categories
Looking for a yarn?


Comments / Questions (54)
![]() Karin Bach wrote:
Karin Bach wrote:
Jeg strikker 237-3 i str. L. Ifølge opskriften skal der bruges 4 nogle af hver type garn. Jeg har brugt 5 ngl af hver. Det 5. ngl af hver type kun halvt brugt.
18.02.2026 - 15:33
![]() Antonella wrote:
Antonella wrote:
Buongiorno, sto lavorando la taglia E, non riesco a capire perché il dietro, misurato dagli scalfi, deve essere 22 cm e il davanti 26. Penso che debbano essere lunghi uguali prima di venire uniti per fare il corpo. Grazie mille dell' attenzione
10.02.2026 - 09:14DROPS Design answered:
Buonasera Antonella, il dietro non viene misurato dall'inizio ma dal punto indicato nel modello. Buon lavoro!
26.04.2026 - 22:57
![]() Monika Larsdotter wrote:
Monika Larsdotter wrote:
Finns denna väst även som barnmodell ålder 4 år ?
09.02.2026 - 13:24DROPS Design answered:
Hei Monica. Det gjør den dessverre ikke, men vi har mange andre vester til barn. Bruk vårt søke filter :) mvh DROPS Design
09.02.2026 - 13:49
![]() Dorothée wrote:
Dorothée wrote:
Bonjour Il semble que mes augmentations inclinées à droite sont plus serrées que celles inclinées à gauche. Auriez-vous un conseil pour les tricoter plus lâche?
15.01.2026 - 11:04DROPS Design answered:
Bonjour Dorothée, essayez de consultez les vidéos dédiées: sur l'endroit et sur l'envers, peut-être qu'elles pourront vous aider. Bon tricot!
16.01.2026 - 07:48
![]() Essi wrote:
Essi wrote:
Hei, teen liiviä koossa S ja takakappaleen lisyksien jälkeen (14krt) silmukoita on 48, ohjeessa 52. Teenkö lisäyksiä kunnes silmukoita on 52 (4krt lisää) vai jatkanko ohjeen mukaan 14krt lisäyksiä jolloin silmukoita on 48? Miksi silmukka määräni on eri vaikka olen tehnyt ohjeen mukaan?
30.12.2025 - 20:35DROPS Design answered:
Hei, kun teet lisäykset yhteensä 14 kertaa, työhön lisätään 28 silmukkaa. Aluksi luotiin 24 silmukkaa, eli lisäysten jälkeen työssä on 52 silmukkaa.
31.12.2025 - 17:49
![]() Vivi wrote:
Vivi wrote:
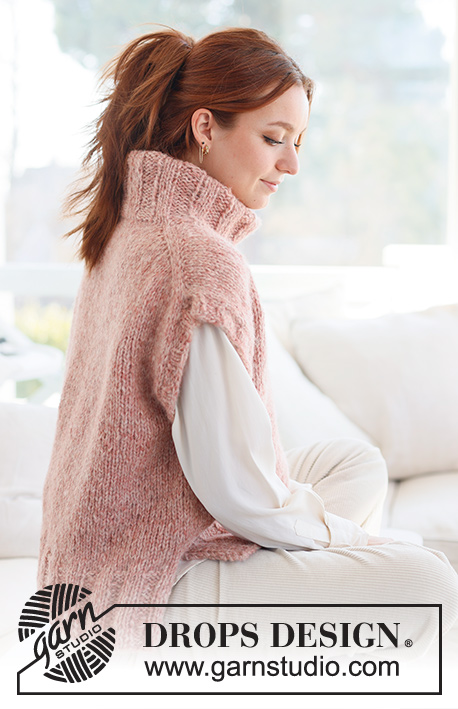
Lækker til vinter, da den dækker hals, ryg og lige ud over skulderen.
27.12.2025 - 15:35
![]() Anne-lise wrote:
Anne-lise wrote:
Send gerne opskrift så jeg ka bestille garnet hos jer
22.11.2025 - 21:09
![]() Marie Bergman wrote:
Marie Bergman wrote:
Hittar ingenstans i mönstret där jag ska använda strumpstickorna...behövs de verkligen? / Marie
06.11.2025 - 11:23DROPS Design answered:
Hei Marie. Ser ut som du bare trenger liten og stor rundpinne (i str. 7 & 8). mvh DROPS Design
17.11.2025 - 09:27
![]() Christine wrote:
Christine wrote:
Bonjour, j’aimerais connaître vos tailles ? Je fais du 42 , je prends M ou L Merci d’avance
11.10.2025 - 18:57DROPS Design answered:
Bonjour Christine, mesurez un vêtement similaire que vous avez et dont vous aimez la forme et comparez ces mesures à celles du schéma en bas de page, vous trouverez ainsi la taille correspondante; retrouvez plus d'infos ici. Bon tricot!
15.10.2025 - 08:06
![]() Kristina wrote:
Kristina wrote:
Hallo, ich habe noch nicht verstanden und in der Anleitung nicht erkennen können, warum ich Alpaka Silk und Air benötige. Stricke ich mit Doppelfaden? Oder wo brauche ich welches Garn?
18.09.2025 - 08:32DROPS Design answered:
Hi Kristina, you use in this pattern 2 strands: 1 of DROPS Air and 1 of DROPS Brushed Alpaca Silk (2 strands together). Happy knitting!
18.09.2025 - 22:01
|
|
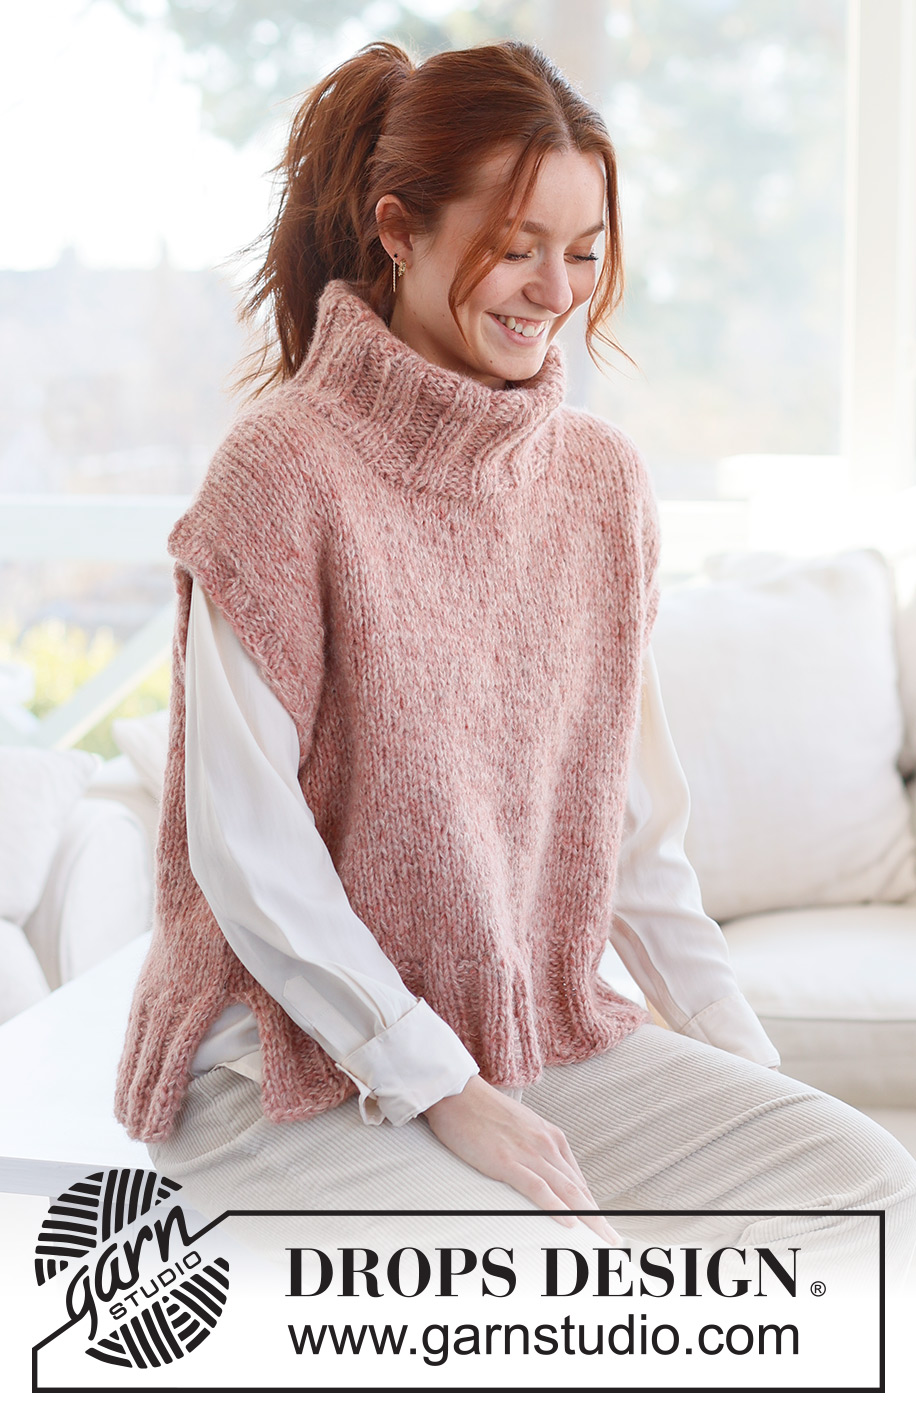
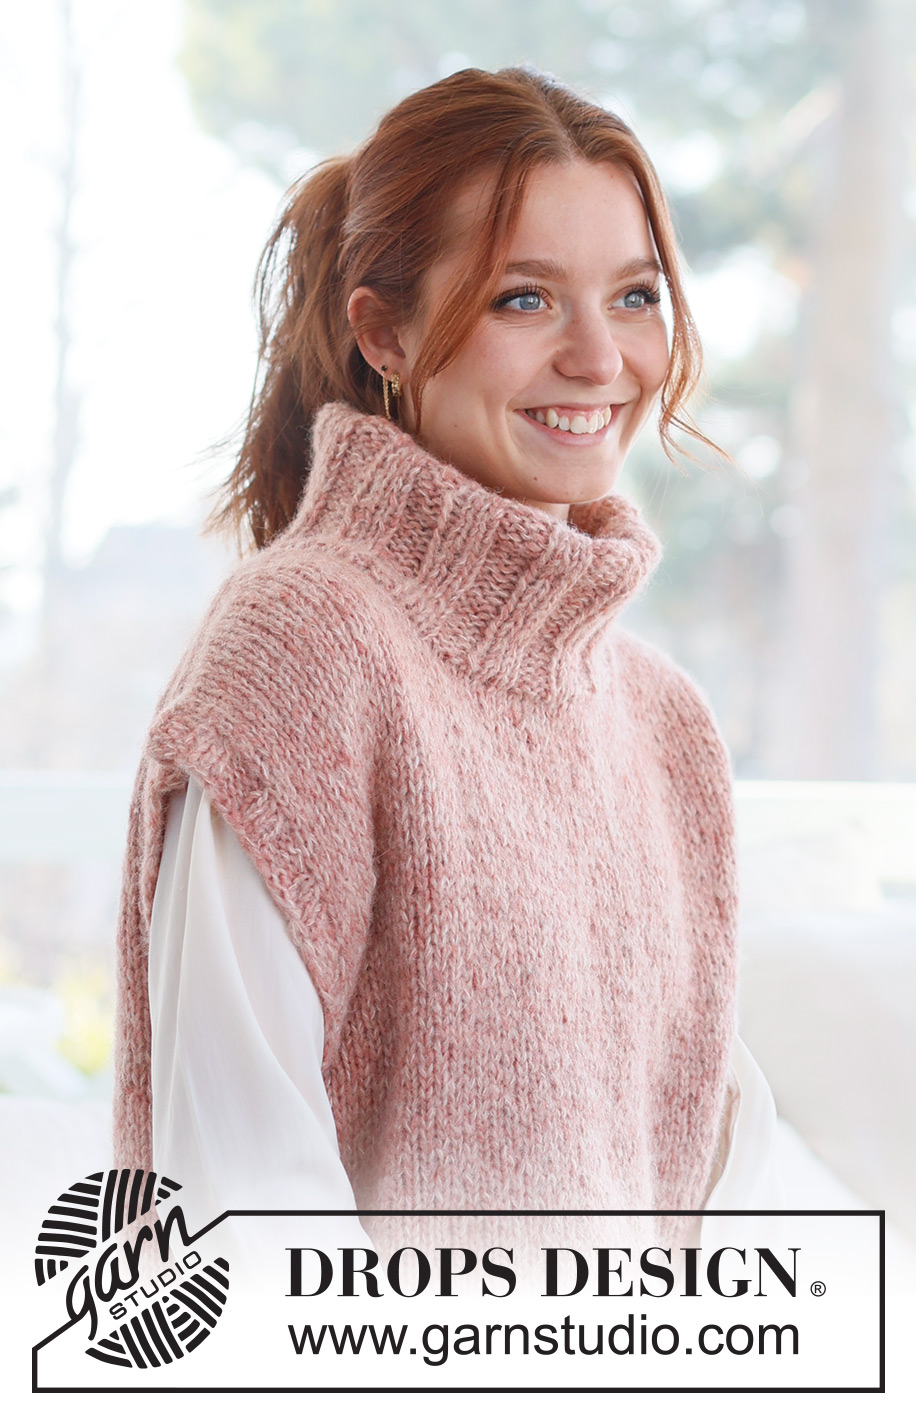
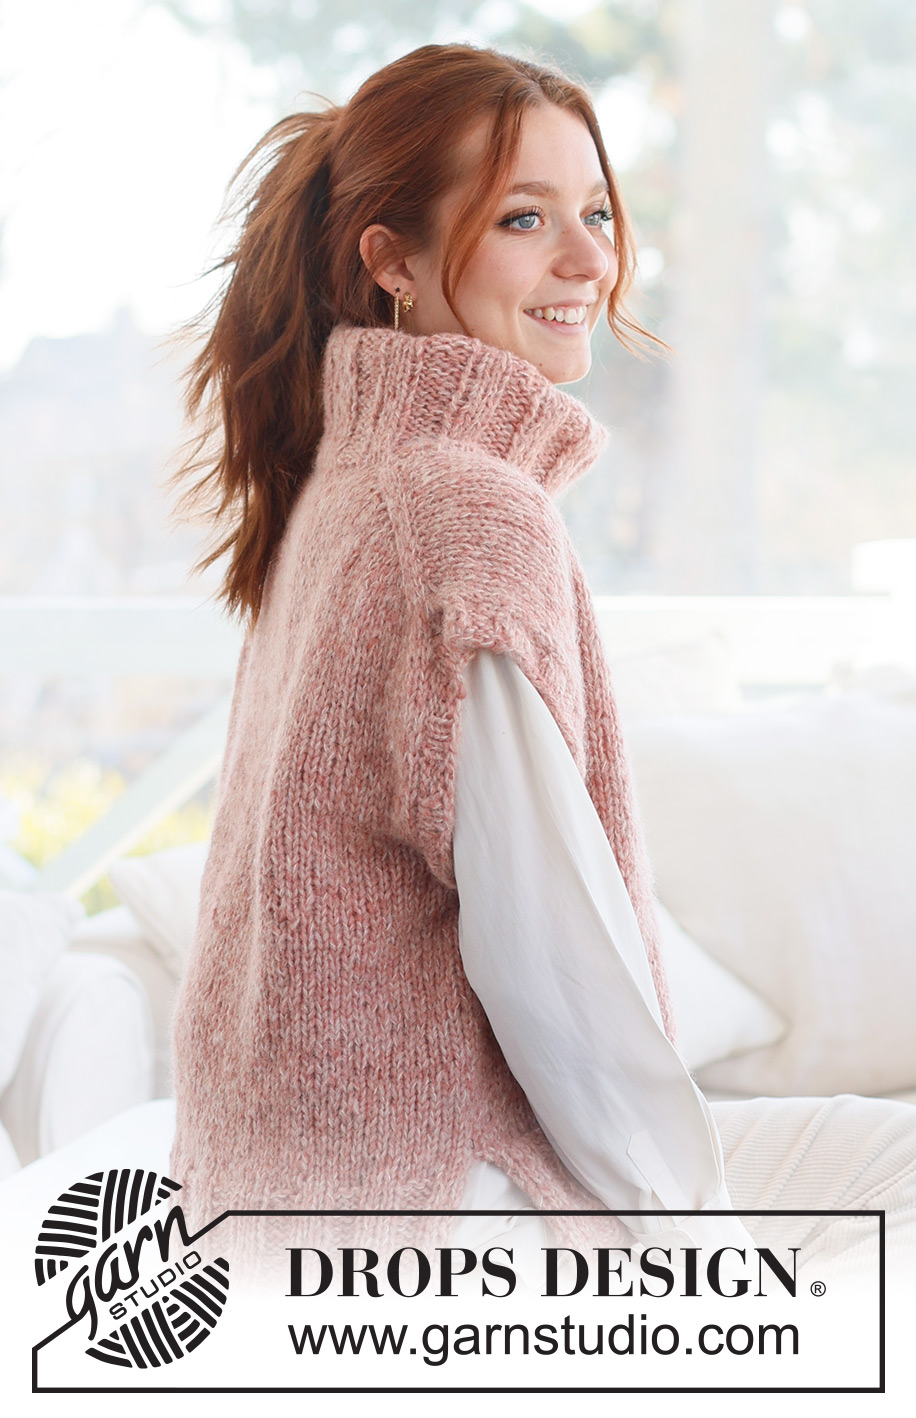
Pink Salt Vest#pinksaltvest |
|
 |
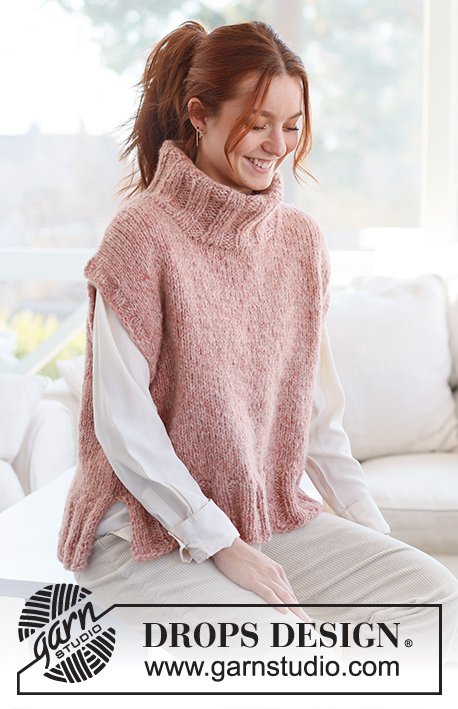 |
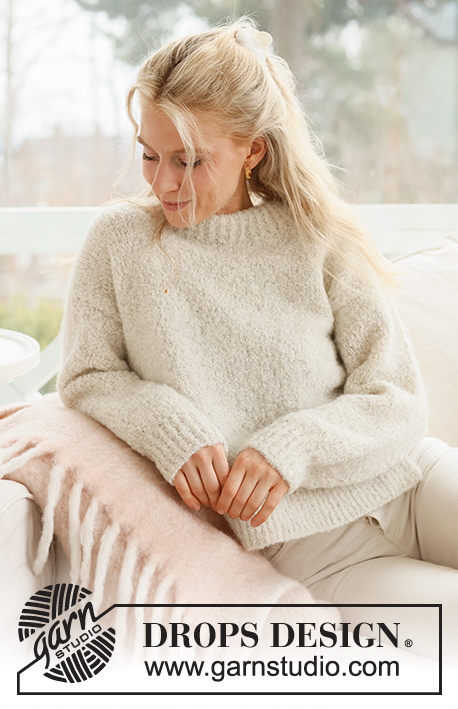
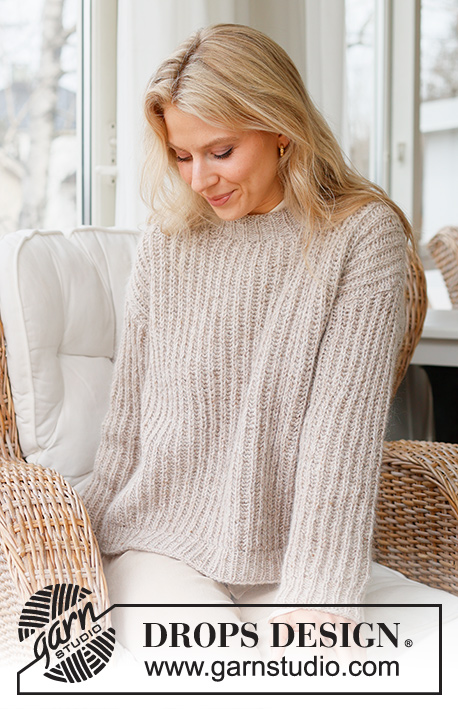
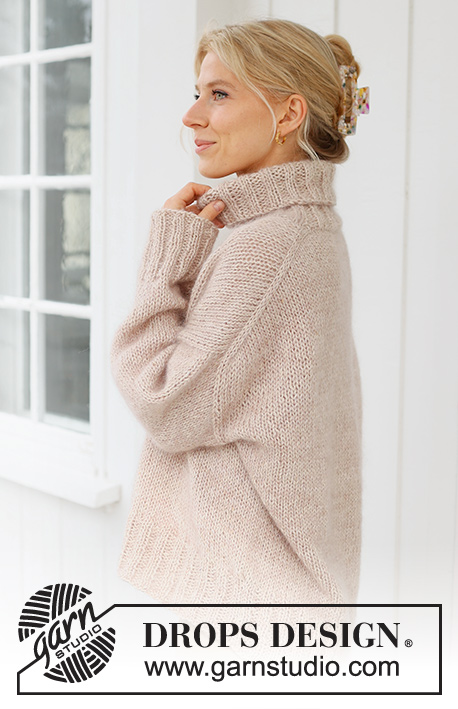
Knitted vest in DROPS Air and DROPS Brushed Alpaca Silk. The piece is worked top down with European shoulders / diagonal shoulders and high neck. Sizes S - XXXL.
DROPS 237-3 |
|
|
------------------------------------------------------- EXPLANATIONS FOR THE PATTERN: ------------------------------------------------------- RIDGE/GARTER STITCH (worked back and forth): Knit all rows. 1 ridge = knit 2 rows. ØKETIPS FRA RETTEN: Øk mot venstre ETTER MERKET: Bruk venstre pinne til å plukke opp tråden mellom 2 masker fra pinnen under, tråden plukkes opp forfra og masken strikkes rett i maskeleddet som ligger bak pinnen. Øk mot høyre FØR MERKET: Bruk venstre pinne til å plukke opp tråden mellom 2 masker fra pinnen under, tråden plukkes opp bakfra og masken strikkes rett i maskeleddet som ligger foran pinnen. ØKETIPS FRA VRANGEN: Øk mot høyre ETTER MERKET: Bruk venstre pinne til å plukke opp tråden mellom 2 masker fra pinnen under, tråden plukkes opp bakfra og masken strikkes vrang i maskeleddet som ligger foran pinnen. Øk mot venstre FØR MERKET: Bruk venstre pinne til å plukke opp tråden mellom 2 masker fra pinnen under, tråden plukkes opp forfra og masken strikkes vrang i maskeleddet som ligger bak pinnen. ------------------------------------------------------- START THE PIECE HERE: ------------------------------------------------------- VEST – SHORT OVERVIEW OF THE PIECE: VEST – SHORT OVERVIEW OF THE PIECE: The pattern uses both long and short needles; start with the length which fits the number of stitches and change when necessary. The piece is started back and forth, casting on stitches at the back of the neck and working the back piece top down while increasing stitches on each side for the shoulders, which become slightly diagonal. The back piece is worked as far as the armholes. The front piece is then worked in 2 sections, knitting up stitches along 1 back shoulder, increasing for the neckline. This is repeated on the other shoulder. The 2 front sections are joined when the neckline is finished and worked until the armholes are finished. The front and back pieces are then joined and the body worked in the round. Stitches are knitted up around the neckline and the neck is worked in the round, then folded double to the inside. Stitches are knitted up around the armholes for the sleeve edge. BACK PIECE: Cast on 24-24-24-26-26-28 stitches with circular needle size 8 mm and 1 strand of each quality (2 strands). Purl 1 row from the wrong side. Insert 1 marker after the 4th stitch from each side. The markers should sit outside the outermost 4 stitches on each row onwards. Work stocking stitch back and forth. AT THE SAME TIME increase AFTER the marker at the beginning of the row and BEFORE the marker at the end of the row – read INCREASE TIP FROM RIGHT SIDE. On the next row (wrong side) increase in the same way – read INCREASE TIP FROM WRONG SIDE. Continue increasing like this from both the right and wrong side a total of 14-16-18-18-20-20 times = 52-56-60-62-66-68 stitches. The piece is now measured from here! Then work stocking stitch until the piece measures 22-22-23-24-25-26 cm, down the armhole. Cut the yarn, put stitches on a thread or on an extra needle and work the front piece as explained below FRONT PIECE: Star with left shoulder (when the garment is worn). Knit up 14-16-18-18-20-20 stitches inside the outermost stitch along the left shoulder on the back piece (when the garment is worn, knitting up 1 stitch in each row along the edge). Work stocking stitch back and forth for 5 cm. Now increase stitches at the beginning of each row from the right side for the neck, but inside 3 stitches (instead of 4 stitches previously) – remember INCREASE FROM THE RIGHT SIDE. Increase 1 stitch 4 times = 18-20-22-22-24-24 stitches. Purl 1 row from the wrong side. Cut the yarn, put stitches on a thread or on an extra needle. Work the right shoulder as explained below. Work the right shoulder: Knit up 14-16-18-18-20-20 stitches inside the outermost stitch along the right shoulder on the back piece. Work stocking stitch back and forth for 5 cm. Now increase stitches at the end of each row from the right side, inside 3 stitches (instead of 4 previously) – remember INCREASE FROM THE RIGHT SIDE. Increase 1 stitch 4 times = 18-20-22-22-24-24 stitches. Purl back from the wrong side after the last increase. Work the next row from the right side as follows: Knit the 18-20-22-22-24-24 stitches from the right front piece, cast on 16-16-16-18-18-20 stitches for the neck at the end of the row then knit the 18-20-22-22-24-24 stitches from the left front piece = 52-56-60-62-66-68 stitches. Work stocking stitch back and forth until the front piece measures 26-28-29-30-31-32 cm, along the armhole. Now join the front and back pieces for the body. BODY: Work stocking stitch over the 52-56-60-62-66-68 stitches from the front piece and cast on 4-4-4-8-10-14 stitches at the end of the row (= side), work stocking stitch over the 52-56-60-62-66-68 stitches from the back piece and cast on 4-4-4-8-10-14 stitches at the end of the row = 112-120-128-140-152-164 stitches. Work stocking stitch in the round until the piece measures 46-48-50-52-54-56 cm from the top of the front piece. Now divide the piece for a split in each side. Place the 56-60-64-70-76-82 stitches from the front piece on a thread or extra needle and work the back piece. BACK PIECE: Change to circular needle size 7 mm, knit 1 row from the right side and increase 9-11-13-13-13-13 stitches evenly spaced = 65-71-77-83-89-95 stitches. Work the next row as follows from the wrong side: 1 edge stitch in GARTER STITCH – read description above, * purl 3, knit 3 *, work from *-* until there are 4 stitches left, purl 3, 1 edge stitch in garter stitch. Continue this rib for 10 cm. Cast off. FRONT PIECE: Place the stitches on circular needle size 7 mm and work in the same way as the back piece. NECK: Start on one shoulder and knit up inside the 1 edge stitch, and from the right side, 72 to 90 stitches around the neck using short circular needle size 7 mm. Work rib in the round (knit 3, purl 3) for 20 cm. Cast off a little loosely. The neck can be folded double to the inside and fasten with a couple of stitches in each side. SLEEVE EDGES: Knit up 60 to 78 stitches around the armhole with short circular needle size 7. Work rib in the round (knit 3, purl 3) for 3 cm. Cast off. Work a similar edge around the other armhole. |
|
 |
|
Have you finished this pattern?Tag your pictures with #dropspattern #pinksaltvest or submit them to the #dropsfan gallery. Do you need help with this pattern?You'll find 28 tutorial videos, a Comments/Questions area and more by visiting the pattern on garnstudio.com. © 1982-2026 DROPS Design A/S. We reserve all rights. This document, including all its sub-sections, has copyrights. Read more about what you can do with our patterns at the bottom of each pattern on our site. |
|


With over 40 years in knitting and crochet design, DROPS Design offers one of the most extensive collections of free patterns on the internet - translated to 17 languages. As of today we count 325 catalogues and 12291 patterns translated into English (UK/cm).
We work hard to bring you the best knitting and crochet have to offer, inspiration and advice as well as great quality yarns at incredible prices! Would you like to use our patterns for other than personal use? You can read what you are allowed to do in the Copyright text at the bottom of all our patterns. Happy crafting!
Post a comment to pattern DROPS 237-3
We would love to hear what you have to say about this pattern!
If you want to leave a question, please make sure you select the correct category in the form below, to speed up the answering process. Required fields are marked *.