
Popular categories
Looking for a yarn?


Comments / Questions (166)
![]() Mafalda wrote:
Mafalda wrote:
Non riesco a capire come devo applicare il diagramma A1 (5m legaccio, A1 x 2 volte, 2 rov, 33m rasate, A1 x 4, 2 rov, 33 ras, A1 x2, 2 rov, 5 legaccio) quando devo aumentare le maglie ai 23 cm di h. Infatti i punti delle parti in maglia rasata aumentano e non so come procedere
13.11.2017 - 19:45DROPS Design answered:
Buonasera Mafalda. Lavora le maglie aumentate ai lati dei segnapunti a maglia rasata. Per il resto, procede come già impostato. Buon lavoro!
13.11.2017 - 20:32
![]() Allinson wrote:
Allinson wrote:
Hi, I've never used dpns before & have seen other people state that they use circular needles instead. Do you think this would work? I'm enjoying the challenge of this pattern & already have the yarn to knit it in another colour.
15.10.2017 - 21:44DROPS Design answered:
Dear Allinson, everything that is knit on DPNs can be knitted in circs as well. If it is at the sleeves, you either have to use needles with somewhat shorter cable than usual (like 40 or 60 cm long instead of the usual 80 cm), or needles with extra long cables, using the magic loop technique. This video will show you how to knit with magic loop. I hope this helped. Happy knitting!
15.10.2017 - 22:50
![]() Gail wrote:
Gail wrote:
Thank you for your reply, l now understand where the marker should be. But l am still not sure where l use k2 tog or sl kl psso. I start the first Dec on the sleeves but do not Dec on the raglan body until the 4th row?
22.08.2017 - 16:24DROPS Design answered:
Dear Gail, REGLAN: from RS: K 2 tog (before the marker), K 2 (marker is between these sts), slip 1 st as if to K, K 1, psso (after the marker). The second question: you have to decrease on the sleeves in second row, and decrease on the raglan body in the 4th row for the first time. Happy knitting!
22.08.2017 - 19:13
![]() Gail wrote:
Gail wrote:
L am knitting the med size, l have just joined the sleeves to the circular needle and l now have to dec every other row 17 times for the raglan sleeve and every 4th row twice for the raglan body. my query is as my first dec is at the start of the first sleeve and my stitch marker is between the front side of the body and the sleeve, do l start by k2tog then k2 at the beg of the sleeve dec. then at the end of the sleeve slip 1st, k1, psso. where will my stitch markers be after the increases?
15.08.2017 - 17:42DROPS Design answered:
Hi Gail, The marker wil be between the k2, so knit 2 tog, k1-marker-k1 , slip 1 st as if to K, K 1, psso
20.08.2017 - 22:35
![]() Jeanne Harrison wrote:
Jeanne Harrison wrote:
I have seen this pattern for sale on ebay. 123 have already been sold for £3 each. It is not the only one.
15.07.2017 - 17:09DROPS Design answered:
Dear Mrs Harrison, we try to report them but you can help us by reporting to Ebay as well. Thank you. Happy knitting!
17.07.2017 - 10:33
![]() Merete Thomsen wrote:
Merete Thomsen wrote:
Hej ! Jeg har læst opskriften igennem mange gange ,men kan ikke se hvor langt der er mellem hvert knaphul . PS jeg strikker str. S
24.05.2017 - 07:59DROPS Design answered:
Hei Merete. I oppskriften står det hvordan det felles og når slik: KNAPHUL: Der lukkes af til knaphul på højre forkant. 1 knaphul = strik 2.og 3.m fra midt foran ret sammen og slå om. Luk af til knaphul når arb måler: STR S: 19, 26, 33, 40, 47 og 54 cm. God Fornøyelse!
24.05.2017 - 11:51Julia wrote:
Hi again and many thanks for your previous help. I've just got to the end of my first sleeve where the pattern says to bind off 6sts mid under sleeve. Would I be right in thinking that I need to bind off three stitches before the mid under sleeve marker and three after, or should I be binding off six after the marker? Many thanks again!
02.05.2017 - 14:43DROPS Design answered:
Dear Julia, you are right, you will cast off 3 sts before marker, and 3 sts after marker mid under sleeve. Happy knitting!
02.05.2017 - 15:17Julia wrote:
Hi there. I've just started this gorgeous pattern this evening and have a question regarding the decrease in all P-sections. The Decrease Tip says to decrease alternately at the beginning and end of P section but does this mean decrease 1 at the beginning of the first P-section, then 1 at the end of the second P-section, then 1 at the beginning of the third, etc, or decrease 1 at the beginning of all the P-sections in the first row, then at the end of the P-sections in the second row, etc?
29.04.2017 - 01:44DROPS Design answered:
Dear Julia, it means that in one row you are doing decreases, you do all of them at the beginning of each P section. In the next row with decreases, you do all of them at the end of each P section. I hope this helps. Happy knitting!
29.04.2017 - 08:42
![]() Petra Bieler-Rasmussen wrote:
Petra Bieler-Rasmussen wrote:
Jeg er løbet tør for garn med ca 20 p tilbage, selvom strikkfastheden passer.
13.04.2017 - 09:15Petra Bieler-Rasmussen wrote:
I størrelse S 2 x 40 m forstykke og 70 m rygstk = 150 m, udtagning 4 m 5 gange = 20; ifølge min regnemaskine giver den 170 m og ikke 174, som I skriver. Hilsen Petra
06.04.2017 - 09:24DROPS Design answered:
Hej Petra, Vi skriver "gentag udtagningen 5 gange til" så det er i alt 6 gange du tager ud, så her får du de sidste 4 masker du mangler. God fornøjelse!
06.04.2017 - 10:45
|
||||||||||
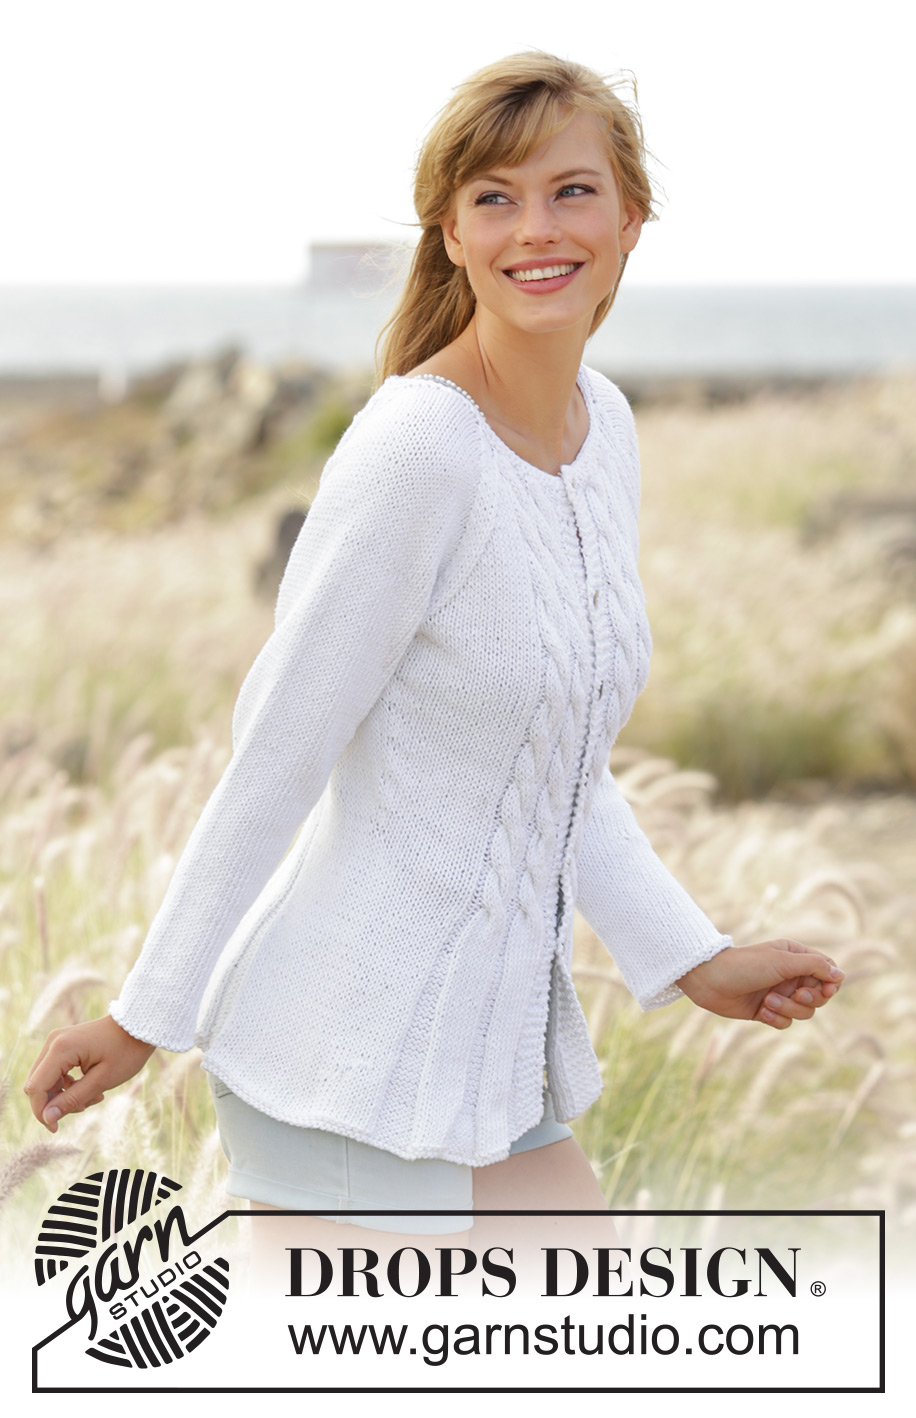
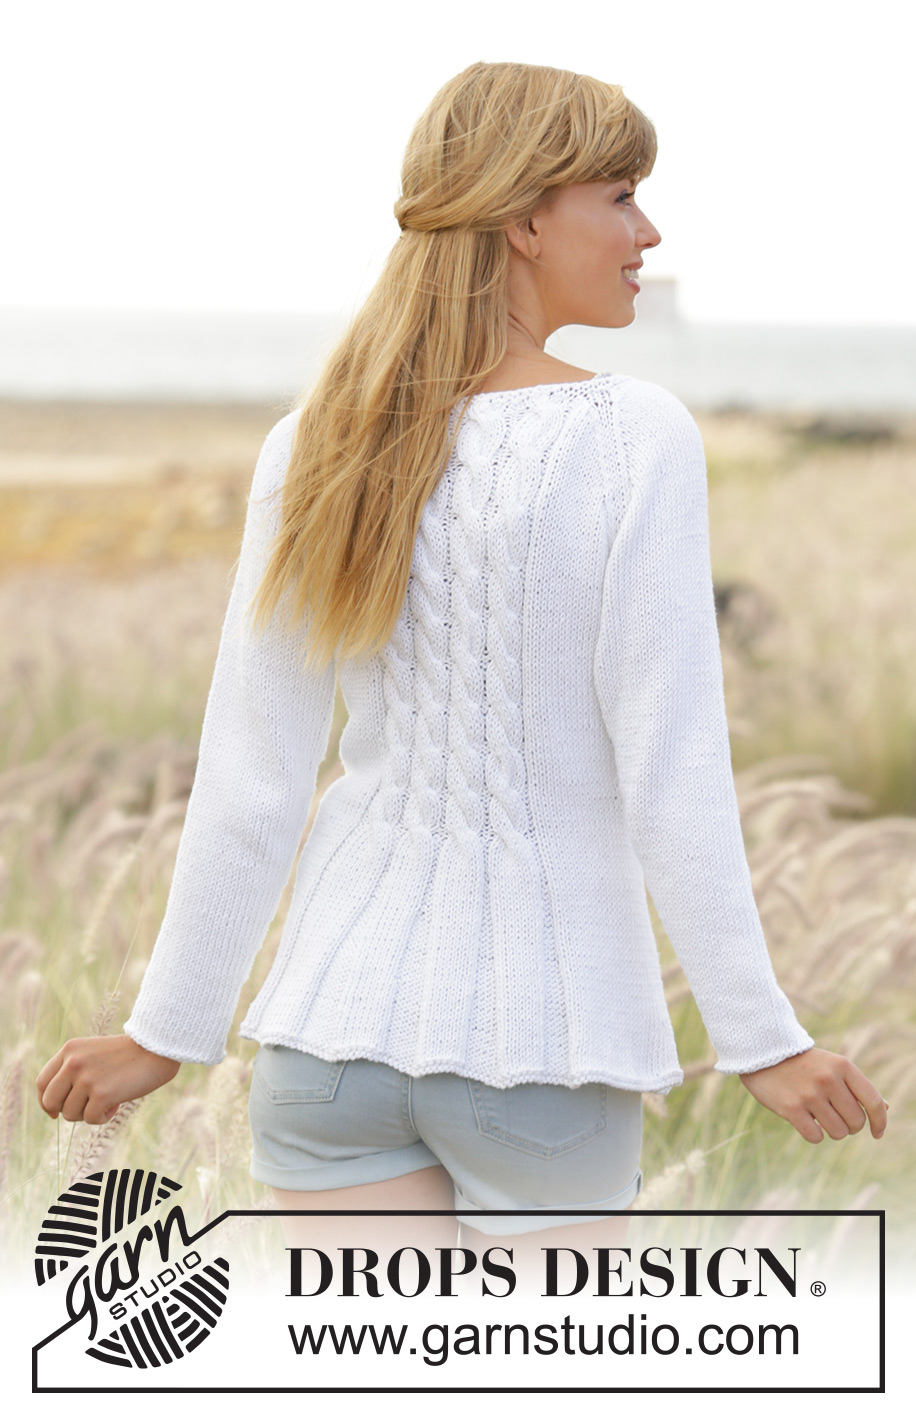
Romantic Twist#romantictwistcardigan |
||||||||||
 |
 |
|||||||||
Knitted DROPS fitted jacket with cables and raglan in ”Paris”. Size: S - XXXL.
DROPS 169-1 |
||||||||||
|
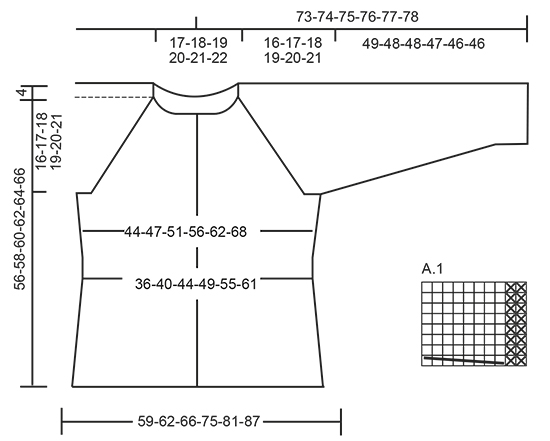
GARTER ST (back and forth): K all rows. 1 ridge = 2 rows K. GARTER ST (worked in the round): 1 ridge = 2 rounds. * K 1 round and P 1 round *, repeat from *-*. DECREASE TIP: Dec 1 st by P 2 tog. Dec alternately at beg and end of P section. PATTERN: See diagram A.1. The diagram show all rows in pattern seen from RS. RAGLAN: Dec 2 sts in every transition between body and sleeves. Dec as follows from RS: K 2 tog, K 2 (marker is between these sts), slip 1 st as if to K, K 1, psso. Dec as follows from WS: P 2 twisted tog, P 2 (marker is between these sts), P 2 tog. KNITTING TIP: If knitting tension is incorrect in height and the knitting is too tight, the raglan dec will be too short and the armholes too small. This can be adjusted by working 1 extra row without dec evenly spaced between dec. BUTTONHOLES: Dec for buttonholes on right band. 1 buttonhole = K tog 2nd and 3rd st from mid front, then make 1 YO. Dec for buttonholes when piece measures: SIZE S: 19, 26, 33, 40, 47 and 54 cm. SIZE M: 19, 26, 33, 40, 48 and 56 cm. SIZE L: 19, 26, 34, 42, 50 and 58 cm. SIZE XL: 19, 28, 36, 44, 52 and 60 cm. SIZE XXL: 19, 26, 33, 40, 47, 54 and 62 cm SIZE XXXL: 19, 26, 33, 40, 48, 56 and 64 cm ---------------------------------------------------------- BODY: Worked back and forth on circular needle from mid front. Cast on 216-228-240-266-286-306 sts (incl 5 band sts in each side towards mid front) on circular needle size 5 mm with Paris. Work 1 ridge in GARTER ST - see explanation above, then work as follows - from RS: 5 sts in garter st, * P 8, K 8 *, repeat from *-* 2 times in total, P 8, 27-33-39-44-54-64 sts in stocking st, * P 8, K 8 *, repeat from *-* 4-4-4-5-5-5 times in total, P 8, 27-33-39-44-54-64 sts in stocking st, * P 8, K 8 *, repeat from *-* 2 times in total, P 8, 5 sts in garter st. Repeat this pattern upwards. REMEMBER THE KNITTING TENSION When piece measures 5 cm, dec 1 sts in all P-sections (= 11-11-11-12-12-12 dec per dec round) - READ DECREASE TIP. Repeat dec every 3 cm 5 more times = 150-162-174-194-214-234 sts. Dec for BUTTONHOLES on right band - see explanation above. When piece measures 21 cm, work as follows: 5 sts in garter st, A.1 2 times, P 2, stocking st over the next 27-33-39-44-54-64 sts, A.1 4-4-4-5-5-5 times, P 2, stocking st over the next 27-33-39-44-54-64 sts, A.1 2 times, P 2, 5 sts in garter st. Insert 2 markers in the piece; 40-43-46-51-56-61 sts in from each side (back piece = 70-76-82-92-102-112 sts). When piece measures 23 cm, inc 1 st on each side of each marker (= 4 sts inc), repeat inc every 2½-3-3-3½-3½-4 cm 5 more times = 174-186-198-218-238-258 sts. When piece measures 40-41-42-43-44-45 cm, work next row (from RS) as follows: Work 43-46-49-54-59-64 sts, cast off the next 6 sts, work 76-82-88-98-108-118 sts, cast off the next 6 sts and work the remaining 43-46-49-54-59-64 sts. Put piece aside and knit the sleeves. SLEEVE: Worked in the round on double pointed needles. Cast on 32-34-36-38-40-42 sts on double pointed needles size 5 mm with Paris. Work 1 ridge, then work in stocking st. Insert 1 marker at beg of round (= mid under sleeve). When piece measures 8 cm, inc 2 sts mid under sleeve. Inc every 3-2½-2½-2½-2-2 cm 13-13-14-15-16-16 more times = 60-62-66-70-74-76 sts. When piece measures 49-48-48-47-46-46 cm (shorter measurements in the larger sizes because of longer sleeve cap), cast off 6 sts mid under sleeve = 54-56-60-64-68-70 sts. Put piece aside and knit another sleeve. YOKE: Slip sleeves on to same circular needle as body where armholes were cast off = 270-286-306-334-362-386 sts. Insert a marker in all transitions between sleeves and body piece. Continue pattern as before AT THE SAME TIME dec for RAGLAN – see explanation above. Dec differently on body and sleeve. RAGLAN SLEEVE: Dec every other row 16-17-17-18-18-19 times, then every row 4-4-6-7-9-9 times (= 20-21-23-25-27-28 times in total). RAGLAN BODY: Dec every 4th row 4-2-0-0-0-0 times, every other row 11-16-19-21-19-16 times, then every row 0-0-2-0-7-15 times (= 15-18-21-21-26-31 times in total). After all dec are done, 130-130-130-150-150-150 sts remain on needle. On next row dec 2 sts over every cable in A.1 = 114-114-114-132-132-132 sts. Work 2 ridges over all sts, on first row dec 20-16-12-26-22-18 sts evenly = 94-98-102-106-110-114 sts. Cast off. ASSEMBLY: Sew the opening mid under the sleeves. Sew the buttons on to the left band. |
||||||||||
Diagram explanations |
||||||||||
|
||||||||||
 |
||||||||||
Have you finished this pattern?Tag your pictures with #dropspattern #romantictwistcardigan or submit them to the #dropsfan gallery. Do you need help with this pattern?You'll find 26 tutorial videos, a Comments/Questions area and more by visiting the pattern on garnstudio.com. © 1982-2026 DROPS Design A/S. We reserve all rights. This document, including all its sub-sections, has copyrights. Read more about what you can do with our patterns at the bottom of each pattern on our site. |
||||||||||


With over 40 years in knitting and crochet design, DROPS Design offers one of the most extensive collections of free patterns on the internet - translated to 17 languages. As of today we count 324 catalogues and 12290 patterns translated into English (UK/cm). 12290
We work hard to bring you the best knitting and crochet have to offer, inspiration and advice as well as great quality yarns at incredible prices! Would you like to use our patterns for other than personal use? You can read what you are allowed to do in the Copyright text at the bottom of all our patterns. Happy crafting!
Post a comment to pattern DROPS 169-1
We would love to hear what you have to say about this pattern!
If you want to leave a question, please make sure you select the correct category in the form below, to speed up the answering process. Required fields are marked *.