
Popular categories
Looking for a yarn?


Comments / Questions (38)
![]() Shelah Feiss wrote:
Shelah Feiss wrote:
The pattern says to bind off when the piece measures 31cm. Is that measured from the bottom of the front/back piece or just the body portion
16.05.2024 - 02:01DROPS Design answered:
Dear Mrs Feiss, the 31 cm when casting off for armholes are measured from cast on edge. Happy knitting!
16.05.2024 - 08:10
![]() Roselyne LAI VAN TINH wrote:
Roselyne LAI VAN TINH wrote:
Bonjour, est-il possible de tricotter ce pull sans les aiguilles circulaires?
02.01.2024 - 13:09DROPS Design answered:
Bo jour Mme Lai Van Tinh, cette leçon vous donne quelques astuces pour adapter un modèle sur aiguilles droites et pourra ainsi vous aider - notez qu'il est parfois plus simple de tricoter en rond en suivant les explications, nombreuses sont celles qui ont fini par dompter les aiguilles circulaires, n'hésitez pas à consulter les vidéos si besoin. Bon tricot!
03.01.2024 - 07:55
![]() Ingrid Theelen wrote:
Ingrid Theelen wrote:
Hallo,\\r\\n\\r\\nIk wil starten met de Claer winter trui; 236-24 maar ik vraag me af of je echt zoveel rondbreinaalden moet kopen in 4 maten. Er staat 40 en 80 lengte bij 8 mm en dan nog 7 mm van twee lengtes, dan nog d gewone zonder knop.. Iran nie tinzien of dit echt nodig is. \\r\\nKunnen jullie helpen? \\r\\nGr. Ingrid
28.11.2023 - 22:00DROPS Design answered:
Dag Ingrid,
Je kunt ook gebruik maken van de zgn 'magic loop' techniek. Je hebt dan maar één lengte nodig, alleen een lange rondbreinaald. Bekijk deze video voor die techniek. Mocht de lange draad je toch in de weg zitten, dan zou je alsnog een naald in een kleinere lengte kunnen aanschaffen.
06.12.2023 - 20:06
![]() Gabriela wrote:
Gabriela wrote:
Dzień dobry, mam pytanie odnośnie reglanu. Przy zamykaniu oczek z jednej strony wyszło poprawnie, jednak po drugiej stronie oczka powinny kierować się do środka, a mnie wyszły na zewnątrz, czy złe zrozumiałam poradnik?
24.11.2023 - 03:21DROPS Design answered:
Witaj Gabrysiu, zobacz video TUTAJ. To jest dokładnie to zamykanie oczek co w tym swetrze. Pozdrawiamy!
24.11.2023 - 14:43
![]() Monica wrote:
Monica wrote:
Hola, el punto del jersey de la foto no parece punto musgo sino jersey derecho?
02.11.2023 - 17:25DROPS Design answered:
Hola Monica, la labor se trabaja en punto elástico y punto jersey. El punto musgo es solo para los puntos orillo, tal y como se indica en el patrón, para los bordes de la abertura. Se usa el elástico para la parte inferior de las mangas, el cuerpo y el cuello y punto jersey para el resto de la labor. Así que el punto principal usado en esta labor es el punto jersey.
05.11.2023 - 19:25
![]() Claudia Parodi wrote:
Claudia Parodi wrote:
Buongiorno per la taglia media le misure del dietro del maglione vengono indicate in cm 51 secondo il vostro campione 11 maglie=10cm quindi un avvio di 56 maglie, perché indicate un avvio di 70maglie?
21.10.2023 - 18:00DROPS Design answered:
Buonasera Claudia, vengono avviate più maglie perchè il bordo è a coste, che tendono a stringere il lavoro. Buon lavoro!
21.10.2023 - 21:16
![]() Eszti wrote:
Eszti wrote:
Lenne egy kérdésem a minta hátával kapcsolatban. A minta szerint 2 sima szemmel, majd 1 lustakötéses szélszemmel fejezzük be a sort, pedig a minta alapján 6 szem van a tűn. Az 1 helyett nem 4 sima szemmel kellene a sort befejezni, hogy a megadott szemeknek megfeleljen és a sor elejével egyforma legyen? Előre köszönöm a válaszukat.
20.02.2023 - 19:06DROPS Design answered:
Kedves Eszti! Igaza van, a hátán a sort valóban 4 lustakötéssel kötött szemmel kell befejezni. Köszönjük, hogy felhívta a figyelmünket a hibára, ami javításra került. Sikeres kézimunkázást!
12.03.2023 - 15:38
![]() Eva Allerman wrote:
Eva Allerman wrote:
Fråga om resårstickning efter upplägg bakstycke: 6 räta maskor i början o slutet på varje varv. Varför det?
04.01.2023 - 14:50DROPS Design answered:
Hei Eva. Det er splitt i hver side og de 4 ytterste maskene i hver side strikkes rett, både fra retten og fra vrangen, slik at det ikke krøller seg. mvh DROPS Design
05.01.2023 - 14:41
![]() Rita König wrote:
Rita König wrote:
Ich verstehe die Raglanabnahmen nicht: wird sie an der rechten und linken Seite des Vorder- bzw. Rückenteils gleich gemacht? Dann würden sich doch die Maschen immer nach links neigen??? Das Video hilft nicht weiter, da dort die Abnahmen mit 2 Zwischenmaschen beschrieben wird. Ich weiß nicht weiter:( Ich hoffe Sie können mir weiterhelfen Lb Gruß
29.12.2022 - 21:03DROPS Design answered:
Liebe Frau König, es wird jeweils 1 Masche beidseitig von der Masche mit der Markierung abgenommen: Stricken bis noch 1 Masche vor der markierten Masche übrig ist (= die letzte Masche Rückenteil, Ärmel, Vorderteil), 2 Maschen zusammen wie zum Rechtsstricken abheben (= diese letzte Masche + die mit der Markierung),1 Masche rechts stricken (= die 1. Masche der Ärmel/Vorder-/Rückenteil), die beiden abgehobenen Maschen über die gestrickte ziehen, die Markierung in dieser Masche legen. So wird es an jeder Markierung abgenommen = je 2 Maschen x 4 Markierung = 8 Abnahmen. Viel Spaß beim stricken!
02.01.2023 - 12:58
![]() Randi Storm wrote:
Randi Storm wrote:
Jeg synes ikke, ribben på for- og bag-stykke bliver rigtig ud fra opskriften. Kommer der ikke ret over ret og vrang over vrang efter opskriften?
27.12.2022 - 21:14DROPS Design answered:
Hej Randi, jo ribben består af 2 ret og 2 vrang og 4 masker retstrik i hver side :)
03.01.2023 - 12:17
|
|
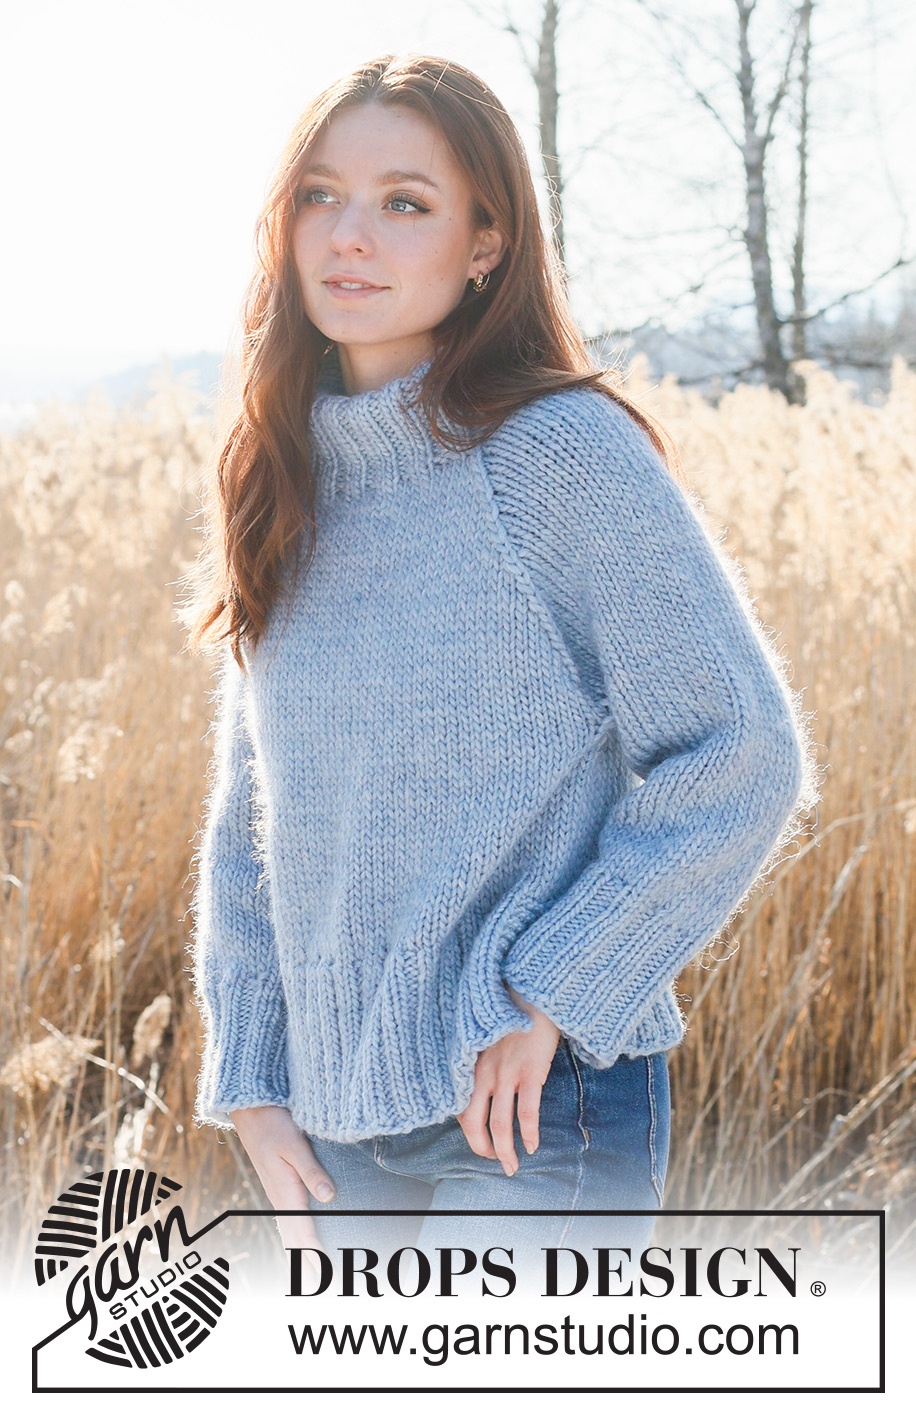
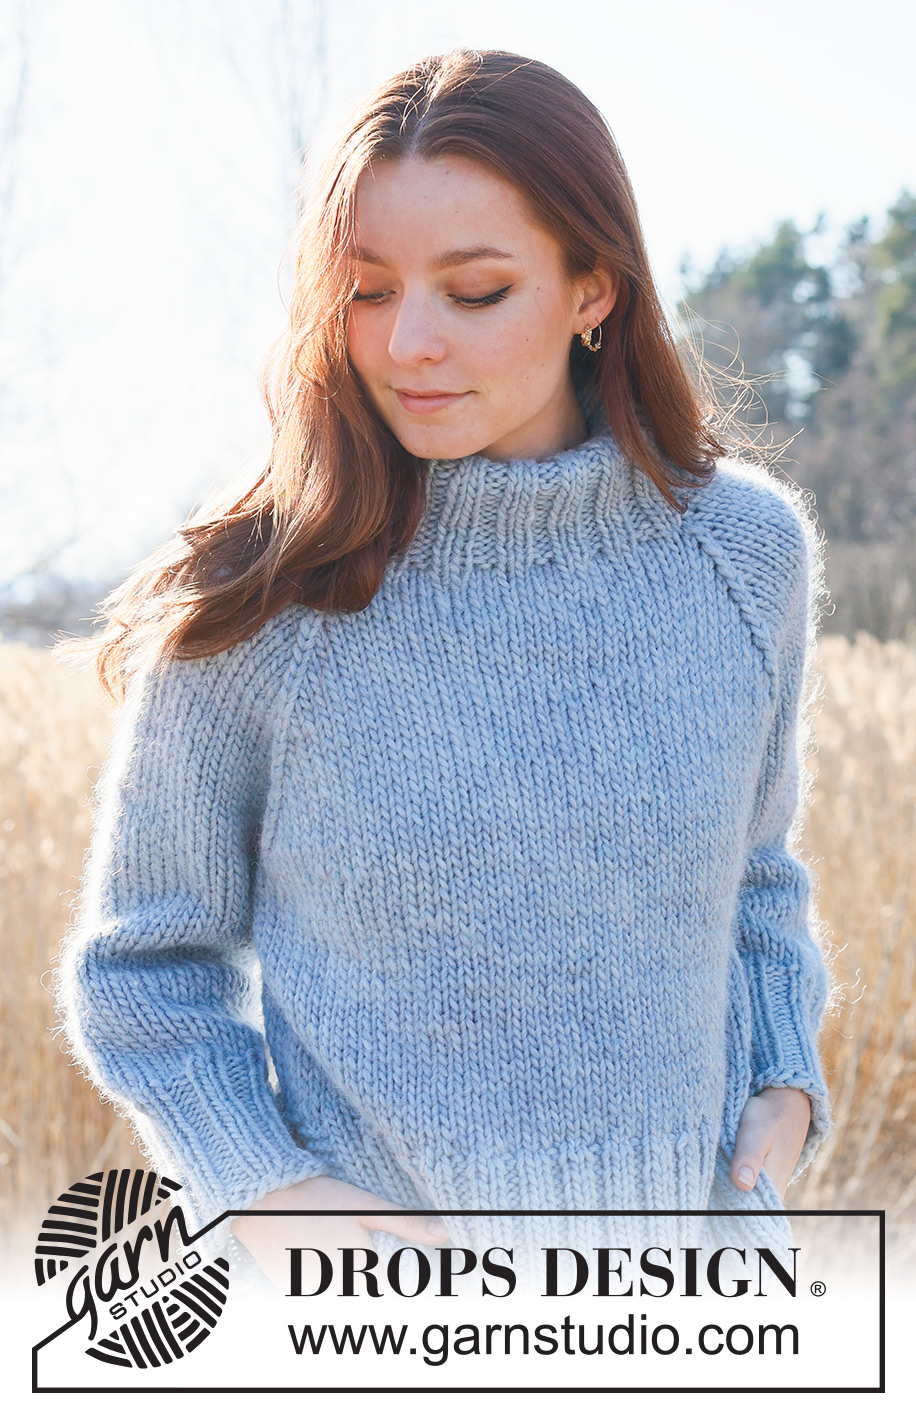
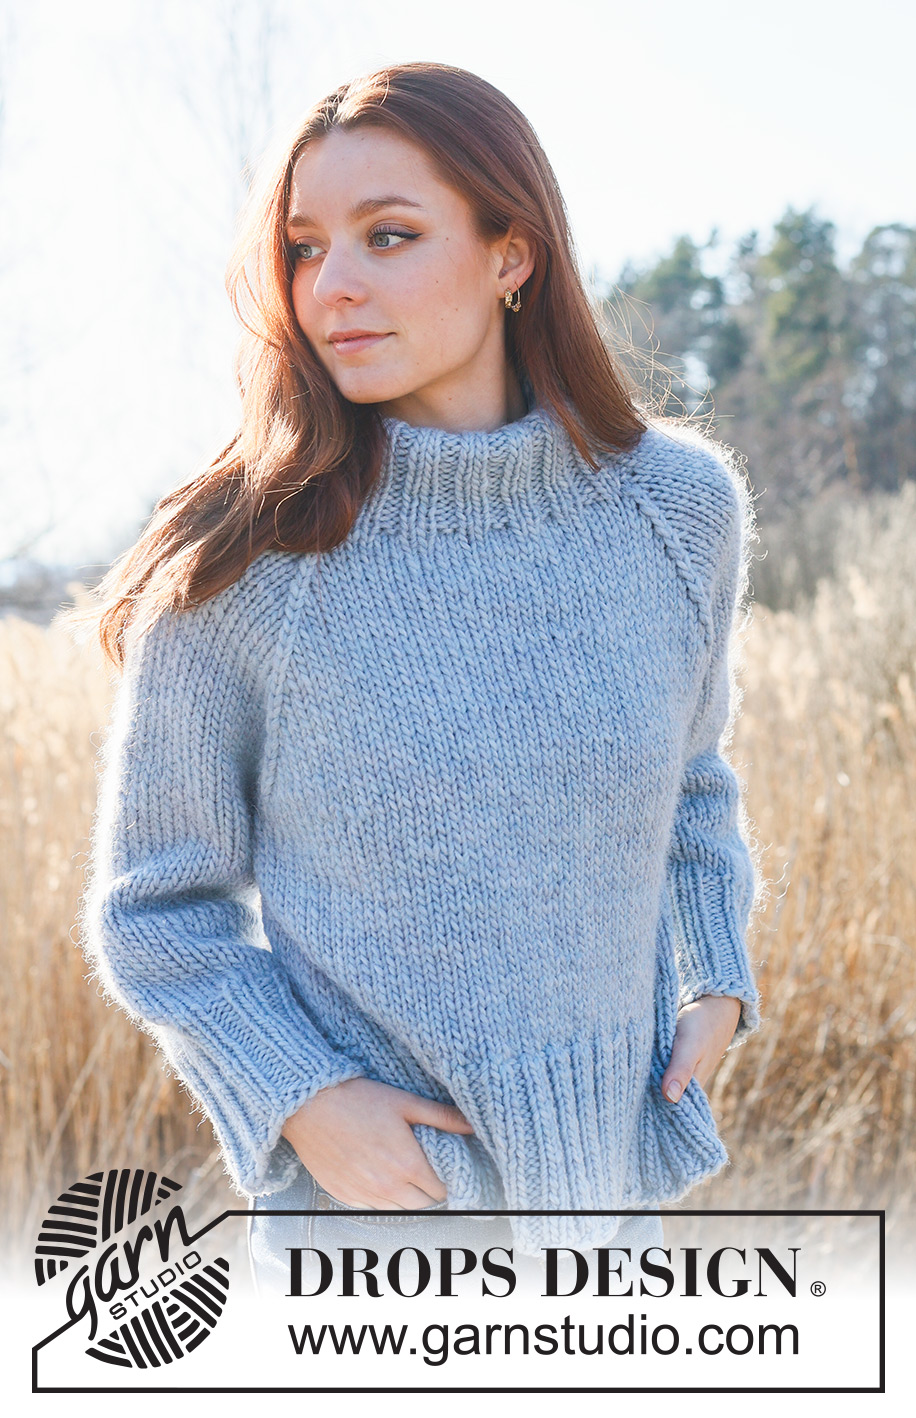
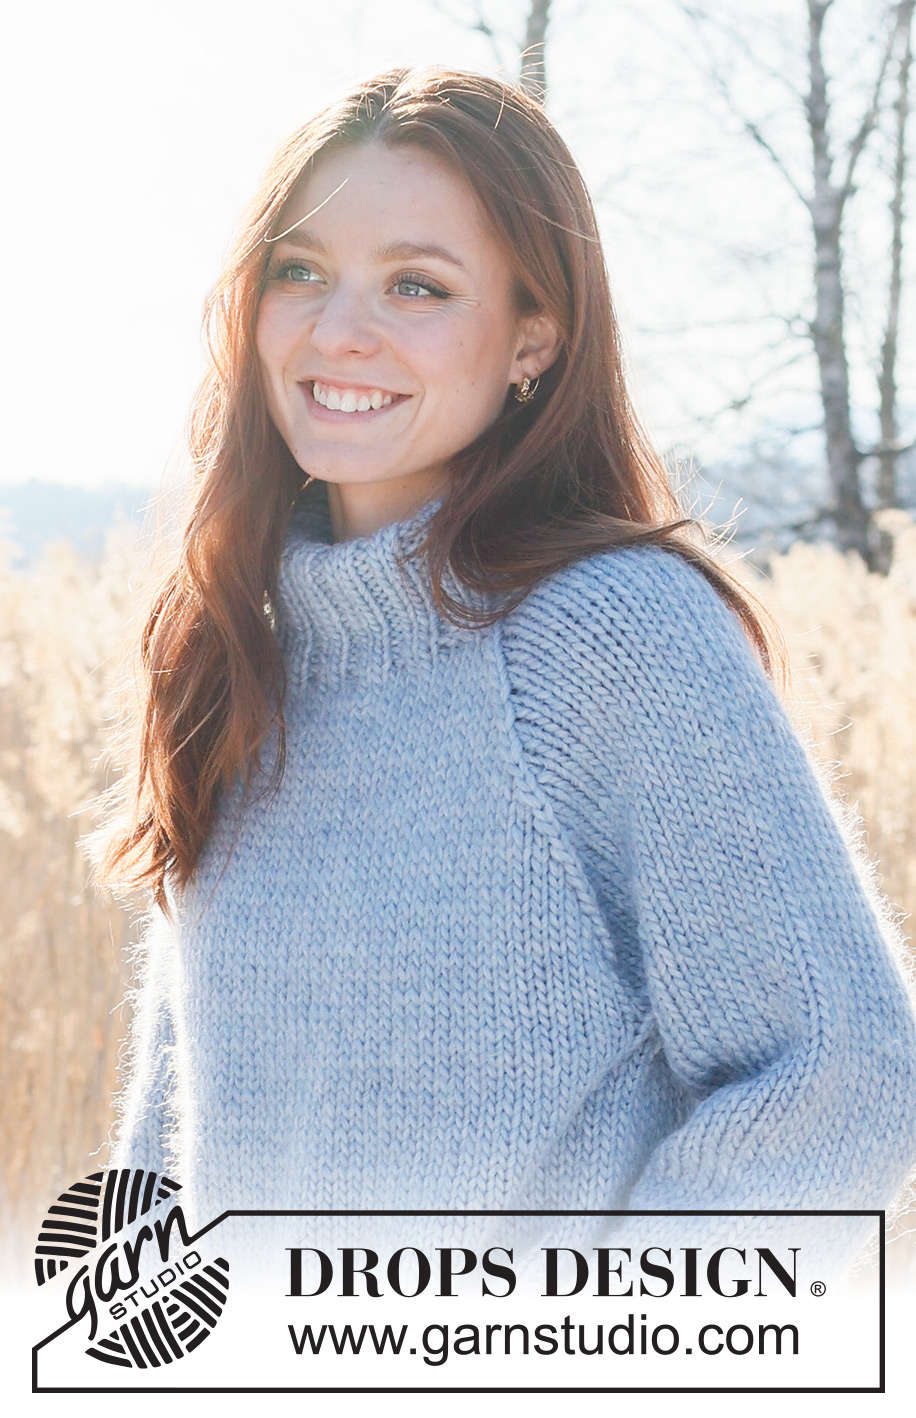
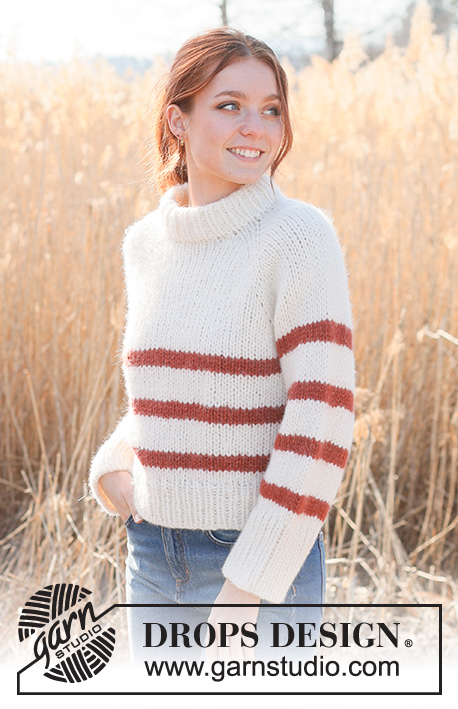
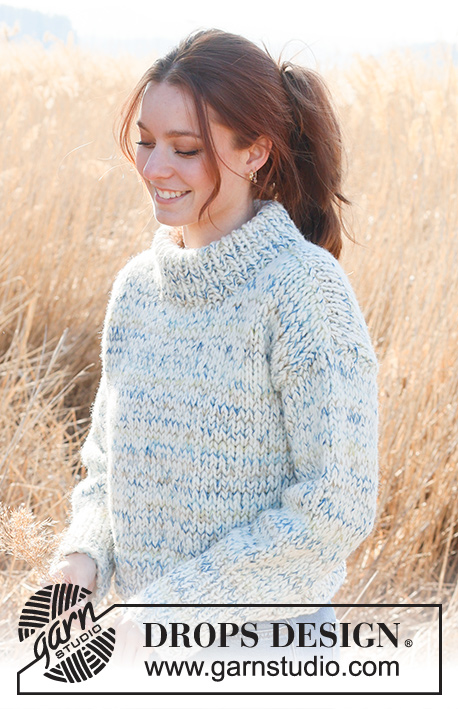
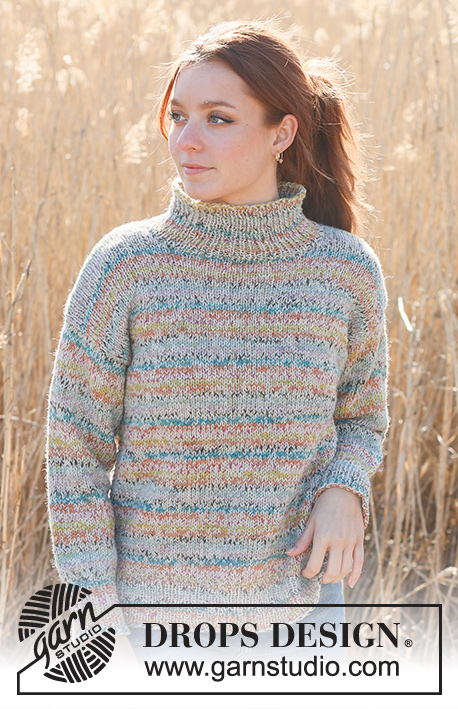
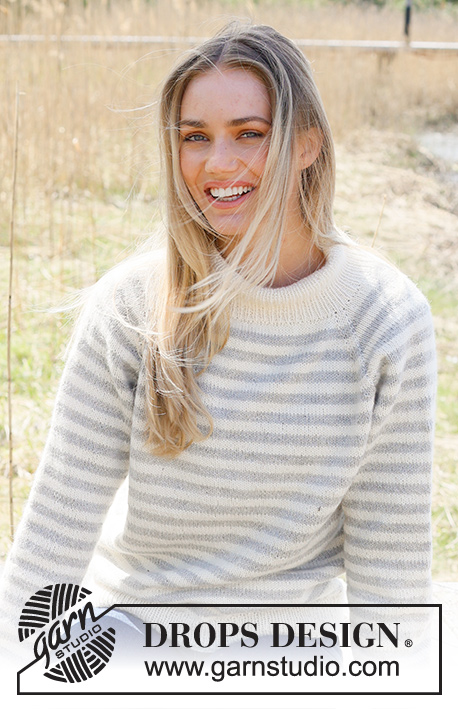
Clear Winter Sky#clearwinterskysweater |
|
 |
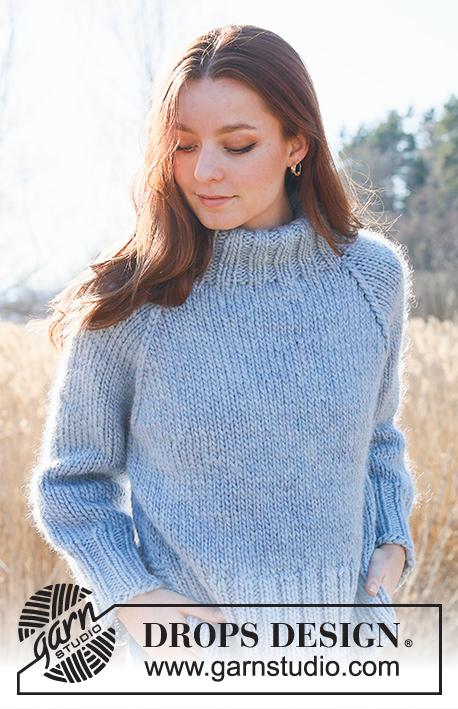 |
Knitted jumper in DROPS Snow. The piece is worked bottom up in stocking stitch with raglan. Sizes S - XXXL.
DROPS 236-24 |
|
|
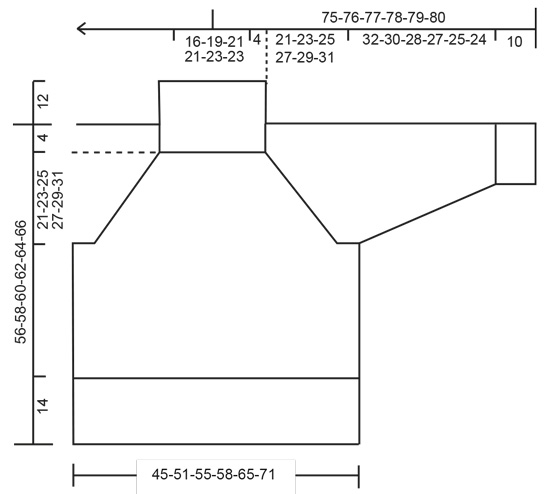
------------------------------------------------------- EXPLANATIONS FOR THE PATTERN: ------------------------------------------------------- RIDGE/GARTER STITCH (worked back and forth): Knit all rows. 1 ridge = knit 2 rows. INCREASE TIP (for sleeves): Work until there are 2 stitches left before the marker, 1 yarn over, knit 4 (marker sits between these 4 stitches), 1 yarn over. On the next round knit the yarn overs twisted to avoid holes. Then work the new stitches in stocking stitch. RAGLAN: Decrease to raglan in each transition between body and sleeves as follows: Work until there is 1 stitch left before marker-stitch, slip 2 stitches as if to knit together, knit 1, pass the slipped stitches over the knitted stitch. Repeat at each marker (8 stitches decreased on the row). ------------------------------------------------------- START THE PIECE HERE: ------------------------------------------------------- JUMPER - SHORT OVERVIEW OF THE PIECE: The front and back pieces are worked separately, back and forth, bottom up until the split is finished. Both pieces are placed on the same circular needle and the piece is continued in the round as far as the armholes. The sleeves are worked in the round with double pointed needles/short circular needle, bottom up, then placed on the same circular needle as the body. The yoke is continued in the round. The neck is worked to finish. BACK PIECE: Cast on 62-70-74-78-86-94 stitches with circular needle size 7 mm and DROPS Snow. Purl 1 row from the wrong side. Then work rib as follows: 4 stitches in GARTER STITCH – read description above, * knit 2, purl 2 *, work from *-* until there are 6 stitches left, knit 2 and 4 stitches in garter stitch. Work this rib back and forth for 14 cm, finishing after a row from the wrong side. Lay the piece to one side. FRONT PIECE: Cast on and work in the same way as the back piece. BODY: Place the front and back pieces on the same circular needle size 8 mm and knit 1 round where you decrease 24-28-28-28-28-32 stitches evenly spaced = 100-112-120-128-144-156 stitches. Insert 1 marker at the beginning of the round and 1 marker after 50-56-60-64-72-78 stitches (sides). Work stocking stitch in the round. REMEMBER THE KNITTING TENSION! When the piece measures 31 cm, cast off 6-6-6-8-8-10 stitches for the armholes on each side (cast off 3-3-3-4-4-5 stitches on each side of each marker) = 44-50-54-56-64-68 stitches on the front and back pieces. Lay the piece to one side and work the sleeves. SLEEVES: Cast on 32-32-36-36-40-40 stitches with double pointed needles size 7 mm and DROPS Snow. Knit 1 round, then work rib (knit 2, purl 2) in the round for 10 cm. Change to double pointed needles size 8 mm. Insert 1 marker at the beginning of the round (mid-under sleeve). Allow the marker to follow your work onwards; it is used when increasing under the sleeve. Work stocking stitch. When the sleeve measures 12 cm from the cast-on edge, increase 1 stitch on each side of the marker – read INCREASE TIP. Increase like this every 8-6-7-4-3-2 cm a total of 4-5-4-6-7-10 times = 40-42-44-48-54-60 stitches. When the sleeve measures 42-40-38-37-35-34 cm, cast off 6-6-6-8-8-10 stitches under the sleeve (3-3-3-4-4-5 stitches on each side of the marker) = 34-36-38-40-46-50 stitches. Lay the piece to one side and work the other sleeve in the same way. YOKE: Place the sleeves onto the same circular needle as the body, where stitches were cast off for the armholes = 156-172-184-192-220-236 stitches. Insert a marker in the outermost stitch on each side of both the front and back pieces (4 markers). These are used when decreasing for raglan. Work stocking stitch in the round. When the yoke measures 4-4-5-6-4-3 cm, begin to decrease for RAGLAN – read description above. Decrease like this every 2nd round a total of 13-14-15-16-19-21 times = 52-60-64-64-68-68 stitches. When all the decreases are finished the yoke measures 21-23-25-27-29-31 cm. Knit 1 round and increase 12 stitches evenly spaced = 64-72-76-76-80-80 stitches. NECK: Change to short circular needle size 7 mm and work rib in the round (knit 2, purl 2) for 12 cm. Cast off with knit over knit and purl over purl. You can fold the neck double to the inside and fasten down with a stitch in each side. ASSEMBLY: Sew the openings under the sleeves. |
|
 |
|
Have you finished this pattern?Tag your pictures with #dropspattern #clearwinterskysweater or submit them to the #dropsfan gallery. Do you need help with this pattern?You'll find 30 tutorial videos, a Comments/Questions area and more by visiting the pattern on garnstudio.com. © 1982-2026 DROPS Design A/S. We reserve all rights. This document, including all its sub-sections, has copyrights. Read more about what you can do with our patterns at the bottom of each pattern on our site. |
|


With over 40 years in knitting and crochet design, DROPS Design offers one of the most extensive collections of free patterns on the internet - translated to 17 languages. As of today we count 324 catalogues and 12290 patterns translated into English (UK/cm). 12290
We work hard to bring you the best knitting and crochet have to offer, inspiration and advice as well as great quality yarns at incredible prices! Would you like to use our patterns for other than personal use? You can read what you are allowed to do in the Copyright text at the bottom of all our patterns. Happy crafting!
Post a comment to pattern DROPS 236-24
We would love to hear what you have to say about this pattern!
If you want to leave a question, please make sure you select the correct category in the form below, to speed up the answering process. Required fields are marked *.