
Popular categories
Looking for a yarn?


Comments / Questions (35)
![]() YS wrote:
YS wrote:
Hvordan skal dette tolkes ? Fra 104 masker etter hals og så 5 x raglan på begge sider av merkene (=5x8=40) skal bli 112? Så skal man øke 8 x 4 og 4 x 8=64 Som skal bli 172 når matematikk tilsier 208 Jeg er nå ferdig m 5 raglan på Anne hver runde og har da åpenbart ikke-112 masker Og så skal man øke
06.03.2025 - 21:41DROPS Design answered:
Hej Du ska øke totalt 5 ganger inkludert økningene i de forkortede pinnene (= 4 udtagninger). Dvs att du ska kun øke en gang till etter du har 104 masker. 104+8=112 m. Mvh DROPS Design
07.03.2025 - 08:02
![]() Janne D wrote:
Janne D wrote:
Hvordan skal man vite hvilken størrelse man skal strikke? Det fremkommer ingen mål i oppskriften.
02.03.2025 - 21:32DROPS Design answered:
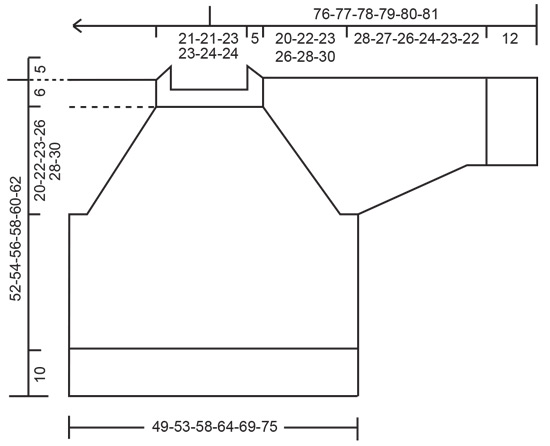
Hei Janne, Du finner en målskisse på bunnen av oppskriften, med alle mål til de forskjellige størrelsene. God fornøyelse!
03.03.2025 - 06:38
![]() Conny wrote:
Conny wrote:
Hallo, ich habe als Anfängerin versucht, den Pullover zu stricken. Ich komme allerdings überhaupt nicht mit den verkürzten Reihen klar. Ich habe in ihrer Antwort gelesen, die sie Michaela geschrieben haben, wie es funktionieren soll. Allerdings entstanden bei den Zunahmen riesige Löcher. Können Sie ein Video der verkürzten Reihen für genau diese Strickanleitung erstellen? Vielen Dank! LG Conny
17.02.2025 - 10:10DROPS Design answered:
Liebe Conny, kommen die Löcher after die verkürzten Reihen? Dann können Sie mal diese Videos schauen, wo wir verschiedene Technikke für verkürzten Reihen zeigen; Sie können auch einfach bei der 1. Runde den Faden am Übergang auffassen und den verschränkt mit der nächsten Masche stricken. Kann das Ihnen helfen? Viel Spaß beim Stricken!
17.02.2025 - 14:29
![]() Michaela wrote:
Michaela wrote:
Vielen Dank für Ihre Antwort. Dennoch muss ich nochmals fragen, wie man in Rückreihen, die ja mit linken Maschen gestrickt werden und in denen man den Umschlag aus der Zunahmen der Hinreihe rechts und links der Raglanmasche noch abstricken muss, die hier beschriebenen Zunahmen machen soll? Wie soll das gehen? Über Ihre eindeutige Erklärung wäre ich sehr dankbar, vG Michaela
04.01.2025 - 17:19DROPS Design answered:
Liebe Michaela, bei den Rückreihen stricken Sie die Umschläge wie unter RAGLANZUNAHMEN: > VOR DEM MARKIERER.... > NACH DEM MARKIERER beschrieben. Gleichzeitig nehmen Sie auch wie zuvor beidseitig von der Masche mit der Markierung (Umschlag der vorigen Reihe stricken, 1 Umschlag auf der Nadel, 1 Masche mit dem Markierer stricken, 1 Umschlag auf der Nadel, Umschlage der vorigen Reihe stricken). Viel Spaß beim Stricken!
06.01.2025 - 09:14
![]() Michaela wrote:
Michaela wrote:
Das mit den verkürzten Reihen verstehe ich nicht. Wie ist es möglich, dass in einer Rückreihe glatt rechts gestrickt wird.? Auch ist mir unklar, dass in Rückreihen Raglanzunahmen gemacht werden sollen. Ich bin etwas verzweifelt, vG Michaela
29.12.2024 - 14:42DROPS Design answered:
Liebe Michaela, wenn mann glattrechts in Hin und Rückreihe strickt, werden die Hinreihen rechts und die Rückreihen links gestrickt. Die Raglanzunahmen werden beidseitig von den Markierungen gestrickt, bei der 1. verkürzten Reihe nur bei 2 Markierungen und bei der 5. Reihe nur bei den 2 anderen Markierungen (so hat man genausoviel gleichzeitig von der hinteren Mitte zugenommmen). Viel Spaß beim Stricken!
02.01.2025 - 14:19
![]() Marie Young wrote:
Marie Young wrote:
Please ignore my last email I have worked out what I was doing wrong, when I say I what I really mean is my husband (who doesn’t knit) worked it out for me. Lucky me😏
27.12.2024 - 22:22
![]() Marie Young wrote:
Marie Young wrote:
I’ve started the August Sunset jumper, however I can’t match the stitch markers to the pattern the stitches just don’t add up. Has anyone had problems getting past the neck
27.12.2024 - 20:56DROPS Design answered:
Dear Marie, which size are you working? Remember that the markers are inserted into stitches, so to the numbers indicated you have to add up 4 stitches. For the smallest size, for example, you have: 10 (half back piece)+1 (1st marker) +14 (sleeve) +1 (2nd marker) +20 (front piece) +1 (3rd marker) +14 (sleeve) +1 (4th marker)+10 (half back piece) = 72 stitches. Happy knitting!
30.12.2024 - 00:58
![]() Weronika wrote:
Weronika wrote:
Nie rozumiem jak robić rzędy skrócone. W opisie reglanu narzuty robi się na prawej stronie robótki i przerabia je na lewej. A w rzędach skróconych we wzorze należy dodawać oczka reglanowe też na lewej stronie robótki - jak to zrobić? Nie znalazłam żadnego filmiku z taką metodą
26.12.2024 - 10:46DROPS Design answered:
Witaj Weroniko, dodajesz oczka na lewej stronie wykonując narzut z każdej strony oczka z markerem, czyli dochodzisz do narzutu, który był wykonany na prawej stronie i przerabiasz go jak w opisie w części REGLAN (gdy przerabiamy w tę i z powrotem, przerabiać narzuty na lewej stronie robótki za/przed markerem następująco...) i wykonujesz narzut (to jest dodane oczko na lewej stronie). Pozdrawiamy!
28.12.2024 - 17:42
![]() Antonia González Pérez wrote:
Antonia González Pérez wrote:
Se puede realizar con agujas rectas?
15.12.2024 - 15:07DROPS Design answered:
Hola Antonia, este patrón tiene un número elevado de puntos, por lo que es difícil trabajar con agujas rectas. Puedes trabajar el canesú hasta dividir para el cuerpo y mangas y luego trabajar las mangas, el delantero y la espalda de ida y vuelta con agujas rectas. O trabajar todo con agujas rectas de ida y vuelta pero ajustar las costuras a las líneas del raglán. Recuerda hacer los ajustes indicados en la siguiente lección: https://www.garnstudio.com/lesson.php?id=13&cid=23.
15.12.2024 - 23:22
![]() Mar wrote:
Mar wrote:
Este patrón es incorrecto, si aumentas 5 veces 8 puntos y tienes 104, al final tienes 144 y no 112
11.12.2024 - 22:24
|
|
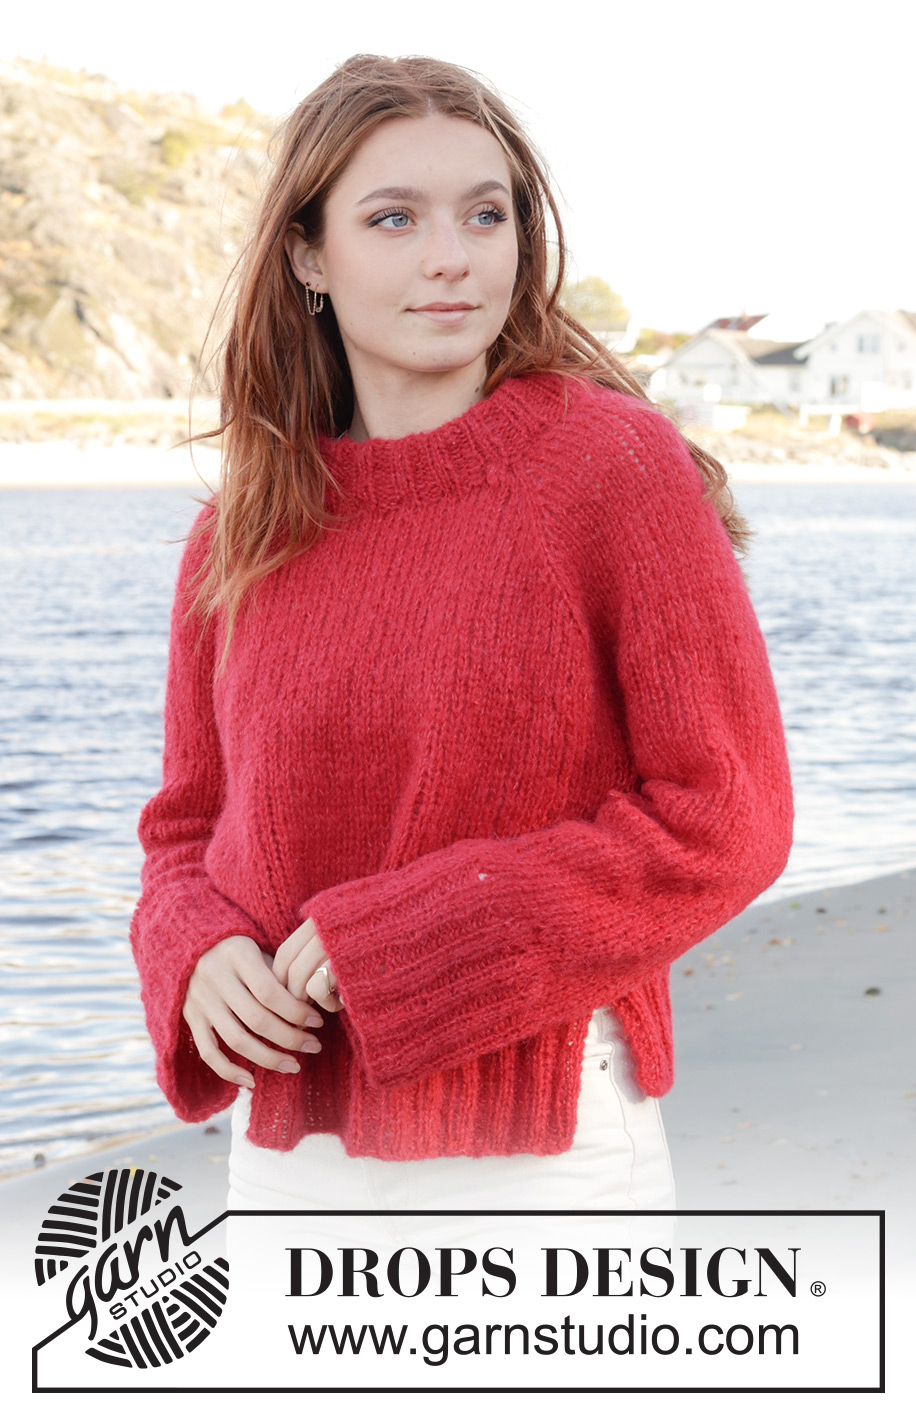
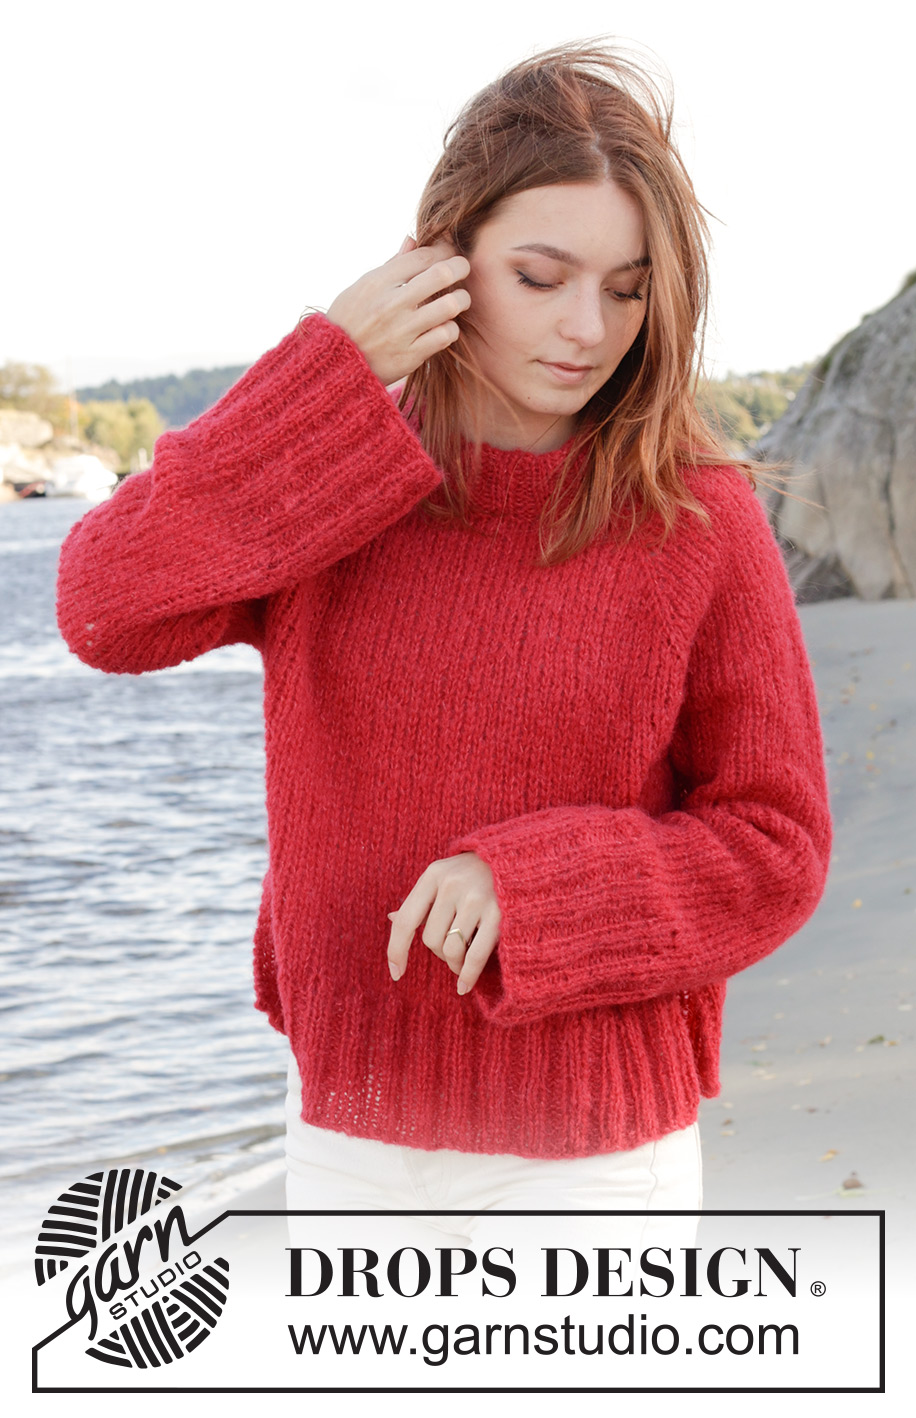
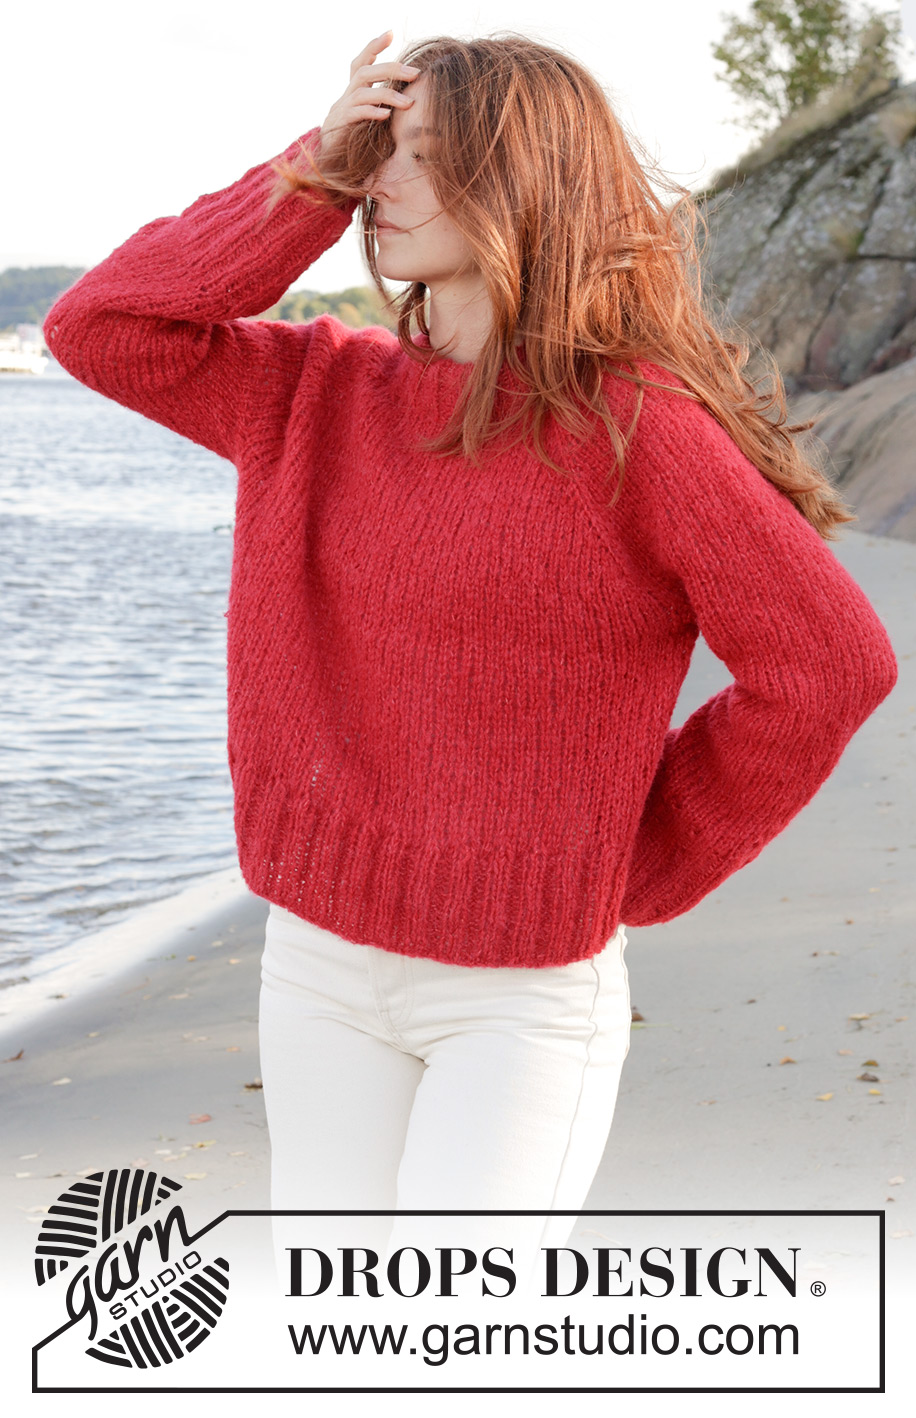
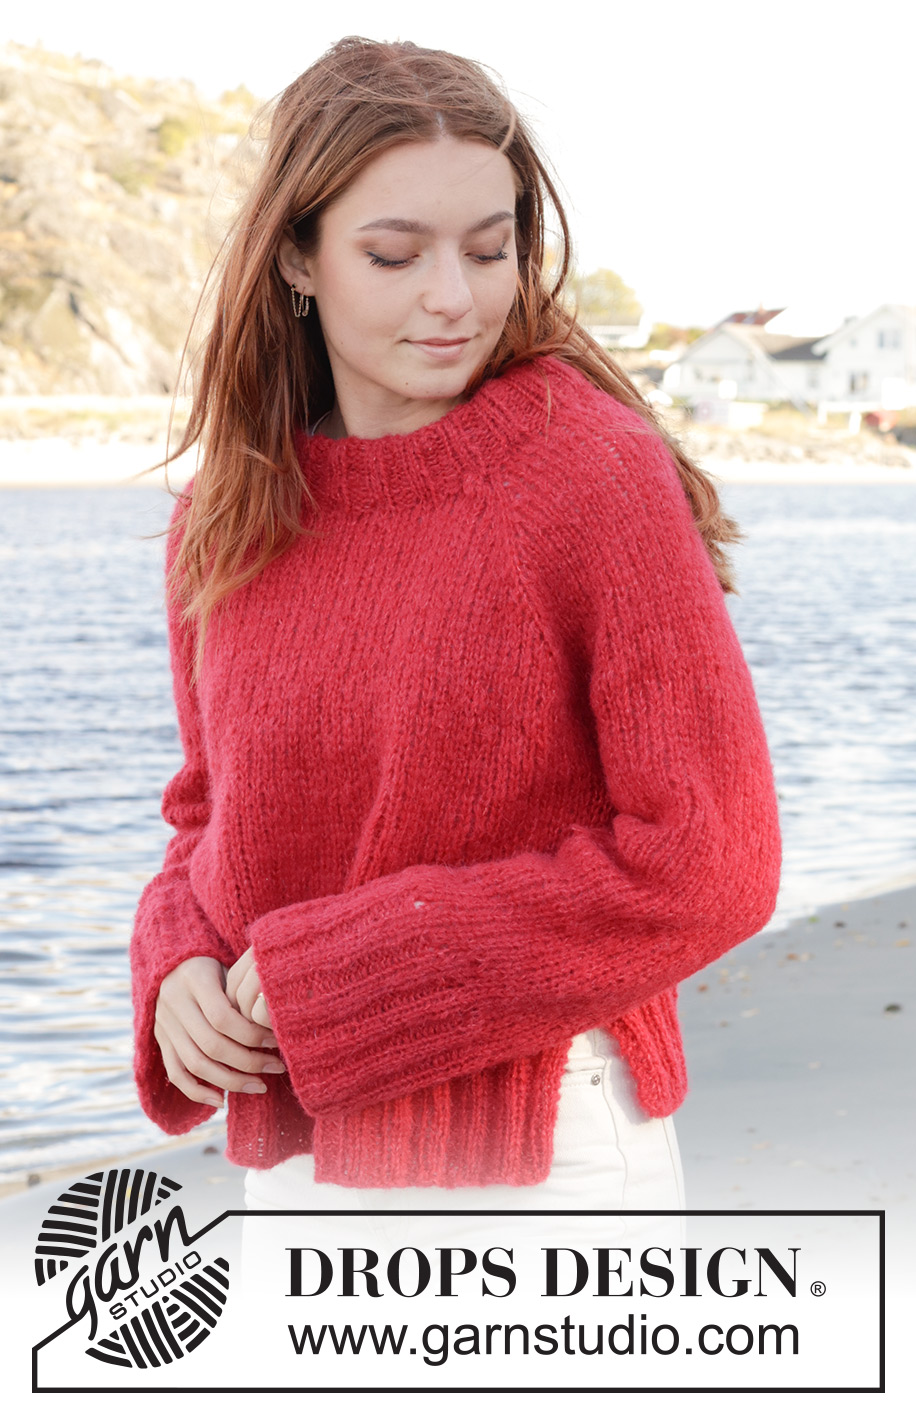
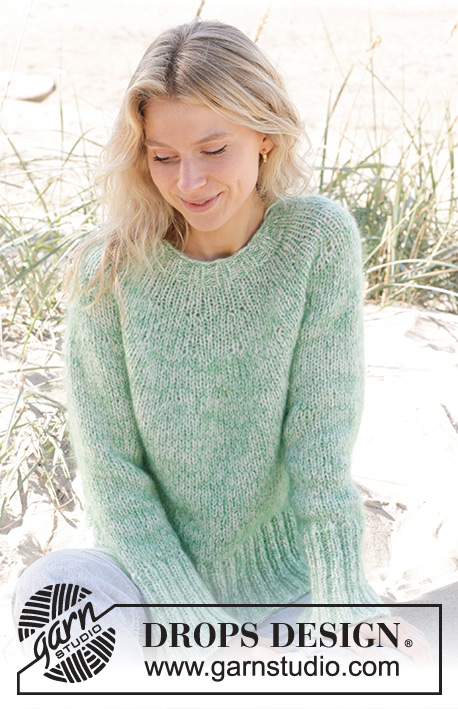
August Sunset#augustsunsetsweater |
|
 |
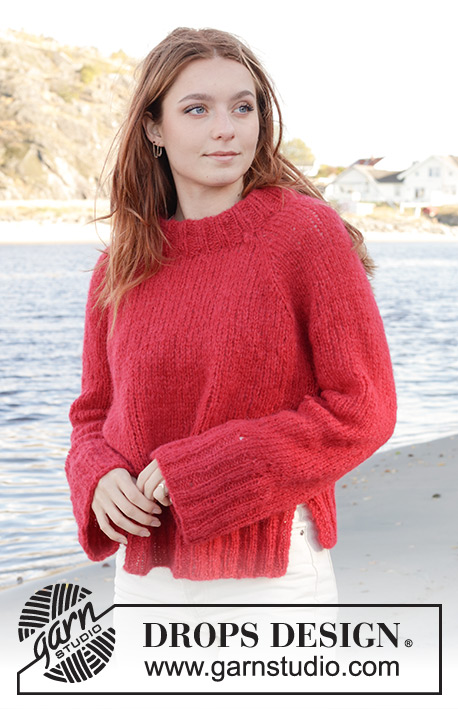 |
Knitted jumper in 2 strands DROPS Brushed Alpaca Silk or 1 strand DROPS Air and 1 strand Brushed Alpaca Silk. Piece is knitted top down with raglan, double neck edge and vents in the sides. Size: S - XXXL
DROPS 240-32 |
|
|
---------------------------------------------------------- EXPLANATION FOR THE PATTERN: ---------------------------------------------------------- RAGLAN: Increase 1 stitch on each side of stitch with marker as follows: Work until stitch with marker, make 1 yarn over, knit stitch with marker, make 1 yarn over. Increase like this at all markers (8 stitches increased). When working back and forth, work yarn overs from wrong side as follows before/after marker: BEFORE MARKER: Purl yarn over in back loop of stitch. It should not make a hole. AFTER MARKER: Slip stitch off left needle and put it back on left needle but the opposite way (insert left needle in from behind when slipping it back on needle). Purl yarn over in front loop of stitch. It should not make a hole. When working in the round, work yarn overs on next round as follows before/after marker: BEFORE MARKER: Slip stitch off left needle and put it back on left needle but the opposite way (insert left needle in from behind when slipping it back on needle). Knit yarn over in front loop of stitch (yarn over is twisted towards the right). It should not make a hole. AFTER MARKER: Knit yarn over in back loop of stitch (yarn over is twisted towards the left). It should not make a hole. GARTER STITCH (back and forth): Knit all rows. 1 ridge vertically = knit 2 rows. DECREASE TIP (applies to mid under sleeves): Decrease 1 stitch on each side of marker thread as follows: Work until 3 stitches remain before marker thread, knit 2 together, knit 2 (marker thread is between these 2 stitches), slip 1 stitch knitwise, knit 1, pass slipped stitch over stitch worked. ---------------------------------------------------------- START THE PIECE HERE: ---------------------------------------------------------- JUMPER - SHORT OVERVIEW OF THE PIECE: Work double neck edge and yoke in the round on circular needle from mid back, top down. Now divide yoke for body and sleeves. Work body in the round on circular needle until vent. Work sleeves in the round on double pointed needles/a short circular needle. DOUBLE NECK EDGE: Cast on 72-72-76-76-80-80 stitches with 2 strands DROPS Brushed Alpaca Silk or 1 strand DROPS Air and 1 strand DROPS Brushed Alpaca Silk (2 strands) over a short circular needle size 6 mm and a short circular needle size 8 mm held together. Pull out short circular needle 8 mm and keep stitches on the short circular needle size 6 mm (cast is done like this to get an elastic cast-on edge). Work rib as follows: Knit 1, * purl 2, knit 2 *, work from *-* until 3 stitches remain, purl 2 and knit 1. Continue rib like this for 10 cm. Now fold the rib inwards to form a double edge - then work next round in rib as before at the same time work every 4th stitch together with every 4th from cast-on edge. You now have a double neck edge. Now measure the piece from here. Now insert 4 markers in piece as explained below (without working the stitches). Use markers when increasing for raglan. Count 10-10-11-11-12-12 stitches (half back piece), insert 1st marker in next stitch, count 14 stitches (sleeve), insert 2nd marker in next stitch, count 20-20-22-22-24-24 stitches (front piece), insert 3rd marker in next stitch, count 14 stitches (sleeve), insert 4th marker in next stitch, 10-10-11-11-12-12 stitches remain on round after last marker(half back piece). NECK LINE: Now work neck line with short rows as explained below. Switch to circular needle size 8 mm. Begin mid back: ROW 1 (= right side): Work in stocking stitch and increase for RAGLAN - read explanation above, on each side of the first 2 markers (4 stitches increased), turn when you have worked 2 stitches past stitch with 2nd marker. ROW 2 (= wrong side): Work in stocking stitch and increase for raglan on each side of all markers (8 stitches increased), turn when you have worked 2 stitches past the last marker. ROW 3 (= right side): Work in stocking stitch and increase for raglan on each side of all markers (8 stitches increased), turn when 2 stitches more have been worked since last turn. ROW 4 (= wrong side): Work in stocking stitch and increase for raglan on each side of all markers (8 stitches increased), turn when 2 stitches more have been worked since last turn. ROW 5 (= right side): Work in stocking stitch and increase for raglan on each side of the first 2 markers (4 stitches increased), work until mid back. The short rows are now done, and you have increased for raglan 4 times at every marker = 104-104-108-108-112-112 stitches on row. Continue working in the round over all stitches needle from mid back. YOKE: Work in stocking stitch and continue increases for raglan every other round until increase has been done 5-5-5-6-7-9 times in total on each side of the 4 stitches with markers (including increases on the short rows) = 112-112-116-124-136-152 stitches. REMEMBER THE KNITTING TENSION! Continue with stocking and increase for raglan but on every other increase, increase only on body (4 stitches increased). I.e. increase on body every other round, and on sleeves every 4th round. Increase like this 8-10-10-12-12-12 times on body (4-5-5-6-6-6 times on sleeves). There are now 160-172-176-196-208-224 stitches on needle. In size S and M - move on to ALL SIZES. SIZE L, XL, XXL and XXXL: Continue in stocking stitch and increases for raglan but now only increase on body, increases for sleeves are done. Increase on every other round 1-1-2-3 times in total = 180-200-216-236 stitches. ALL SIZES: Increase has been done 13-15-16-19-21-24 times in total on body and 9-10-10-12-13-15 times on sleeves (including increases on the short rows in the neck). After last increase there are 160-172-180-200-216-236 stitches on needle. Work in stocking stitch without increases until piece measures approx. 20-22-23-26-28-30 cm, measured mid front after rib in neck Now divide yoke for body and sleeves as follows: Work the first 24-26-28-31-34-37 stitches (half back piece), slip the next 32-34-34-38-40-44 stitches on a thread for sleeve, cast on 6-6-8-8-8-8 new stitches on needle (in the side under sleeve), work the next 48-52-56-62-68-74 stitches (front piece), slip the next 32-34-34-38-40-44 stitches on a thread for sleeve, cast on 6-6-8-8-8-8 new stitches on needle (in the side under sleeve), work the remaining 24-26-28-31-34-37 stitches (half back piece). BODY: = 108-116-128-140-152-164 stitches. Insert 1 marker thread in each side – i.e. in the middle of the 6-6-8-8-8-8 stitches that were cast on under sleeves in each side. Move the marker threads upwards when working; they should be used for dividing for vents in each side. Work in stocking stitch in the round over all stitches until piece measures 16-16-17-16-16-16 cm from division. Now divide the piece at the marker threads. Slip the 54-58-64-70-76-82 stitches on back piece on a thread or needle, and work over stitches on front piece as explained below. FRONT PIECE: = 54-58-64-70-76-82 stitches. Knit 1 row from right side while increasing 16-16-18-20-22-24 stitches evenly = 70-74-82-90-98-106 stitches. Switch to circular needle size 6 mm. Work rib as follows from wrong side: 2 stitches in GARTER STITCH - read explanation above, * purl 2, knit 2 *, repeat from *-* until 4 stitches remain on row, purl 2 and 2 stitches in garter stitch. Continue rib like this for 10 cm. Cast off somewhat loosely with knit over knit and purl over purl. Jumper measures approx. 52-54-56-58-60-62 cm from shoulder and down. BACK PIECE: Slip the 54-58-64-70-76-82 stitches from thread/needle on circular needle size 6 mm and work piece the same way as front piece. SLEEVE: Slip the 32-34-34-38-40-44 stitches from stitch holder in one side of piece on a short circular needle or double pointed needles size 8 mm and pick in addition up 1 stitch in each of the 6-6-8-8-8-8 stitches cast on under sleeve = 38-40-42-46-48-52 stitches. Insert a marker thread in the middle of the new stitches. Begin at the marker thread, and work stocking stitch in the round. When piece measures 3 cm from division, decrease 2 stitches mid under sleeve - read DECREASE TIP. Decrease like this approx. every 5½-5½-4-3-2½-2 cm 4-4-5-6-7-8 times in total = 30-32-32-34-34-36 stitches. Continue until piece measures 28-27-26-24-23-22 cm. Knit 1 round while increasing 10-8-8-10-10-12 stitches evenly = 40-40-40-44-44-48 stitches. Switch to double pointed needles size 6 mm. Work rib (knit 2/purl 2) for 12 cm. Cast off stitches with knit over knit and purl over purl. Sleeve measures approx. 40-39-38-36-35-34 cm from division. Work the other sleeve the same way. |
|
|
|
Have you finished this pattern?Tag your pictures with #dropspattern #augustsunsetsweater or submit them to the #dropsfan gallery. Do you need help with this pattern?You'll find 23 tutorial videos, a Comments/Questions area and more by visiting the pattern on garnstudio.com. © 1982-2025 DROPS Design A/S. We reserve all rights. This document, including all its sub-sections, has copyrights. Read more about what you can do with our patterns at the bottom of each pattern on our site. |
|


With over 40 years in knitting and crochet design, DROPS Design offers one of the most extensive collections of free patterns on the internet - translated to 17 languages. As of today we count 314 catalogues and 11822 patterns translated into English (UK/cm).
We work hard to bring you the best knitting and crochet have to offer, inspiration and advice as well as great quality yarns at incredible prices! Would you like to use our patterns for other than personal use? You can read what you are allowed to do in the Copyright text at the bottom of all our patterns. Happy crafting!
Post a comment to pattern DROPS 240-32
We would love to hear what you have to say about this pattern!
If you want to leave a question, please make sure you select the correct category in the form below, to speed up the answering process. Required fields are marked *.