
Looking for a yarn?


Comments / Questions (23)
![]() Maria wrote:
Maria wrote:
Es correcta la cantidad de lana necesaria para la talla XL? No solo me cuesta de creer que siendo 6 cm más ancha que la L valga con la misma cantidad, si no que tengo 6 ovillos (300g) de lana, llevo usados 3 ovillos y medio, y solo 17 cm de altura (llevando los 56 de ancho reglamentarios). Voy a tener que deshacer lo hecho y pensar otro proyecto, cuando se me pase el enfado!
24.05.2022 - 08:53DROPS Design answered:
Hola Maria, no tenemos constancia de que haya algún error en la cantidad de lana necesaria. Puedes comparar la cantidad indicada con modelos similares, como el 211-15 o 211-13, y ver qué las cantidades son similares. Si no te cunde con la lana indicada, probablemente haya algún error en la tensión del tejido; la lana está calculada para trabajar con la tensión y medidas indicada y cualquier variación en ellas puede hacer que se requiera más o menos hilo.
24.05.2022 - 21:04
![]() Olga wrote:
Olga wrote:
Buongiorno, Il campione deve essere realizzato con quale delle due misure dei ferri suggeriti? 4mm o 5 mm? Grazie!
30.04.2022 - 22:03DROPS Design answered:
Buongiorno Olga, il campione solitamente si lavora con i ferri più grandi ma in ogni caso deve utilizzare la misura che le permette di ottenere il campione indicato. Buon lavoro!
30.04.2022 - 22:53
![]() Brigitte wrote:
Brigitte wrote:
In welke richting lees ik het A.1 patroon? Van welke kant ik het bekijk, ik kom niet op het patroon van de foto.
20.04.2022 - 00:10DROPS Design answered:
Dag Brigitte,
Je leest het patroon van rechts naar links en van onder naar boven. Bij de meest gestelde vragen vind je ook een uitleg over het lezen van telpatronen. Zie hier
20.04.2022 - 10:29
![]() Naomi wrote:
Naomi wrote:
I am knitting the Raspberry Fair design . I have knitted 2 shoulder straps 40 cm long for the front and the back says to knit 2 more shoulder straps 40 cm long and sew the straps together . 40 cm seems the right length for the shoulder straps . Why do I need to knit 4 straps instead of 2 and how would I sew the 4 straps together? The photo does not look as if there are 4 straps sewn together.
18.12.2021 - 00:10DROPS Design answered:
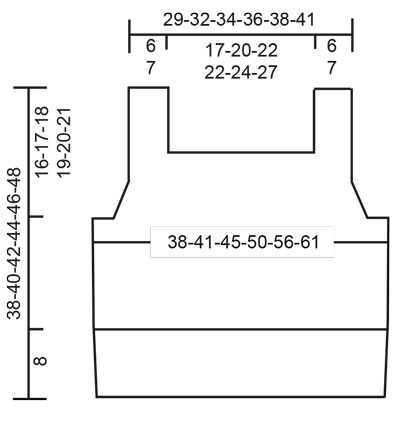
Dear Naomi, as you can see in the diagram below the pattern, 40 cm is the measurements from the beginning of the front/back to the end of the shoulder strap. The armhhole measures 17cm and the strap is even shorter. You join the straps from the back and the front in the top of the shoulders. Happy knitting!
19.12.2021 - 20:29
![]() Dodi wrote:
Dodi wrote:
Thank you so much this is now clear.
15.10.2021 - 08:18
![]() Dodi wrote:
Dodi wrote:
Hello,I hve a question regarding after diagram A.1 in the round. When the piece measures 22-23-24-25-26-27 cm, work 2 RIDGES – read description above, over the 10-10-14-14-20-24 stitches on each side (5-5-7-7-10-12 stitches on each side of both marker threads. I, doing size small so does it mean that I knit the first 5 stitches on each side as above and then continue with the pattern A1 for the remaining stitches in the round? If not can you explain how it works please. Thank you Doodi
15.10.2021 - 07:04DROPS Design answered:
Dear Doodi, you will work the first 5 sts on the round + the 10 sts on the other side + the last 5 sts on the round in garter stitch but all remaining stitches as before, this means on first row knit these stitches and work all remaining sts following A.1 as before; on next round purl these stitches working all remaining sts following A.1 as before and repeat these 2 rows one more time (= 2 ridges over the middle 10 sts on each side, while A.1 continued over remaining sts). Happy knitting!
15.10.2021 - 08:10
![]() Grace wrote:
Grace wrote:
Question: I pls I am a new knitter but I want to knit this top can you pls help me with the explanation for the body how do you "Knit 1 round where you decrease 1-1-2-0-2-1 stitches evenly spaced = 135-147-162-180-198-219 stitches" so how do you decrease 1-1-2-0-2-1 stiches evenly spaced. Thanks for your help
05.10.2021 - 05:00DROPS Design answered:
Dear Grace, this lesson explains how to decrease stitches evenly. Happy knitting!
05.10.2021 - 07:37
![]() Grace wrote:
Grace wrote:
Question: I pls I am a new knitter but I want to knit this top can you pls help me with the explanation for the body how do you "Knit 1 round where you decrease 1-1-2-0-2-1 stitches evenly spaced = 135-147-162-180-198-219 stitches" so how do you decrease 1-1-2-0-2-1 stiches evenly spaced. Thanks for your help
05.10.2021 - 04:37
![]() Ivana Saleri wrote:
Ivana Saleri wrote:
Grazie mille🧶❤
31.08.2021 - 18:01
![]() Ivana Saleri wrote:
Ivana Saleri wrote:
Molto bello questo modello! Mi piacerebbe poterlo realizzare con del cotone in filo di Scozia. Posso essere aiutata nella conversione dei filati? Ringrazio tantissimo 🧶🙏🏼 ivana
28.08.2021 - 08:42DROPS Design answered:
Buonasera Ivana, purtroppo non possiamo aiutarla per questa richiesta così personalizzata, ma può trovare facilmente la quantità di filato necessaria tenendo conto che un gomitolo di Paris è di 75 m. Buon lavoro!
29.08.2021 - 22:28
|
|||||||
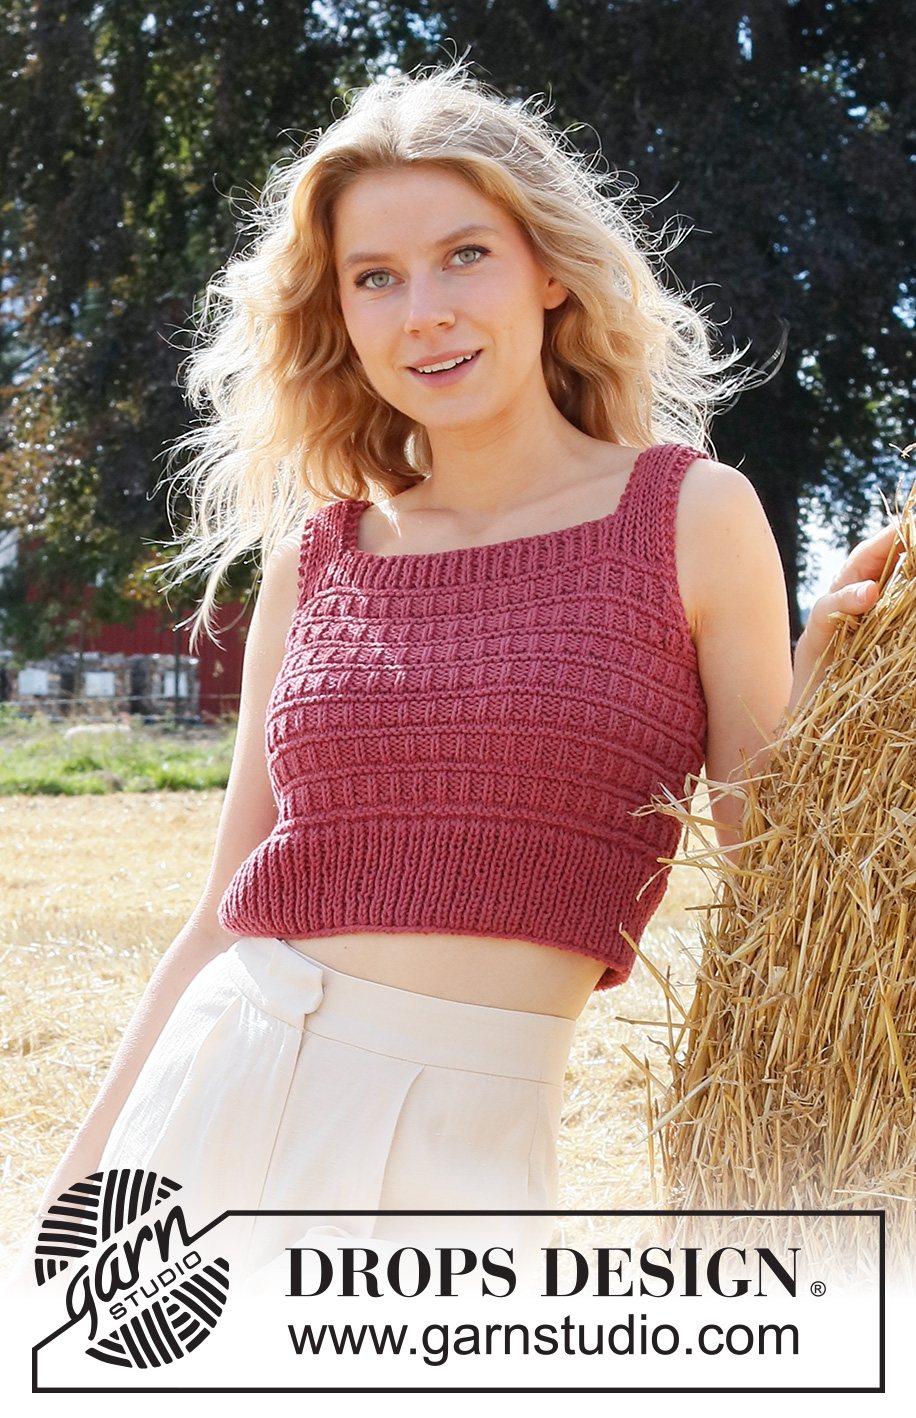
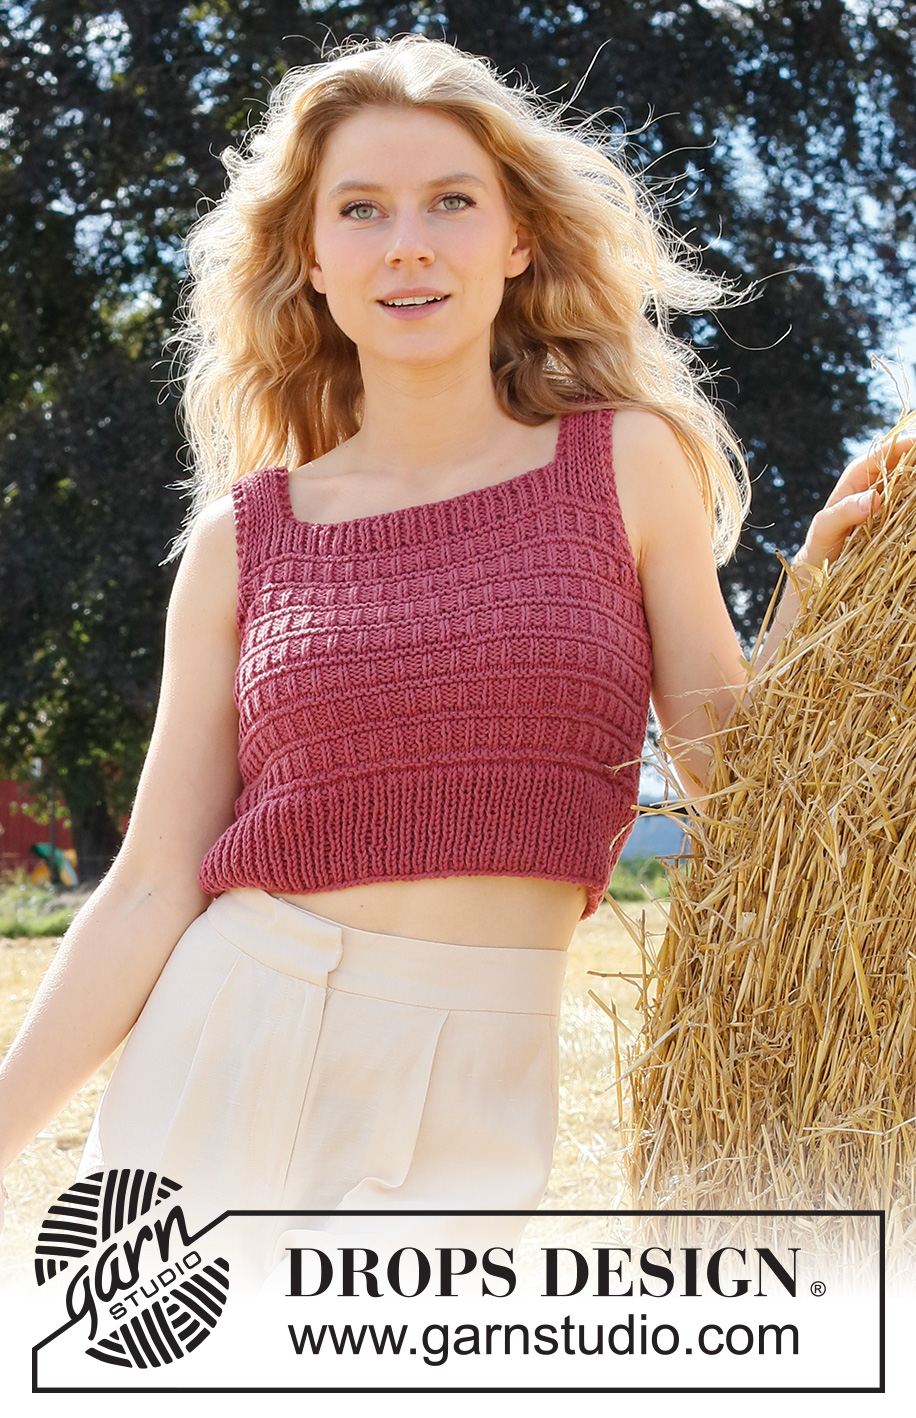
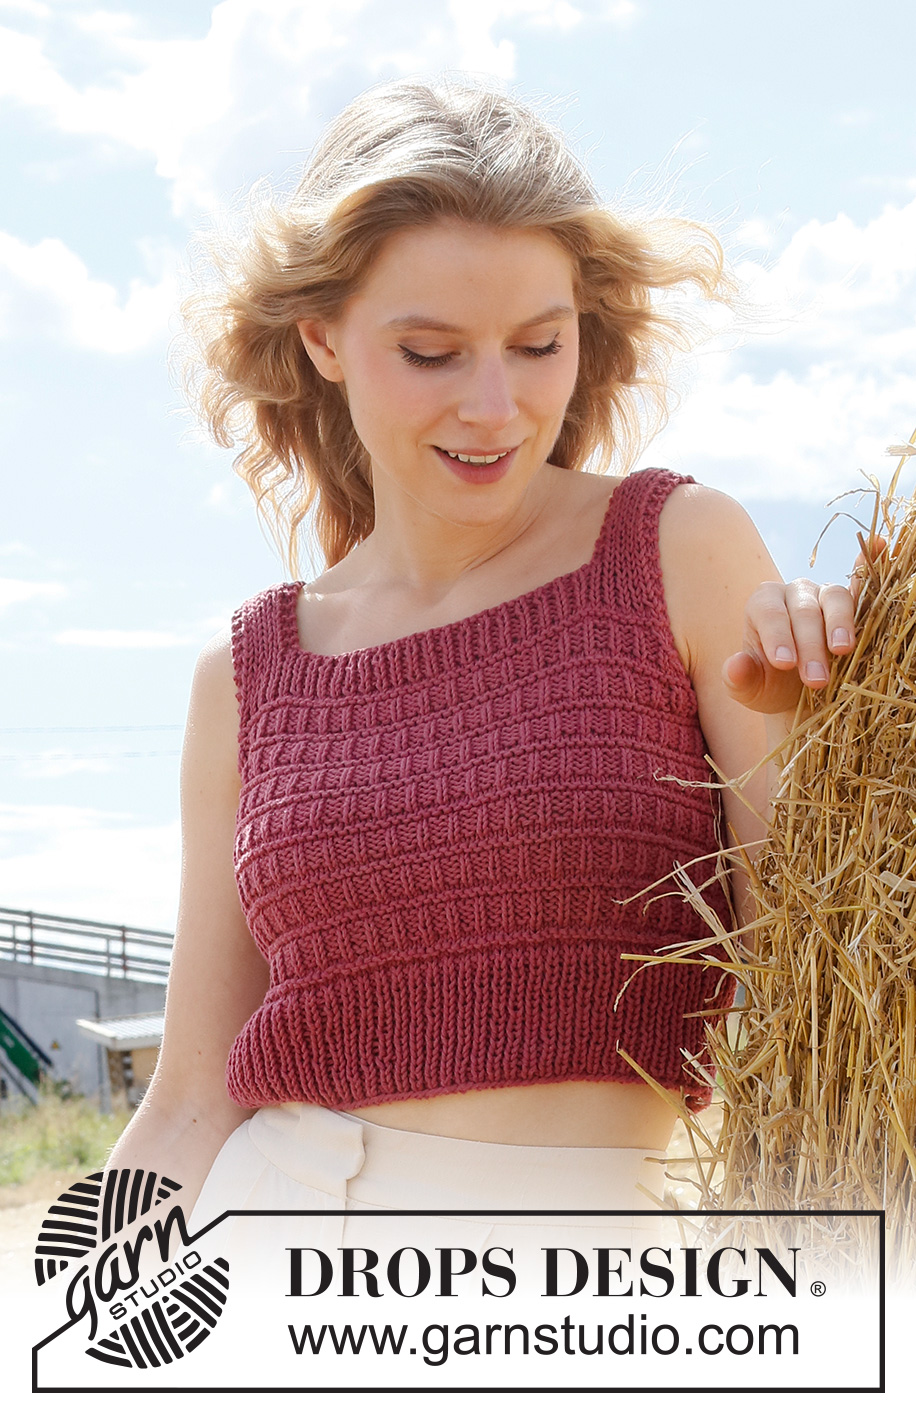
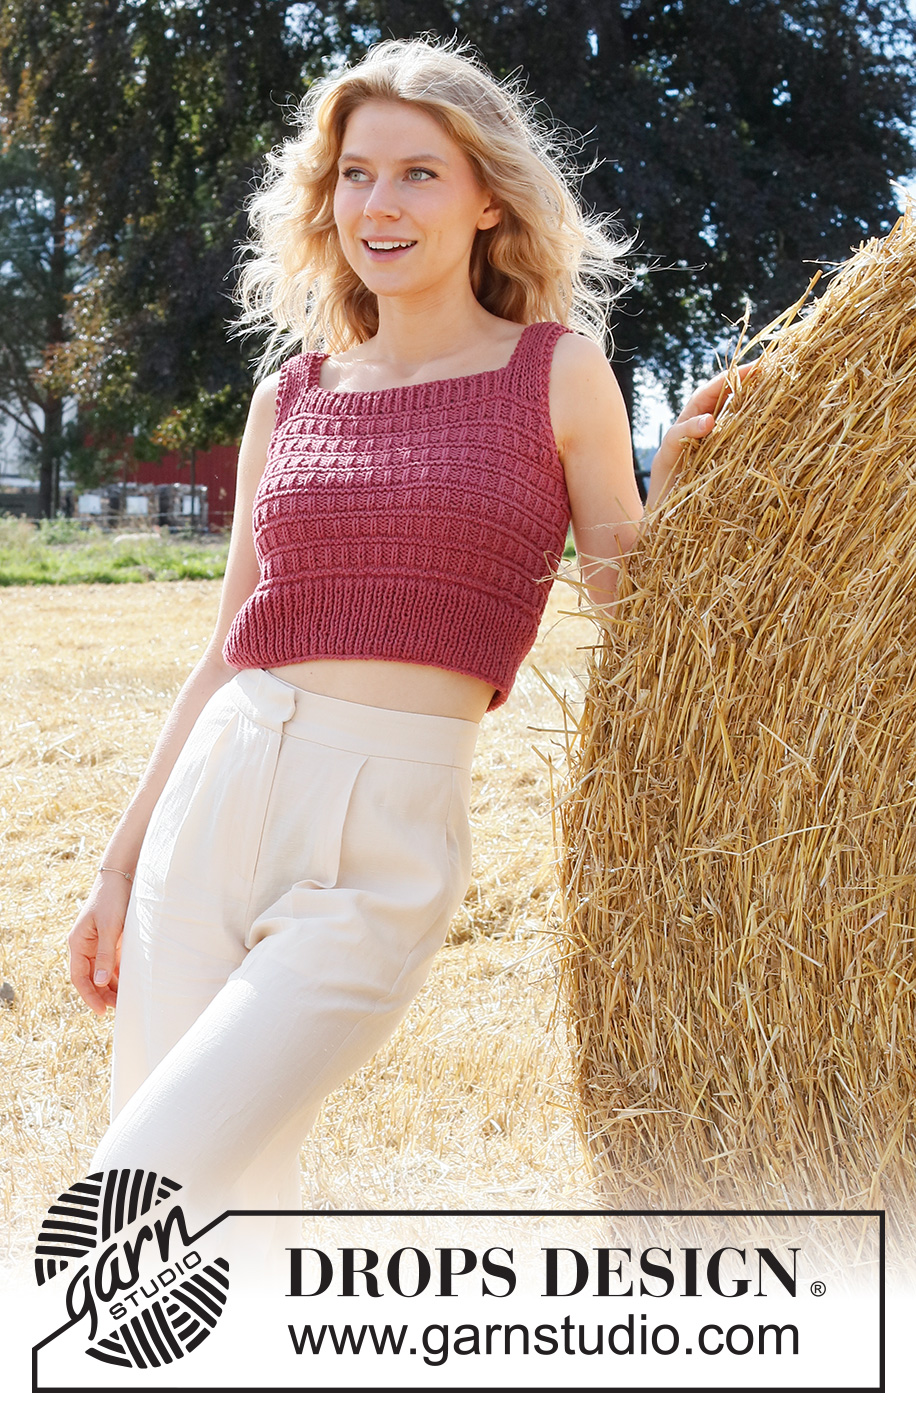
Raspberry Fair#raspberryfairtop |
|||||||
 |
 |
||||||
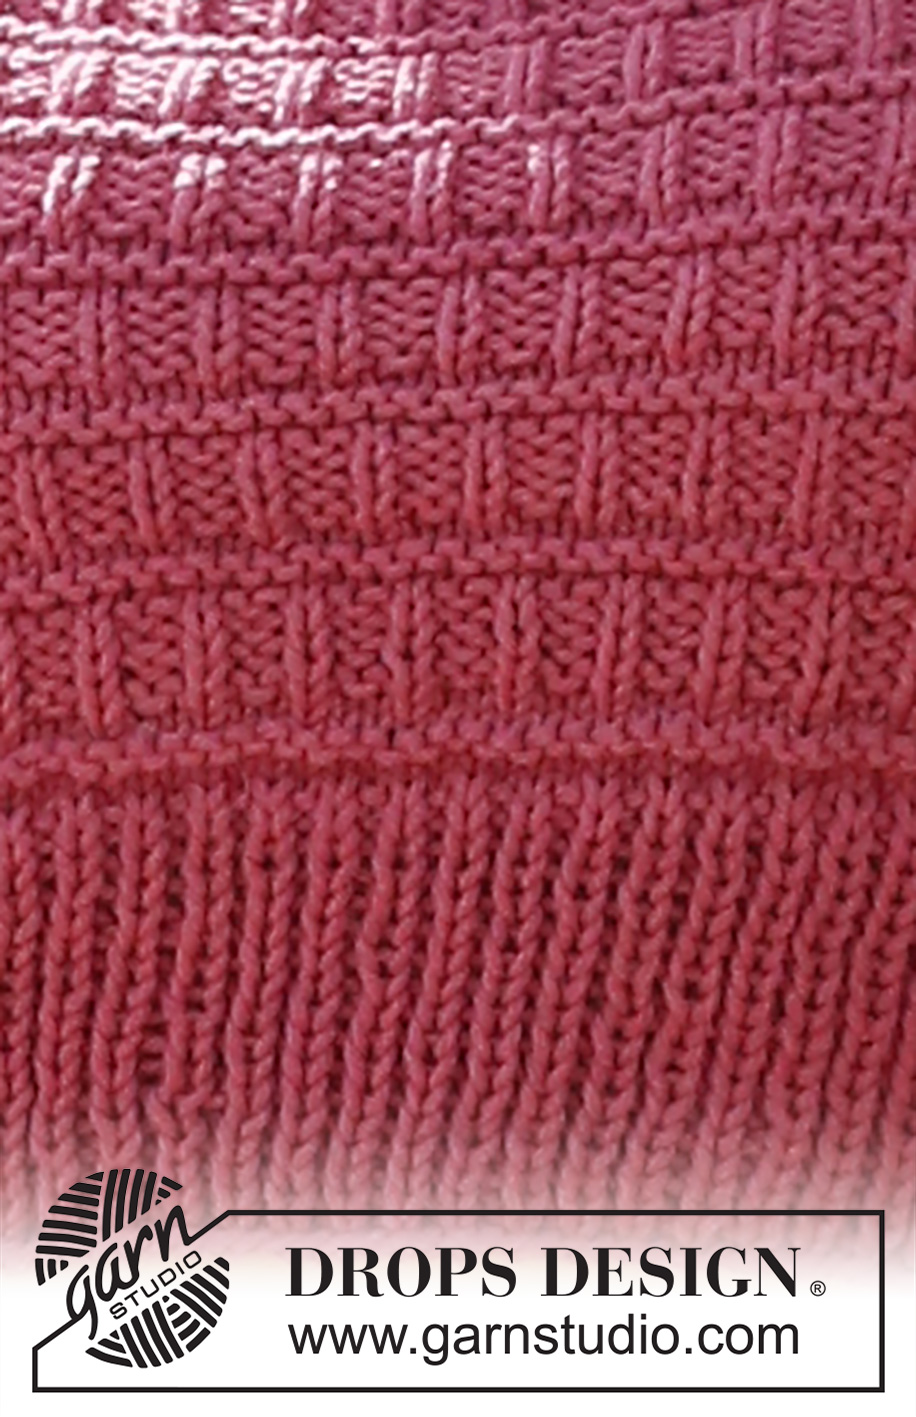
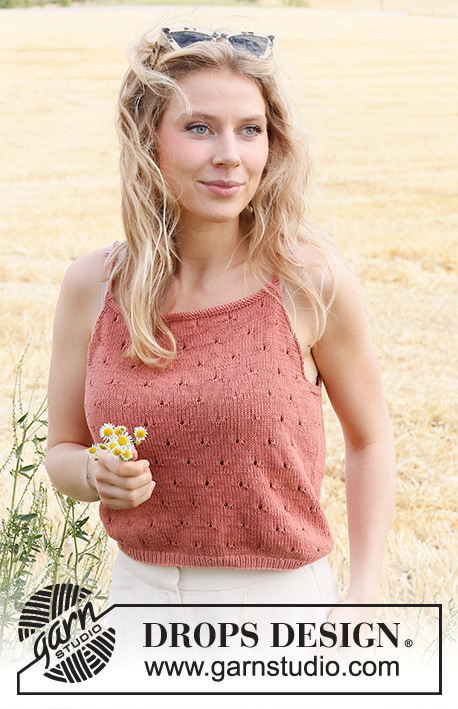
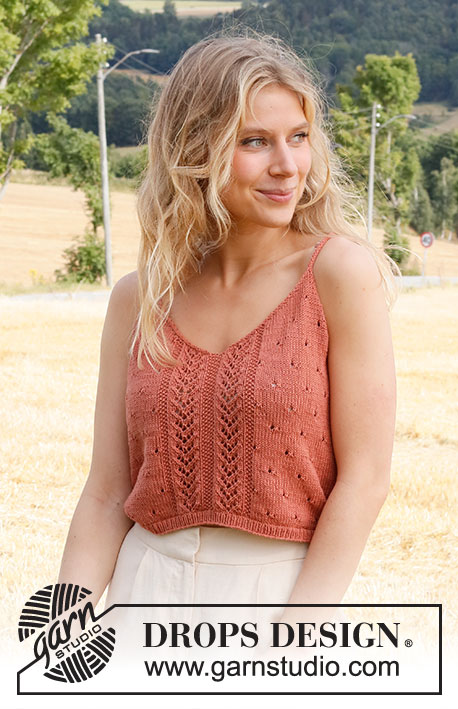
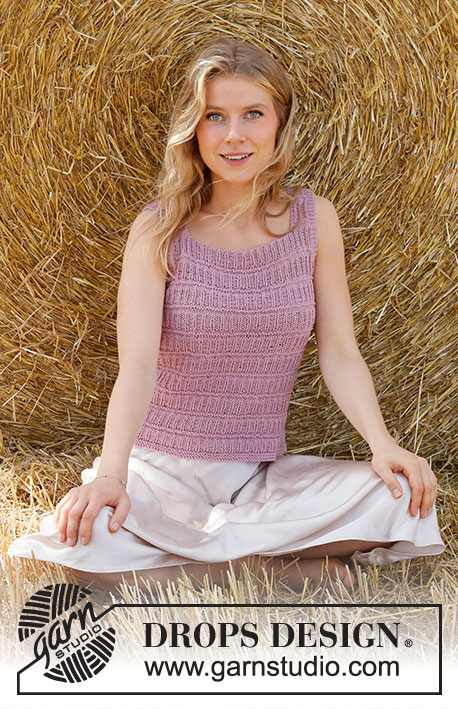
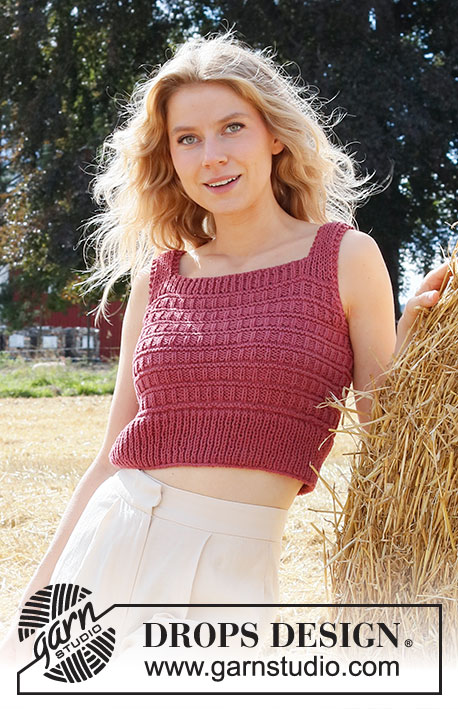
Knitted top in DROPS Paris. The piece is worked with textured pattern. Sizes XS – XXL.
DROPS 223-31 |
|||||||
|
------------------------------------------------------- EXPLANATIONS FOR THE PATTERN: ------------------------------------------------------- RIDGE/GARTER STITCH (worked in the round): 1 ridge in height = 2 rounds; Knit 1 round and purl 1 round. RIDGE/GARTER STITCH (worked back and forth): Knit all rows. 1 ridge in height = Knit 2 rows. PATTERN: See diagram A.1. The diagram shows all the rounds/rows in the pattern from the right side. DECREASE TIP: All decreases are worked from the right side! Decrease as follows after the 2 edge stitches in garter stitch: Slip 1 stitch as if to knit, knit 1 and pass the slipped stitch over the knitted stitch (= 1 stitch decreased). Decrease as follows before the 2 edge stitches in garter stitch: Work until there are 4 stitches left on the row, knit 2 together (= 1 stitch decreased). ------------------------------------------------------- START THE PIECE HERE: ------------------------------------------------------- TOP – SHORT OVERVIEW OF THE PIECE: The piece is worked in the round with short circular needle as far as the armholes. Then the front and back pieces are finished separately. BODY: Cast on 136-148-164-180-200-220 stitches with circular needle size 4 mm and Paris. Knit 1 round. Then work rib (knit 1, purl 1) in the round for 8 cm. Knit 1 round where you decrease 1-1-2-0-2-1 stitches evenly spaced = 135-147-162-180-198-219 stitches. Now insert a marker thread in each side as follows: Insert 1 marker thread at the beginning of the round and one marker thread after 68-74-81-90-99-110 stitches. There are 67-73-81-90-99-109 stitches on the back piece and 68-74-81-90-99-110 stitches on the front piece. Switch to circular needle size 5 mm. Work diagram A.1 in the round. REMEMBER THE KNITTING TENSION! When the piece measures 22-23-24-25-26-27 cm, work 2 RIDGES – read description above, over the 10-10-14-14-20-24 stitches on each side (5-5-7-7-10-12 stitches on each side of both marker threads). When the 2 ridges are finished, work the next round as follows: Cast off the first 3-3-5-5-8-10 stitches, work the next 62-68-71-80-83-90 stitches in pattern as before (the first 2 and last 2 of these stitches are worked in garter stitch), cast off the next 6-6-10-10-16-20 stitches (marker thread in the middle of these stitches), work the next 61-67-71-80-83-89 stitches as before and cast off the last 3-3-5-5-8-10 stitches. Cut the strand. The front and back pieces are finished separately. FRONT PIECE: = 62-68-71-80-83-90 stitches. Continue back and forth with pattern as before and with 2 edge stitches in garter stitch on each side. AT THE SAME TIME on each row from the right side, decrease for both armholes – read DECREASE TIP. Decrease like this every 2nd row a total of 4-5-5-7-7-8 times on each side = 54-58-61-66-69-74 stitches. After the last decrease, work until the last row worked is a row like the 2nd, 10th or 18th row of pattern A.1. Work 1 row from the right side where you decrease 1-1-0-1-0-1 stitch = 53-57-61-65-69-73 stitches. Then purl 1 row from the wrong side with 2 edge stitches in garter stitch on each side. Change to circular needle size 4 mm and work rib as follows: 2 edge stitches in garter stitch, * knit 1, purl 1 *, work from *-* until there are 3 stitches left, knit 1 and work 2 edge stitches in garter stitch. Continue back and forth like this for 3 cm. On the next row from the right side, cast off for the neck as follows: Work the first 9-9-9-11-11-11 stitches as before, work 2 stitches in garter stitch, cast off the next 31-35-39-39-43-47 stitches with knit over knit and purl over purl, work 2 stitches in garter stitch, work as before over the next 9-9-9-11-11-11 stitches and finish with 2 edge stitches in garter stitch. There are 11-11-11-13-13-13 stitches on each shoulder strap. Continue back and forth over the one strap with knit over knit and purl over purl with 2 stitches in garter stitch on each side, until the piece measures 38-40-42-44-46-48 cm – or to desired length (the armhole measures approx. 16-17-18-19-20-21 cm). Cast off with knit. Work the other strap in the same way. BACK PIECE: = 61-67-71-80-83-89 stitches. Continue back and forth with pattern as before and with 2 edge stitches in garter stitch on each side. AT THE SAME TIME on each row from the right side, decrease for both armholes – remember DECREASE TIP. Decrease like this every 2nd row a total of 4-5-5-7-7-8 times on each side = 53-57-61-66-69-73 stitches. After the last decrease, work to row 2, 10 or 18 in A.1. Work 1 row from the right side where you decrease 0-0-0-1-0-0 stitch = 53-57-61-65-69-73 stitches. Then purl 1 row from the wrong side with 2 edge stitches in garter stitch on each side. Change to circular needle size 4 mm and work rib as follows: 2 edge stitches in garter stitch, * knit 1, purl 1 *, work from *-* until there are 3 stitches left, knit 1, 2 edge stitches in garter stitch. Continue back and forth like this for 3 cm. On the next row from the right side cast off for the neck as follows: Work the first 9-9-9-11-11-11 stitches as before, work 2 stitches in garter stitch, cast off the next 31-35-39-39-43-47 stitches with knit over knit and purl over purl, work 2 stitches in garter stitch, work as before over the next 9-9-9-11-11-11 stitches and finish with 2 edge stitches in garter stitch. There are 11-11-11-13-13-13 stitches on each shoulder strap. Continue back and forth over the one strap with knit over knit and purl over purl with 2 stitches in garter stitch on each side, until the piece measures 38-40-42-44-46-48 cm – or to desired length (the armhole measures approx. 16-17-18-19-20-21 cm). Cast off with knit. Work the other strap in the same way. ASSEMBLY: Sew the straps together with grafting stitches. |
|||||||
Diagram explanations |
|||||||
|
|||||||
 |
|||||||
 |
|||||||
Have you finished this pattern?Tag your pictures with #dropspattern #raspberryfairtop or submit them to the #dropsfan gallery. Do you need help with this pattern?You'll find 20 tutorial videos, a Comments/Questions area and more by visiting the pattern on garnstudio.com. © 1982-2025 DROPS Design A/S. We reserve all rights. This document, including all its sub-sections, has copyrights. Read more about what you can do with our patterns at the bottom of each pattern on our site. |
|||||||


With over 40 years in knitting and crochet design, DROPS Design offers one of the most extensive collections of free patterns on the internet - translated to 17 languages. As of today we count 320 catalogues and 12090 patterns translated into English (UK/cm). 12090
We work hard to bring you the best knitting and crochet have to offer, inspiration and advice as well as great quality yarns at incredible prices! Would you like to use our patterns for other than personal use? You can read what you are allowed to do in the Copyright text at the bottom of all our patterns. Happy crafting!
Post a comment to pattern DROPS 223-31
We would love to hear what you have to say about this pattern!
If you want to leave a question, please make sure you select the correct category in the form below, to speed up the answering process. Required fields are marked *.