
Popular categories
Looking for a yarn?


Comments / Questions (23)
![]() Dre wrote:
Dre wrote:
Is the gauge or knitting tension supposed to be done with the 4mm or 5mm needles? Also, I printed the pattern after translating to US English and it looks like the translation is off, as it instructs me to knit the ribbing using US 8/5mm needles
16.09.2024 - 10:58DROPS Design answered:
Dear Dre, ribbing edge at the bottom should be worked with smaller needles, pattern will be edited, thanks for noticing. Happy knitting!
16.09.2024 - 17:04
![]() Margherita wrote:
Margherita wrote:
Salve! Posso chiedere la guida alle taglie?? Per piacere
15.12.2023 - 08:06DROPS Design answered:
Buonasera Margherita, può trovare lo schema con le misure del capo per le diverse taglie in fondo alla pagina dopo i diagrammi. Buon lavoro!
15.12.2023 - 21:45
![]() Mary wrote:
Mary wrote:
Hi, Love this pattern. However it gets really hot here and I want to knitt it in a cotton yarn. Is this OK? Because cotton doesn't stretch, should I pick a larger size up? Thankyou.
16.10.2023 - 23:17DROPS Design answered:
Hi Mary, If you choose a cotton yarn from yarn group C or A (where you will need to use double strands), you can work this pattern as it stands. Click on Yarn & Needles at top of page, then Yarn Groups bottom right and find a cotton yarn in your chosen group. We recommend working a swatch to check your knitting tension before starting any project. Happy crafting!
17.10.2023 - 08:57
![]() Linn Gass Christiansen wrote:
Linn Gass Christiansen wrote:
Hej Drops, jeg er lidt forvirret over, at der står nr. 4 pind til rib og nr. 5 til retstrikning, men at man skal slå sine masker op på pind 5 og så fortsætte til rib. På intet tidspunkt står der, at man skal skifte til 4. Håber I kan hjælpe
20.05.2023 - 15:56DROPS Design answered:
Hej Linn, tak for info. Vi skal høre med design om man også skal starte med ribben på pind 4 - hold øje her i opskriften efter en rettelse :)
23.05.2023 - 10:43
![]() Margaret Casey wrote:
Margaret Casey wrote:
Could you possibly translate the pattern so I can knit it on straight needles I'm not very good knitting in the round thankyou
11.05.2023 - 14:27DROPS Design answered:
Dear Mrs Casey, in this lesson we explain how to adapt a pattern into straight needles, this should be able to help you. Happy knitting!
12.05.2023 - 07:38
![]() Britta wrote:
Britta wrote:
Liebes Drops Team. In der Anleitung steht beim Vorder- und beim Rückenteil, dass man die Träger arbeiten soll. Ist das so korrekt? Dann hätte ich insgesamt eine Trägerlänger (Größe M) von insgesamt 84cm, wenn ich diese vom Vorder- und vom Rückenteil aus arbeite. Zudem passt dann beim Rückenteil die Angabe für die Abkettung des Halsausschnittes nicht. Vielen Dank im Voraus, Britta
24.04.2023 - 09:12DROPS Design answered:
Liebe Britta, die gesamte Länge von 42 cm (GrößeM) für den Träger wird aber von der Anschlagskante gemessen (Armloch = 18 cm). Viel Spaß beim stricken!
24.04.2023 - 10:35
![]() Karla wrote:
Karla wrote:
Hola, tengo una pregunta: estoy haciendo la blusa en talla M con agujas del 5, como el patrón lo indica, pero la puntada me queda muy floja. Si deseo usar agujas del 4, para que la puntada quede más apretada, ¿tejo la misma talla o la G?
22.04.2023 - 16:06
![]() Dominga Dorigo wrote:
Dominga Dorigo wrote:
Buonasera, mi spiace disturbarvi, ma non capisco. I ferri 4 non sono mai citati, se non alla fine per le spalline. La mia domanda è se anche per il bordo della canotta è bene usare il 4 (anche se non è indicato). Nella Vs spiegazione dite "Avviare 136-148-164-180-200-220 maglie con i ferri circolari n° 5 mm e Paris. Lavorare 1 giro diritto. Poi lavorare a coste (1 maglia diritto, 1 maglia rovescio) in tondo per 8 cm." Ringrazio ancora per il supporto e per i vs prodotti!
26.06.2022 - 21:39DROPS Design answered:
Buonasera Dominga, i ferri 4 mm sono utilizzati per la parte superiore del top e per le spalline, il resto del top è lavorato con i ferri 5 mm. Le ricordiamo che il numero di ferri è solo indicativo: deve lavorare con il numero che le permette di ottenere il campione indicato. Se preferisce può lavorare il bordo inferiore a coste con i ferri più piccoli. Buon lavoro!
26.06.2022 - 22:48
![]() Dominga wrote:
Dominga wrote:
Buongiorno, non mi è chiaro con quali ferri lavorare. Inizio con il 4 per il bordo a coste e proseguono con il 5? Oppure tutto con il 5? La vostra spiegazione dice "Avviare 136-148-164-180-200-220 maglie con i ferri circolari n° 5 mm e Paris." poi non cita ma il ferro 4. Grazie
26.06.2022 - 11:51DROPS Design answered:
Buonasera Dominga, deve iniziare a lavorare con i 5 mm e usare i ferri 4 mm quando indicato. Buon lavoro!
26.06.2022 - 21:16
![]() Agnes Oblas wrote:
Agnes Oblas wrote:
I do not understand the direction in the second paragraph which begins: "work ridges over the 10 stitches on each side 5 stitches on each side of both marker threads".
25.05.2022 - 23:00DROPS Design answered:
Dear Agnes, you work ridges over the stitches underarm (10 stitches). Since the marker stitch is in the middle of the underarm, you work in garter stitch over 5 stitches on each side of the marker stitch. It's 2 different ways to express the same information. So, you work 5 stitches in garter stitches (from 1 marker), the front, 10 stitches in garter stitches (the second marker is in the middle), the back, and the last 5 stitches in garter stitch (reaching the first marker stitch). Happy knitting!
26.05.2022 - 23:19
|
|||||||
Raspberry Fair#raspberryfairtop |
|||||||
 |
 |
||||||
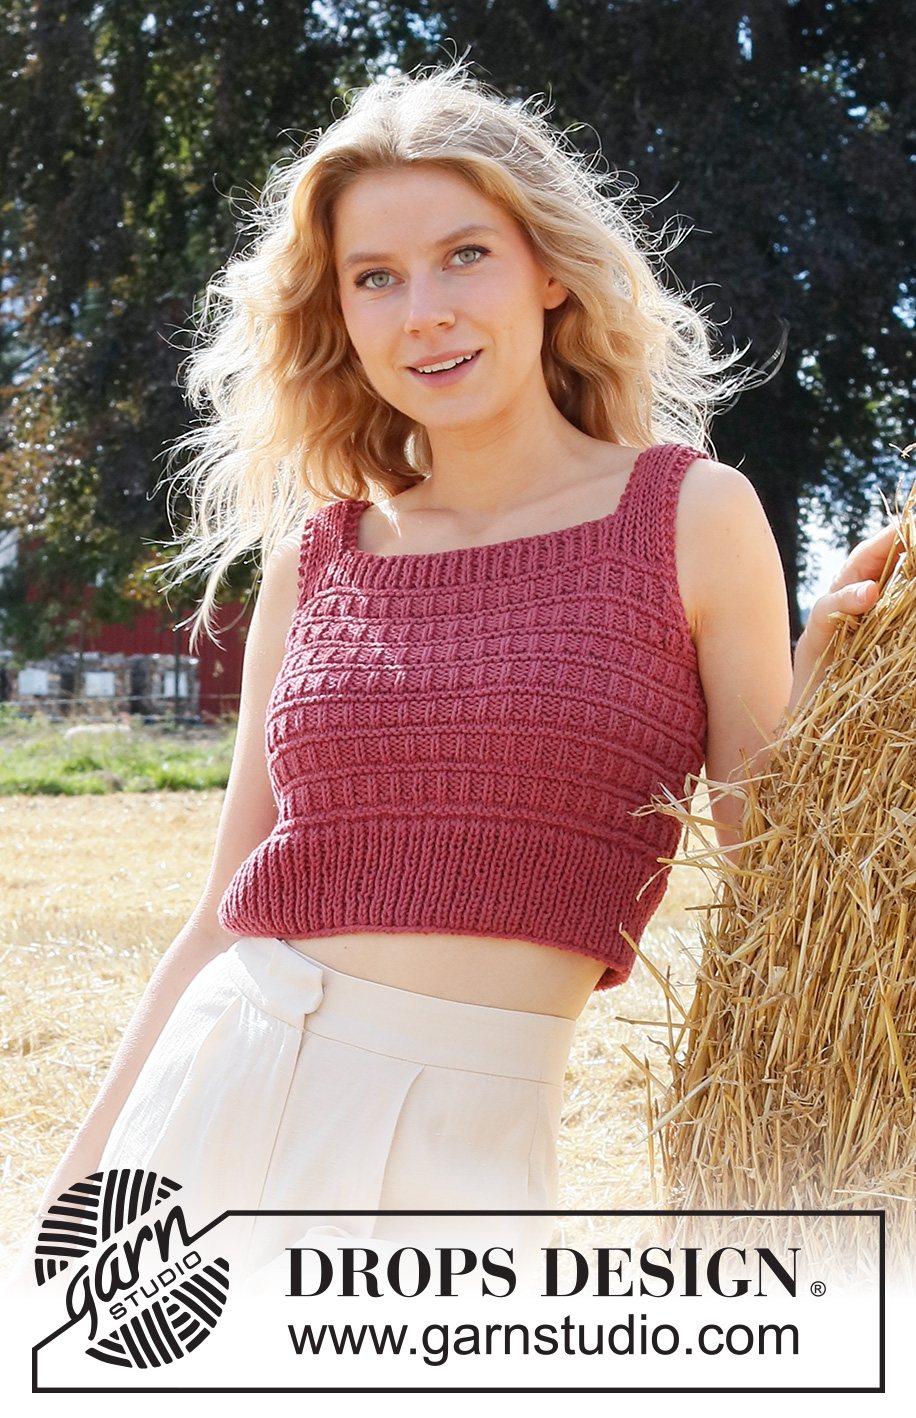
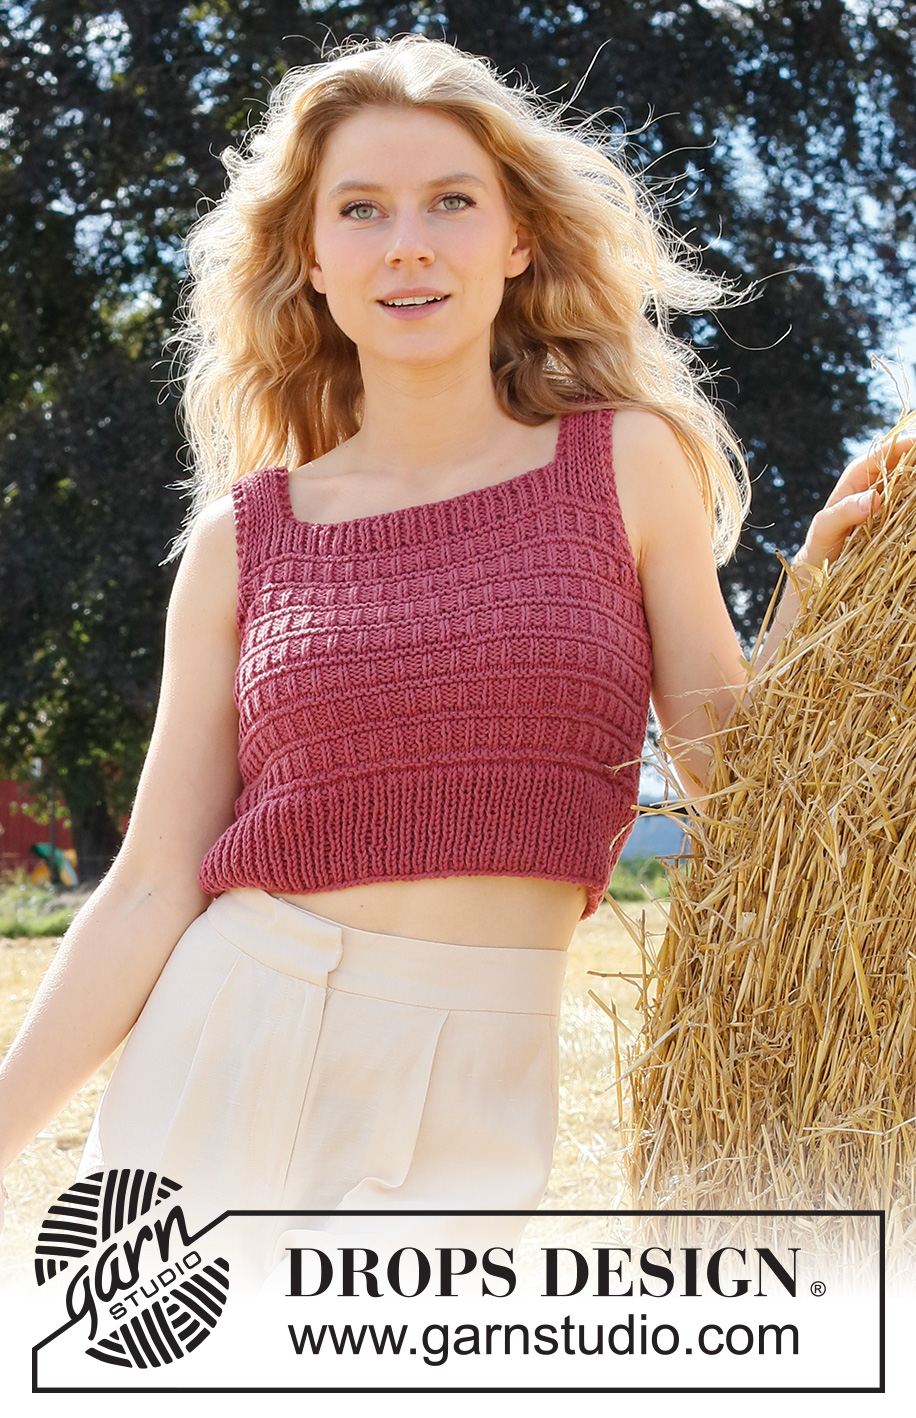
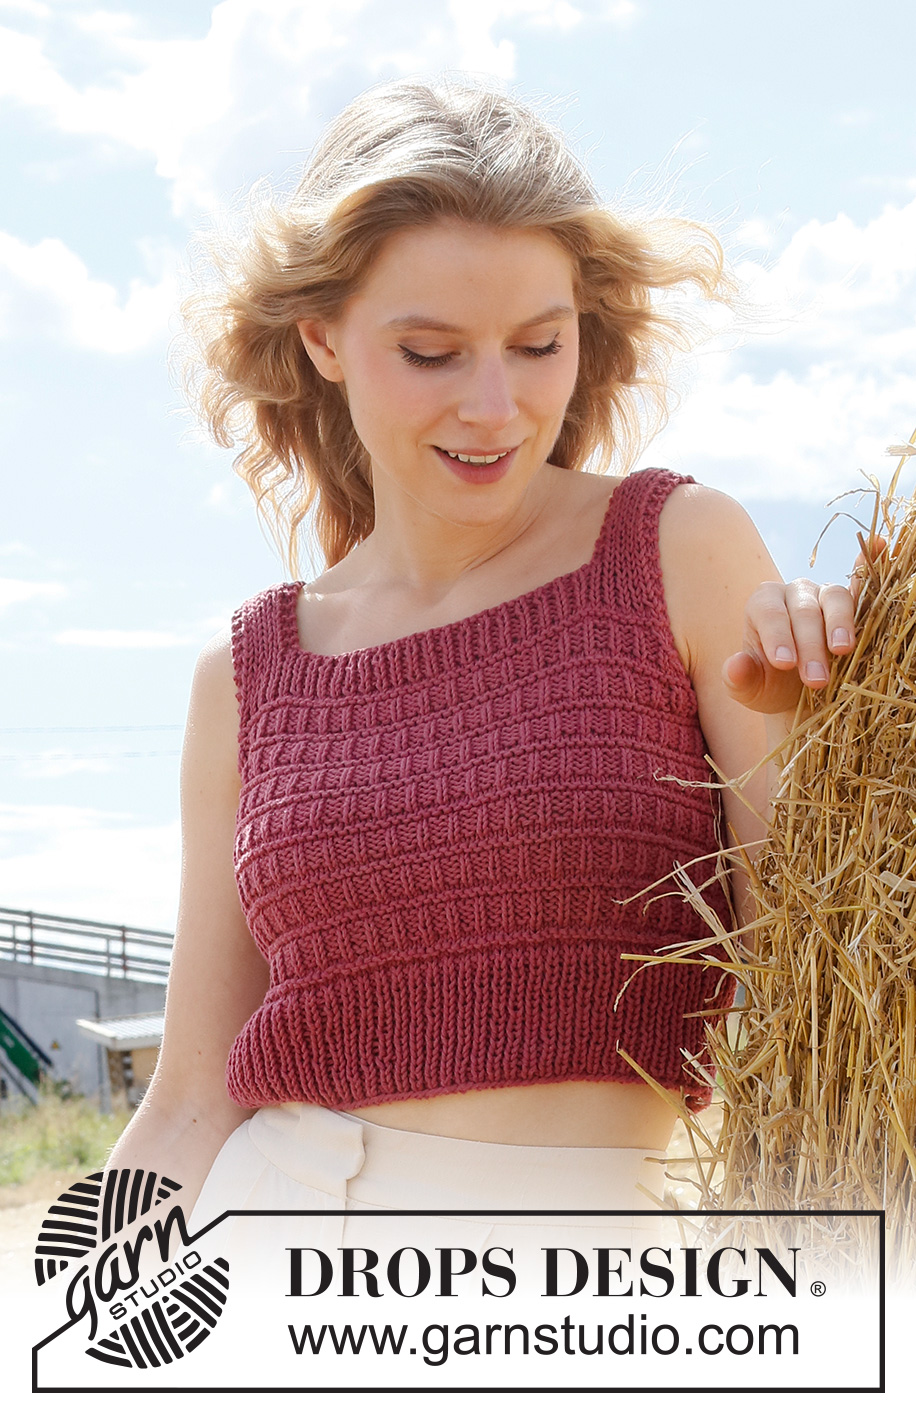
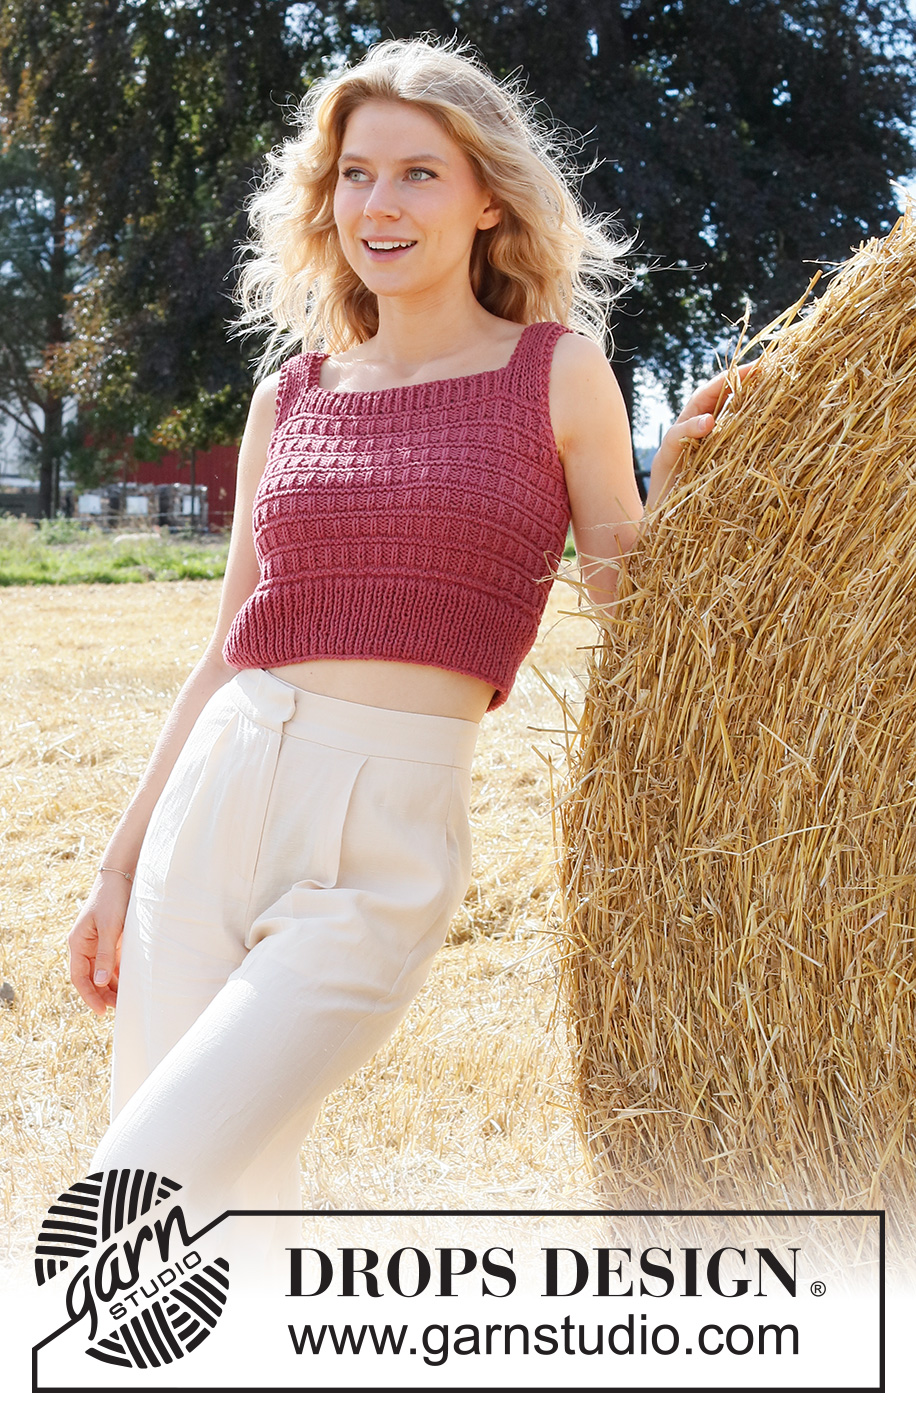
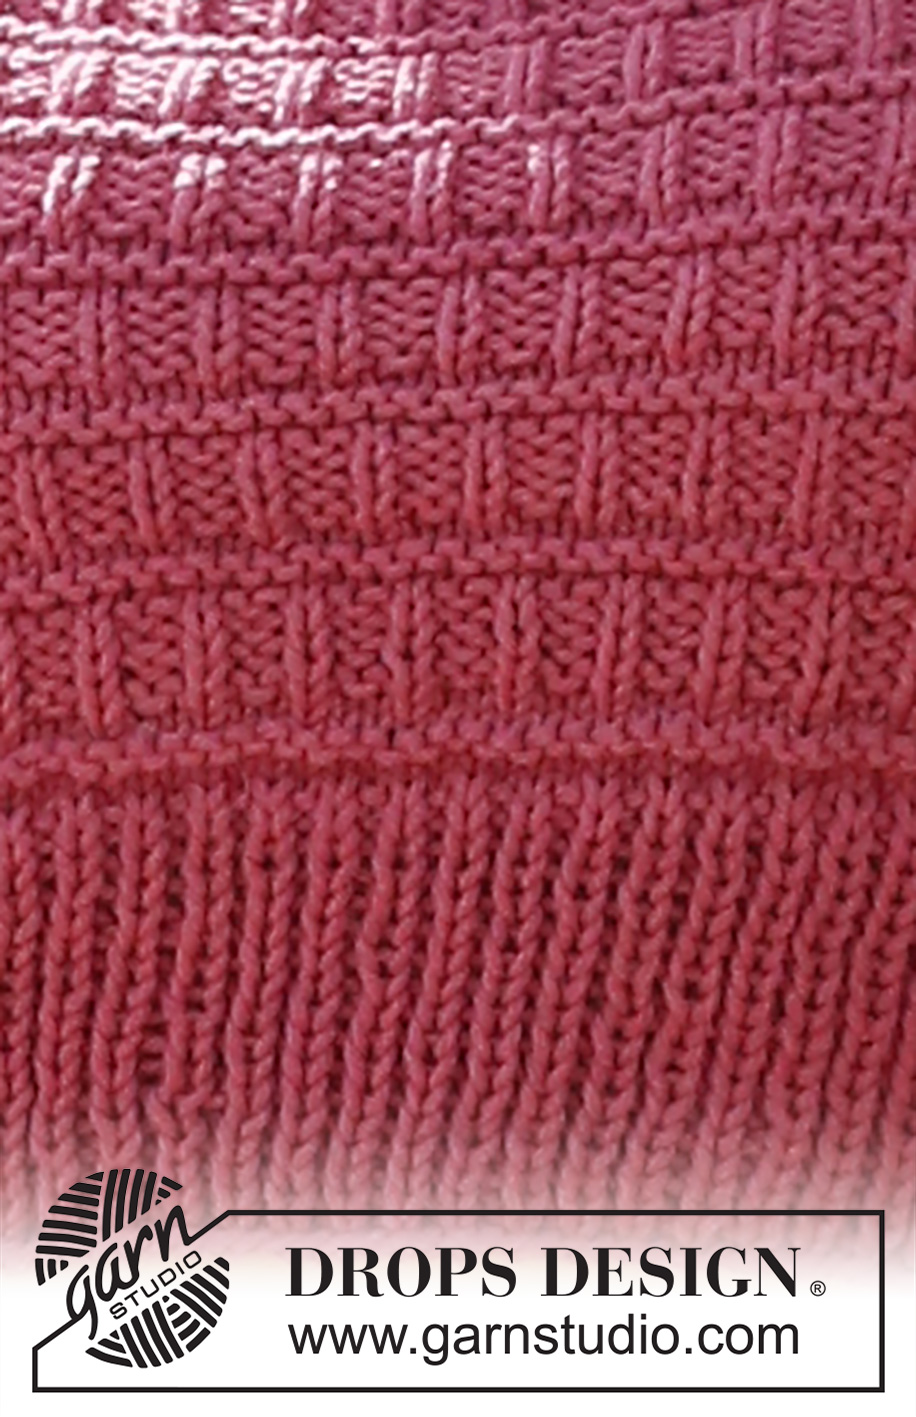
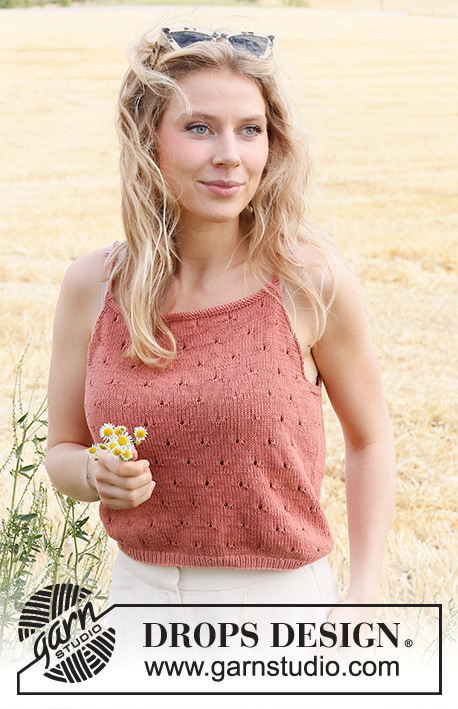
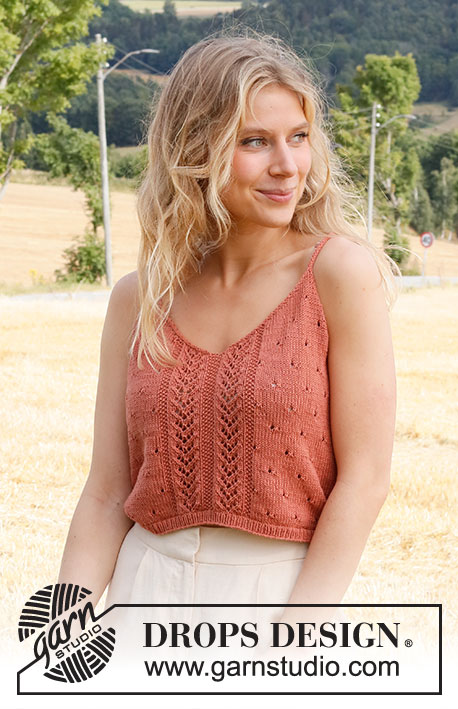
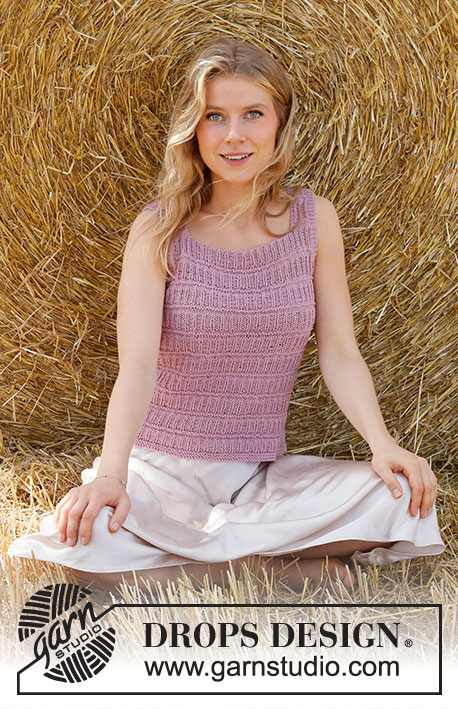
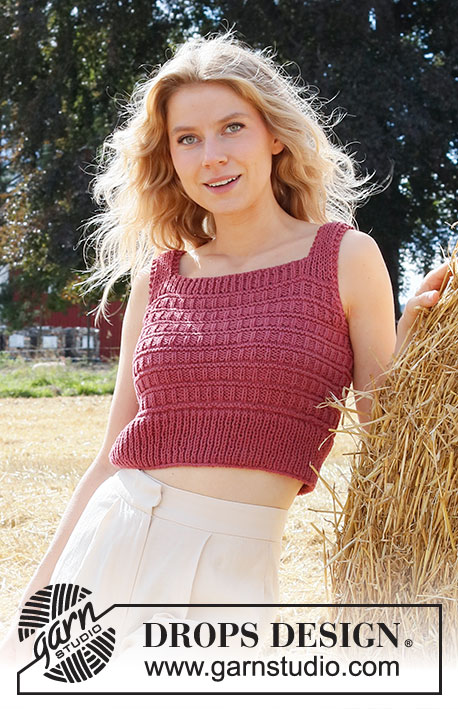
Knitted top in DROPS Paris. The piece is worked with textured pattern. Sizes XS – XXL.
DROPS 223-31 |
|||||||
|
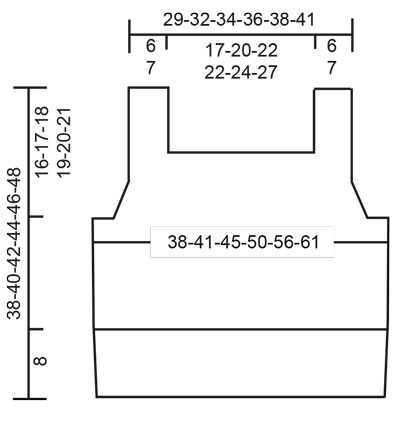
------------------------------------------------------- EXPLANATIONS FOR THE PATTERN: ------------------------------------------------------- RIDGE/GARTER STITCH (worked in the round): 1 ridge in height = 2 rounds; Knit 1 round and purl 1 round. RIDGE/GARTER STITCH (worked back and forth): Knit all rows. 1 ridge in height = Knit 2 rows. PATTERN: See diagram A.1. The diagram shows all the rounds/rows in the pattern from the right side. DECREASE TIP: All decreases are worked from the right side! Decrease as follows after the 2 edge stitches in garter stitch: Slip 1 stitch as if to knit, knit 1 and pass the slipped stitch over the knitted stitch (= 1 stitch decreased). Decrease as follows before the 2 edge stitches in garter stitch: Work until there are 4 stitches left on the row, knit 2 together (= 1 stitch decreased). ------------------------------------------------------- START THE PIECE HERE: ------------------------------------------------------- TOP – SHORT OVERVIEW OF THE PIECE: The piece is worked in the round with short circular needle as far as the armholes. Then the front and back pieces are finished separately. BODY: Cast on 136-148-164-180-200-220 stitches with circular needle size 4 mm and Paris. Knit 1 round. Then work rib (knit 1, purl 1) in the round for 8 cm. Knit 1 round where you decrease 1-1-2-0-2-1 stitches evenly spaced = 135-147-162-180-198-219 stitches. Now insert a marker thread in each side as follows: Insert 1 marker thread at the beginning of the round and one marker thread after 68-74-81-90-99-110 stitches. There are 67-73-81-90-99-109 stitches on the back piece and 68-74-81-90-99-110 stitches on the front piece. Switch to circular needle size 5 mm. Work diagram A.1 in the round. REMEMBER THE KNITTING TENSION! When the piece measures 22-23-24-25-26-27 cm, work 2 RIDGES – read description above, over the 10-10-14-14-20-24 stitches on each side (5-5-7-7-10-12 stitches on each side of both marker threads). When the 2 ridges are finished, work the next round as follows: Cast off the first 3-3-5-5-8-10 stitches, work the next 62-68-71-80-83-90 stitches in pattern as before (the first 2 and last 2 of these stitches are worked in garter stitch), cast off the next 6-6-10-10-16-20 stitches (marker thread in the middle of these stitches), work the next 61-67-71-80-83-89 stitches as before and cast off the last 3-3-5-5-8-10 stitches. Cut the strand. The front and back pieces are finished separately. FRONT PIECE: = 62-68-71-80-83-90 stitches. Continue back and forth with pattern as before and with 2 edge stitches in garter stitch on each side. AT THE SAME TIME on each row from the right side, decrease for both armholes – read DECREASE TIP. Decrease like this every 2nd row a total of 4-5-5-7-7-8 times on each side = 54-58-61-66-69-74 stitches. After the last decrease, work until the last row worked is a row like the 2nd, 10th or 18th row of pattern A.1. Work 1 row from the right side where you decrease 1-1-0-1-0-1 stitch = 53-57-61-65-69-73 stitches. Then purl 1 row from the wrong side with 2 edge stitches in garter stitch on each side. Change to circular needle size 4 mm and work rib as follows: 2 edge stitches in garter stitch, * knit 1, purl 1 *, work from *-* until there are 3 stitches left, knit 1 and work 2 edge stitches in garter stitch. Continue back and forth like this for 3 cm. On the next row from the right side, cast off for the neck as follows: Work the first 9-9-9-11-11-11 stitches as before, work 2 stitches in garter stitch, cast off the next 31-35-39-39-43-47 stitches with knit over knit and purl over purl, work 2 stitches in garter stitch, work as before over the next 9-9-9-11-11-11 stitches and finish with 2 edge stitches in garter stitch. There are 11-11-11-13-13-13 stitches on each shoulder strap. Continue back and forth over the one strap with knit over knit and purl over purl with 2 stitches in garter stitch on each side, until the piece measures 38-40-42-44-46-48 cm – or to desired length (the armhole measures approx. 16-17-18-19-20-21 cm). Cast off with knit. Work the other strap in the same way. BACK PIECE: = 61-67-71-80-83-89 stitches. Continue back and forth with pattern as before and with 2 edge stitches in garter stitch on each side. AT THE SAME TIME on each row from the right side, decrease for both armholes – remember DECREASE TIP. Decrease like this every 2nd row a total of 4-5-5-7-7-8 times on each side = 53-57-61-66-69-73 stitches. After the last decrease, work to row 2, 10 or 18 in A.1. Work 1 row from the right side where you decrease 0-0-0-1-0-0 stitch = 53-57-61-65-69-73 stitches. Then purl 1 row from the wrong side with 2 edge stitches in garter stitch on each side. Change to circular needle size 4 mm and work rib as follows: 2 edge stitches in garter stitch, * knit 1, purl 1 *, work from *-* until there are 3 stitches left, knit 1, 2 edge stitches in garter stitch. Continue back and forth like this for 3 cm. On the next row from the right side cast off for the neck as follows: Work the first 9-9-9-11-11-11 stitches as before, work 2 stitches in garter stitch, cast off the next 31-35-39-39-43-47 stitches with knit over knit and purl over purl, work 2 stitches in garter stitch, work as before over the next 9-9-9-11-11-11 stitches and finish with 2 edge stitches in garter stitch. There are 11-11-11-13-13-13 stitches on each shoulder strap. Continue back and forth over the one strap with knit over knit and purl over purl with 2 stitches in garter stitch on each side, until the piece measures 38-40-42-44-46-48 cm – or to desired length (the armhole measures approx. 16-17-18-19-20-21 cm). Cast off with knit. Work the other strap in the same way. ASSEMBLY: Sew the straps together with grafting stitches. |
|||||||
Diagram explanations |
|||||||
|
|||||||

|
|||||||
|
|||||||
Have you finished this pattern?Tag your pictures with #dropspattern #raspberryfairtop or submit them to the #dropsfan gallery. Do you need help with this pattern?You'll find 20 tutorial videos, a Comments/Questions area and more by visiting the pattern on garnstudio.com. © 1982-2025 DROPS Design A/S. We reserve all rights. This document, including all its sub-sections, has copyrights. Read more about what you can do with our patterns at the bottom of each pattern on our site. |
|||||||


With over 40 years in knitting and crochet design, DROPS Design offers one of the most extensive collections of free patterns on the internet - translated to 17 languages. As of today we count 314 catalogues and 11822 patterns translated into English (UK/cm).
We work hard to bring you the best knitting and crochet have to offer, inspiration and advice as well as great quality yarns at incredible prices! Would you like to use our patterns for other than personal use? You can read what you are allowed to do in the Copyright text at the bottom of all our patterns. Happy crafting!
Post a comment to pattern DROPS 223-31
We would love to hear what you have to say about this pattern!
If you want to leave a question, please make sure you select the correct category in the form below, to speed up the answering process. Required fields are marked *.